Steampunk Goggles Project
[ 2010 Blog | Long Lost Twins ]
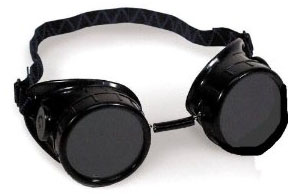
I bought a pair of welder's glasses from Amazon.com with the intent of making a pair of steampunk airship pilot goggles. They come in all black plastic and very dark protective lenses.
(Most of the following pictures are cross-eye stereo. Cross your eyes to see the full effect.)
Paint
I have a fairly detailed plan of what they will look like when done, and on July 16 I took the first steps towards that goal - I painted them.
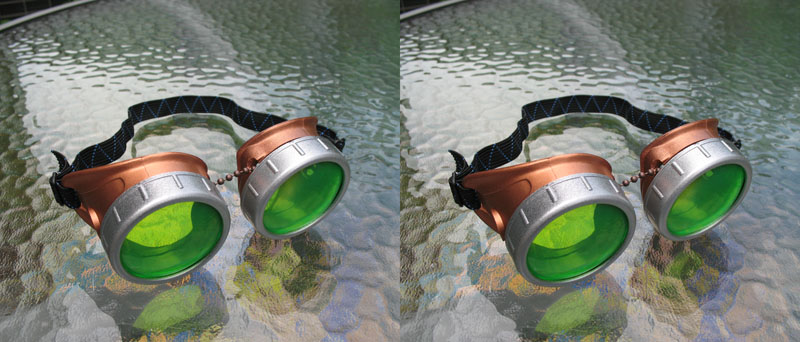
So I painted the main body copper, with a fairly nice, realistic copper spray paint. I painted the screw-on rims nickel for now. I may go brass. We'll have to see. (The lenses I put in here are made from a rubber ball, cut to shape.)
I removed the silver ball-chain link between the two eyepieces, (which was also covered with rubber for nose bridge protection) and put in a length of dark-bronze ball-chain (this is a lamp pull) that better fits the look. I was torn between this color and bright brass. I kind of like this choice.
The funny part is I wanted green lenses to offset the copper, but I couldn't find dark green sunglasses anywhere, so I could fit those lenses in, so I found instead a bright green hollow rubber ball! No kidding! I cut out two shapes, so not only is it gree, but they bug out a bit, which I think looks good.
Not being able to see without glasses anyway, the extra blur brought about by this thick, but transparent rubber, only hinders my eyesight a little more than usual, so I will have no problem navigating a room and recognizing people within 10 feet.
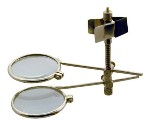
Soon, I will be adding a clip-on double-loupe, which is an assembly of two differently-powered magnifying lenses, which will enhance the look; and a few brass clock gears. I want to attach the loupe in an unusual way, so I'm looking into cutting a slot in the eyepiece rims and epoxying in a gear, and attaching the loupe to the center hole of the gear. Whether that works or not remains to be seen.
But this is just the start.
The Plan
The plan is now to replace the black elastic strap with a leather strap with brass buckles. And to add brass brads to the lens rims, and to figure out a way to mount this double-lens loupe without the flimsy clip. My plan is to use a thick brass gear connected to the goggles, and mount the loupe on the gear.
Lenses
On July 28 I ground down two sunglass lenses I bought from $3.00 sunglasses. The size of the lenses was perfect, but it was a bit tear-shaped, so I had to grind down some of that extra shape, and the result was quite nice. In this picture, they are mounted in the goggles. (The optional green lenses are actually cut from a green plastic rubber ball.)

Strap
So to get started I spent some time looking for thin leather belts at the Salvation Army Thrift Shop. I found three. One was the perfect leather, if a tiny bit wider than the original strap. I knew I could thin it out with a blade. And a thinner belt had a nicer buckle, so this would work out well.
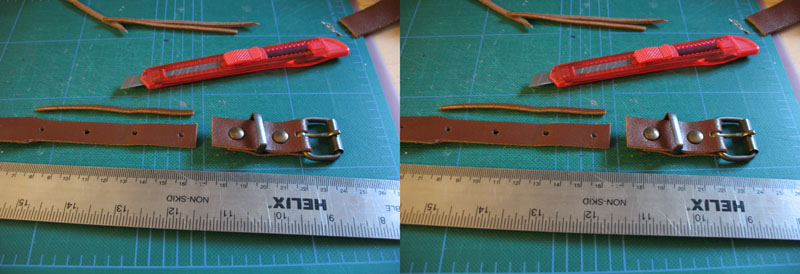
First, I cut the strap, removing the original buckle I would not use. (It was too wide.) And I thinned out the part of the strap that would connect to the new, smaller buckle.
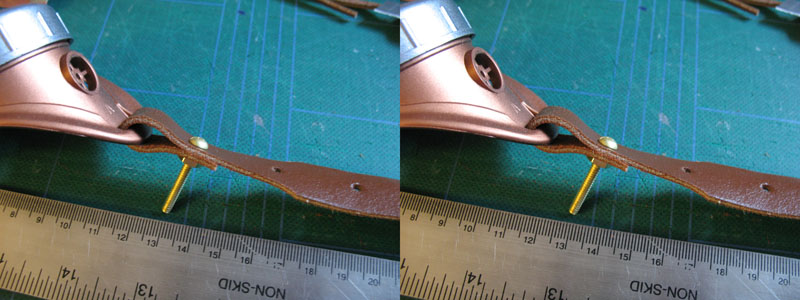
I bought several brass bolt/nut combos and since I have no riveting system, I opted to use those to mount the strap. I used this to figure out how long to make the bolts.
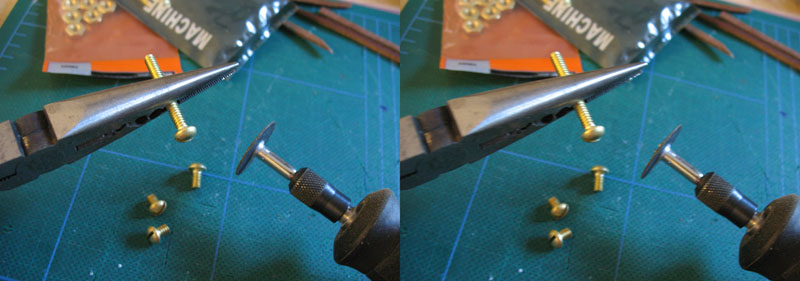
Then I ground down the bolts to the proper length.
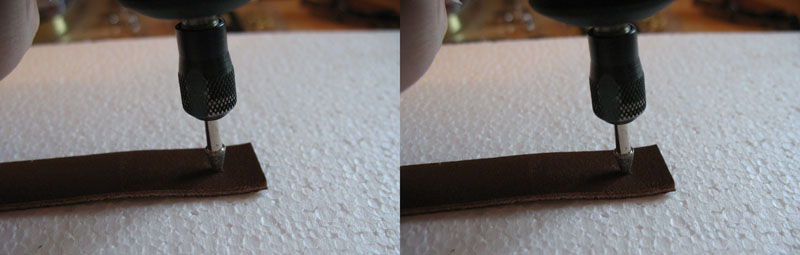
Using a Dremel with a conical grinder as an awl, I put various holes in the strap where it would connect to the goggles. (One side already had holes from the original belt holes.)

Here I thin out the strap to accommodate the new buckle. I drilled two holes and then used an X-Acto blade to cut a channel connecting the two circles. This would accommodate the buckle pin.
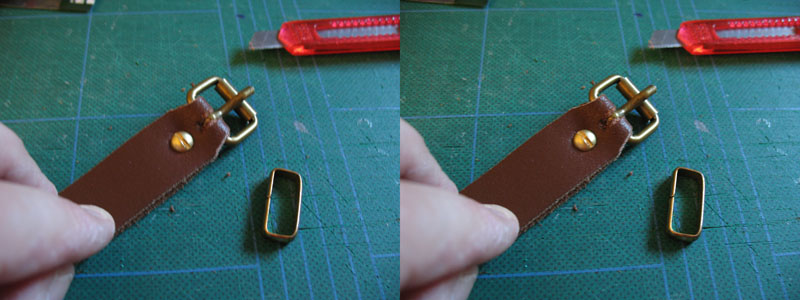
This is the new buckle, and a different strap holder. This was a test-fit. I had to undo it to slide the strap loop. Two bolts would be used - one to secure the buckle, one the metal loop.
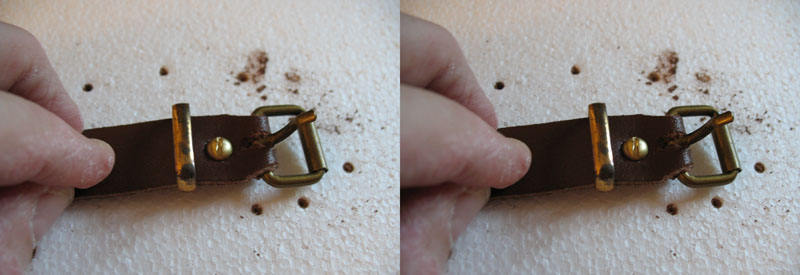
This is the loop, or brace, in place. Just one more hole and bolt/nut and it would be secured.
No photo of me drilling out the various belt-holes at the other end of the strap. I used about a 1cm span, for finer adjustment.
Brass Brads
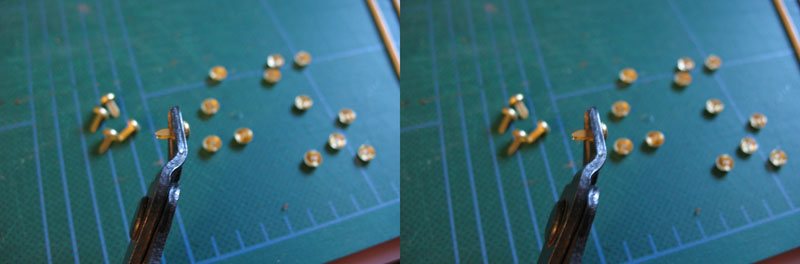
Brass brads are used to add brass rivet-like heads to thin material. There are two metal leaders that split to secure the brads. This wouldn't work on the lens rims as they have threads and are functional. So I figured I'd just epoxy them to the rim. This would require the removal of the metal leads. A wire clipper took care of that.
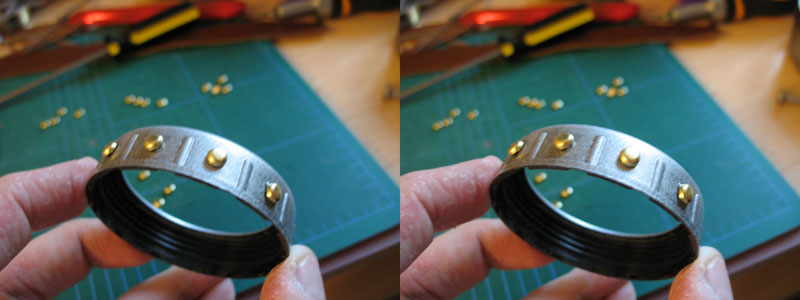
Then I put one between each ridge on the lens caps. There are 12 on each side.
Loupe Mount
One thing I wasn't exactly sure how to do was mount the double-lens loupe. I got rid of the clip, and replaced its span with a small piece of aluminum tubing I bought at a hobby shop to make 1:6 scale Sonic Screwdrivers. This is essential as this relatively strong spring keeps the loupes in place, and without something to brace the spring it wouldn't work. So I reconfigured the loupe on the shaft.
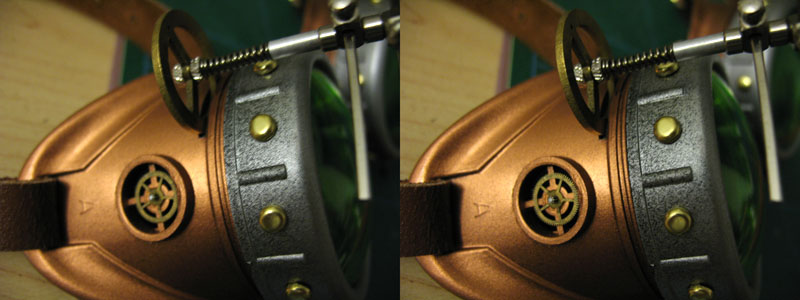
The gear comes from a clock I got at a yard sale. I had to drill out the gear shaft, but it left a hole perfect for the shaft of the loupe. The two bolts at one end were perfect for securing the loupe into the gear.
The clever part was I used the Dremel with a grinding wheel to cut a slot into the casing of one side of the goggles. I had intended to epoxy the gear in place, but the slot I cut was so well-fit that I had to push the gear in fairly hard and it stuck. I can remove it at will, too, so it's dual-purpose.
I added tiny watch gears to the vent hole on each side.
Complete

Here they are. Complete. Using the sunglass lenses, the loupe, and leather strap, these are about done.
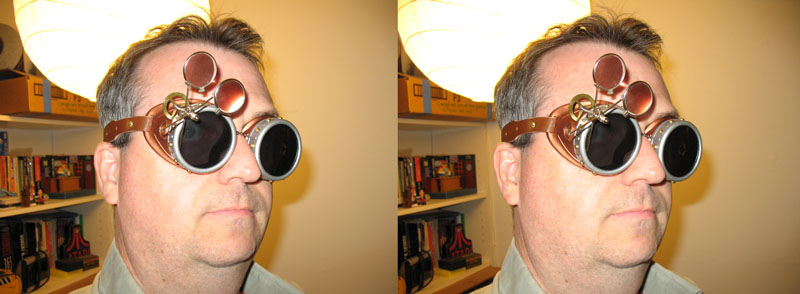
Here's me wearing them. Not at all too shabby if I do say so myself.
![]()
[ 2010 Blog | Long Lost Twins ]