AT Jet Pack
![]()
AT Jet Pack
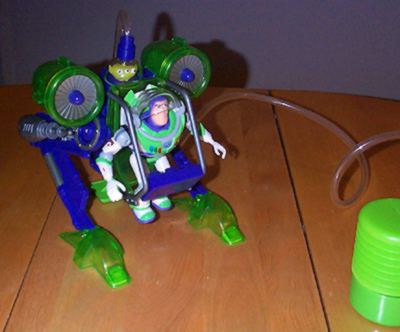 |
This is the original Buzz Lightyear Space Hopper that was clearing at KB for $9.99. The functionality is that of an air pump and a piston. The central piston pushes a leg at the rear up, making the entire contraption hop. Kinda cool, but completely useless. |
 |
I removed Buzz and the air hose. I
detached the air hose nozzle for later. (Note the little alien in the cylinder... I chose to hide him, though some may choose to have him peeking out. Without major work, there's no way to remove him.) |
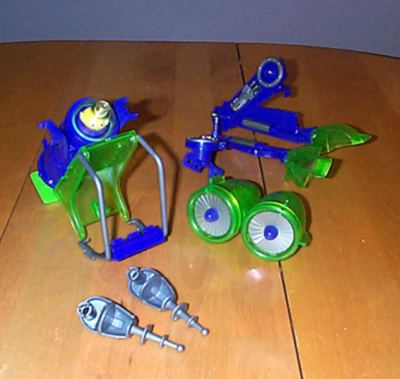 |
I dismantled the contraption. I removed
the useless legs, and put them aside for another custom
job later. I popped the ducted jets off, and I removed
the laser weapons. I thought the laser weapons would make interesting jet interiors for the clear-plastic jet engines, but I couldn't get them open. I'll try again later. I think they'd look cool if they had engine parts inside, kind of like the legs of Mike Power, hinting at the machinery inside the clear casings. |
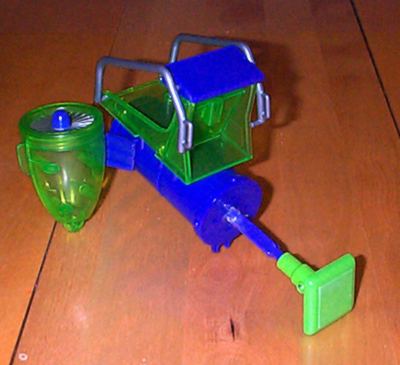 |
The next step would be to remove the
silly piston. I applied epoxy cement to the piston. You
can see it in the picture. This would hold the piston in
place, so it won't bob up and down the cylinder. Pulling the piston down this far will hide the little alien. You can choose the length at which you wish to freeze the piston. (Note that in this shot you can see how the jets attach to the cylinder with small angled arms, that don't tilt.) |
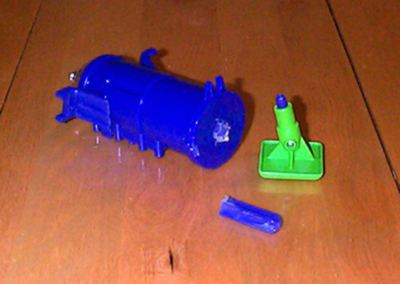 |
I used a hack-saw to remove the piston. I
didn't have to cut it twice, but thought it made the job
less cumbersome. (The Jet arms are more visible here.) |
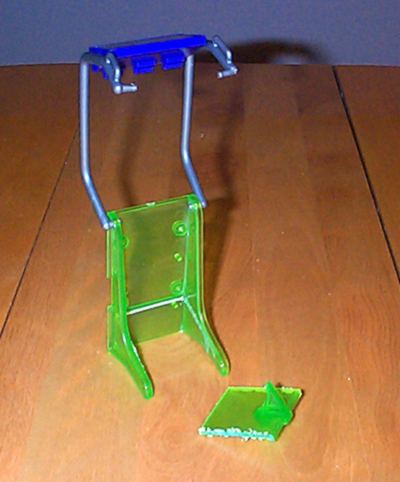 |
The seat Buzz was meant to sit on was
interfering with Joe's placement in the harness. The hacksaw came in handy again as I cut along the edge. The clear plastic was soft, so this job was easy, and worked rather well. I thought I would need to do some repair work, but it seemed to go fine. Then I scored the back flap with an X-Acto knife. This was very easy, as the plastic was very soft, as I mentioned. I bent the seat down until it snapped off. You can see the white line where the seat snapped off clean. |
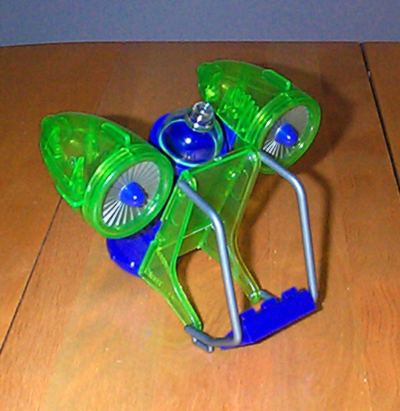 |
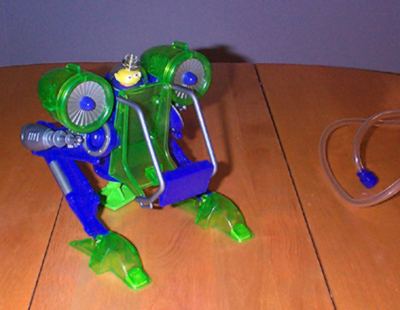
Here's the near-finished unit. There is
still room for customization. The top dome has room for a
siren light, or other warning beacon, and I still somehow
intend to insert the lasers into the engines for inner
workings. What's lacking at this point is the structure holding the jet engines in place is holding them at the wrong angle. Ideally, I'd like to put an axle through the cylinder so they can tilt, but that could be a complex project. I could cut the arms off and epoxy them into place at a more reasonable angle (aimed upward) but that would be a shame if I have the opportunity to make them rotatable. |
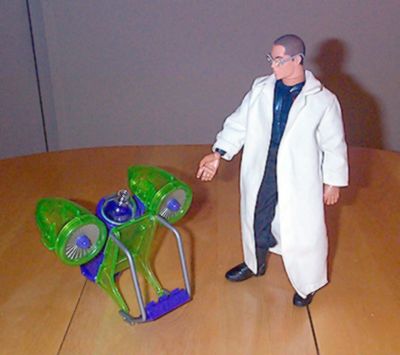 |
Ladies and gentlemen of the Adventure Team, I introduce the new Jet Pack. Allow me to slip into the safety harness, and show you how it works. |
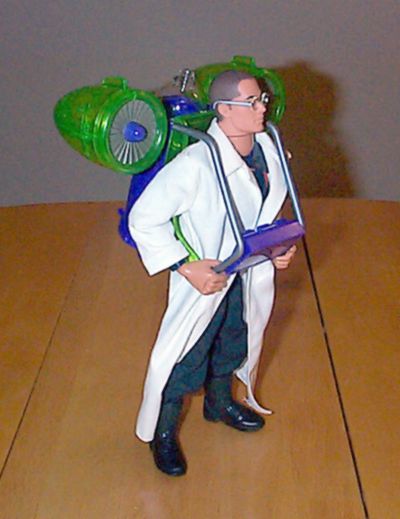 |
Fits like a glove. The control panel in
front is non-functional at the moment, but it will soon
feature gauges and controls. There are also no hand-controls as yet, but gripping the harness will allow a full range of movement and subtle flight control. |
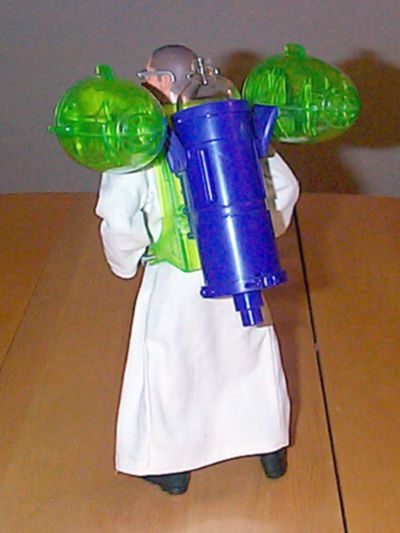 |
While it may seem bulky, it is quite
lightweight, and realistically, you only carry the weight
when you're on the ground. While you're in the air, it
carries your weight, which makes this
vehicle quite functional and practical. Here, you will note that the bottom piston was cleaned up by attaching the hose nozzle to the bottom as an exhaust out-take. Unlike past Action Pack vehicles, the large central cylinder contains enough fuel for a complete mission. You won't have to refuel as often. |
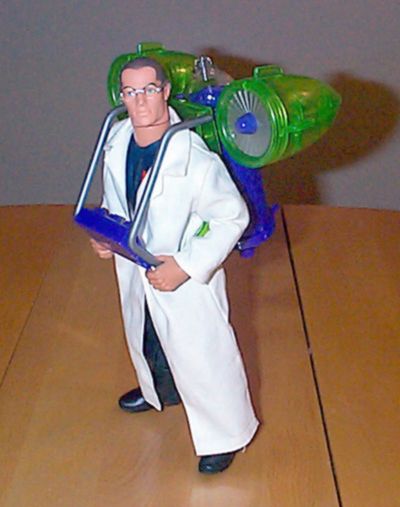 |
Ladies and gentlemen of the Adventure
Team, I present the new AT Jet Pack. Training will begin immediately, and soon, you will be using the Jet Pack routinely in flight missions. Enjoy! |
![]()
![]()
![]()
![]()
![]()