
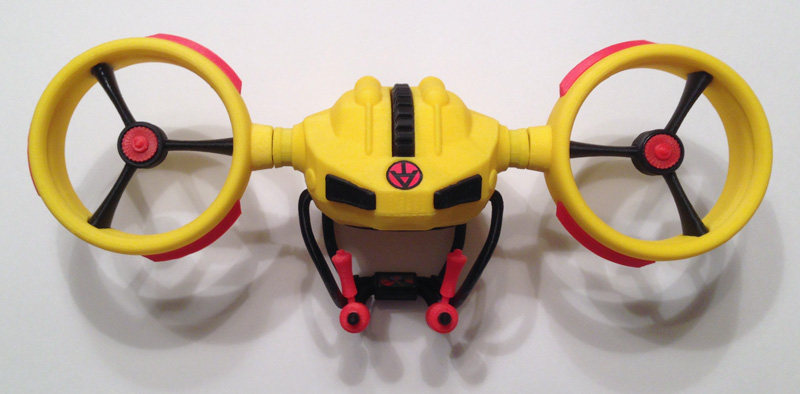
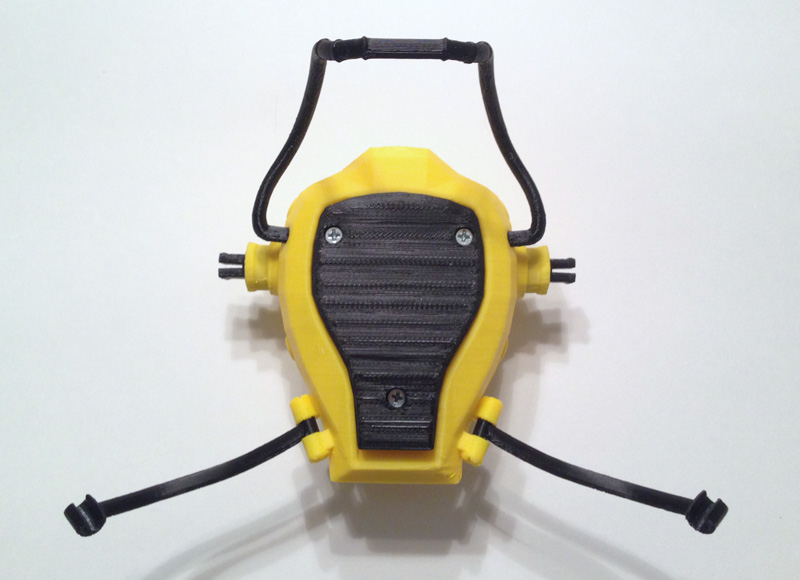
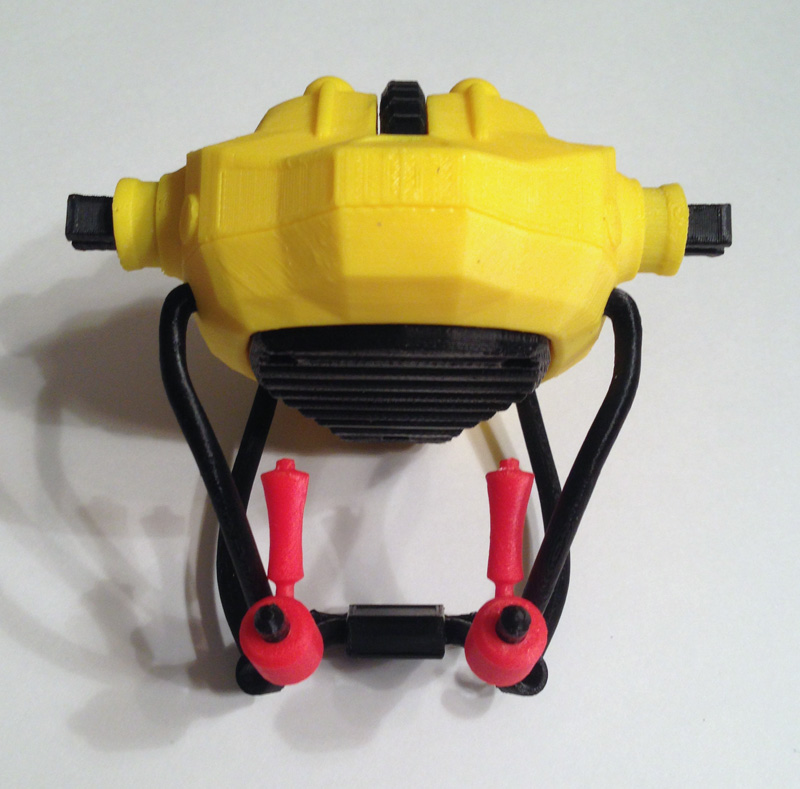
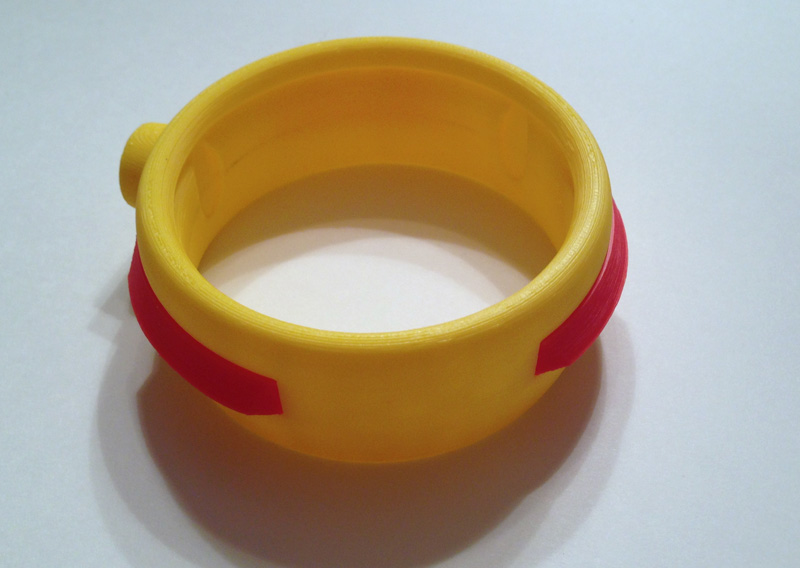
I recently made a slight change to the name of my GI Joe Adventure Team Action Pack Jet Pack. It is now the GI Joe Adventure Team Action Pack Flight Pack. I did this on the advice of a fellow collector who said that it didn’t really have the look of a Jet Pack.

However, this design has (fictionally of course) a jet engine in the back pack that forces air out through the engine housings for a forced-air effect that provides upward thrust without jet-flame output that would burn the pilot. But since it doesn’t really look like a Jet Pack, I thought I would take the advice of a fellow collector and call it a Flight Pack.
The otherwise overly long name stands, however, since it means something.
It’s for GI Joe. It’s for the Adventure Team. It is intended to be (retro-actively) a part of the GI Joe Adventure Team Action Pack line, which were generally useful bits of equipment that in some way folded up and were worn on the back for transport when not in use.
This toy that I designed in 2013 has been an important thing for me. I came up with the design, modeled it, with functionality and fit in mind, then I printed it over and over on my Afinia H479 printer until the parts all worked, and even now I’m refining it.
Some news:
Publishing
I published the model on 3DAGOGO. 3DAGOGO is a pay-per-model site and I’ve sold a few pieces there, mostly the Airship I designed.
Afinia
Afinia asked to use this model in their CES booth, which was a thrill to me. I sent them both a yellow and a black (stealth) version along with a GI Joe figure to model one on. It will be on display at CES in their booth. I will post pics if they send me any.
Design Refinement
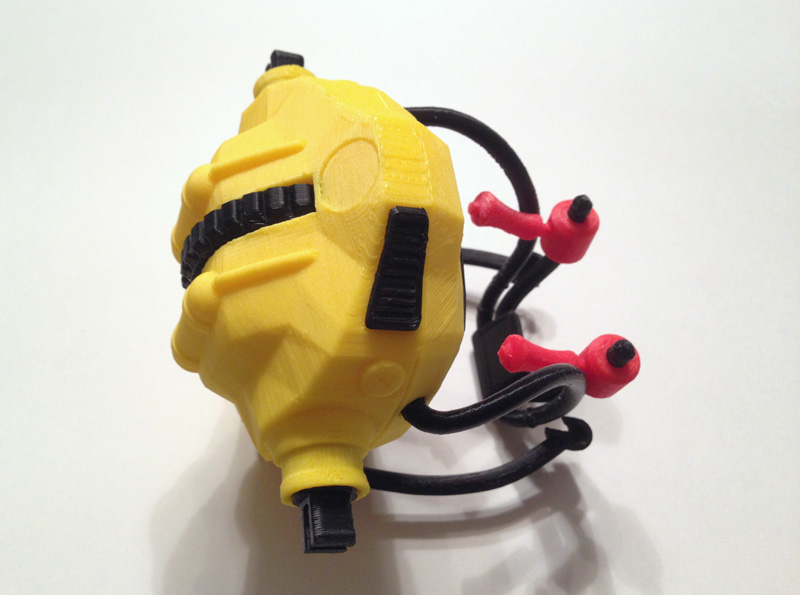
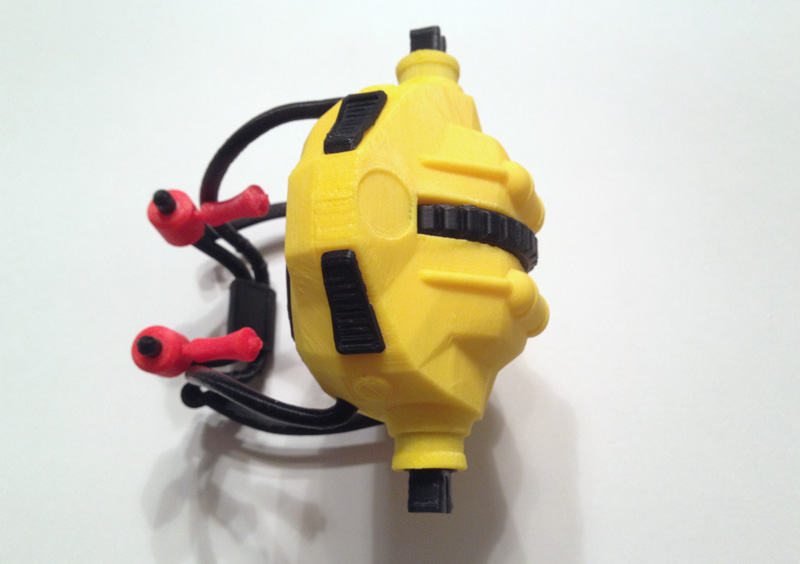
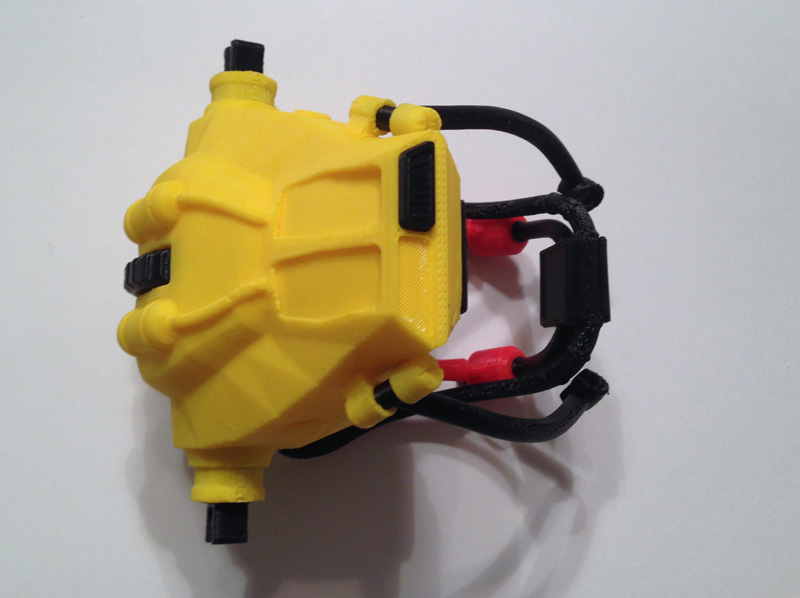
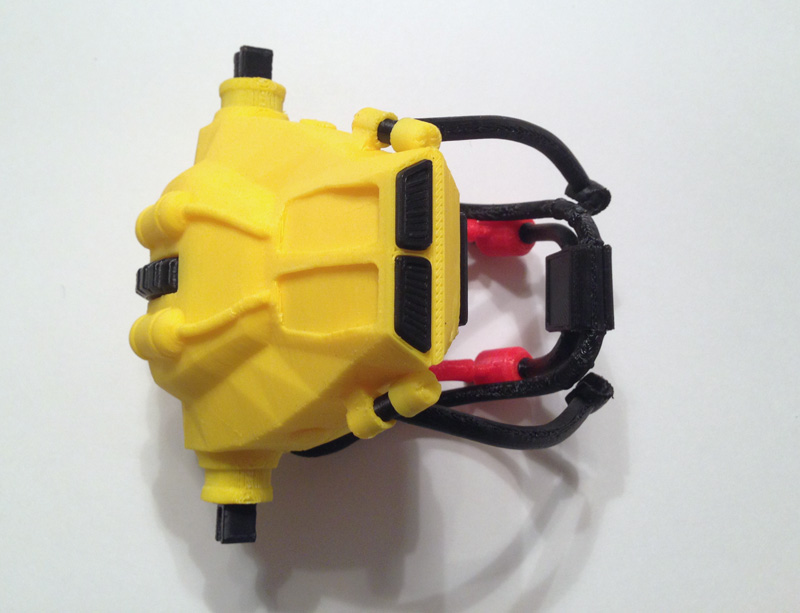
This is v1.2, which takes most of the design from the first prototype, but adds some things and changes some things to make printing easier and to make assembly easier.
Changes to this version include a more open clip design to clip the under harness arms to the main harness, and a better system to clip the swing-down harness control arms. I straightened them out, because before, if you rotated the joysticks all the way around, the subtle curve in the arm and the joystick bent the arms until they broke. That should not happen now that the arms and joystick cuff are perfectly cylindrical. Also, I made the harness control arms use two pieces so I could screw them to the main harness front, instead of trying to force the pieces together. This often broke the pieces. This version is a tad loose, though, so expect another minor change.
V1.1 had a control screen on those arms, but the screen was too tall. When the control arms were lifted up while the pack was being worn, the screen prevented the arms from going up, becuause it tried to go into the figure’s body. This version flattens it and should work better. I’m still working on that.
Mostly, this is otherwise similar to the other version with some changes to the screw holes to allow easier printing (the first few I made printed fine, but later the printer kept hitching on the screw holes because of their starburst design.)
I also puffed out the cushion a little. The printer doesn’t allow it to print very smoothly, but it’s better, I think, than the original.
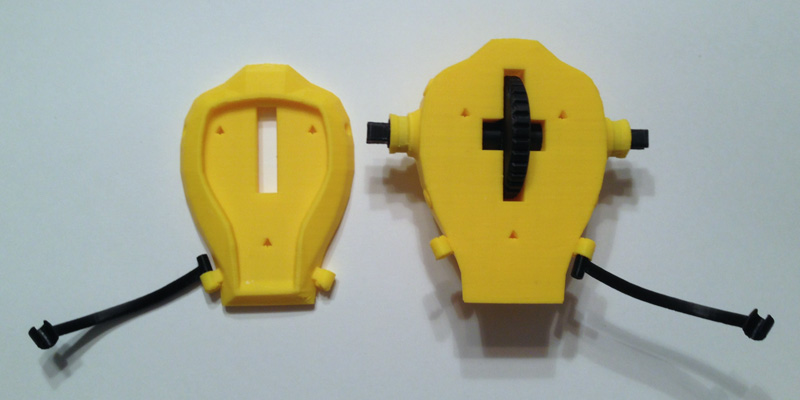
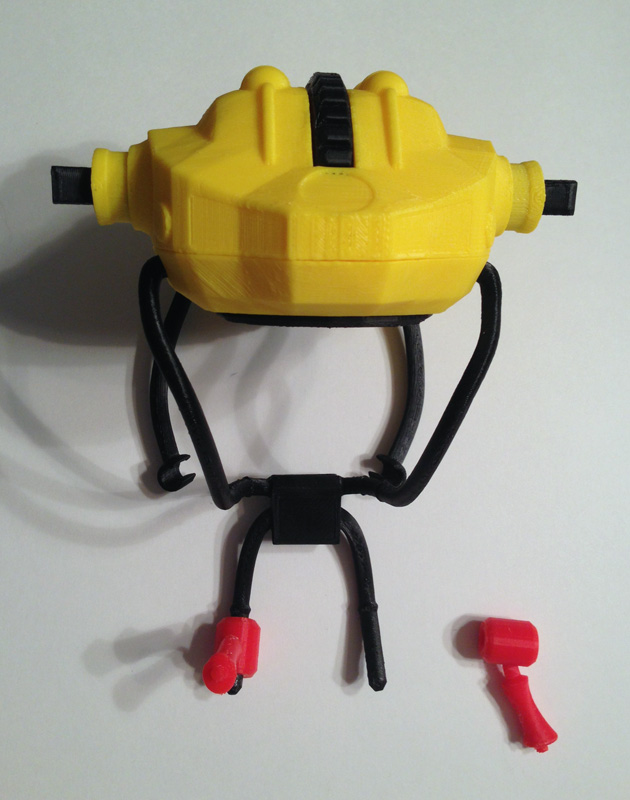
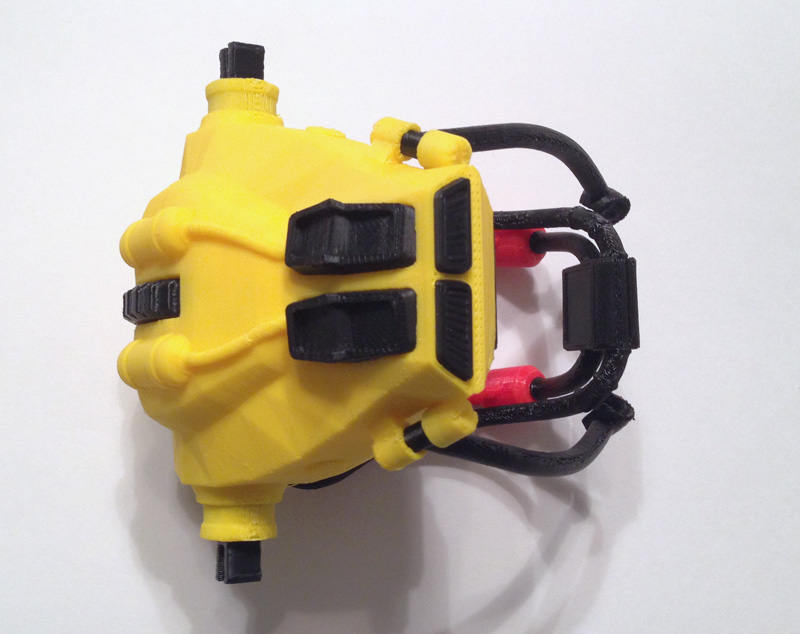
Here are all of the parts for V1.2 of the Flight Pack:
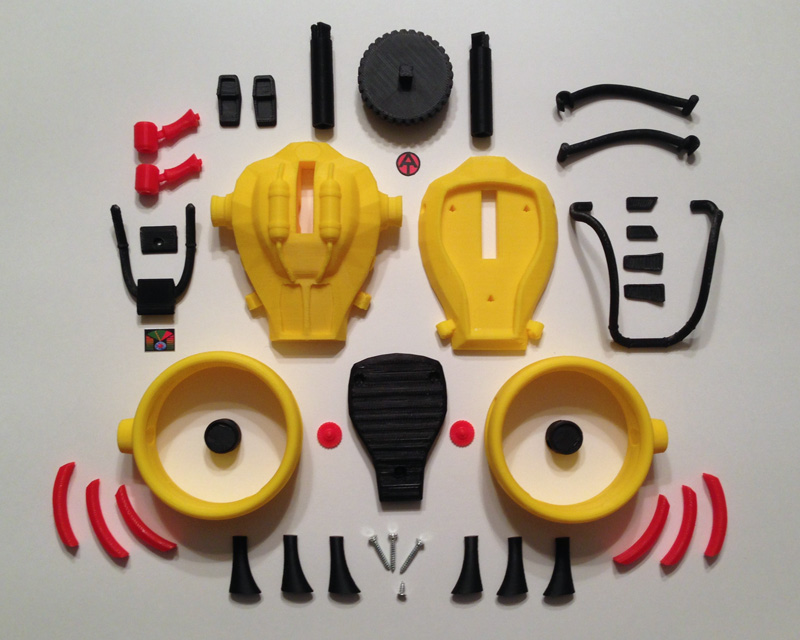
37 printed parts in 3 colors. 4 screws. 2 printed pieces of paper, (glossy paper, on sticky back works, or glue it.)
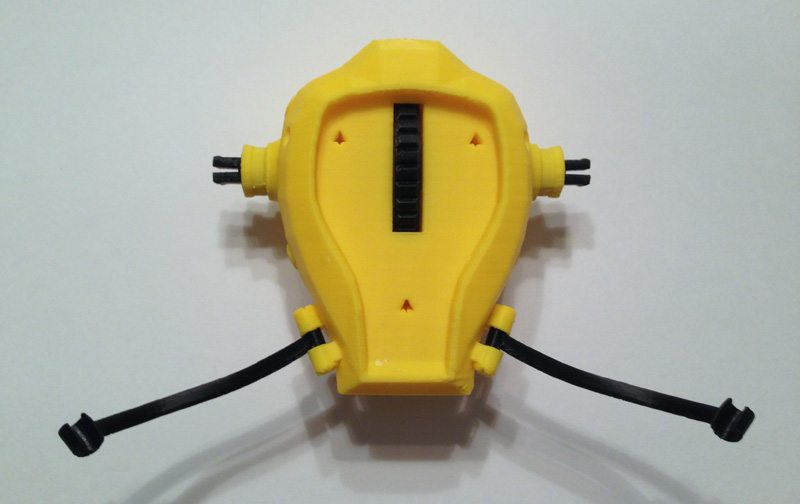
And here is the assembly process, step-by-step:
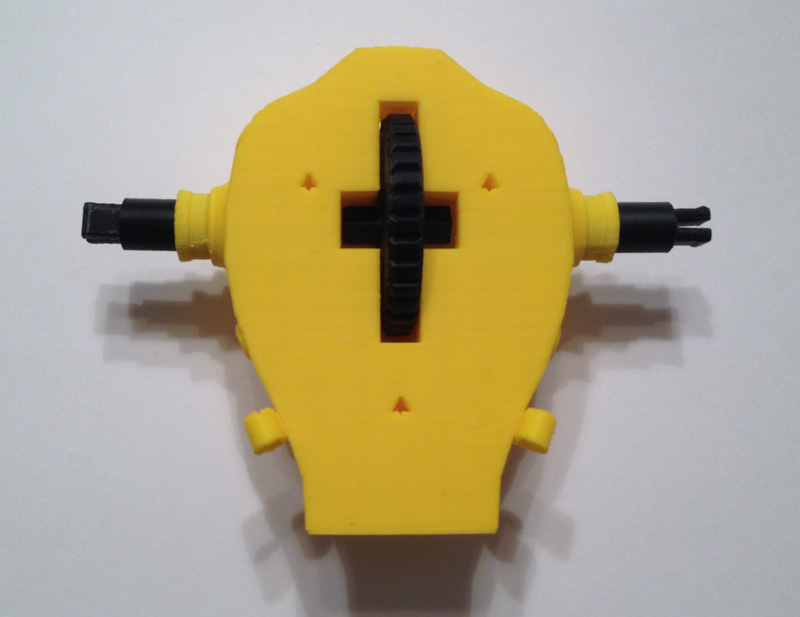
Push one engine shaft into the body shoulder hole, and the other. Place the thumbwheel in the body slot. Rotate the two engine shafts until they fit onto the thumbwheel. Make sure the forks of both engine shafts are aligned (not aligned in the photo.)
Push the two engine shafts together until they snap onto the thumbwheel.
Ensure that each harness lower arm is aligned correctly. Place one in the lower bracket (on the body front part) and the other in the upper bracket of the main body piece. This is done so when fitting the two parts together, they can be wiggled into place. This is much harder if you try putting both harness parts in the same body piece.
Fit the body front and body main parts together, ensuring the harness arms fit into the four brackets nicely.
Put the back saddle cushion in place.
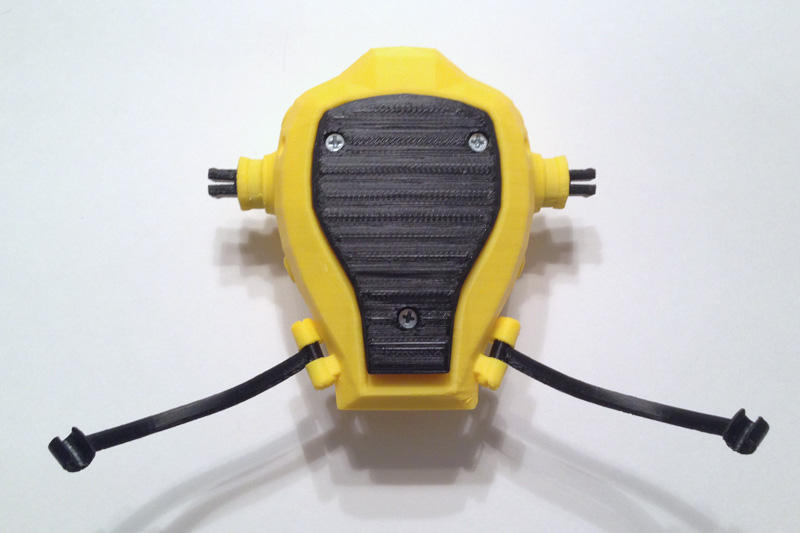
Use the three longer screws to screw the cushion, body front and body back together. Do not overturn the screws. Once they are tight they should be fine. Further turning will simply weaken the holes.
Place the main harness into the two holes in the body front piece by gently prying the frame apart.
Push into the holes until they stop. Test rotation.
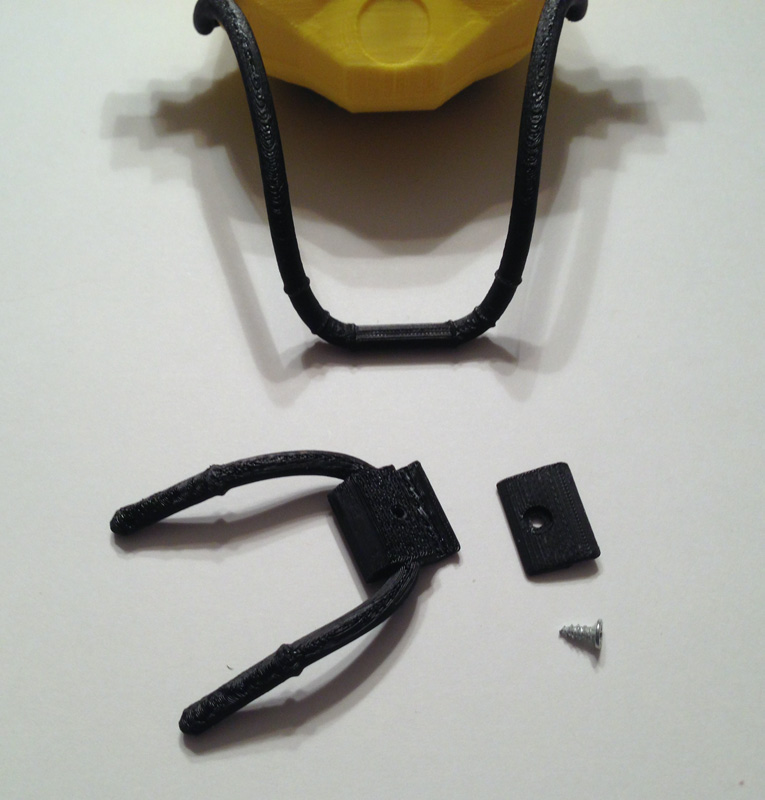
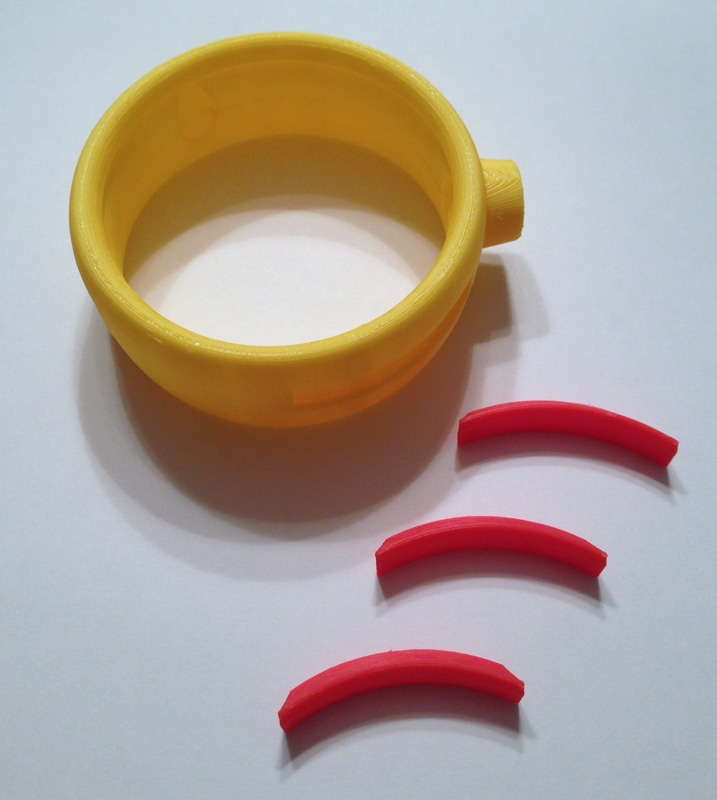
Prepare the harness handle section.
 Place the two pieces over the flat front part of the main harness and use the small screw to attach the parts.
Push one joystick onto the control arms, rotating as you go.
Attach the second joystick by rotating and pushing.
Using Krazy Glue, attach the upper right vent by fitting the vent into the aperture.
Do the same with the upper left vent.
Glue the lower right vent into the space provided.
Glue the lower left vent in place.

Glue the lower back right jet vent into the gap. It should snap nicely in place.
Snap and glue the lower back left jet vent in place.
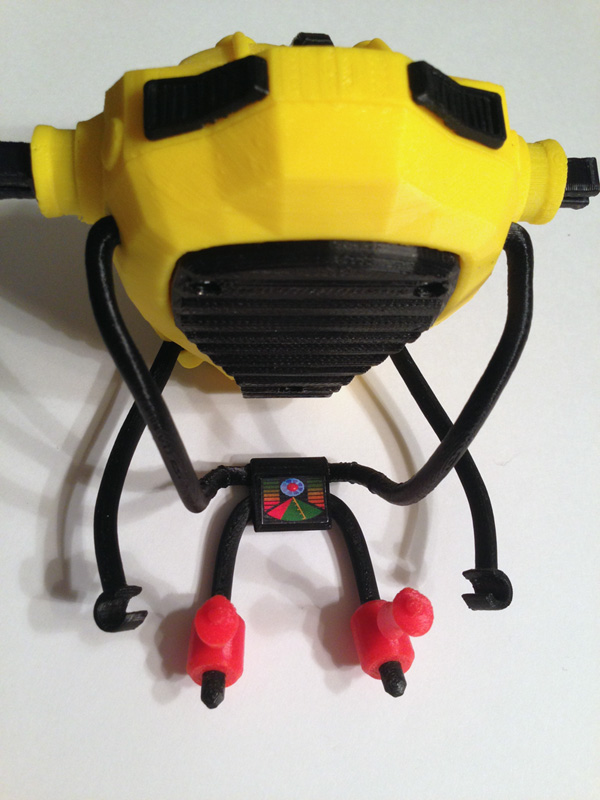
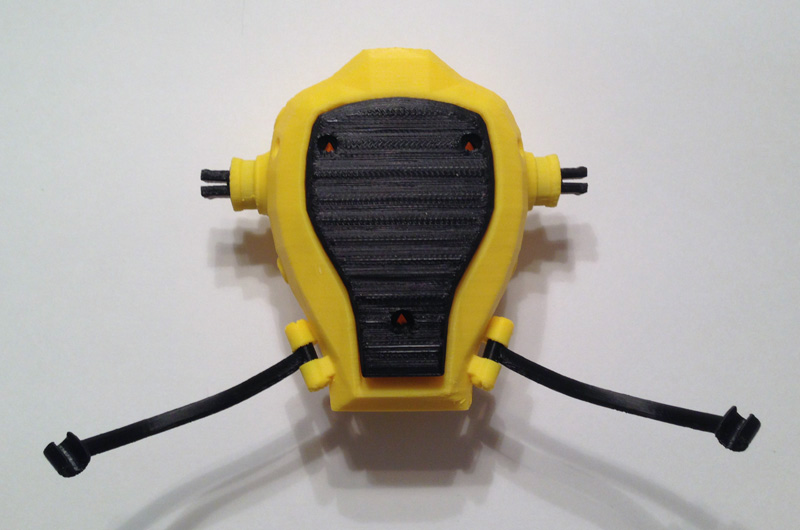
Glue the control screen into place.
![]()
Glue the Adventure Team logo in place.
Prepare the engine housing and the three vents.
Glue them in place.
This part is particularly hard. Coordinating three of these is a difficult feat of manual dexterity. So we glue the first engine brace in place so the flat part is towards the top (the uppar part has the ring aperture inside to let jet air flow over the body.) The curved part points downward.

Then glue the second bracer in place and glue the hub onto the two braces being very careful that the square hole in the hub is flat with the engine housing arm grip (the round part that connects the engine housing to the body.)
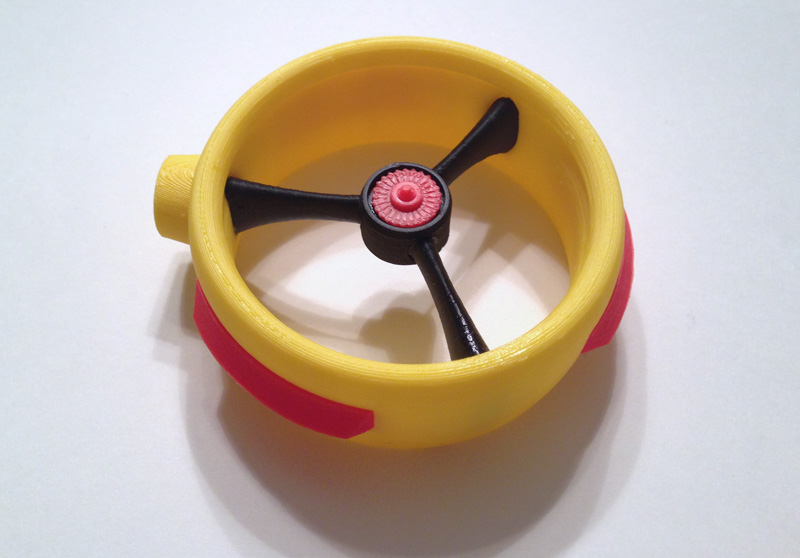
The next operation is the most difficult. Placing a bit of glue into the third gap in both the engine housing and the hub, push the bracer into place. This can be quite difficult. When it fits together, the three bracers hold the hub in place by sheer pressure, but we glue it because pressure can break the connection. Then glue the engine vane into the center of the gap.
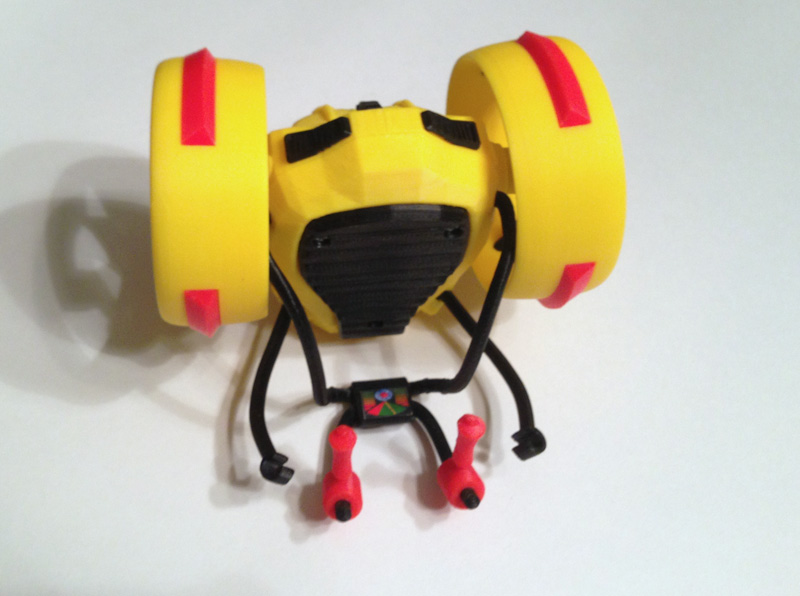
For traveling on the back of the pilot, and for transporting via ATV, push both engine hubs into the engine mount shafts.
want to buy finish product. how much to buy one kit.
Very cool. How do you order a kit? Take care and I await your reply.
Currently I sell them through Cotswold Collectables: (www.elitebrigade.com). I don’t make a lot of them, and they sell out quickly, but keep your eye out there, sign up for their newsletter, and they will alert you when more become available.
The reason is these are rather hard to make, long time to print, about 65 parts to clean up and put together, not to mention the elastic, the cord, various different glues to make it all work. It’s a lot of work. But endlessly satisfying.
So I do make some available from time to time, and I hope to actually INCREASE production going forward because they sell out so fast!