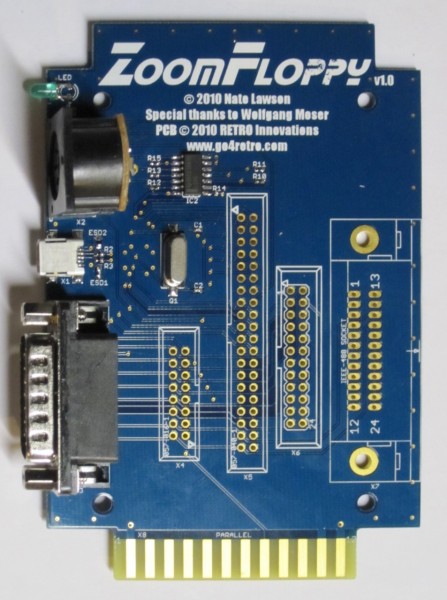
ZoomFloppy is a great little circuitboard I bought for $35.00. It connects to a PC through USB and allows you to connect Commodore 64 disk drives (1541, 1541-II, 1571, 1581) directly to the PC for reading and writing to .d64, .d81 files, etc. This allows you to use a Commodore emulator (like VICE) which uses these files as images of the original disk.
It’s a great way to archive your old disks too, but also to revive your interest in the Commodore 64 without having to go out and find an old C64. Any PC (or Mac, or heck, even a Raspberry Pi) can run the VICE emulator and you can have a fully functional Commodore 64 at your fingertips.
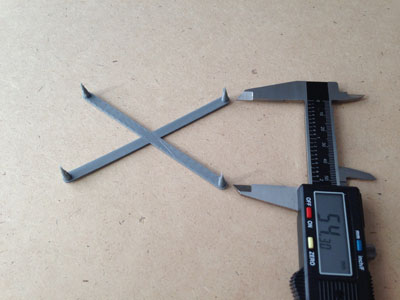
To start, I measured the distance between the mounting holes on the circuitboard:
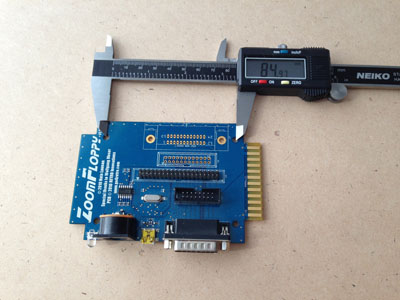
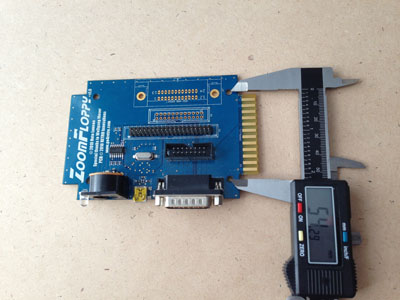
(Note, the numbers on the calipers are not accurate… this was for visual reference only.)
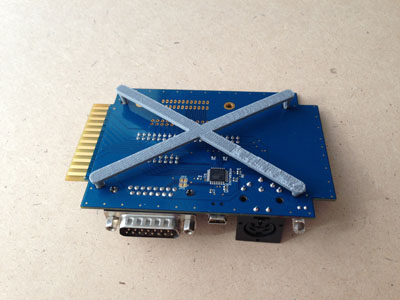
Then I printed an X-shaped test strip with cones where the screws should go, so I could test fit it onto the circuitboard and see if I had the dimensions just right:
Once I knew the test cross fit, I could be confident those dimensions would work on the case.
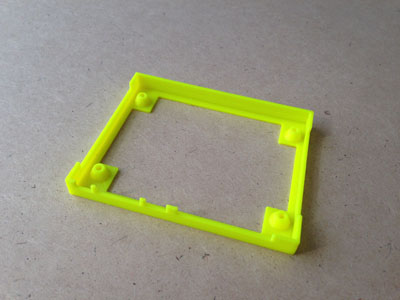
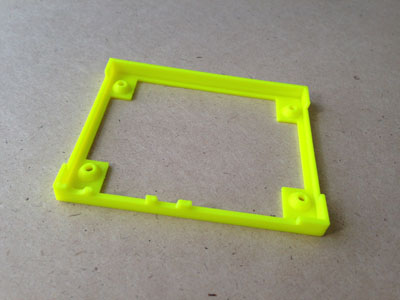
I measured the connectors so I could cut spaces for them, and printed a rough frame that should fit the ZoomFloppy:
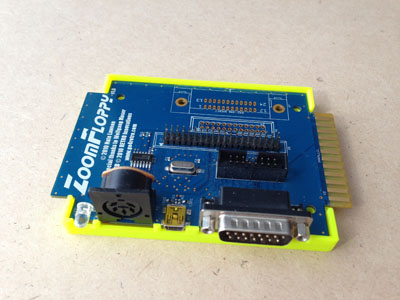
Then I did it again, refining the spaces in the gaps for each connector, and rounding out the hole for the LED, since the square hole was just for position testing.
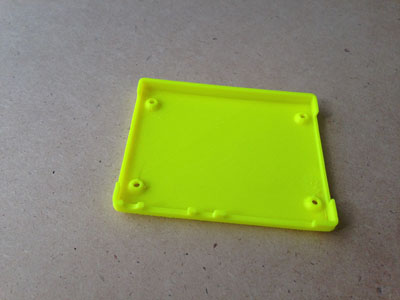
When that was secured, I printed a completed bottom:
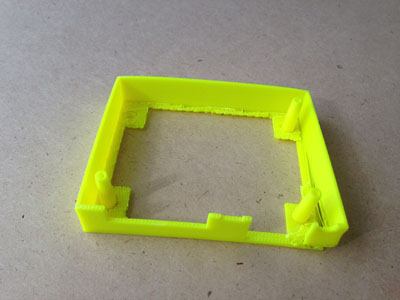
Then I printed a test top, though this print came out less than perfectly, I was able to use it to test position:
It was time to print the first test print in color – white.
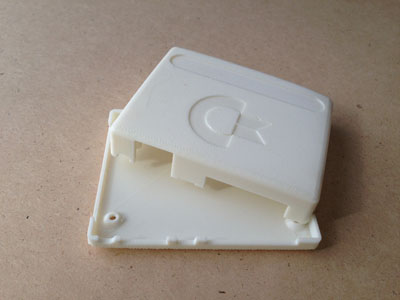
I printed these floor down. My printer was having some issues with warping and the case top and bottom did not come out perfectly flat, but I think that’s a print-bed heating issue I’m working to resolve. But it worked out fairly nicely. Printing it “upside down” allows the connection between the top and bottom halves to fit just about perfectly. The warping would only affect the case top and bottom, and not be a major issue.
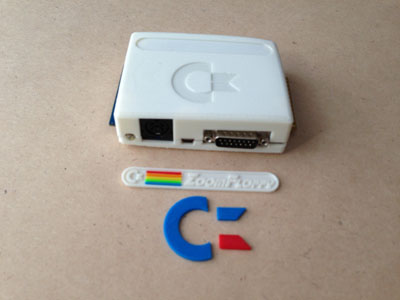
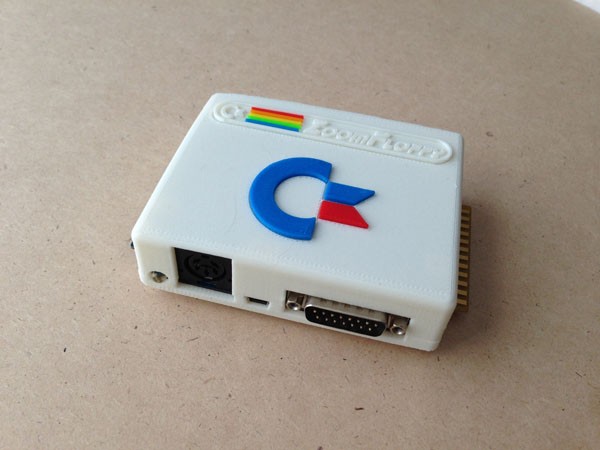
I etched out a space for a Commodore logo, and a strip at the top that would have a smaller version of the logo with the rainbow color strips familiar on the Commodore 64’s case, then the ZoomFloppy logo on the right. Each strip was printed in a separate color, and fits into a thin slot on the logo strip.
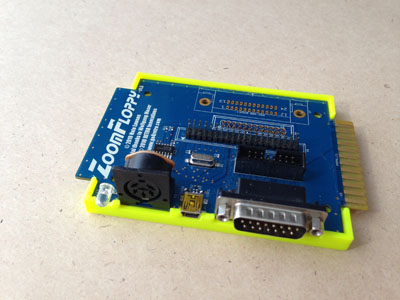
Next I secured the two halves with screws, sandwiching the ZoomFloppy board perfectly.
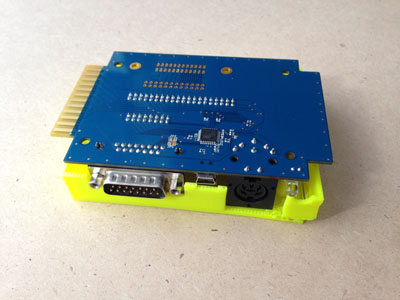
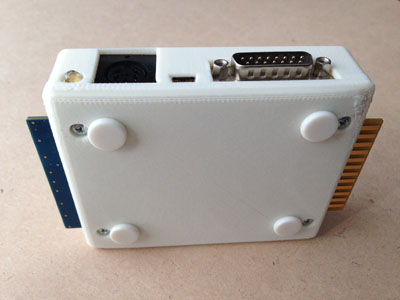
This shows the bottom, with the four screws and the four rubber feet I attached to prevent slipping. (Bought in any craft or hadware store.)

Hi: could you sell to me one?
Massimiliano, hello.
I just now noticed your e-mail. I know it’s a few months late. Are you still interested in purchasing one of these Zoomfloppy cases?
Sean.
I am interested in purchasing one! Please let me know if you are still able to make, and what the price would be. Can you print in the “Commodore Tan”?
I am beginning to sell a few. I will hopefully be opening an ETSY shop soon and will make them available there, or contact me directly. I will reply to a message if you leave it here.
Any thoughts on sharing this? I was just looking at this idea, but would love to print yours. It’s fantastic!
Honestly I didn’t think this would be worth sharing as the Venn Diagram of people with a 3D Printer and people with a ZoomFloppy seemed to be non-intersecting to me. :-) Watch this space. I can likely share the files via ZIP here, or I can upload it to Thingiverse. Whichever I decide, I will post here on this page.
I have now made these files available through Thingiverse:
http://www.thingiverse.com/thing:953397
Enjoy!
Sean.