
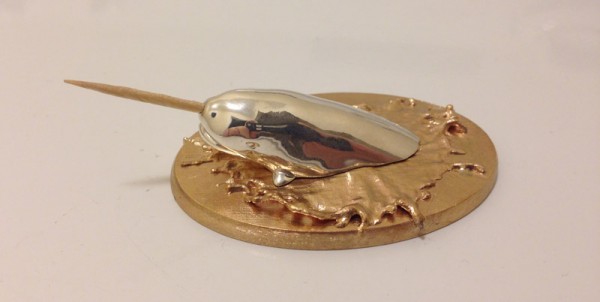
As posted here (and I have not posted since, to keep it “live” for a while) I gave Carol a 3D printed gift for our Silver Anniversary. It was a Narwhal 3D printed in sterling silver, on a base of brass.
So for Valentine’s Day I thought I would follow that up with something else she loves – our house. And brooches. She absolutely loves brooches and has a very nice collection. What better, then, than to 3D print her a brooch of my own design based on our house?
First, I opted not to go with silver, because of cost. I thought a brooch might be better priced under $50. In sterling silver, it would have been more than double that. And I’m not discounting it for later. Or even Shapeways’s new material – aluminum, which, due to the printing method, is more expensive than stainless steel, which is what I went with.
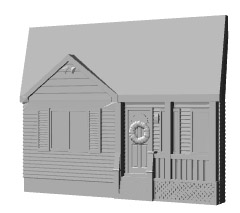
I first took a model I created a year ago based on our new house:
I consolidated the various separate parts into one and began simplifying the model, squashing it into a very thin bas-relief type sculpture, and ended up with this:
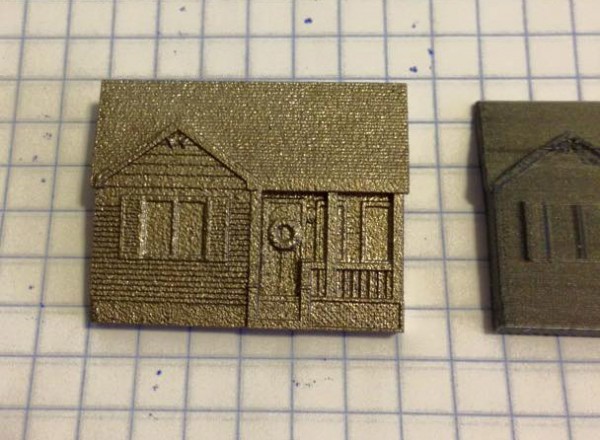
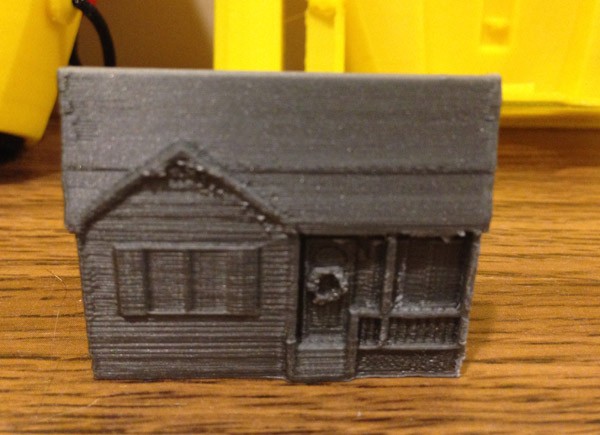
First, I printed it on my own Afinia H480 printer to see if it would hold detail and be worth doing at all. It turned out fairly well considering the size and detail:
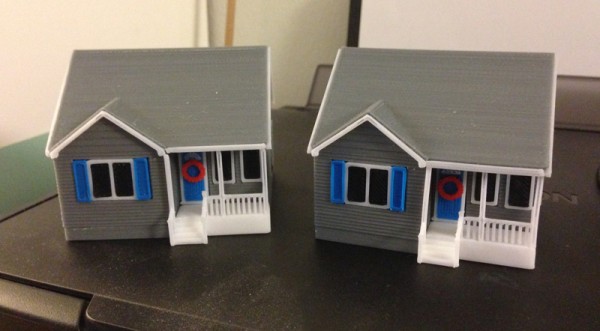
I had it printed in two different materials as a test. One in stainless steel, and one in nickel, thinking they would both be silver, but one shinier, and perhaps nicer, than the other. I got them back, and to my surprise, one was nearly gold in color. Since the house is grey, I wanted it in silver, so I focused on that one.
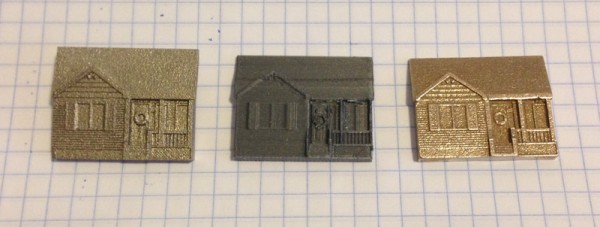
The middle one was printed in ABS plastic on my own Afinia H480 printer, as a test. I’m honestly not sure which brooch was which, but one is stainless steel and one polished nickel.
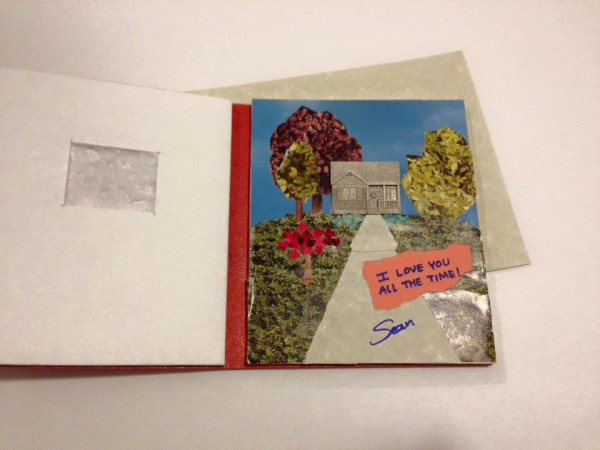
So next I had to design a Valentine’s Day card to put it in. My concept was of a foam-core card with a rectangle cut out, and the brooch fitted into that rectangle tightly. Then a collage of colored paper would be used to form a picture of our garden with the house planted firmly in the middle. I used a magazine and cut out various images to match grass, trees, and used a heart-shaped hole punch to cut out red paper for a small Japanese Maple I planted in the yard, and her beloved blue hydrangeas that line the front of the house.
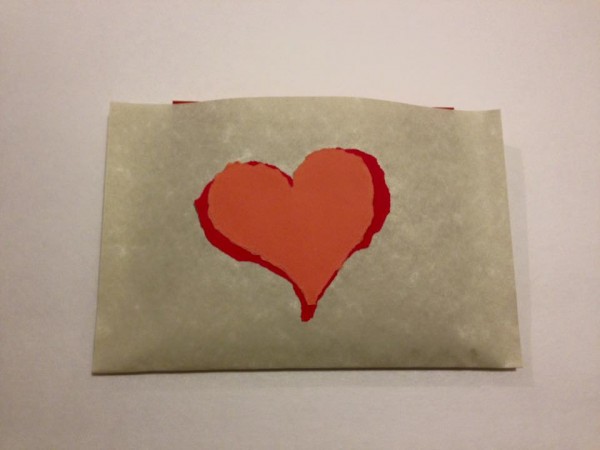
I put it in a parchment envelope I made simply, and used hand-torn red and pink paper to cut out hearts for both the envelope and the front of the card.
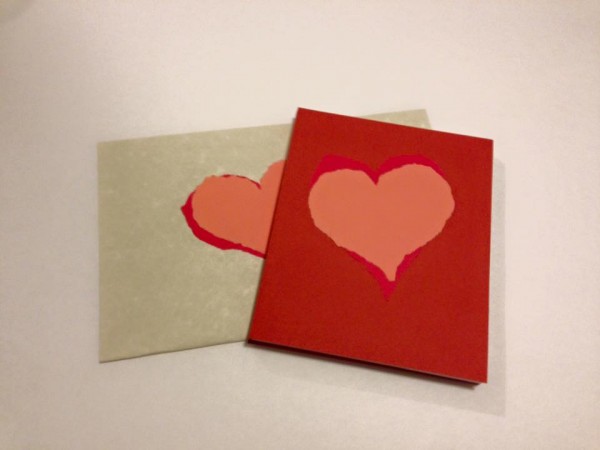
The card itself is two pieces of foam-core wrapped in a crimson-red sheet of paper, scored and folded along the seams, so it would open nicely, and that the two cut-outs would hold the pin in place.
The pin, by the way, had no brooch pin attached during printing. That would have proven impossible. So I simply bought jewelry brooch pins from Michael’s Craft Store and used a binary epoxy to attach them to the backs.
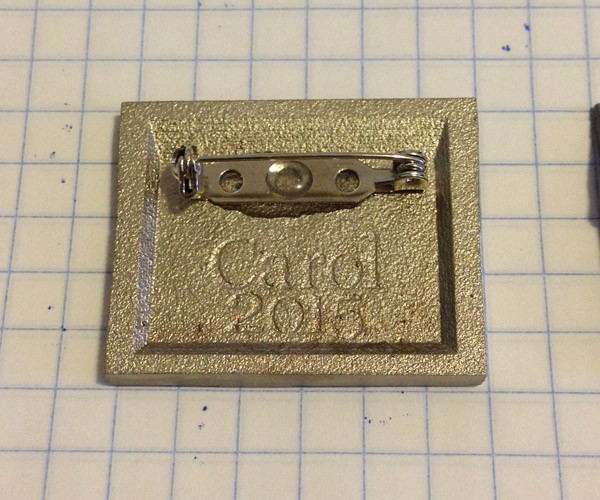
And try not to tell Carol I got the wrong year on it! I brought over the 2015 from the Narwhal base, and forgot to change it!!! Grrr.
I then pinned the house brooch to a piece of corrugated cardboard and glued it to the card, holding it firmly in place.