The 1970s Gerry Anderson TV series Space 1999 was iconic. I thoroughly enjoyed it, and it enjoys huge fan admiration throughout the world to this day. I wanted to be able to make a fairly accurate model of the Moon Buggy used in the series which was a barely modified Amphicat, a six-wheeled ATV readily available in the early 1970s.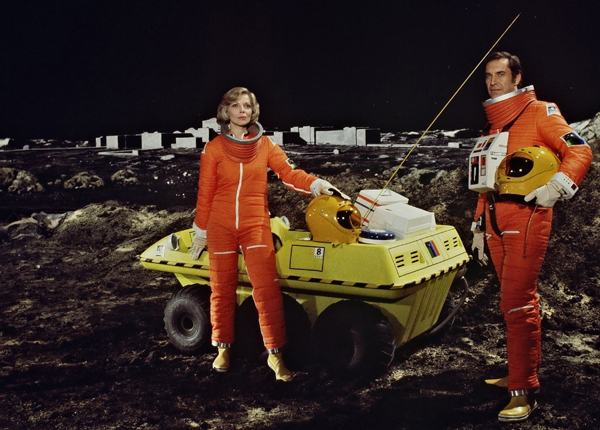
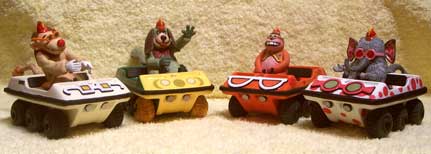
These were fairly popular in the 1970s. In fact another well-known (at the time) TV show featured them: The Banana Splits.
GI Joe even had a couple, but heavily modified by Hasbro. There was the GI Joe Adventure Team ATV used in several of the cooler toy sets: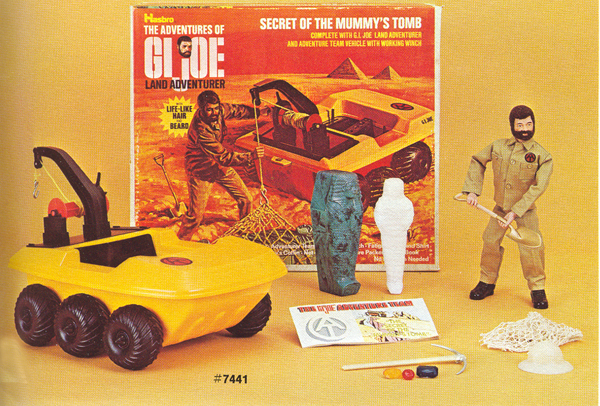
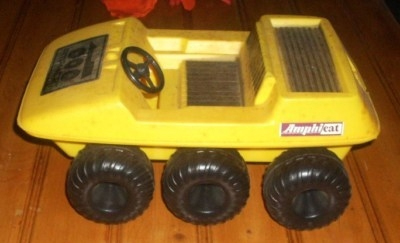
Irwin also made one to scale with the GI Joe line, which was much more accurate to the real Amphicat, though not totally accurate:
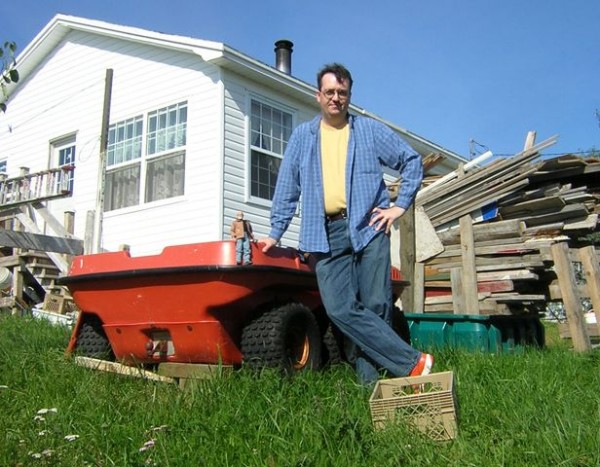
In fact, I even found one in my grandmother’s home town in Newfoundland, parked near the house she grew up in:
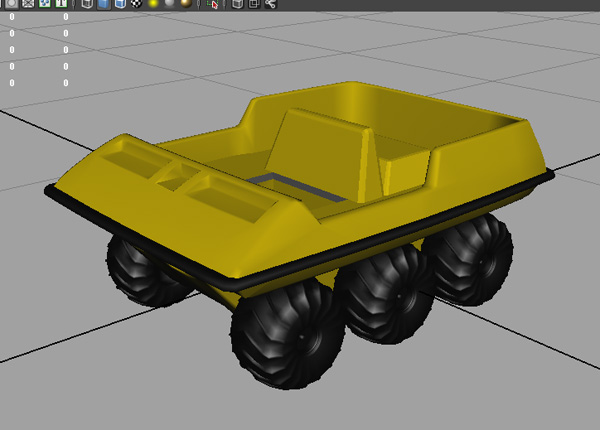
So I decided to model one, using photographic images as my best reference. Here’s where I am now:
The model as it currently appears here has nine parts. Each wheel is its own piece, eventually to have a metal axle, so each wheel pair can rotate, the bottom section, the upper section and the black bumper trim.
I modeled it solid, but I had to split it for better printing, and to fit the trim in if I wanted the trim to be printed in a different color.
So today I test-printed it at about three inches in length to see how the pieces would fit.
To cut it up I dissected the model at the trim line where the model forms an edge. However, the interior of the vehicle’s flat surfaces are actually lower than this cut, so I had to make some adjustments and make the slice across the body pyramidal, rather than perfectly flat.
This left a very thin floor to the top section of the vehicle, but I wanted that to be a solid piece, with floor, to smooth the transition to the inside wall of the vehicle.
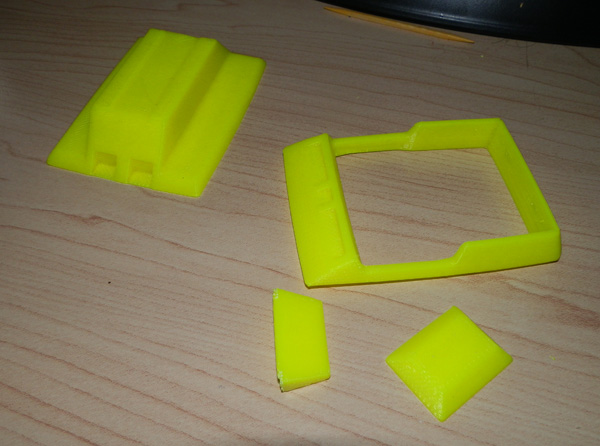
But when I lifted the top section off the rafting (the layer of plastic the printer lays down first to ensure a good print) it couldn’t distinguish between raft and floor and the floor was far too thin.
This happened: (Well, after I did some trimming)
I cut the seat and engine housing off because what was left of the floor it was on was not there… but by coincidence or design the top still fits nicely on the bottom piece, as if the floor on the bottom piece (supposedly a gluing surface) actually works ok as the actual interior floor of the Amphicat. I may have to redesign the thing to have a thicker floor, but even that may not work. I may take advange of the good fit and just print the top half without floor, and put the floor as the topmost layer of the bottom half.
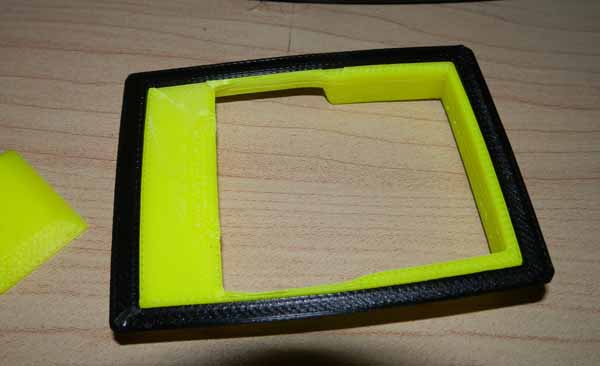
The trim sandwiches nicely (hopefully) in between the two parts, which have a gap when put together just the right shape for the trim to fit in.
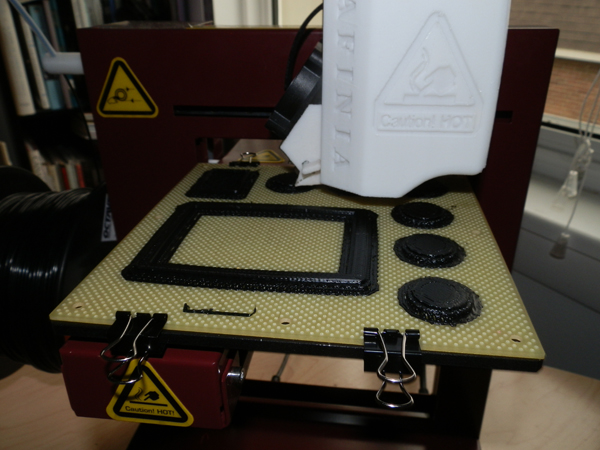
I am currently printing the trim and wheels.
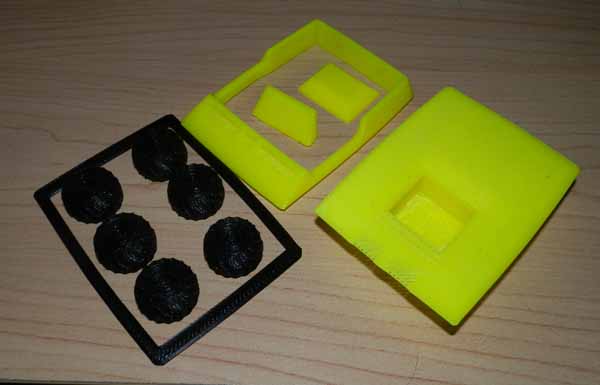
Here are all the parts that I have modeled up until now. There are some small parts coming, in fact the seat cushions are currently on the printer, being printed.
Here is the trim, snapped onto the body, being glued in place:
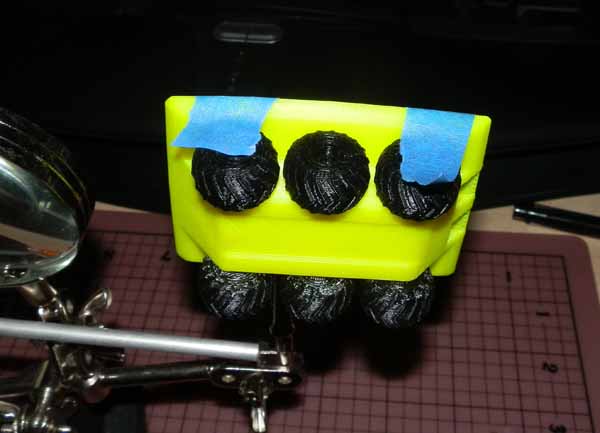
And here, the wheels are being glued on. As I said, I will be making axles, but for now, I’m just gluing them on to see what they will look like.
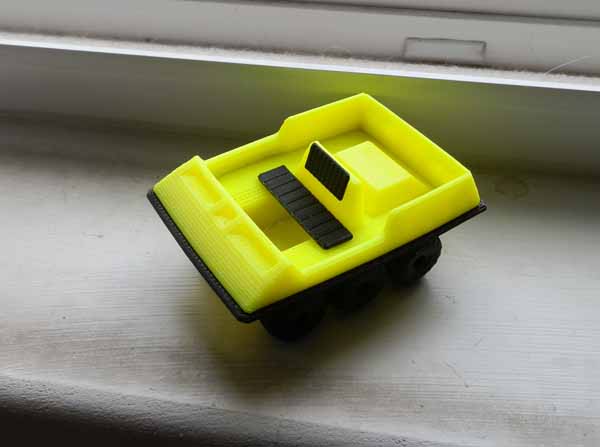
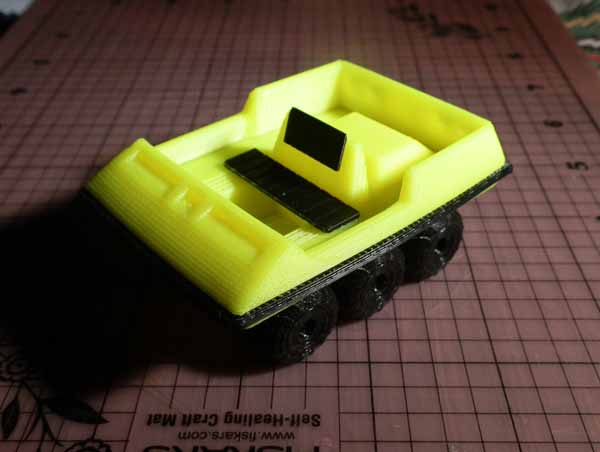
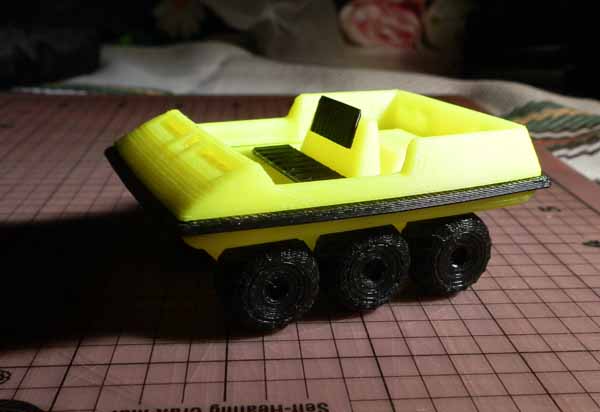
And, at least for now, this is the final print. The yellow is hideous, and the black very shiny, but not bad for a 3″ version.
Update: I took a few more snaps in somewhat better lighting conditions:

