
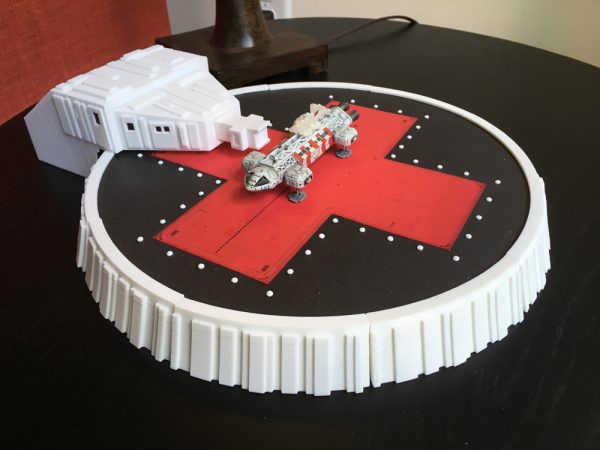
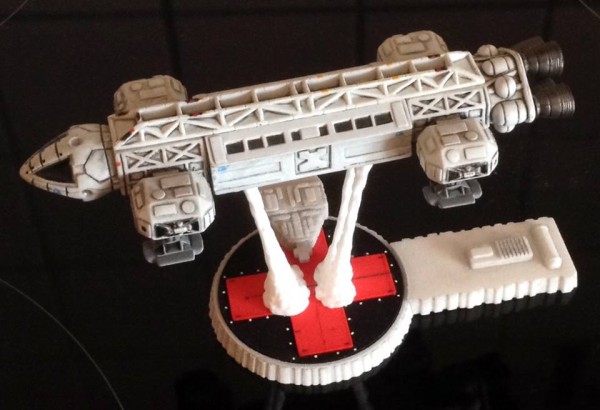
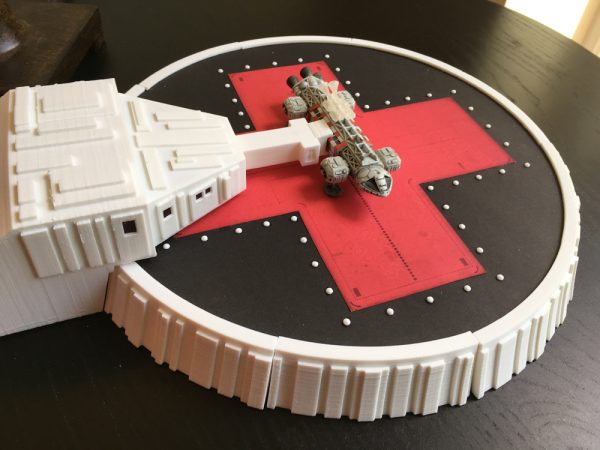
I recently added a new item to my Moonbase Beta ETSY Store: A Konami Scaled Landing Pad Display Base. The display base is rather large in comparison to the Eagle, but it is only a bit undersized, and looks really awesome when done.
I liked it enough to make a kit out of it that was nice enough that I would be willing to sell it as a kit so people could make their own very affordable Konami display. It would take some work on their end, but not anything really difficult. This was a very fast project.
As I had the 3D parts already designed for a smaller base I had made for Konamis (which I sell on Shapeways as a series of separate parts) scaling them up, adapting them to work at this scale, was not that hard.
(NOTE: This kit does not include the Long Building. I figured no one would be able to display it anywhere, and if you want to add that, it shouldn’t be very hard with some foam-core or matte board and a sharp X-Acto knife.)
I separated out the parts so the rim is made up of 9 – 10 (depending on the diameter you use) separate pieces which have a slot for the foam-core base, and the House could fit on my printer in two parts, and the docking tube could extend/retract. I also made lights for the landing pad.
The Kit Includes
The kit features all of the 3D printed parts needed:
- 10 Rim Pieces – (two variants so you can break up the design)
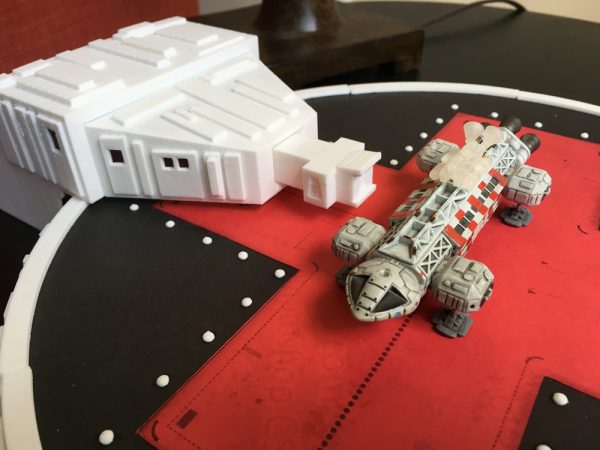
- House Rear Section
- House Front Section (with slot for docking tube)
- Docking Tube (extendable)
- Window Inserts
- Landing Lights – You get way more than enough
The Kit Does NOT Include
This is what the user has to provide:
- Black (or painted) foam core board – one circle measuring 28cm or 11″ in diameter
- Red paper (or white paper) printed with the cross design – one cross with each segment measuring 2 3/4″ or 7.5cm. (I searched the internet and found a few interesting landing pad designs which I printed on red paper which worked beautifully!)
- Crazy Glue to glue the two house halves together. Also to glue the windows in. You can also glue the rim edges together if you like, though they stay fairly nicely in place by friction, which allows you the bonus of breaking the display down and storing it easily. Crazy Glue can also be used for the lights, but I recommend White Glue for that job.
- Konami Eagles!!! I presume you have at least one of these if you’re buying this kit.
Instructions
1) Cut a 28cm (or 11″) diameter circle from black foam core (or any other color painted black). I used Dollar Tree black foam core.
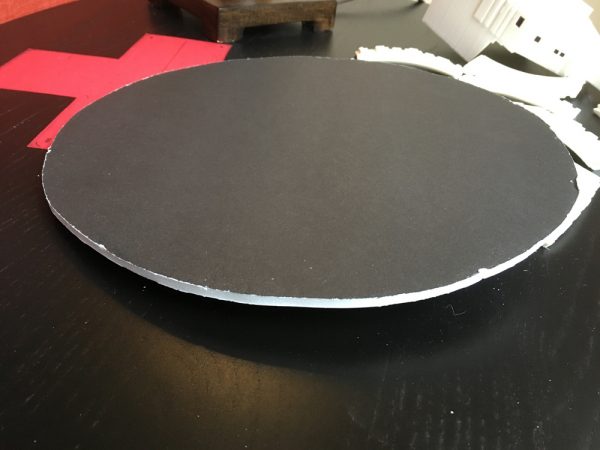
You will note it doesn’t have to be a perfect for the final result to look great!
2) Red Landing Cross. I took red paper and overprinted a gray pattern on it that I found on the internet. Without getting specific, search here and you will find some.
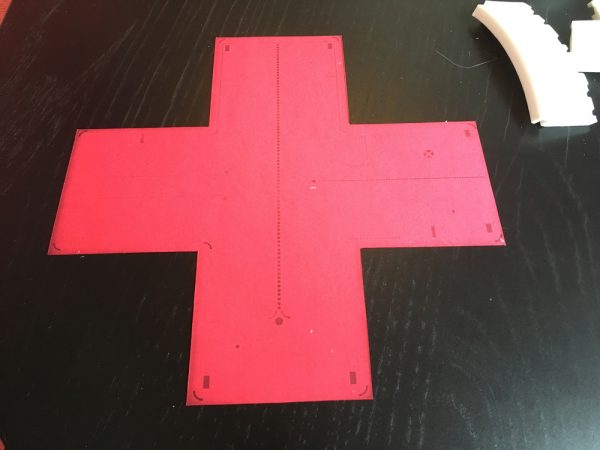
Print it as large on an 8.5 x 11″ sheet as you can. The Cross width (per section) is 7cm (2 3/4″). The whole cross can fit on one sheet.
3) Glue the two halves of the House together:
4) Slot in the Rim Edges. (Depending on your exact diameter, there may be a gap, but that goes under the house out of sight.) I include enough pieces to fit a base somewhat larger than I suggest. 9 pieces will fit mine, with a gap. I provide 10 pieces just in case.
5) Add Lights – This is the tricky part. Don’t worry, I include way more lights than you need. I start at one inner corner and put down the first light. Then I add a light on one outer corner so the distance is the same from the corner to the light. Do this all around the landing cross.
- Add Lights To All Corners, so they are the same distance from each corner, outer and inner:

- Add a light to each mid-length between each corner light:
(Repeat all around the cross.)
- Add a light in between each middle light and its corner:

(Repeat all around the cross)
This is a great method because it’s far easier to find a mid-point between two things than try to line up 5 of something with perfect spacing. DIVIDE AND CONQUER!
6) Glue in the windows (or if you like, use black cardboard. Whatever works for you.)
That’s really it. You’re done. And when you’re done it should look something like this:
(Forgive my rough quick placement of the rim pieces… I really banged this project out in an hour once the parts were printed.)
Variants:
- Cut the cross out of the foam-core for a sunken landing cross
great work
thinking of getting one but am wondering,
if the pad is little big for the Konami Eagle, how out-of-scale would the Dinky Eagle be on the pad?
are going to be doing a pad for the 12″ kits at any time?
thanks … and again, really nice work
d(-_-)b
I am currently working on a DINKY scaled pad. I have the rim edges done, but the house is too big to print on my printer, so I may put together instructions instead for a house made of matte board (thick cardboard). And I’d sell the rim edges and docking tube. But sadly, the other parts I can’t print reasonably.
Hi I bought one of these from you on etsy it turned out really well I did add the extra building and a moonbuggy in scale was thinking about adding LEDs but that’s still in the thought stage, it looks great with the konami hawk as well.