I spent some time on my GI Joe Adventure Team Backpack Jetpack (too long a name, and in fact is probably not even a jet pack, since it’s using Dyson-like fan technology. But on the other hand to get the air to move fast enough, there has to be at least one small jet engine inside.)
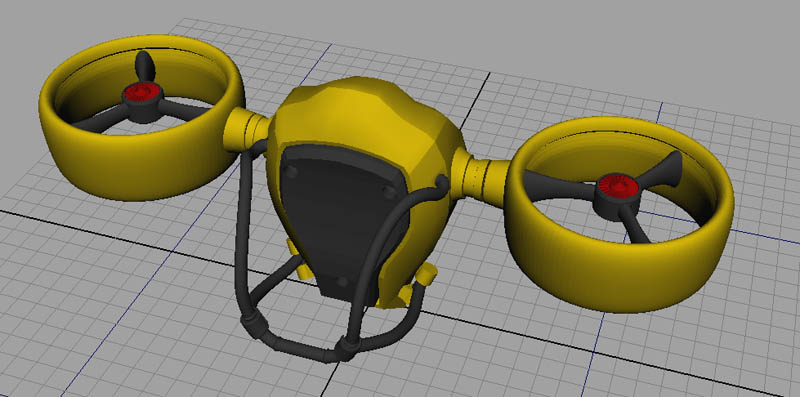
Here’s where I left it with my last post:
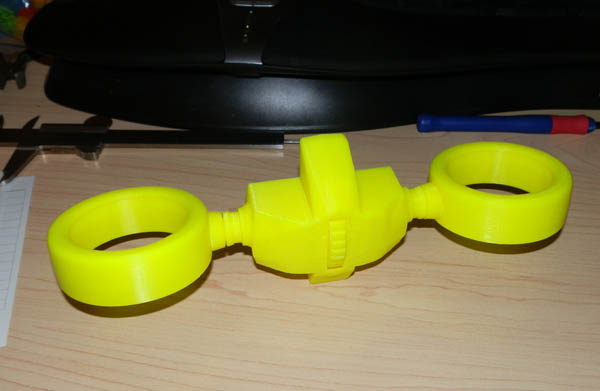
So I began printing. I cut some pieces out of the back piece to save print time. I printed the thumbwheel, two engine shafts, and two engines.
The yellow thumbwheel turns the two engine housings.
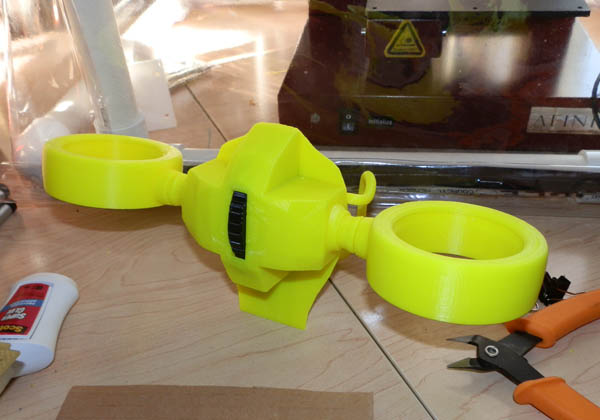
Here, you see the front attached, and the thumbwheel was replaced with a black one (after a minor revision):
It’s Super-glued in place at this point.
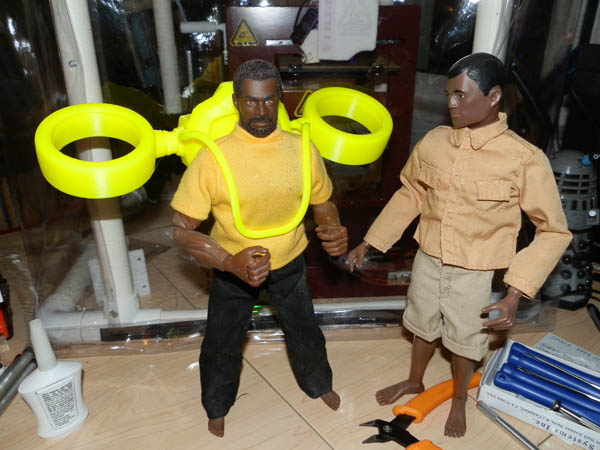
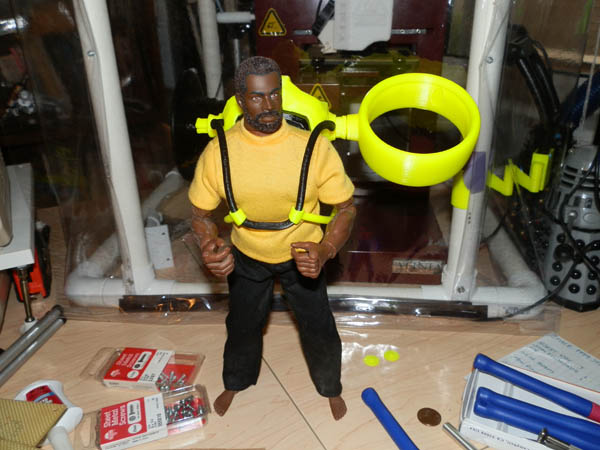
And here’s a test figure wearing the backpack with a harness slung over him. I’m pretty happy with the harness. It fit on first try. I modeled it on a wing and a prayer, and I was a bit surprised to see it work so well.
The harness will need two lower pieces to keep the backpack in place on the figure’s torso.
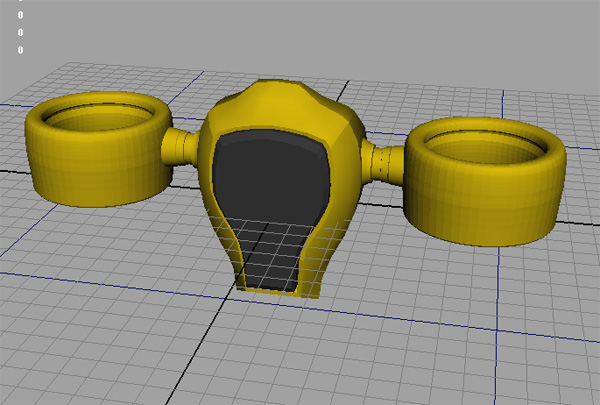
After I saw the engines on the backpack, I decided they were too thick, and not large enough. (The engine wasn’t fully printed. To save material and time I shortened them vertically. I still thought they were too stubby.)
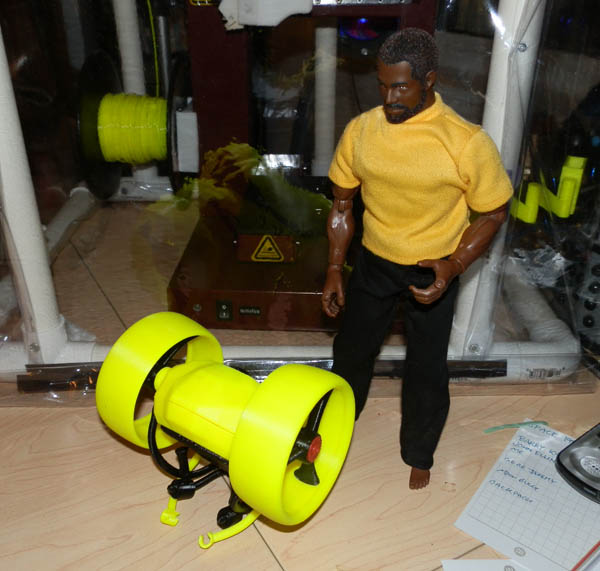
So I remodeled them to be thinner and bigger. Here is my test pilot with just one of the newly remodeled engine housings:
I also changed a few things in the basic design that aren’t immediately obvious.
For example, to keep the harnesses in place, I initially designed the clips on the lower harness arms that grab the upper harness to clip from the inside, so pressure would keep the arm in place. But it was awkward. So I changed it so the arms clip in from the front. They should still hold solid.
The hinge point for the lower harnesses was a bit of a problem. I wanted them to be strong, but I had to fit a T-shape tube into an upper and lower hinge, which can’t be done in a single piece hinge. And I experimented (in my mind and on paper) with several ways to do this. Then I realized at this angle, I could model the lower hinge piece on the front part of the backpack and the upper hinge piece on the back part of the backpack, so when I assemble the pieces, I can fit the harness arms in. (I have yet to print a revised body, but when I do, I’ll post results.)
ALso, originally the engines were supposed to be screwed to the shafts (or glued – I wanted this to be very close to a production type toy, so I modeled it to be screwed together for easy disassembly if needed.)
I changed the shaft ends so they aren’t just cubes. Now they are forked snap tines. They fit into the engine with a snap and the engines will be tight, but they can be removed.
I also recall that the GI Joe Action Pack backpacks also generally broke down from their fully functional state to something easily worn on the back.
So I changed the engines to be more than just a circular housing. I put a hub in the center with spoke bracers. The reason is that I can remove the engines and snap them to the shafts by the hub and the backpack can be carried easily. The forked snap tines will serve dual purpose.
I will be adding modeled detail to the outer rims of the engine housings and on the body.
Also, there is a rather clever (I think) control handle system coming. It will be attached to the flat bottom part of the harness, and hinge down for use and up for storage/carrying.
Update – Oct 7
As of this morning, printing a few extra parts to make the second engine, I’m ready to reveal the first prototype of the Adventure Team Jetpack Backpack.
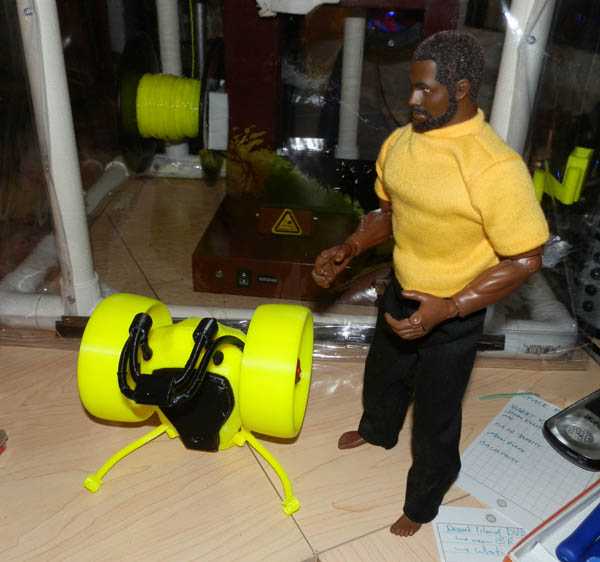
Here it is, folded on the floor, ready for use. Like the Action Packs of the original Adventure Team era, the concept was to fold up to be carried. The two engines have hubs that snap into the same arm tines that the engines themselves fit into, for a compact, carryable shape.
Note that I hope to also model and print a storage rack for a standard Adventure Team ATV, much the same way the winch attaches to the back.
Here, you see the harnesses open and ready:
The upper harness holds the control arms, which are on a hinge.
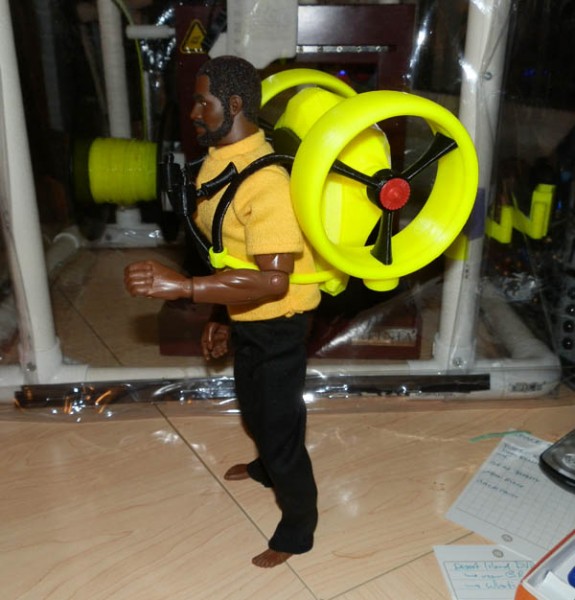
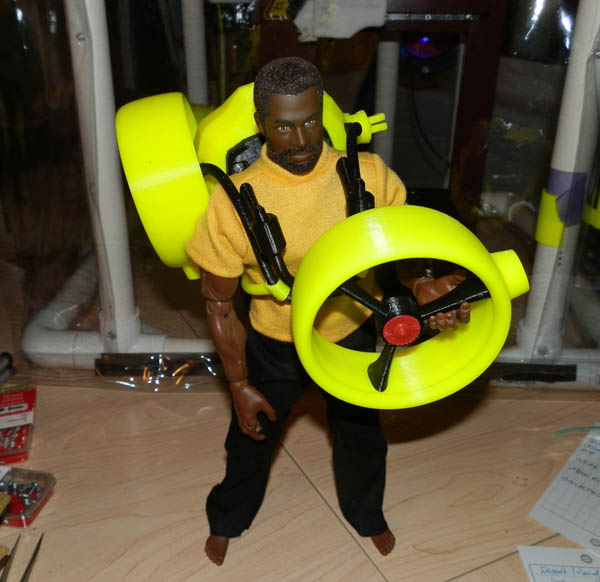
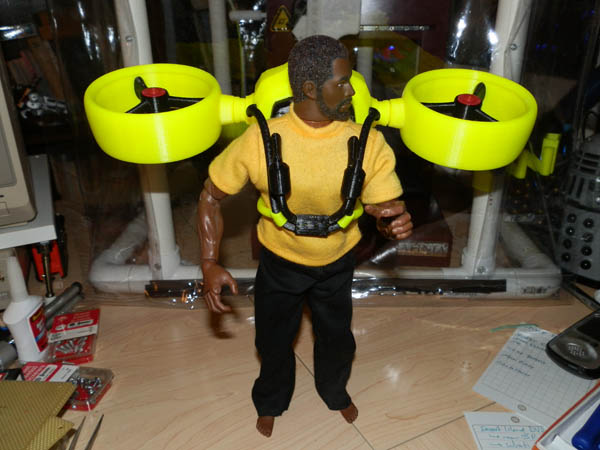
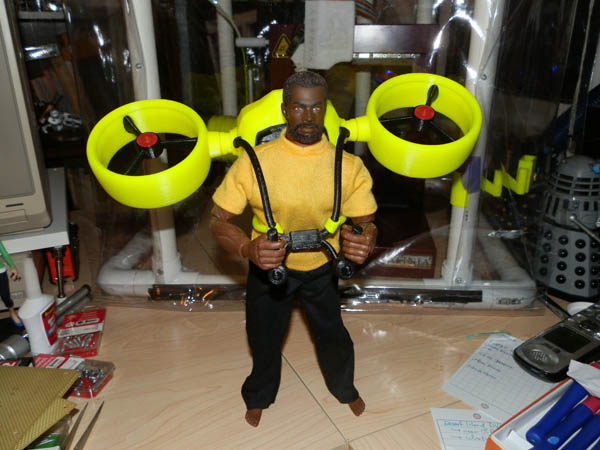
Here, our test pilot wears the backpack to show that, like the Escape Car, it is large and possibly heavy, but completely wearable. Note: the two lower harness arms will eventually be in black.
Obviously he couldn’t attach the engines while wearing it, so his assistant, (just off-camera) here detaches the engine’s hub and hands him an engine just before attaching it:
Then the assistant attaches both engines:
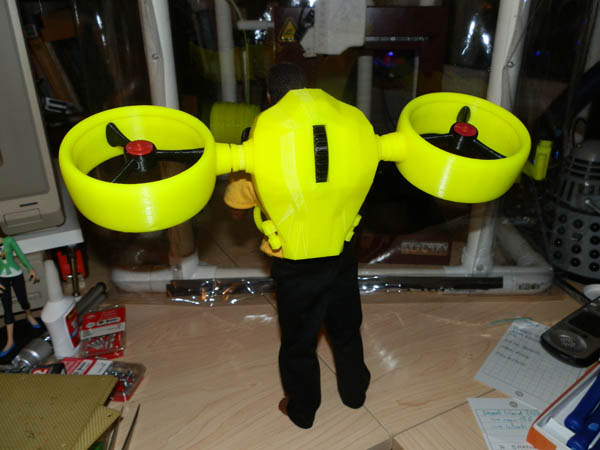
Here we see it from the back. (The thumbwheel allows you to tilt the engines in a realistic way.)
Our test pilot swings down the control arms. The joysticks can be adjusted inward and outward slightly, though the curved arm makes a lot of adjustment impossible. I may have to straighten those for better adjustability.
I do have a few planned revisions, like adding a bit of nice detail to the body, including an AT logo that will be printed in black and red and inset into grooves custom-shaped to fit them.
I also have two sets of lower arms. The body of a vintage Joe is a bit thicker through and the lower arms will need to be a bit longer for a vintage Joe compared to a modern Joe. But depending on what clothing Joe will wear while flying it, it may be better to use the slightly longer arms anyway.
It is currently printed in hi-vis yellow, which is a color I got with my printer that I’m not overly fond of, so I use it for test prints. This one actually doesn’t look all that bad in hi-vis yellow. But I’m planning on printing the second version in a more typical AT yellow.
Well, there you have it. My first prototype GI Joe toy.

That is a truly awesome AT Joe item! I completely love it!
Any chance of making it in black, and without the AT logo, for covert ops? (I think it’s something James Bond would _totally_ have shipped to him by Q branch, don’t you?)
No, I couldn’t possibly make it in black.
:-)
Of course I can. I can make it in orange or green if I like. But yeah, a Covert Ops version will HAVE to be printed.
Also, rather than eliminating the AT logo, I’d just print THAT in black too, so it can be seen up-close, but not interfere with stealth.
As always Sean, AMAZING WORK MY FRIEND, would love to play in your yard sometime.
Thanks, Jerry. That’d be fun!
Fabulous! As always, Sean, beautiful, creative, and clever work. Well done!
So the obvious barrier to entry on 3-d printing is the cost of the printer itself, but beyond that what is the cost of printing something like that just in materials?
After you secure the printer is it pretty cost effective to print out stuff like this on a regular basis? I was wondering about time also – does it take excessively long for the printer to complete a print job such as this one?
Very cool stuff for sure.
Chad, printing material costs between $30 and $50 for 1kg, which is 2.2 pounds. To give you an example of how much plastic went into this Jetpack, the whole thing assembled (with a tiny bit of glue and three wood screws) weighs 165g. This one, currently, was printed in the cheaper filament, so it cost about six bucks to print.
It would take about 10 or so to print the final one, which will be printed in Premium filament. There isn’t much difference in the filament except the more expensive ones tend to look less “plasticy”.