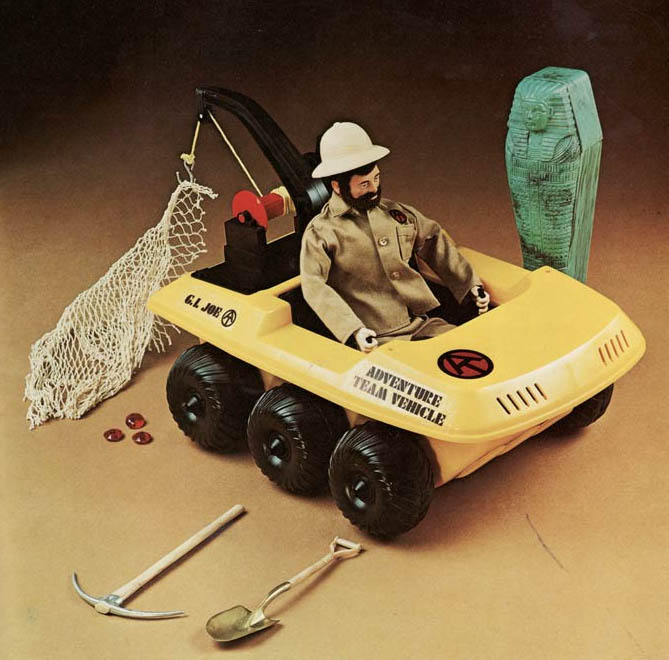
The GI Joe Adventure Team ATV is a six-wheeled all-terrain vehicle loosely based on the Amphicat from the 1970s. It was sold with various wonderful adventure sets, but the best-known is the “Secret of the Mummy’s Tomb”.
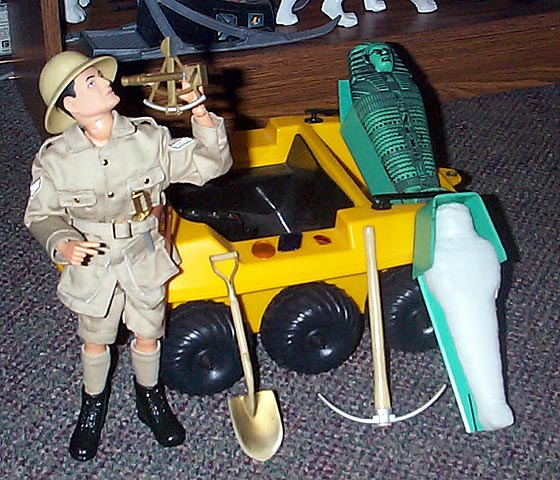
Here you see the ATV with a winch in the back. The winch slots into four holes in the back of the ATV’s body. When the winch is not in place, there are usually two rails for carrying cargo:
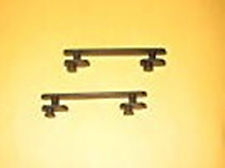
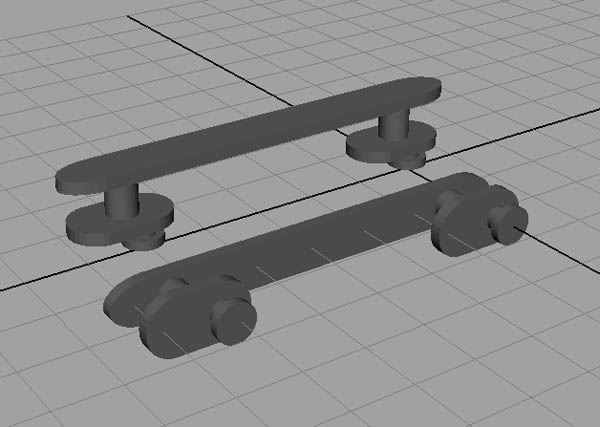
Here’s a pair of them, alone:
These often went missing. So I’m trying my hand at reproducing them using the Afinia 3D printer.
I’m almost out of black filament at the moment, so I’m test-printing them in green.
Here’s the first model:
I decided to try printing them in this orientation to see which would work better. Because the additive 3D printing process prints in layers, and in the upper left version there are large areas suspended above nothing, rafting and support material will have to be printed. The one on its side would require minimal support, but the rounded edges on the underside might suffer from the support that does print.
How I’d print these best depended on this test print.
Turns out the side-ways version was bad. There were a number of issues that I thought would be minimized printing it on its side. I was wrong.
And it turns out removing the rafting from the upright version was not as bad as I thought and the result was a far better product.
And here’s a first test-print, attached to the ATV:

Oct 28, 2013 – Update:
I have now printed several sets of rails and I have found that the cleanup is hard. Cleaning material around the smaller pin is risky, and often breaks the pin, but I usually end up with enough good ones to make it worthwhile.
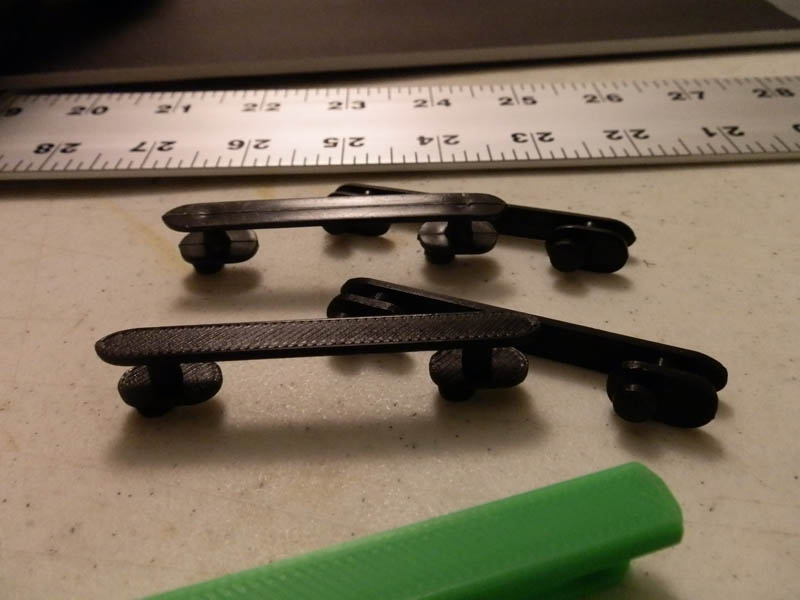
Here is a photo of some of the rails:

The originals are at the upper left, closest to the ruler. They have a mold seam running down the surface. The prints do not. They have a diagonal hatching which comes from the print method.
Mine are sharper-edged, (a result of not rounding the model) but I like it. I don’t think I’ll shoot for 100% accuracy. I’m happy with them as they are.
Also, note the longer green ones. Those are my first custom rails, printed in green only as a test. But they turned out rather nicely, and show that I can really go crazy making different rails.
Here is a photo showing the differences between the original (again, top left) and the 3D printed replicas: