
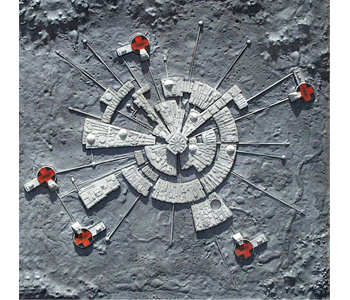
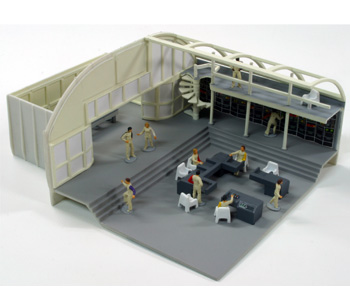
How I envied my friend back in the 1970s when he got the model kit of Moonbase Alpha from the TV series Space:1999. It featured a moon diorama base with the radial iconic Moonase Alpha, with three Eagle Launch Pads, six miniature Eagles and as a bonus, a larger model of the Main Mission room complete with tiny figures.
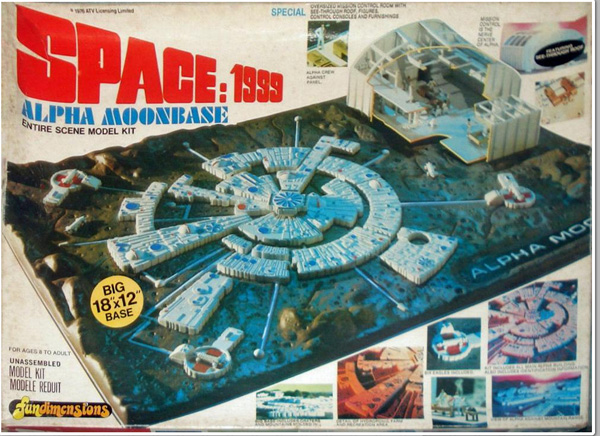
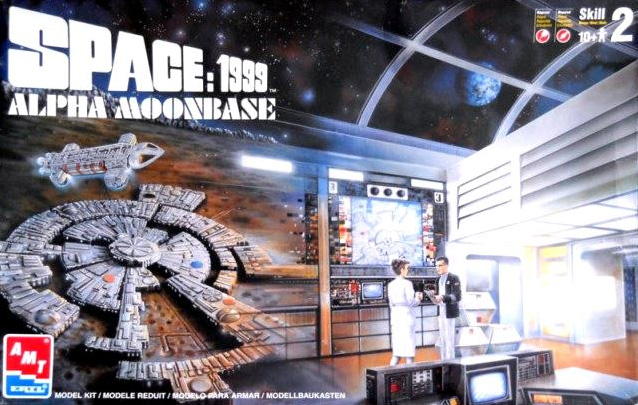
Some years ago, AMT/ERTL reproduced the kit, fairly accurately, but notoriously with a vacuum-formed base that was not very good. The tubes leading out to the launch pads were molded into the base and badly defined, and the launch pads themselves had issues: they were too large (by 20%) and there were only 3 of them when there should be 5. This meant that the tubes were incomplete, since the pads needed to be connected to base by transport tubes.
Nonetheless I snapped up a copy of that repro kit for later construction.
I decided the base itself was not going to cut it, and what I ultimately wanted to do was make a square, framed wall hanging of this moonbase to hang on my wall.
Last year I took it upon myself to take the moonbase parts (the base itself is not bad) and make my own lunar landscape, lay down the moonbase, then use coat hanger wire (the only thing I could find to scale – but heavy) and 3D print smaller launch pads, and lay out a very accurate Moonbase Alpha.
I cut a 50cm x 50cm piece of styrofoam pink insulation sheeting (a go-to favorite for project work) and spray-painted it. Spray-paint eats away at styrofoam, so the result was a rough lunar landscape with craters and mountains carefully sprayed in. Then I used craft paint with a roller to paint it and cover the pink pock-marks I made with the spraypaint.
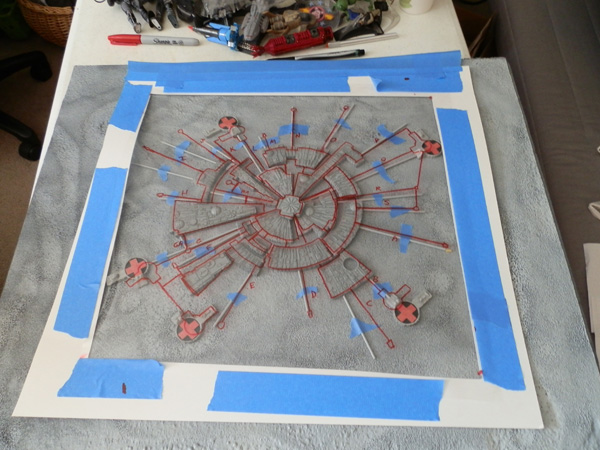
Here is the rough layout before I put the transport tubes in place:
![]()
The Alpha Moonbase patch was to be part of the display.
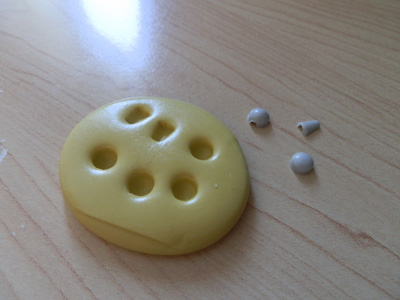
I began this project before I got a 3D printer, so the first thing I had to do was create two more launch pads or buy them. I bought some molding putty and epoxy resin and molded and cast a few pads:
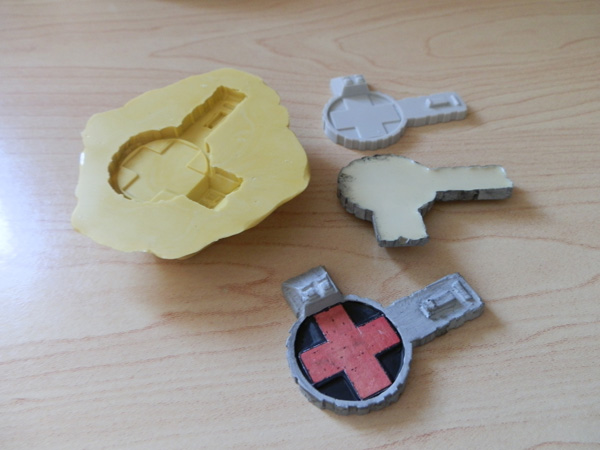
I printed the landing crosses on a color laser and glued them down. Not a stellar casting job…
I also needed more pips, the housings that terminate and join the transport tubes, since the kit did not come with enough:
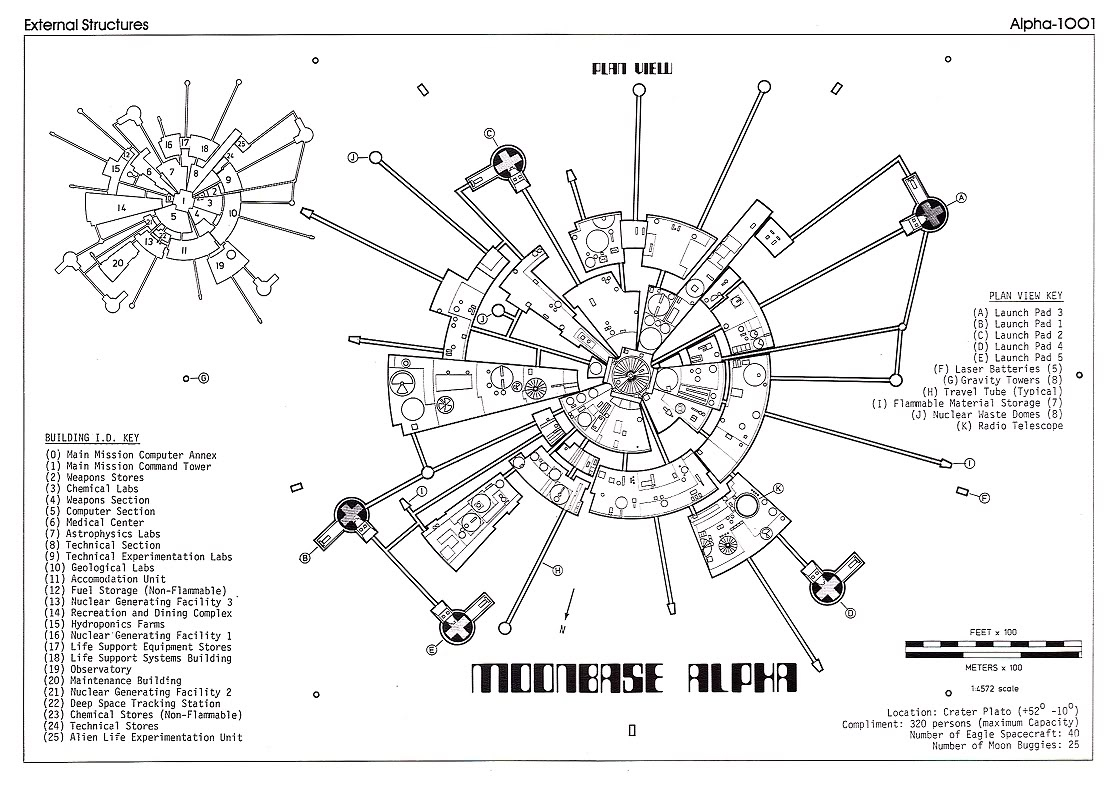
I printed this diagram out on several sheets, taped it together in scale, then used a piece of plastic over it, drew out the tube layout and base placement, and taped this to my lunar base for layout, just test-fitting the pieces on the layout:
I was about to glue everything down when I got my 3D printer and decided to scrap the cast bases and model my own at true scale, complete with docking tubes (a piece missing from the originals) and re-lay it out again with minor changes needed to adjust the scale.
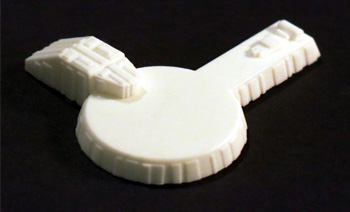
First, I reproduced the original launch pad, adding the docking tube, at original wrong scale:
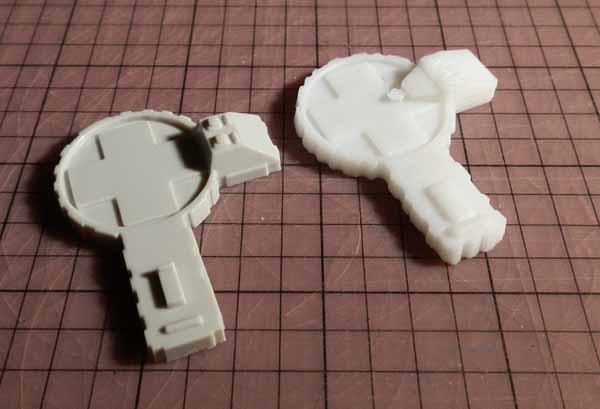
Later, I printed several of them at 80%, which is closer to accurate.
I was preparing those when I noticed that my styrofoam layout had been attacked by one or more of my three cats.
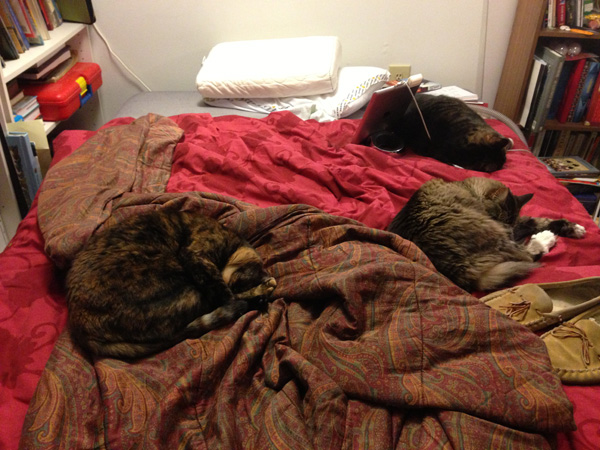
Oh, sure, they look all nice and peaceful and harmless lying there… but believe me, they are vicious diorama killers!
So I gave up on the project, it being winter now, and I had no way to recreate the moonbase effectively. Spray painting outside in winter is not a great activity. I gave up the project.
But then AMT/fundimensions go and announce they are again reproducing the original Moonbase Alpha kit – only get this:
This time they are producing it properly! The lunar base diorama will be more accurate, better and easier to assemble, fit together properly, and would not have the transport tubes molded in.
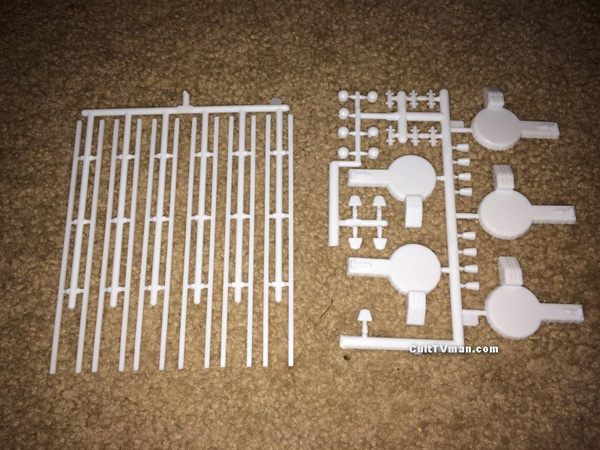
They would provide transport tubes to lay out.
They would give us 5 launch pads, not 3, and at proper scale, with docking tubes! As well as the originals for those who wanted to reproduce the original inaccurate model kit.
They would remove the Main Mission component from the layout and make it a stand-alone section of the model kit.
They would give us not only the original overscaled Eagles, but six new properly-scaled Eagles as well!
And this whole kit would cost under $40.00. Did I fall asleep and dream this?
NO!
It arrived two days ago! I will be spending some of this fall building it, and framing it when I’m finished. More as news develops!
Pingback: Space 1999 Items For Sale | Huxter's Words