
On Friday I took a sphere, popped a lattice onto it and warped it. I did the same again to a different sphere, and pushed one into the other. Then I did a third. Then a fourth, which I bent like a piece of macaroni. I duped that one 2 times and placed those by the original. Then I made another that looked a bit like a Vienna sausage. Then I made a conical cylinder. After putting those last bits together I duped it and mirrored it. I then made another sphere and warped it with another lattice and duped it.
Then I made two cylinders, scaled them a bit on the X and rotated them a bit, and created a low, wide cube. I duped one of the spheres, enlarged it a bit, and used Boolean to cut a hole in that sphere shaped like the cylinders and cube.
To top it off I made another sphere, extruded it a bit, cut a line through it and bent the line a bit, and shrank it down to fit the first sphere.
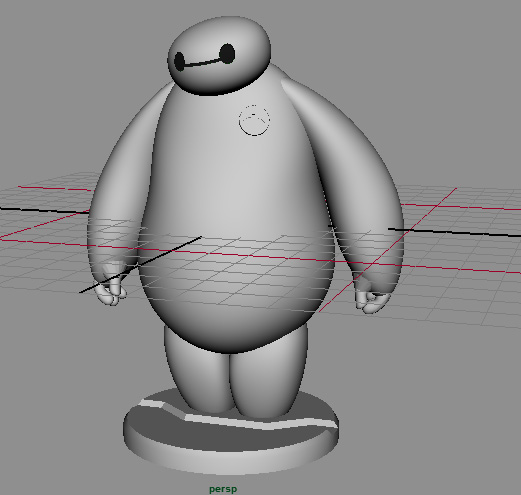
Then I used a series of booleans to combine these objects, and in some cases to cut holes, and this is the end result:
And here is the printed result, standing about 12cm high including base, or about 4.75 inches.
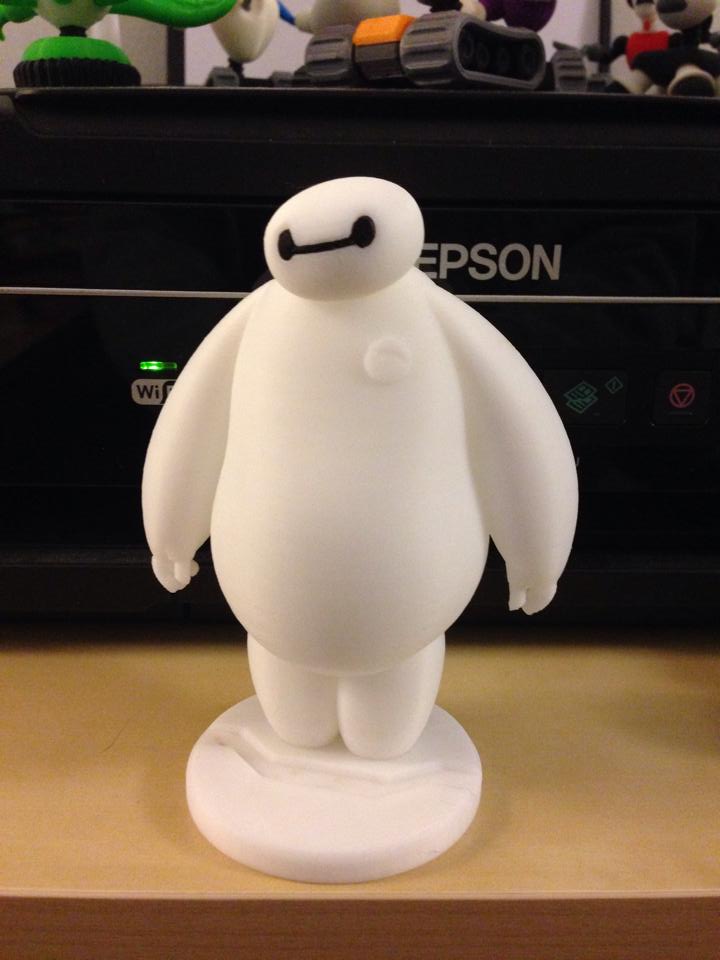
Total modeling time, just over an hour.
Total printing time, about 8 hours.
As an added feature I made two hexagonal posts on the base that fit into two hexagonal holes in the feet so he can stand firmly on the display base, but he can also stand on his own, since his feet are flattened.
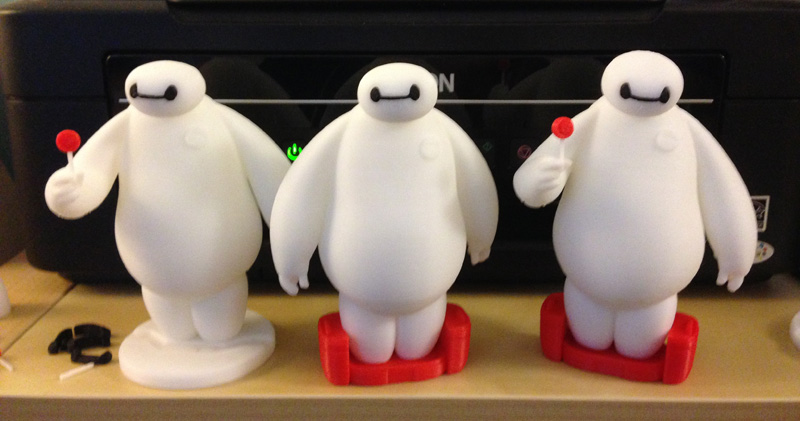
UPDATE – Nov 28, 2014
A day or two later I decided to position Baymax in a new pose – handing out a lolly-pop, as he is seen doing in the movie. Also I added his charging/docking station in open mode as a new form of display stand. I changed the angles of the left hand’s fingers so they print more consistently.
Fun! I finally got to see the movie, there is so much stuff that I want to make from it.
As this is a copyrighted, trademarked figure, I own no rights to it. I created it for my own purposes and cannot sell copies. Sorry.
I’d love something like that for my desk at work but I don’t have a 3D printer, any chance I could buy one or something?