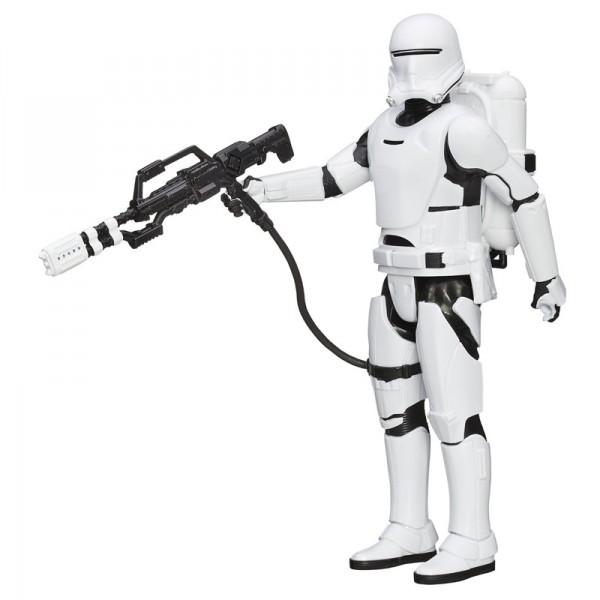
Oh dear, Hasbro, what have you done? Your once fine fully articulated 12″ figures have become the stuff of nonsense. You can’t even bend elbows to hold the nicely molded rifle you put in with your Stormtrooper figures which are now hard plastic shells with almost no movement at all.
That said, I bought the Flame Trooper with a purpose in mind – at least your accessories are still useful.
Note: the flamethrower backpack!
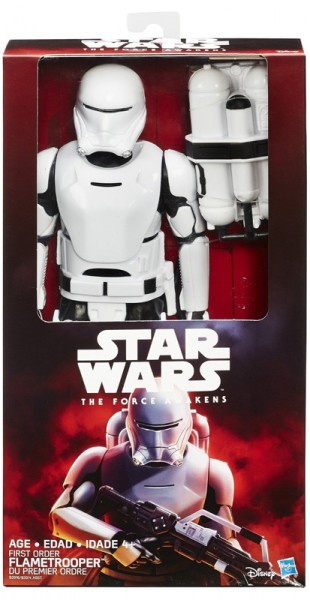
I knew immediately that this had potential!
Materials and Tools
You will need:
- 1 Force Awakens Flametrooper 12″ Figure
- 1 Dollar Store Chess Set – cheap, hollow chess pieces
- 3/8″ Black Braided Elastic (from Fabric store)
- Wire cutter
- X-Acto knife (or sharp blade)
- Binary epoxy cement
- Drill or Dremel
That’s it. Literally.
Step One
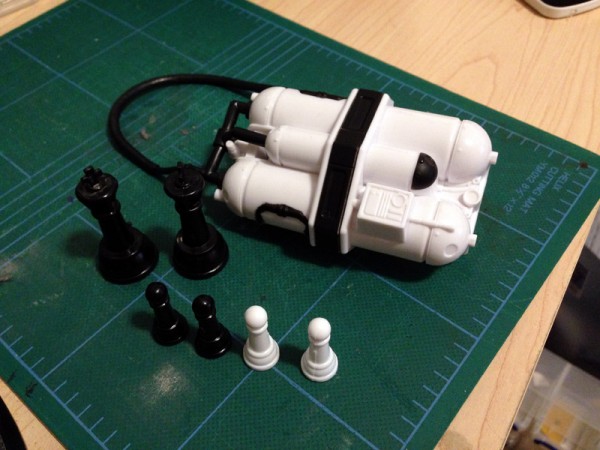
Gather your gear. Note that here, I have two white and two black pawns. This is for a second option I will discuss later, but will not do here in this tutorial.
The larger black pieces are the King and Queen. Make sure you use the two largest pieces whose bases are identical. This may turn out to be the Bishops or the Rooks. Doesn’t matter much. You can also use the white ones for this, but I found with the nice black/white contrast already on the flamethrower fuel pack, the black looks nicest.
Step 2
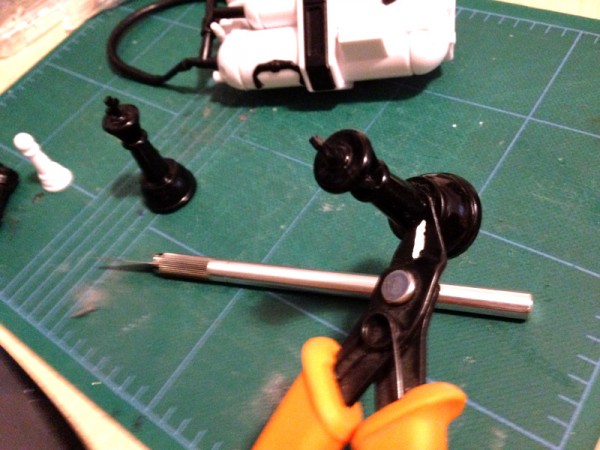
Using either an X-Acto knife, carpet knife or wire cutters, cut the body off the base of the King and Queen.
Step 3
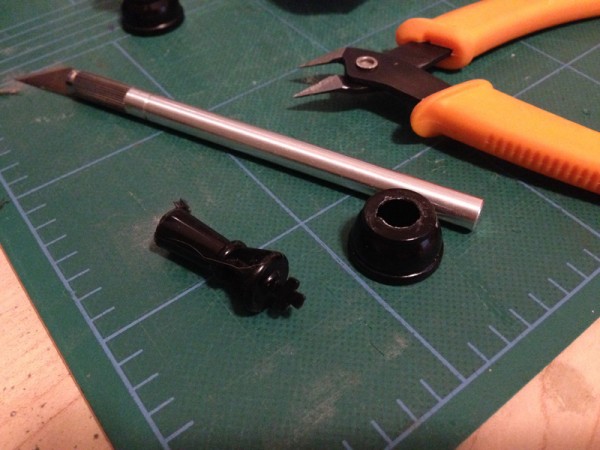
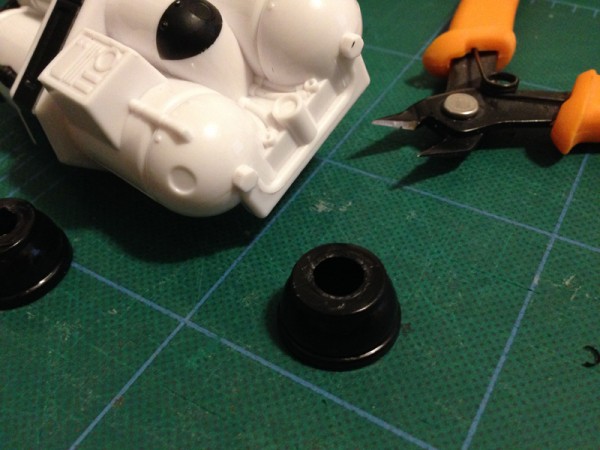
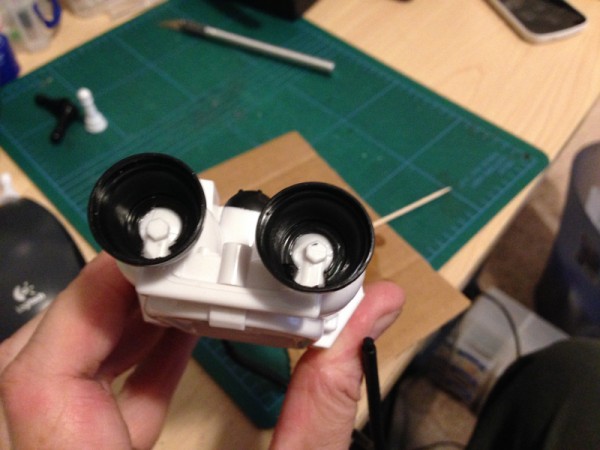
These will end up covering those hex bolt protrusions on the bottom of the flame pack.
Step 4
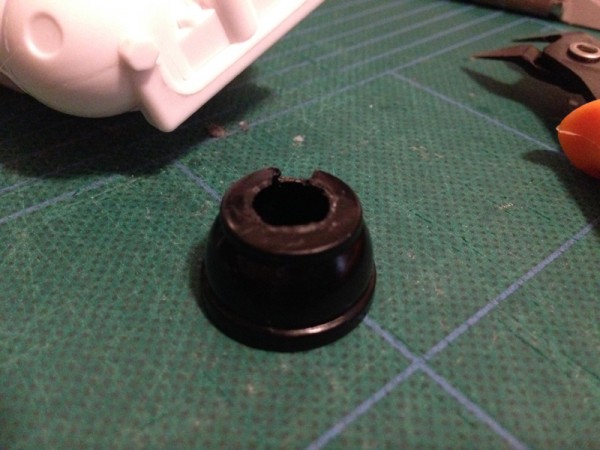
Cut a slot about 1/4″ or less in the base. Note on the jetpack there is a pipe-like channel that prevents a perfect cone from fitting over the rounded tank. This slot will clear that space.
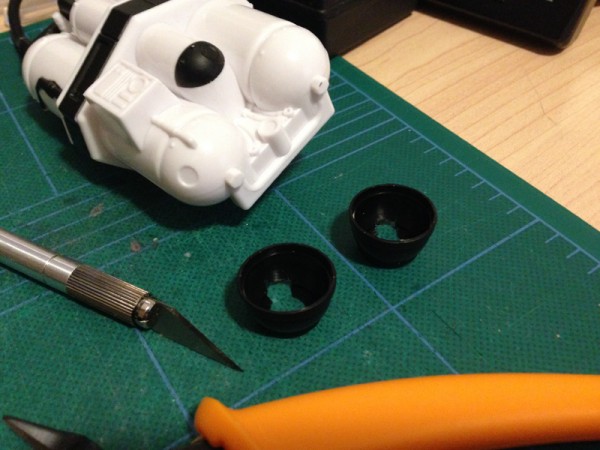
Two jetpack cones ready to attach.
Step 5
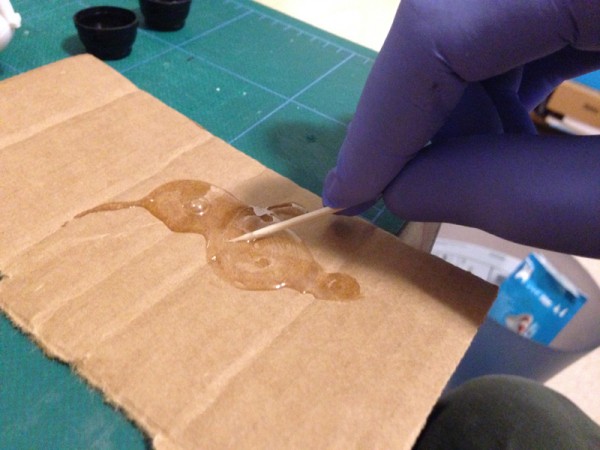
Mix half and half clear epoxy cement carefully with a toothpick.
Spread some on the inside rim of the hole and slot you cut into the bases.
Attach them, making sure the slots fit over the protrusions on the tank, with the hex bolts as centered as possible.
Step 6
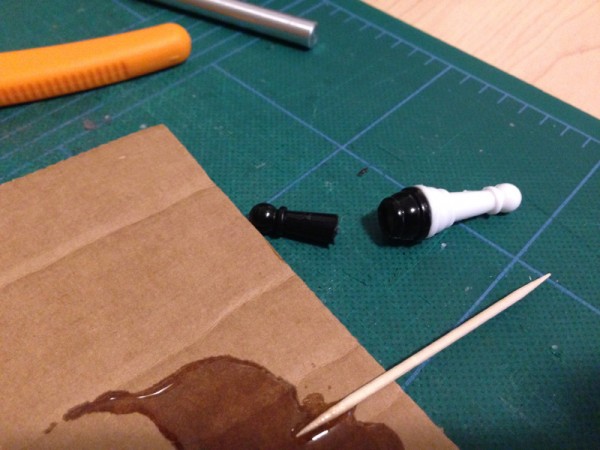
Cut the base off the black pawn.
Epoxy it to the base of the white pawn, base to base.
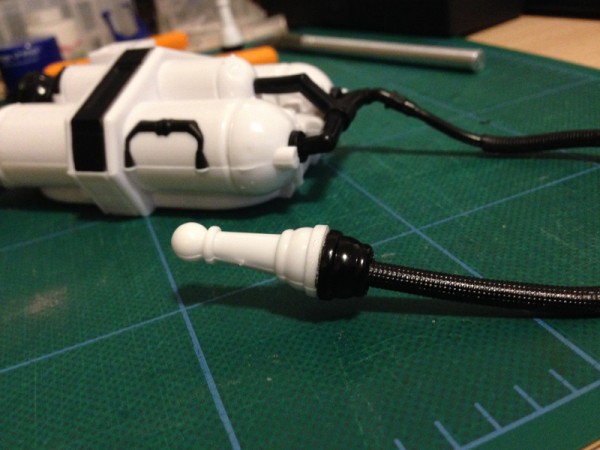
Jam (with friction, or you can epoxy it if you like this method) the flame hose into the head of the white pawn as hard as you can.
Step 7
For now, the last step is to remove the peg that is used to insert the pack onto the Flametrooper figure. Use wire cutters.
NOTE: There is a metal bolt inside the peg. The wire cutters can cut through it. Otherwise, use the dremel.
The Harness – COMING SOON
Here it is, without harness.
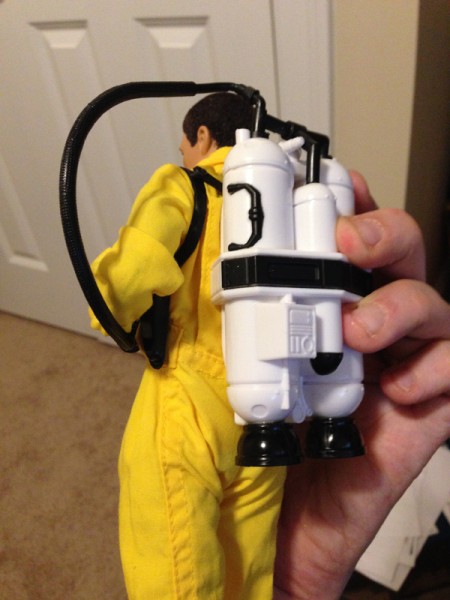
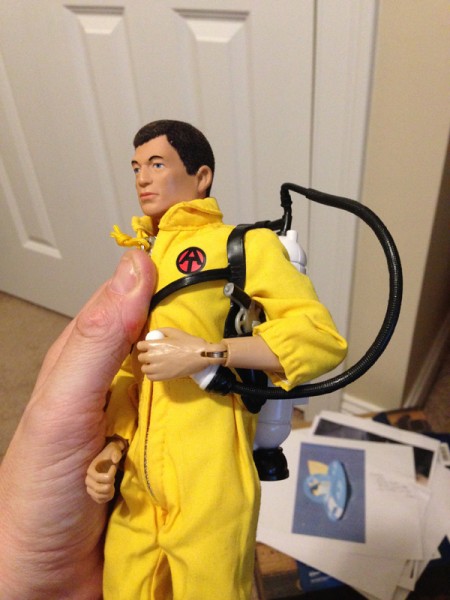
If you think a one-handed control (with gimbal joystick head) is goofy, we can make a dual handle control using cording and two pawns, drilled into the body of the fuel pack.
The elastic braiding will be strung through the rounded tubular frame on the inside of the pack, using the Dremel and a drill to make an aperture for it. Using heat to seal the ends of a length of braiding, we will use small screws with washers to secure the ends to the pack.
