
My first test-print that Afinia volunteered to print for me was of a Space:1999 Moon Buggy, which someone else modeled. I began working on a 3D model of my own from scratch.
Here it is partly done. This is just the body. There are wheels, seats, trim, mirrors, etc. yet to be done. But I wanted to see what my Afinia could do with this rough early version.
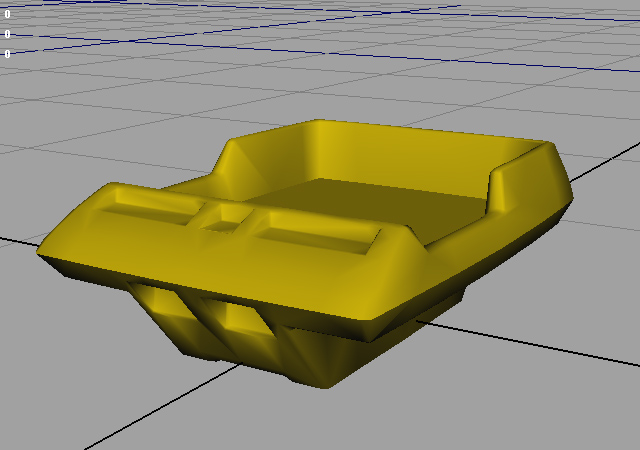
At the scale I chose, which should result in a 2″ long body, the print should take about an hour and a half and is smaller than I intend it to be, so I’m not sure how detail is going to look. Not that there is any real detail on this piece at the moment. That will get added later.
I’m videotaping the print in several segments (1.5 hours is too long). I hope to edit that together and put that up later in a post of time-lapse print runs.
The real model won’t be printed solid like this. Since you can see from the above model that there is a significant overhang above where the wheels go, the printer has to print support material so when it prints that first overhanging layer, it has something to stand on.
The final model will be cut in half at the mid-body line (sharp edge in the photo) and the bottom half flipped upside down. This way it can be printed with virtually no support material except for the leg cavity where the driver would sit. Careful splitting of the model will be required. And the trim (not shown here) is a rubber bumper that covers the sharp line mid-body, that will be printed separately, as will the seats and other small bits, which will, like a model-kit, be glued into place, or I can create snap joints.
The final model, like the early version Afinia sent me, will be printed in yellow, and the wheels, seats, etc, in black.
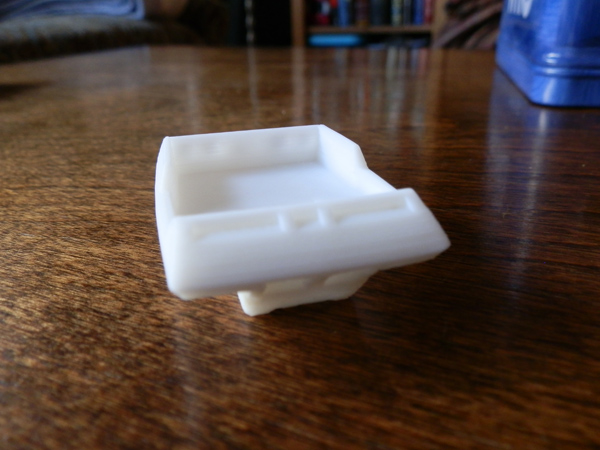
And here is the final result. This took just under a couple of hours on the first morning with the printer.
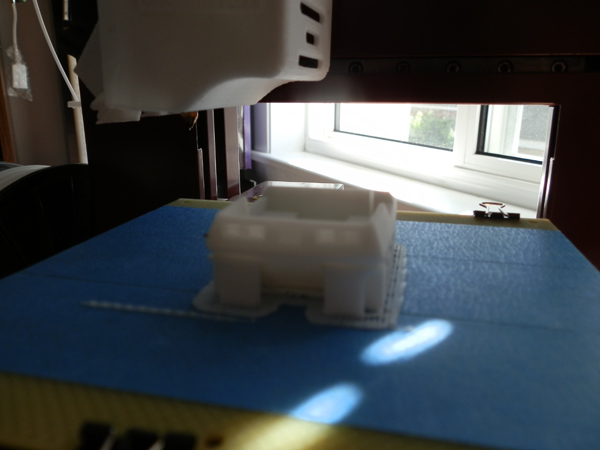
^ Fresh off the print bed. Rafting attached to the blue tape.
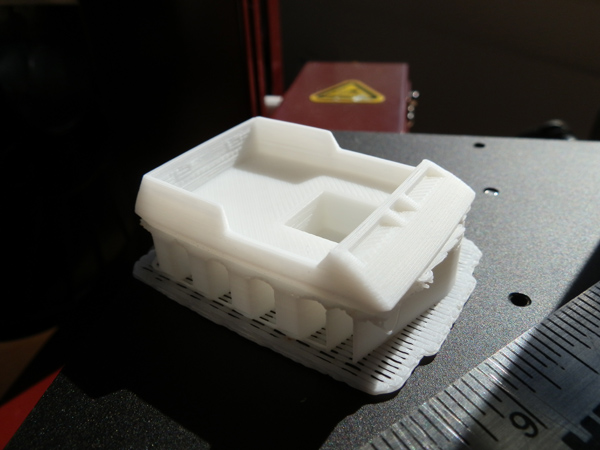
^ Front 3/4 view of the model, just two inches in length, with the support buttresses in clear view. Later I will trim that support material and show the final product.
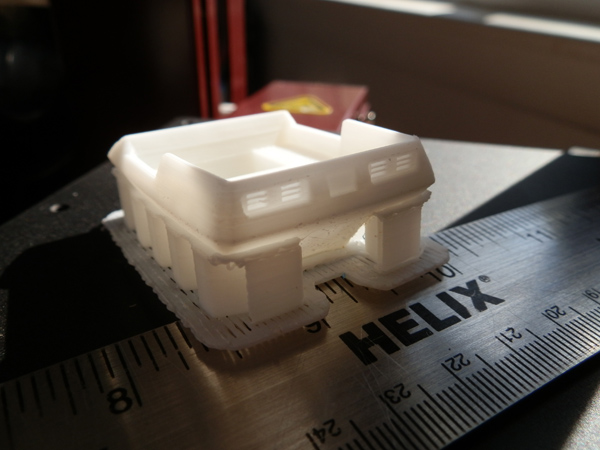
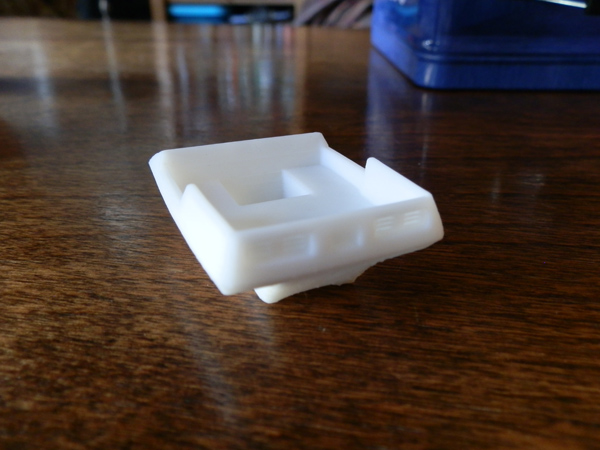
^ Due to the translucency of this white ABS filament, you can clearly see the louvered vents at the rear. Even at this tiny size (this will eventually print at 5″ in length) those vents printed very nicely!
For future print runs, I hope to set up a web-cam with software that will shoot at a frame every few seconds, which will make printing videos easy to watch because the print will come together rather fast before your eyes.
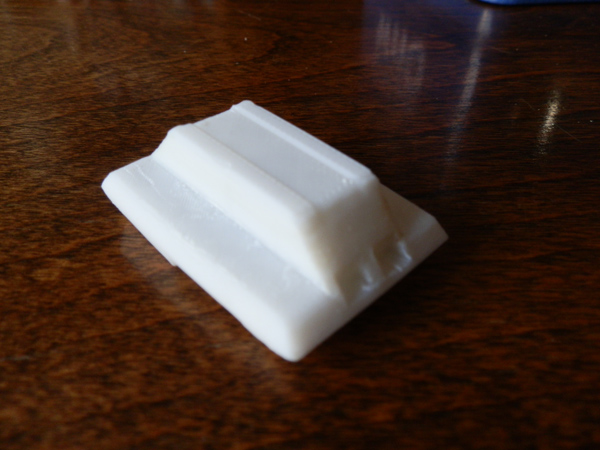
Here is the object after removing support material and doing some cleaning:

I don’t suppose you would share this file?
I’m almost finished making a very accurate 1/48th Eagle Transporter and I’d love to print a moonbuggy for the base I’m using.
There are examples at shapeways but they’re expensive and the print quality is hit and miss at best.
The 22″ Scaled Moon Buggy on Shapeways IS mine. It’s pretty accurate for its scale at the moment. It used to be less so. I updated the file a while ago. I worked with an Amphicat enthusiast and we got it pretty close to the real thing now.