
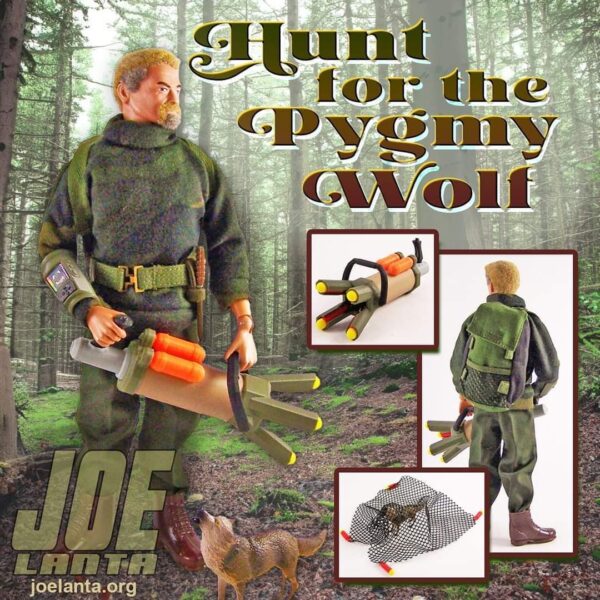
For Joelanta, August 11-13, 2023, Greg Brown of Cotswold Collectibles was creating a new set. It would feature a hunt for a Pygmy Wolf. This harkens back to the old Adventure Team days when Joe hunted the Pygmy Gorilla, which really was an excuse to use a hilariously small gorilla in a set back then. But that was pretty normal for GI Joe. He also hunted a White Tiger that was soooo small.
So Greg approached me for a Net Blaster to capture the wolf.
Net Blaster
Years ago, not long after I created a Spotlight that would fit Dollar Tree flashlights onto a pillar with swivel features for the RACCS system I created, Greg and I began discussing the idea of a net gun for trapping animals.
I immediately jumped at it, and made it to fit the same clip as the Dollar Tree flashlight, so we could reuse the Search Light RACCS set, shown here.
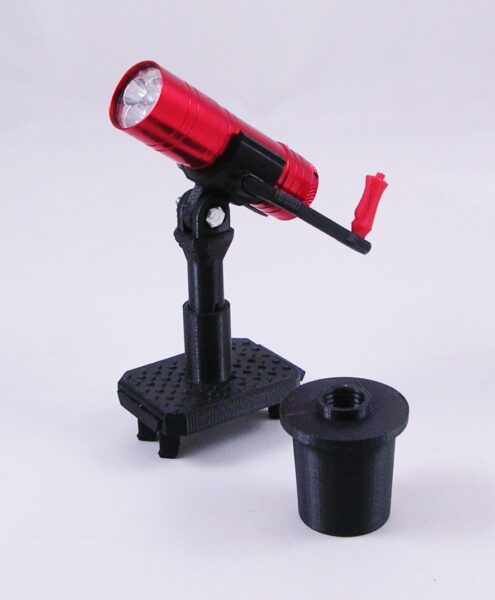
The RACCS Search Light connects to the RACCS platform with tabs, like all RACCS gear. But it also came with a cup mount to fit onto the Adventure Team Training Tower.
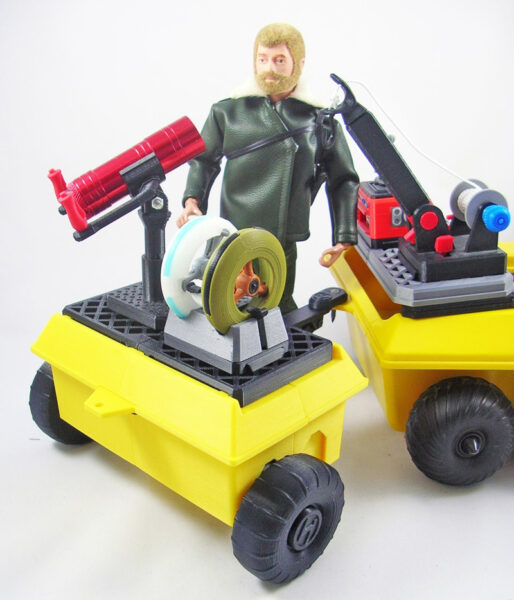
Here is the Search Light attached to the RACCS platform that came built-in to my ATV Trailer:
So I made a net gun with a barrel size equal to the flashlight’s width, so it would also fit into that pillar.
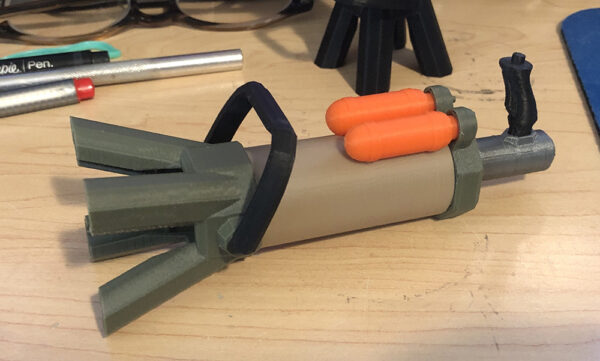
So I set out to model the Net Blaster. Seen here in an early form, with the gas propellant tanks forward instead of aft.
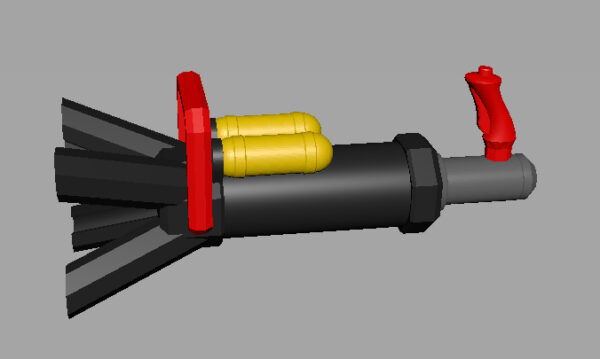
And so this project sat for years on my shelf, without a net. I did print the missiles I would use, but never did find netting good enough to make it real until this year.
Greg wanted a jungle or forest themed color palette, so instead of using the Adventure Team themes I had been using, I went with olive green, tan, black and silver. With orange propellant tanks.
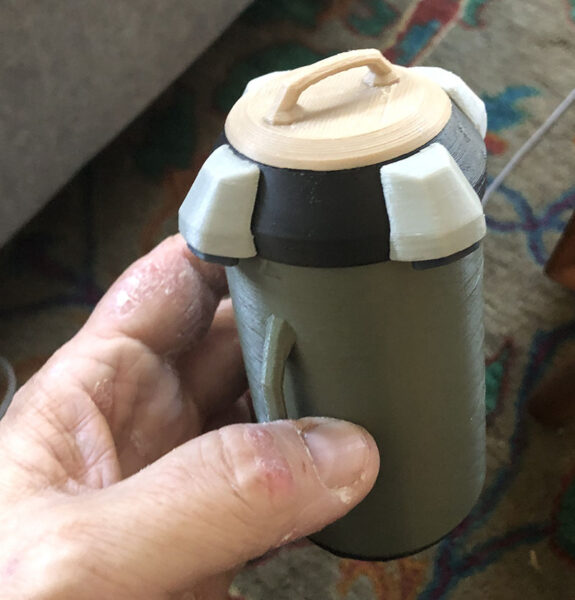
Another requirement was that the gear be packable into one of my Drop Canisters.
So the Net Blaster had to come apart, given that it was a bit too tall, as it was, to fit into the Drop Canister comfortably.
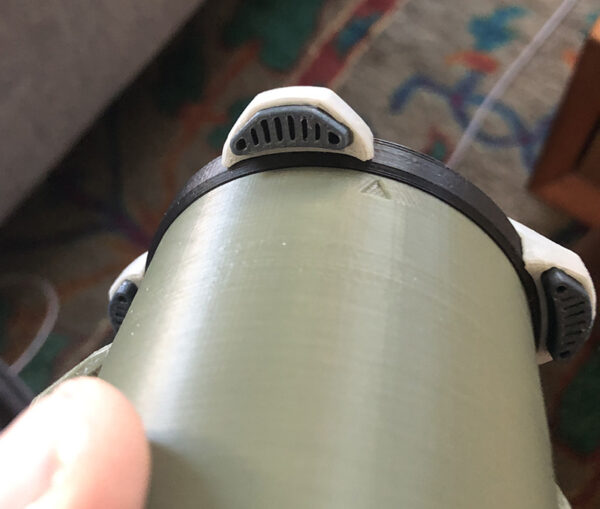
So I decided to make the rear power cylinder and pistol grip removable. With 3D printing, it’s easy enough to make the fit tolerances work so you can friction-fit something into place, but it’s a delicate balance, and variations in printing and materials, and even which printer does the work, can make it inconsistent. So instead of just relying on that, I came up with a tab/slot system, with an arrow indicator.
![]()
The rear cylinder can only go in one way, and you rotate it to click into place, and the handle is pointing directly vertical.
Missiles
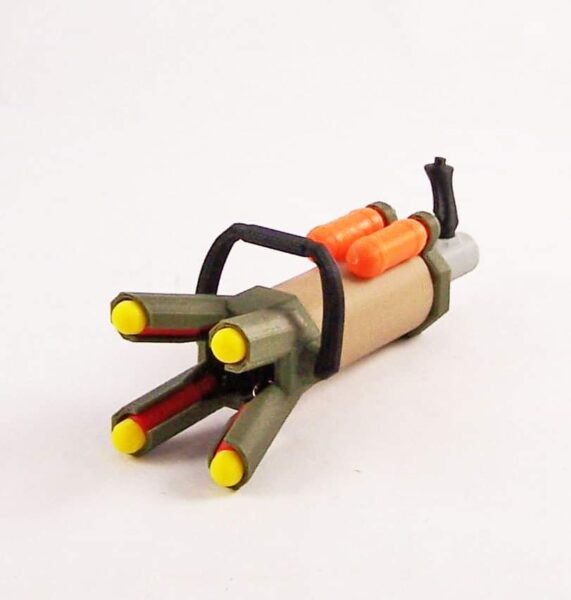
To fire the net, I came up with a four-barrel system, each of which would fire a gas-powered missile with the net attached, so the net would spread out and capture the target.
Easy enough. I just made a red and yellow missile that would connect to the net using jewelry hoop rings.
These fit into the barrels like so:
The Net
I had figured Greg would get someone to make the nets just like he gets someone to make the outfits. But nope.
And over the period of years, we tried many different net materials, and until June 2023 I really hated them all. Too flimsy, the wire rings on the missiles I was planning on attaching to the netting would tear the netting far too easily. Until Greg sent me the perfect material. Strong, looked good.
But it was a bit too bulky to fit into the original barrel so I enlarged it. (Oh well, there goes the re-use with the Search Light.)
After finally settling on a netting of suitable material that would not likely break when pulling hard-ish on the missiles, I cut one 8×8″ net and it seemed a bit small. So I increased it to 9×9″ and even though it was just one inch larger, it made a world of difference.
Let me say that we could easily have faked it and left the net out of the actual gun, and let the player imagine the firing of the net, but that’s just not me. It had to fit. So that’s why I increased the barrel diameter.
And when the first net was finished, with missiles attached, we tested it against the very small wolf figure that would come packed with the set: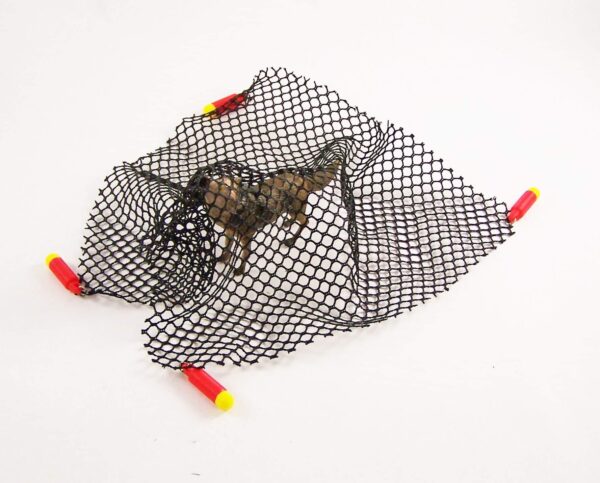
Success!
But it was kinda bulky at 9×9″. I could jam it into the blaster, but that would not be a great idea. So I came up with a folding method that worked rather well.
See below for folding instructions.
Production
Often, I get orders for 12, or 20 of a thing. Sometimes 24. Once I think I did 60 drones. Let me tell you that prototyping a thing is easy. Making dozens of them is very hard, laborious work, and I cut my hands so often on the sharp plastic and chisel tools that I’m surprised I’m still alive. (I would not be doing this if I didn’t love it.)
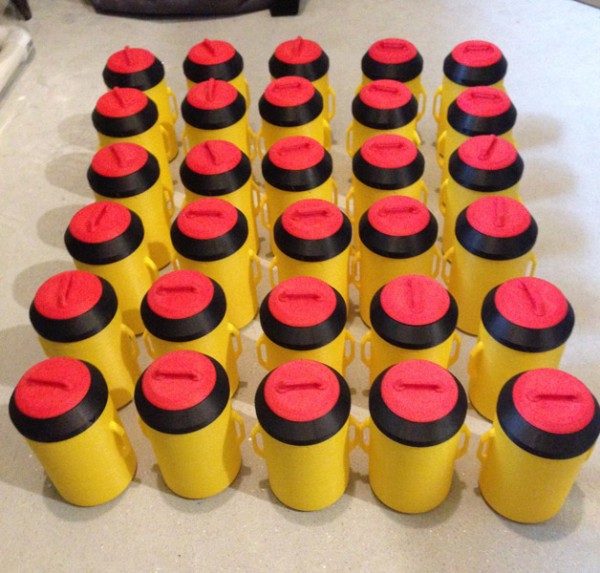
Greg needed 50 sets. That’s 50 Net Blasters, 50 nets, 200 missiles, and 50 Wrist Control Cuffs. Oh, and 20 NEW Drop Canisters
Here are just over 50 Net Blasters, fully constructed:
This is what 200+ missiles look like:
Here are only about half of the 50+ nets I made:
Control Cuff
Of course the set would need a Control Cuff. We opted to go with the olive cuffs I had already been producing.

But I wanted it to be different, so I made a unique screen sticker for it that would evoke a jungle hunt with tracking information (dots)
Drop Canister
As mentioned earlier, the Net Blaster had to fit into a Drop Canister, so I made that happen. However, Greg did not have parachutes for this set. I knew just what to do. It would be incredibly easy to adapt the cover of the Drop Canister to have retro-rockets to guide the Drop Canister down to the ground and land it softly, even softer than a parachute would, if it was computer controlled.
So I set out to update the Drop Can. I added the quiet retro-jets to the can without the need to alter the lid much, other than cut slots in it so the engines would align properly.
Here you see the ducts under each engine:
And I could have left it at that, but I never liked the rather unfinished look of the Drop Canister bottom, so I added a retro-landing system:

These Drop Canisters would be sold as add-ons to the full set, so only 20 were made.
Net Folding Instructions
The netting we chose is fairly robust, so of course it takes up room. If I had known earlier exactly what the folded net would feel like and measure, I might have expanded the barrel just a bit more. But this folding system works, as long as you follow directions correctly.
Even though I mentioned that the netting we used was strong, it is still mesh made of thread, so it is not iron. Pulling on the missiles when the net is stowed inside the barrel should be done carefully, and folding the net and prodding it inside should also be done carefully.
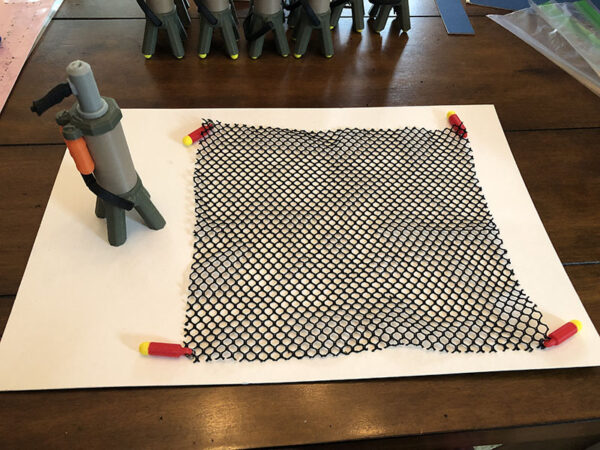
So here is the best way I came up with to fold the net so it fits inside the barrel nicely:
1 – Lay net out flat, missiles to the corners
2 – Fold net over so two opposite missiles meet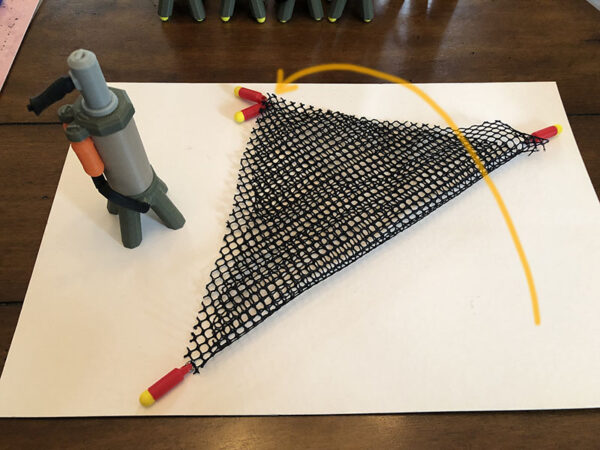
3 – Fold net so one single missile meets the other single missile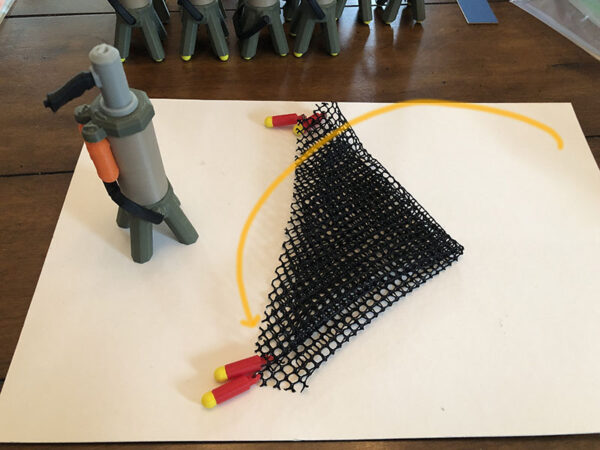
4 – Fold net so all missiles meet in a corner
5 – Fold the far net corner over until it meets the missiles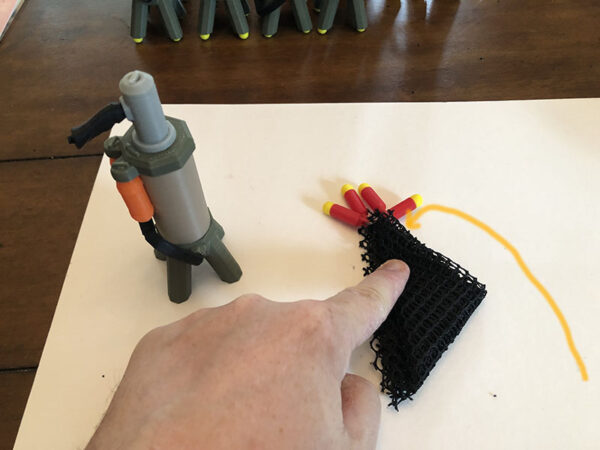
6 – Starting with the netting corner, begin folding very tightly towards the straight edge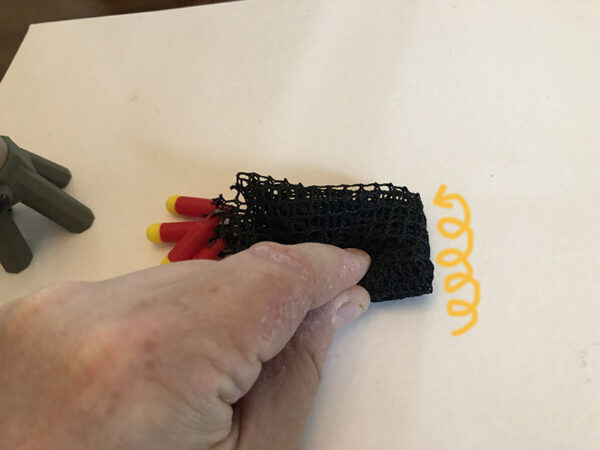
7 – Grip the wadded net by the end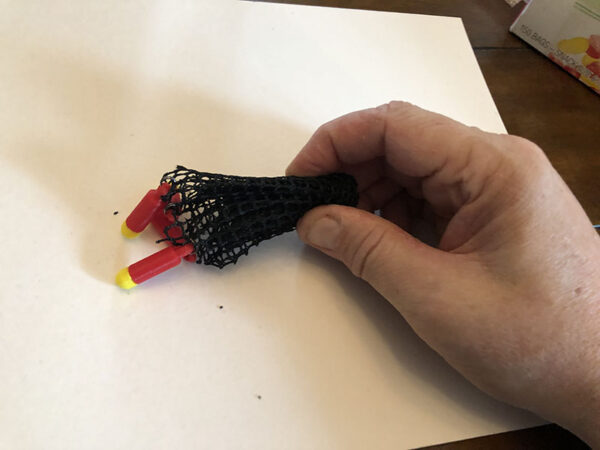
8 – Gently push it into the body with a finger, until the four missiles are dangling outside the barrels
9 – Fit each missile into its closest barrel
10 – Very gently nudge the rest of the netting into the body until the missiles tighten, but do not over-push, or you my tear the netting where the metal rings connect!
To “fire” the Net Blaster, gently pull the netting out from the body. You can tug gently on the missiles, but be careful that they don’t tear the netting. It is best to hook out the netting with tweezers or pull on the netting itself in the middle of the body between the four barrels.