

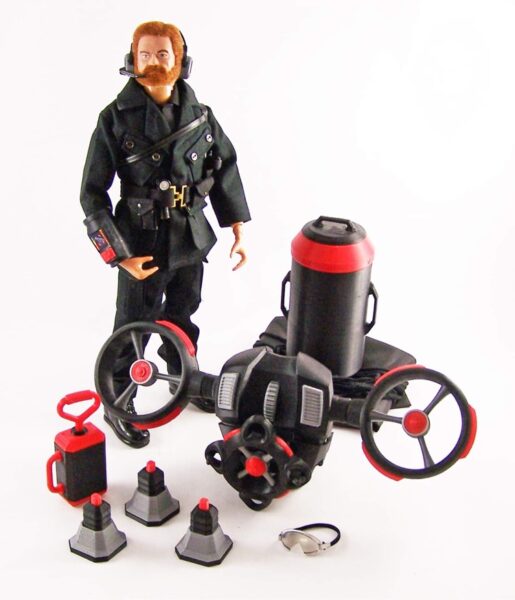
Some sets I have created with Cotswold Collectibles were undersea sets. Scuba outfits with Sea Sled, rebreather, other gear.
Sets like Catastrophe in the Gulf.

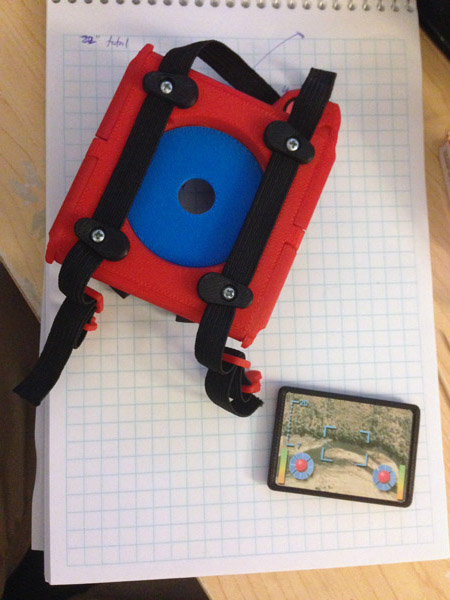
Recently for a new set, I created a Dolphin Equipment Pack to fit on the back of a dolphin:

The Idea
Then I got to thinking. The Santa Noses I buy from Dollar Tree because of the flashing light electronics come in this wonderful red sphere, in two parts. One part is a half dome that I saw had great potential.
First, I looked up what some modern Undersea Drones look like, and found these:

The Concepts
So I started sketching concepts of an Remote Undersea Explorer unit, like those used to find the Titanic, and used around the world to explore under the ocean where humans can’t go.
I used this robot mower as a basic inspiration:

I liked that yellow hood, and the curved back. The yellow side control holders. Using these basic forms, I designed an undersea drone.
So I began sketching some ideas and basic shapes:

Then a little more refinement after I had some initial general shape ideas down:

I had initially thought of one rear thruster which steers, but I realized that can be done with the two main side thrusters. However, I would need a better way to tilt the drone, so two up/down engines seemed a better idea.
Then after building the first few fit prototypes I realized I’d want a small camera cluster underneath the face, a way to hold the finger light in place but be removable easily (the need for a sliding face piece to get access to the light) and landing gear. Note also “a grip nub” is part of this next sketch because my first couple of prints showed me that it was very hard to pull the tail back to turn the light off with nothing to grip. The louvered vents were not enough.
It also highlights my attempts to make a bracer for the finger light to make sure pulling the tail back only pulls the switch back, and not the whole light, which my first failed prototype made quite clear. (Ooops! This is why we iterate!)

Prototypes
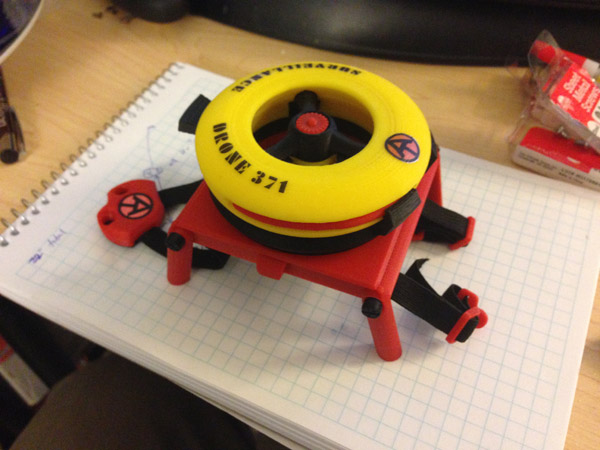
First, this is a fit test. All shapes are basically in place. But no functionality as such.

The bubble is in place. The Dyson-like engine bells don’t rotate. The rear ones aren’t going to. Those are for tilt adjustment.
The front engines will rotate for maneuverability.


The goal is to use a finger light inside to light up the face bubble.

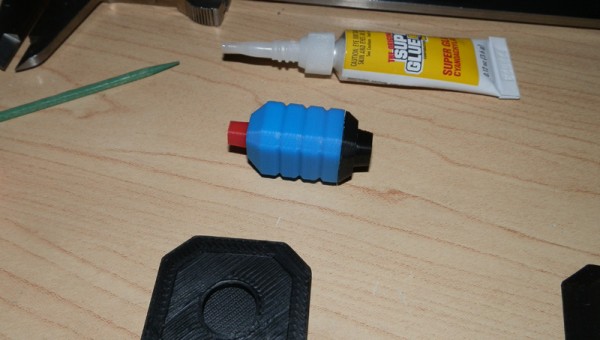
Then I needed to figure out a way to turn it on and off unclumsily. I thought of several ways to add a switch to flip the finger light’s switch, but they all seemed awkward. I already designed a casing that fits the finger light parts to make a 3D printed case and switch, but then it hit me:
I can slide the tail of the SQUID forward to push the switch as it sits inside the body. And pulling the tail back turns it off.
This required some clever designing. I had to brace the light at the back so the light wouldn’t slide forward when I pulled the tail back. That had to be anchored to the body. But I also needed a brace in front to hold the light as the tail pushed the switch forward.
It worked. Now it lights up.


But it’s still far from finished. Details.
Details and Refinements
I wanted to add some detail. Mainly inside the bubble I wanted an instrument array that you could see from outside. I also wanted landing legs, so it could sit without flopping over. And then some stripes on the engines. Also, under the main face, I wanted a camera and some other instrumentation.


 I found these amazing solid resin bubbles that are intended to add water beads to crafts. These come in various sizes and make perfect camera lenses. The refractive qualities are astounding! I’m using one for the main camera, and while you can’t see it in this picture, there is a tiny one inside the secondary camera opening. I have adjusted the depth of that to make it more visible in later versions.
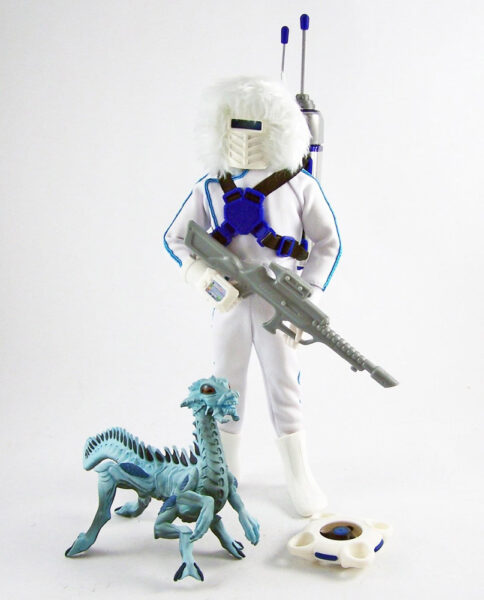
Update: Prototype Finished
After refining some fits, adding a pair of magnets to keep the face plate in place, but allow it to slide down to replace the Finger Light batteries, tightening the side engine fit, I am considering this now a completed project.
Here, you ca make out the instrument panel inside the dome:
The side engines swing freely. (The rear engines are not movable) 


You can imagine the deep sea exploration light being quite powerful in dark depths.
We are now production-ready!
You can watch a video of the full construction of one unit here:
 In 2014 at the Dallas GI Joe Convention I brought a diorama entry called Save the Endangered Pygmy Rhino.
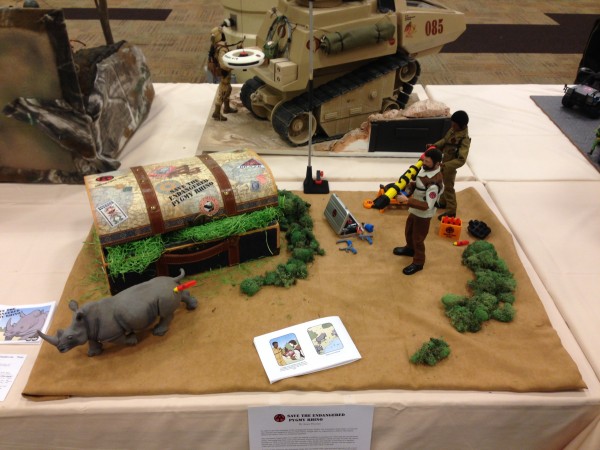


 Trust me, there’s white underneath!


