New Ray Gun: The Constitution Class Phaser

Come on, admit it. You’re pissed you didn’t think of it:

constitution-ray-gun-02 constitution-ray-gun-03 constitution-ray-gun-04 constitution-ray-gun-01

I have long thought that the body of the U.S.S. Enterprise (a Constitution Class Federation vessel), has a secondary hull that looked like it was originally intended to be the phaser weapon used in the show.

Slap a handle on it, and done.

So I finally did. After many years of sketching it this way, I finally did it.

I downloaded a model of the Enterprise from Shapeways (which I will replace with my own model later) only to adapt it to my hand-phaser concept.

St. John’s Row Houses Brooches

As seen in the past, I have done some jewelry pieces for my wife (and a couple of other family members) but it struck me I could make something marketable to a Newfoundland tourism audience, and so I set out to make a slightly whimsical take on one of the things that now makes St. John’s, Newfoundland world-famous, it’s delightfully coloured row houses, seen below.

row-houses-brooches-3-01

kimberly-row-01

One of my friends lives in one of the three above – I never remember which one.

I lived in one on Queen’s Road for several years.

colourful-houses-redbubble-2_thumb5

New Ray Gun – The Ice Breaker

My latest ray gun: The Ice Breaker

ice-breaker-v3-display-stand-01

It all started with this, one of the most elegantly-shaped things I’ve ever seen in a museum. At the Peabody Essex Museum in Salem, MA, an exhibit came by of retro-futuristic design. This item really struck me.

1935-ice-crusher

From this I created a very closely-contoured version and did a test print. I modeled it way too big. But here it is, without alteration. The aperture at the top I made a cap for but it’s not shown here. That cap will eventually have electronics, hopefully. But for now, it’s just an opening.

ice-breaker-v1-printed

This version has a spring in the trigger. Eventually I would use magnets.

I decided I would keep this version, but I also wanted to see where I could take it in a more futuristic Buck Rogers world. So I added a fin, recontoured the handle to make it fit better, and shrunk it down. I also added a more “ray gun” nozzle.

ice-breaker-v2-01

The body is printed in three pieces, and this version is glued together. The plate is still there, but now has a dorsal ridge that fits in line with the dorsal ridge on the other pieces. It fits nicely and snaps off when needed.

This is version 3:

ice-breaker-v3-04

I bought a cranberry red filament (the bright red is nice, but a bit – toy-like.) I printed it at .8 the size of the original bulky one. Fits nicely, and feels great.

I will later show the construction, which shows how the three main body parts are joined by a 1/2″ diameter 7″ galvanized heavy metal bolt and nut. I even printed my own tool to screw in the bolt because a standard socket tool would not fit.

The handle screws to the body with four #4 Black Oxide 3/4″ screws, and the bottom cap of the handle screws on with one of those. The handle has a cap so I can put two carriage bolt shafts in there for weight.

ice-breaker-v3-03 ice-breaker-v3-02 ice-breaker-v3-01

I had modeled apertures for up to four more bolts for weight, but it’s nicely weighted without those.

And for now, in the panel opening I have placed a greeble object, a dummy object covered in nonsense to appear like it’s a circuit board.

ice-breaker-v3-05

Exchangeable Emitters

My friend Matt said “Hey, you could probably swap the front and back, and make different pieces that fit.” The apertures for front and back differ, though, and while I could make them match, I wasn’t sure I’d like the new proportions, but the replaceable emitter idea stuck.

I immediately modeled five or six alternative emitters, and I’m quite happy with them. I have one or two more done that I have not yet photographed, but those are variants on these.

ice-breaker-v3-emitters-02

ice-breaker-v3-emitter-original-01 ice-breaker-v3-emitter-b-01 ice-breaker-v3-emitter-a-03 ice-breaker-v3-emitter-c-01

ice-breaker-v3-emitter-d-01

Rocket Pastiche! The Bradbury

A very loyal and regular customer of late keeps sending me images of rockets he’s found on the internet. And UFOs. He and I share interest in the retro design aesthetic.

Here are the latest forays into 3D printed rocketry:

The Bradbury

Ray Bradbury’s “Martian Chronicles” was a TV mini-series based on Ray Bradbury’s anthology about mankind colonizing Mars.

13330354_1720153491574195_1632851997_n.png

13336434_1720154241574120_474247183_n

My friend send me images of the models used in the show:

13348893_1720154708240740_39610033_n

He was hinting rather strongly that he would like a couple of these. So I made them.

Bradbury-Built-01

Bradbury-For-Scale

Bradbury-Wing-Rockets-05 Bradbury-Wing-Rockets-01 Bradbury-Wing-Rockets-03 Bradbury-Bottom-01  Bradbury-Built-02  Bradbury-Tail-Detail-01 Bradbury-Upper-01

The interesting thing about this rocket is that the mini rockets on the ends of each wing rotate. They rotate in order to stay parallel to travel vector when the wings scissor outward. I modeled my version landed, and even included the gangway tube.

But not satisfied with that, I modeled a version with scissor wings. I sent the three rockets to my friend (he bought two), the scissor-wing version being a bonus. I didn’t take photos. I’ll print another one later showing the scissor-wing action.

Interestingly, my friend has been in contact with the man who created the original rocket prop and he’s quite interested in what I’m doing with my models. He offered to animate the CGI model I created.

Quick Kitbash #1 – Jetpack from Flame Trooper Pack

star-wars-flame-trooper-01-s

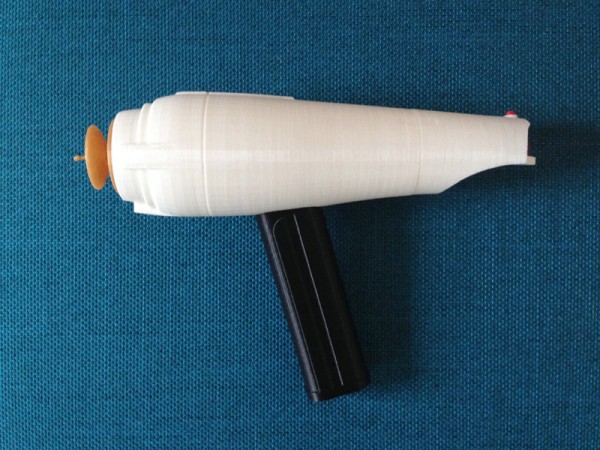
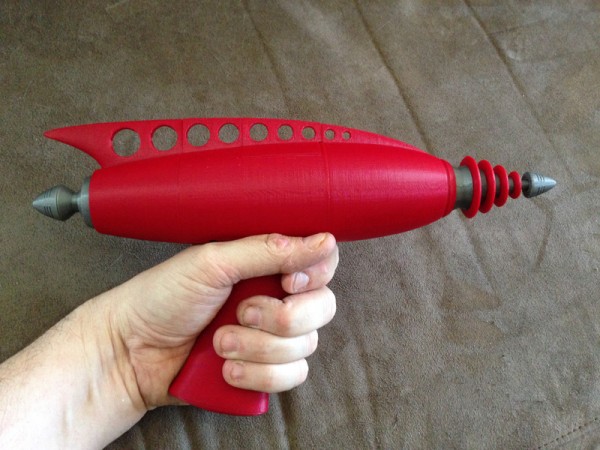
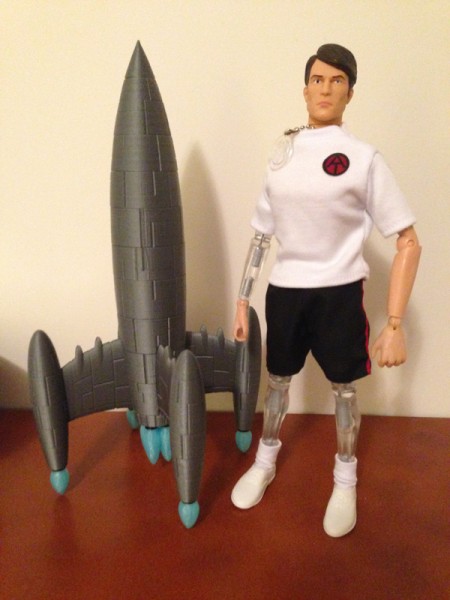
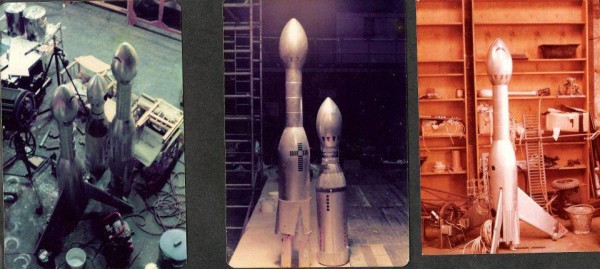
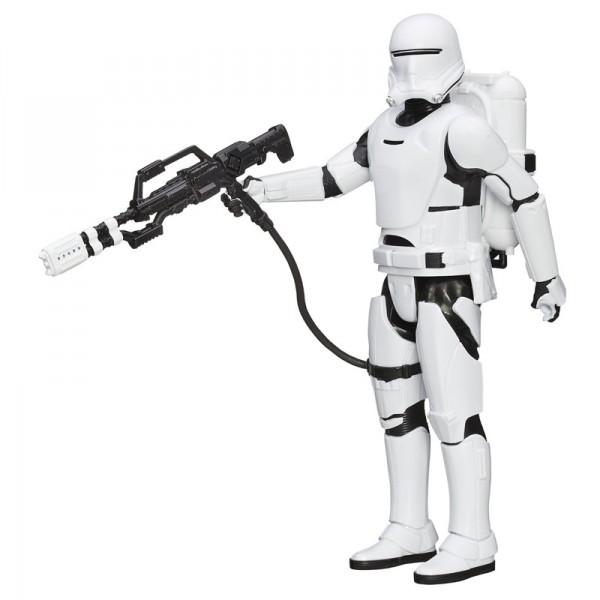
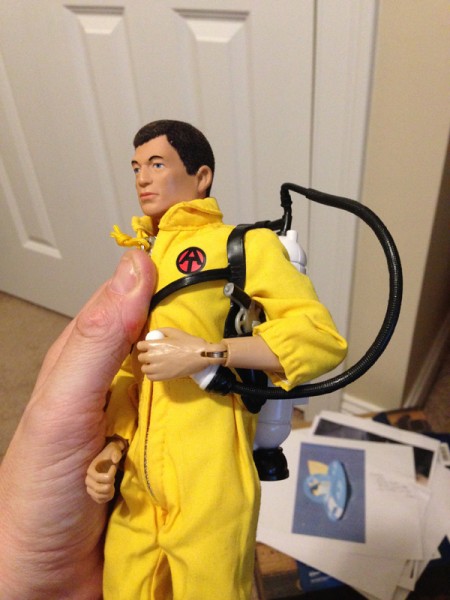
Oh dear, Hasbro, what have you done? Your once fine fully articulated 12″ figures have become the stuff of nonsense. You can’t even bend elbows to hold the nicely molded rifle you put in with your Stormtrooper figures which are now hard plastic shells with almost no movement at all.

That said, I bought the Flame Trooper with a purpose in mind – at least your accessories are still useful.

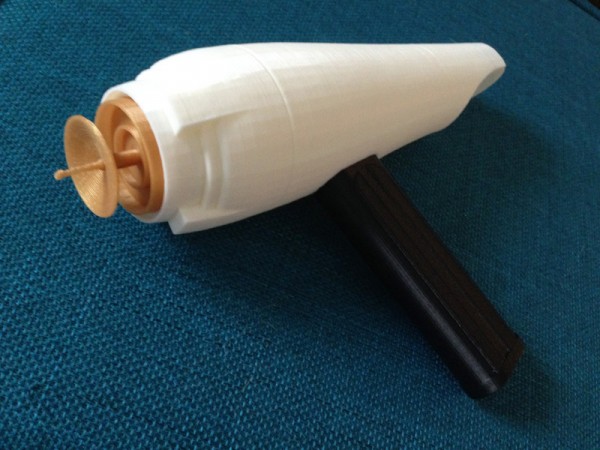
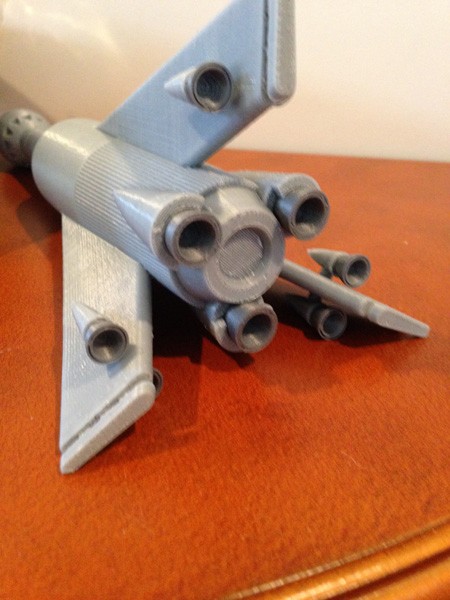
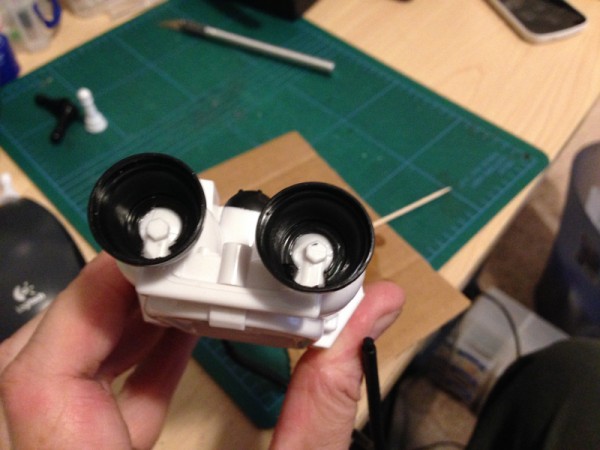
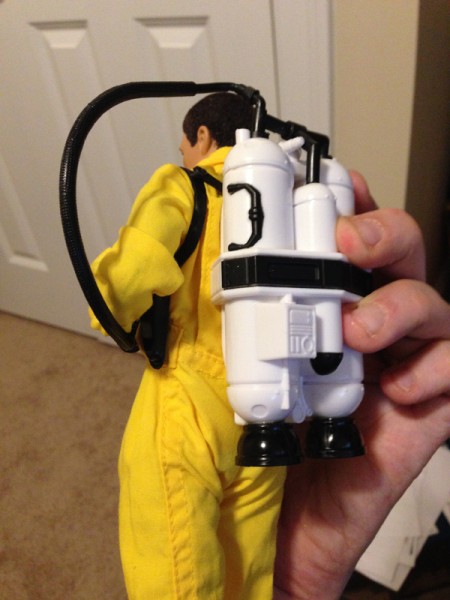
Note: the flamethrower backpack!

star-wars-flame-trooper-02-s

I knew immediately that this had potential!
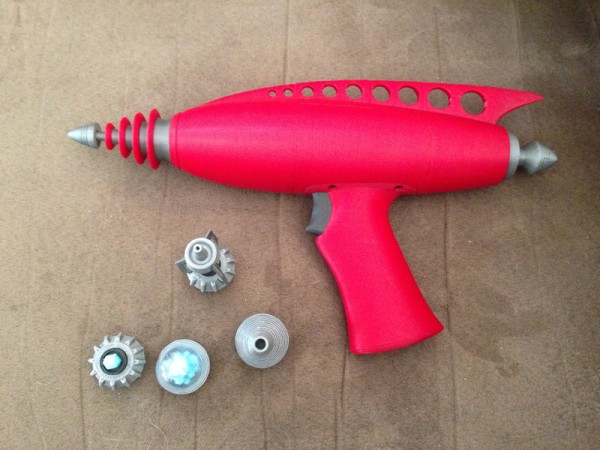
Materials and Tools

You will need:

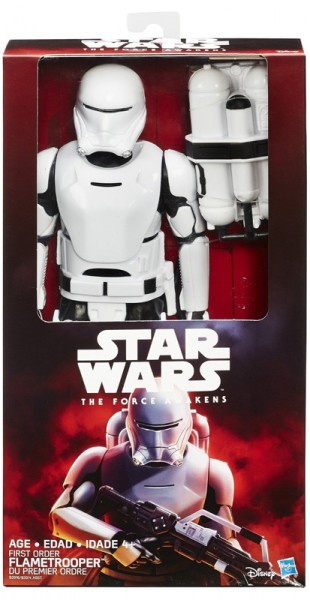
  • 1 Force Awakens Flametrooper 12″ Figure
  • 1 Dollar Store Chess Set – cheap, hollow chess pieces
  • 3/8″ Black Braided Elastic (from Fabric store)
  • Wire cutter
  • X-Acto knife (or sharp blade)
  • Binary epoxy cement
  • Drill or Dremel

That’s it. Literally.
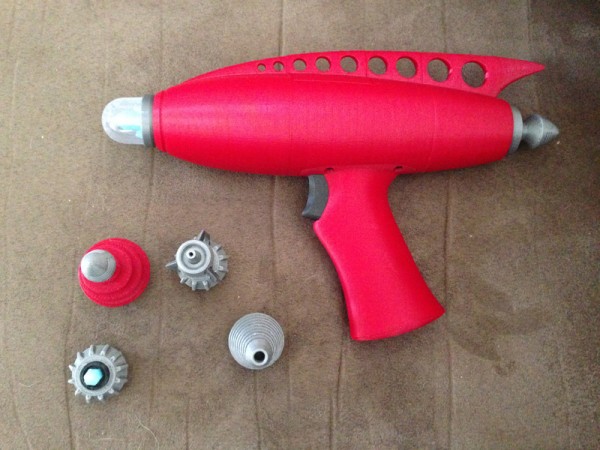
Step One

flametrooper-jetpack-01

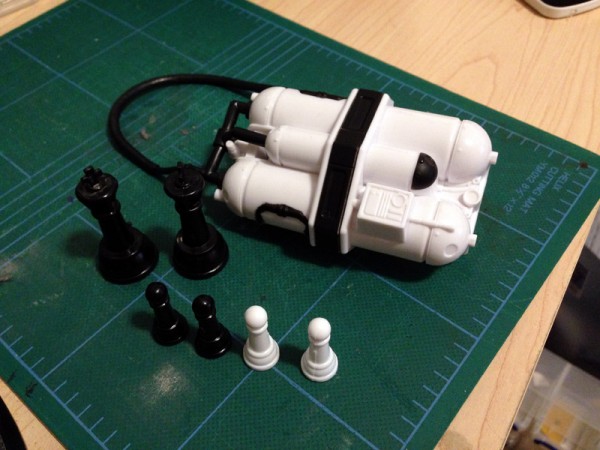
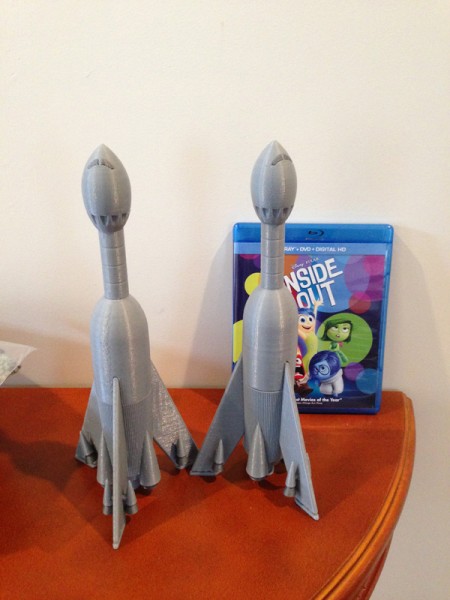
Gather your gear. Note that here, I have two white and two black pawns. This is for a second option I will discuss later, but will not do here in this tutorial.

The larger black pieces are the King and Queen. Make sure you use the two largest pieces whose bases are identical. This may turn out to be the Bishops or the Rooks. Doesn’t matter much. You can also use the white ones for this, but I found with the nice black/white contrast already on the flamethrower fuel pack, the black looks nicest.
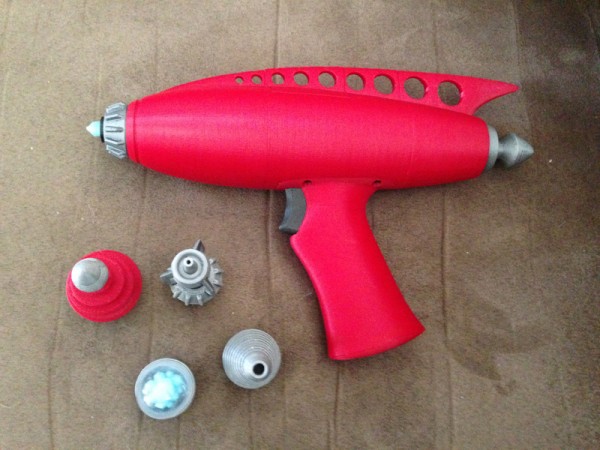
Step 2

flametrooper-jetpack-02

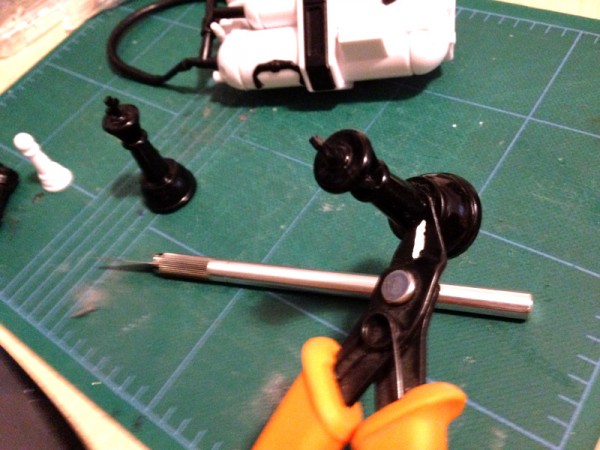
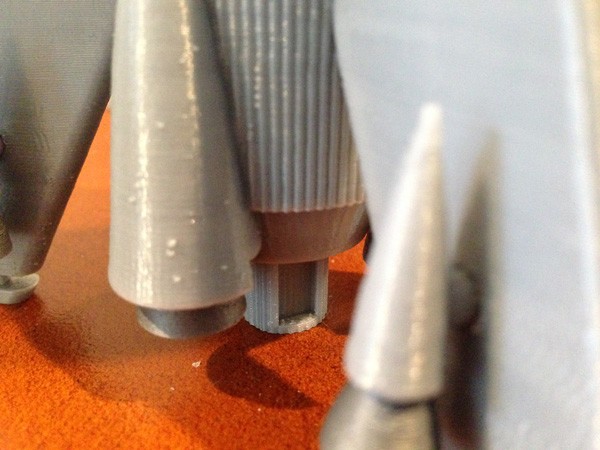
Using either an X-Acto knife, carpet knife or wire cutters, cut the body off the base of the King and Queen.

Step 3

flametrooper-jetpack-04 flametrooper-jetpack-03

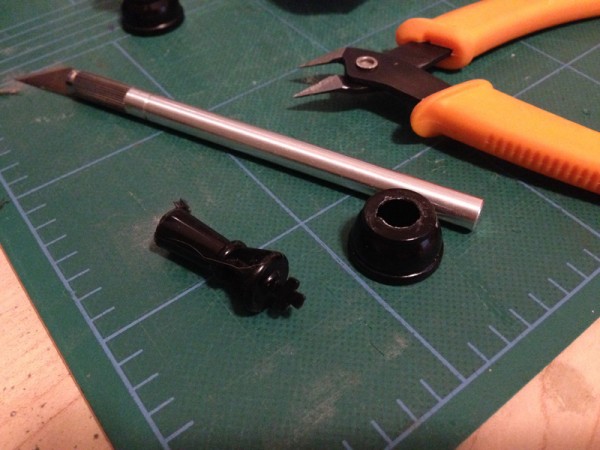
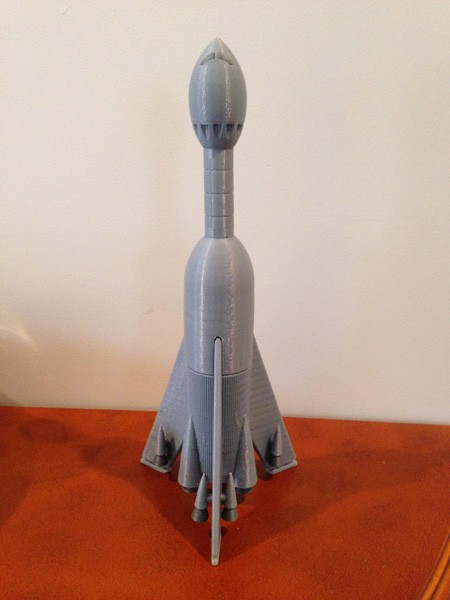
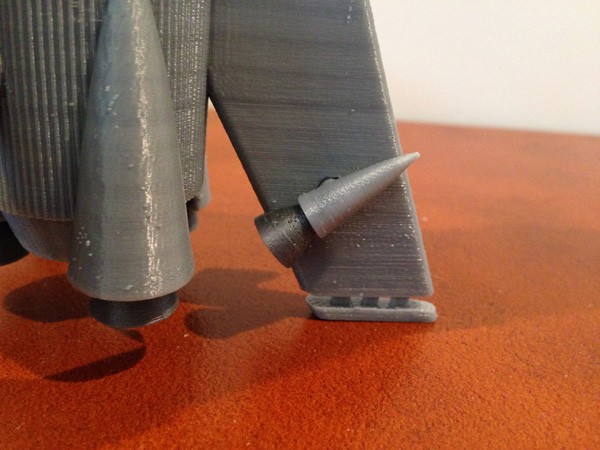
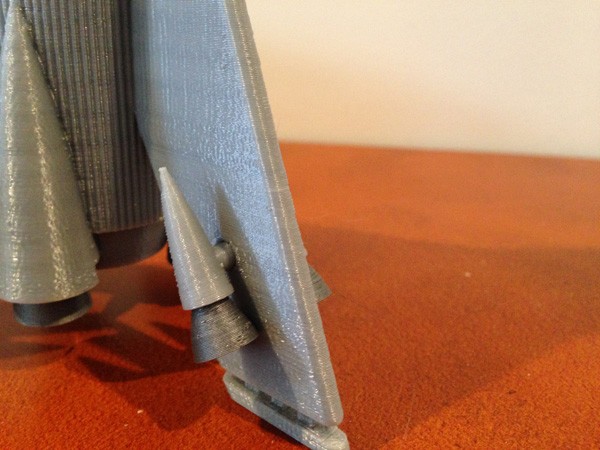
These will end up covering those hex bolt protrusions on the bottom of the flame pack.
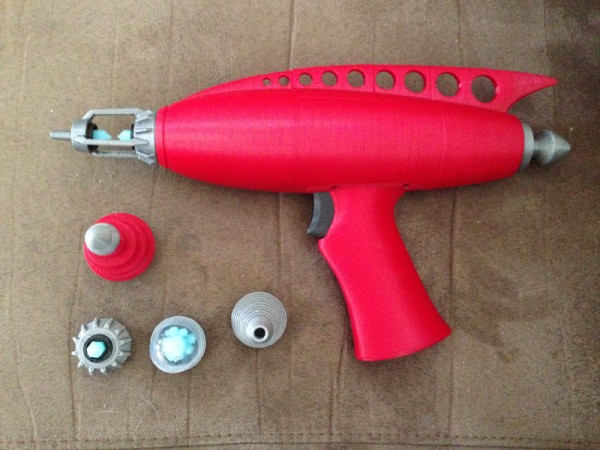
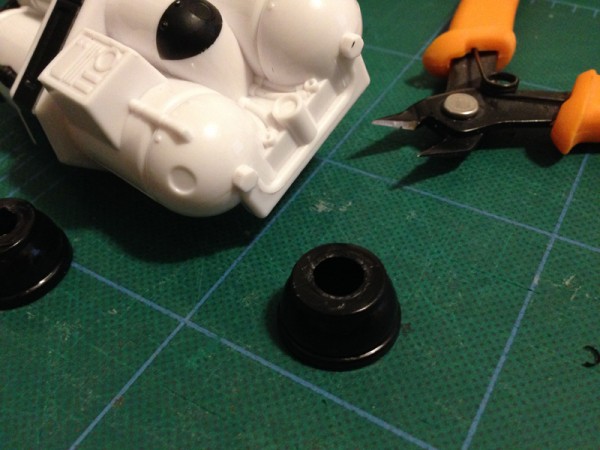
Step 4

flametrooper-jetpack-05

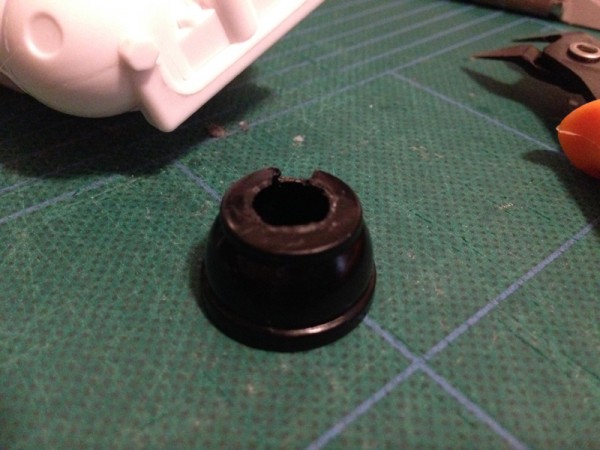
Cut a slot about 1/4″ or less in the base. Note on the jetpack there is a pipe-like channel that prevents a perfect cone from fitting over the rounded tank. This slot will clear that space.

flametrooper-jetpack-06

Two jetpack cones ready to attach.
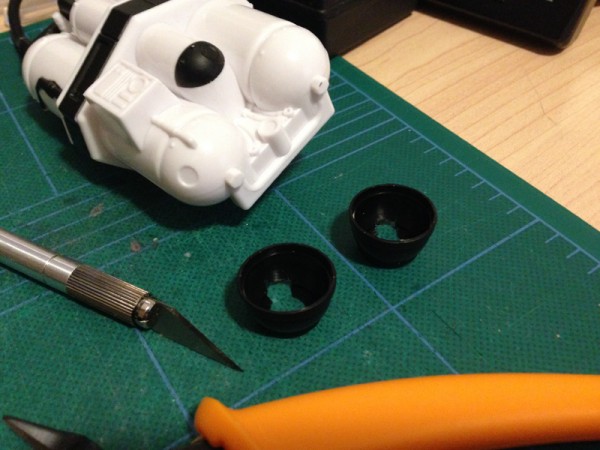
Step 5

flametrooper-jetpack-07

flametrooper-jetpack-08

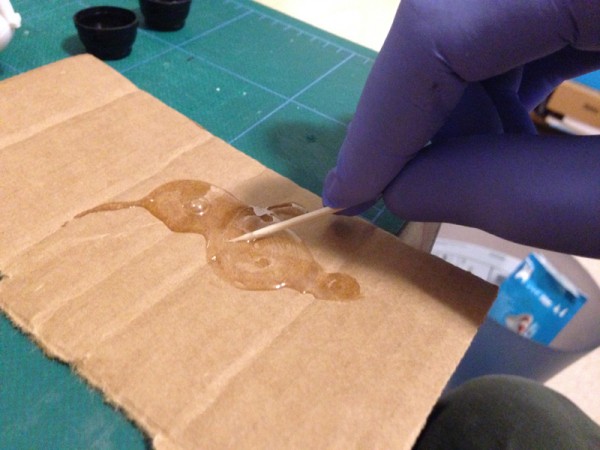
Mix half and half clear epoxy cement carefully with a toothpick.

Spread some on the inside rim of the hole and slot you cut into the bases.

Attach them, making sure the slots fit over the protrusions on the tank, with the hex bolts as centered as possible.

Step 6

flametrooper-jetpack-08

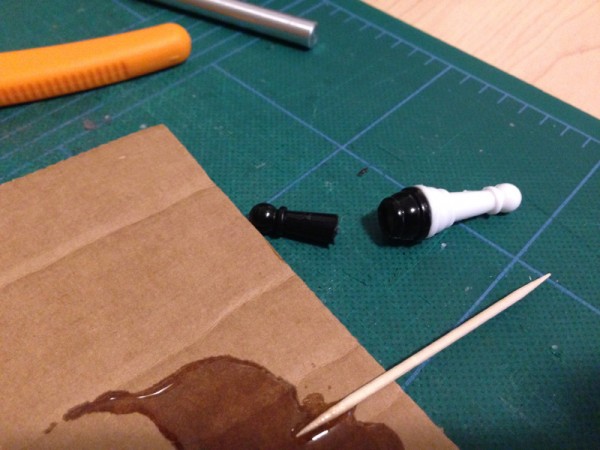
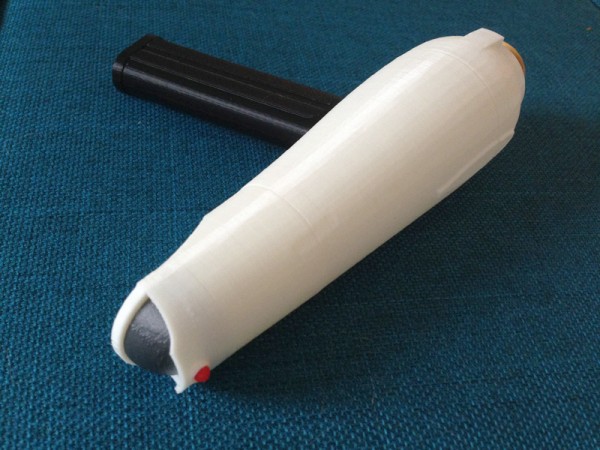
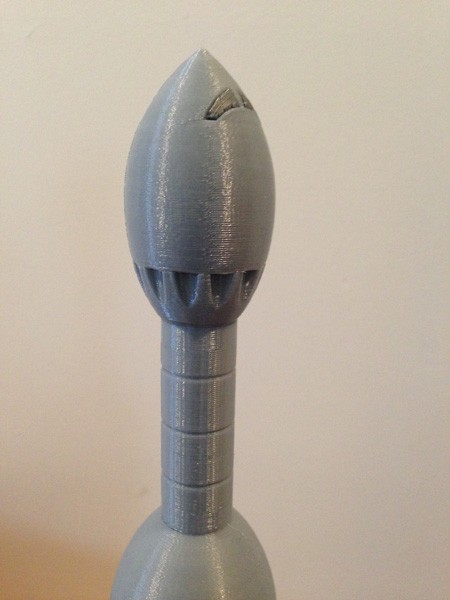
Cut the base off the black pawn.

Epoxy it to the base of the white pawn, base to base.

flametrooper-jetpack-09

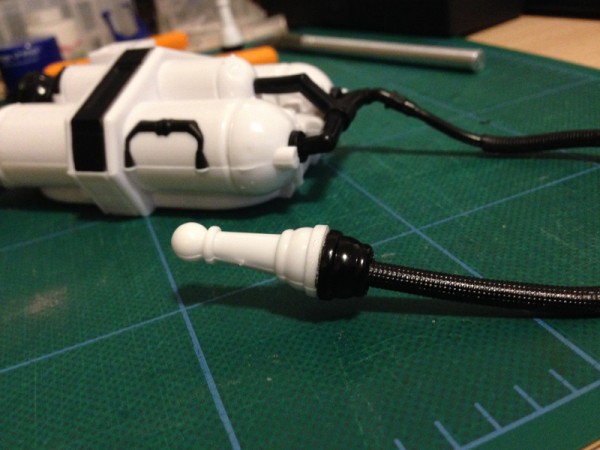
Jam (with friction, or you can epoxy it if you like this method) the flame hose into the head of the white pawn as hard as you can.

Step 7

For now, the last step is to remove the peg that is used to insert the pack onto the Flametrooper figure. Use wire cutters.

NOTE: There is a metal bolt inside the peg. The wire cutters can cut through it. Otherwise, use the dremel.

The Harness – COMING SOON

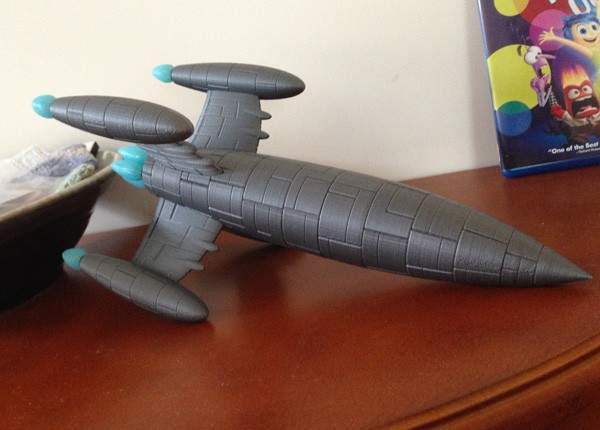
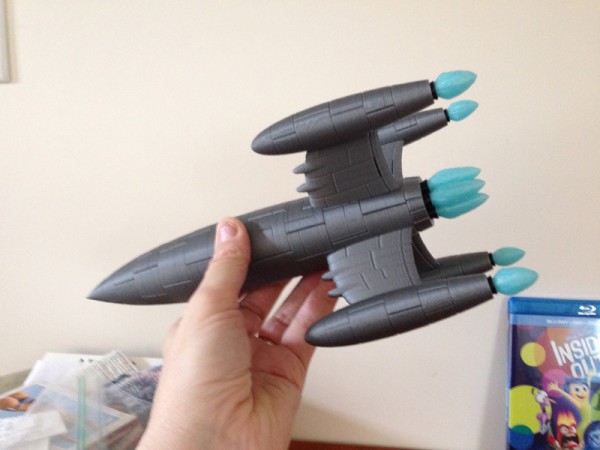
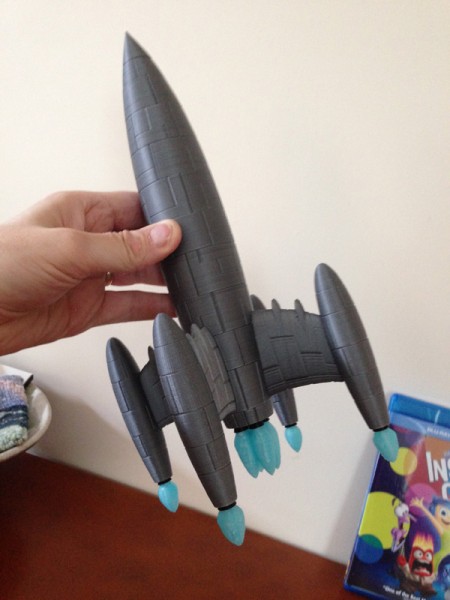
Here it is, without harness.

flametrooper-jetpack-11

flametrooper-jetpack-10

If you think a one-handed control (with gimbal joystick head) is goofy, we can make a dual handle control using cording and two pawns, drilled into the body of the fuel pack.

The elastic braiding will be strung through the rounded tubular frame on the inside of the pack, using the Dremel and a drill to make an aperture for it. Using heat to seal the ends of a length of braiding, we will use small screws with washers to secure the ends to the pack.