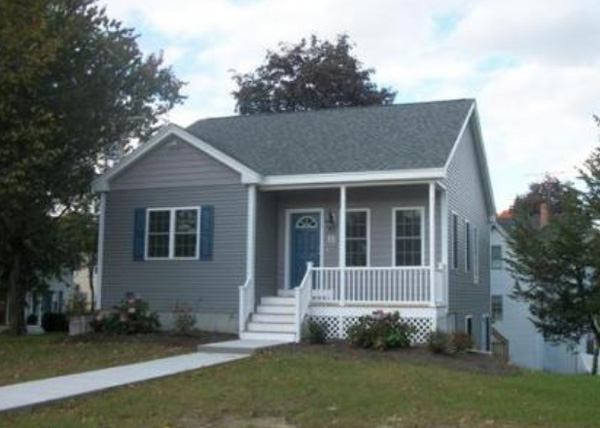
We are currently (as of Nov 28, 2014) in the process of purchasing a house. Here is a photo of the house in question:
For as long as we have been able, starting in the late 1980s, Carol and I have collected the Hallmark House series of Christmas ornaments, with a couple of gaps here and there when we simply could not afford to buy that year’s house (mostly in the first 7 years). But mostly we have the whole set, and it goes on the tree every year, with new ones added.
This year Carol asked me to make her a Christmas Tree Ornament of our new house, which we hope is where we will spend Christmas this year.
Here it is. Well, here’s two actually, since my Mother requested one as well.
The wreaths indicate Christmas. I also modeled green gift bows for the roof but I’m not sure I want to use them.
But in keeping with my last year’s ornament, the Afinia printer:
… I think I will put this year’s date on the roof.
This picture is of the first of my 3D Printed Ornament Series which I created last year. I sent the files to Afinia, the makers of my printer (at their request after I sent them an actual ornament) and they printed it out in a number of colors and then used this image for their front page image for a while.
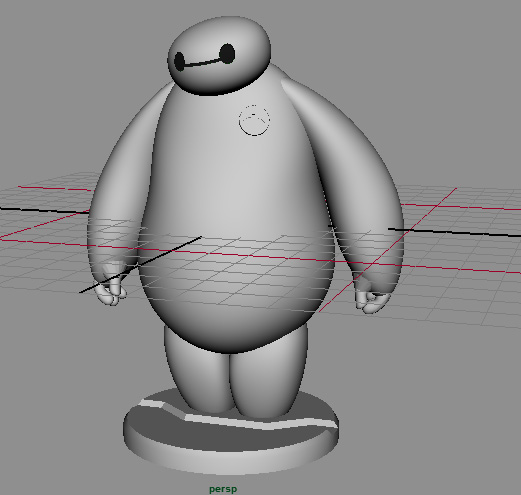
On Friday I took a sphere, popped a lattice onto it and warped it. I did the same again to a different sphere, and pushed one into the other. Then I did a third. Then a fourth, which I bent like a piece of macaroni. I duped that one 2 times and placed those by the original. Then I made another that looked a bit like a Vienna sausage. Then I made a conical cylinder. After putting those last bits together I duped it and mirrored it. I then made another sphere and warped it with another lattice and duped it.
Then I made two cylinders, scaled them a bit on the X and rotated them a bit, and created a low, wide cube. I duped one of the spheres, enlarged it a bit, and used Boolean to cut a hole in that sphere shaped like the cylinders and cube.
To top it off I made another sphere, extruded it a bit, cut a line through it and bent the line a bit, and shrank it down to fit the first sphere.
Then I used a series of booleans to combine these objects, and in some cases to cut holes, and this is the end result:
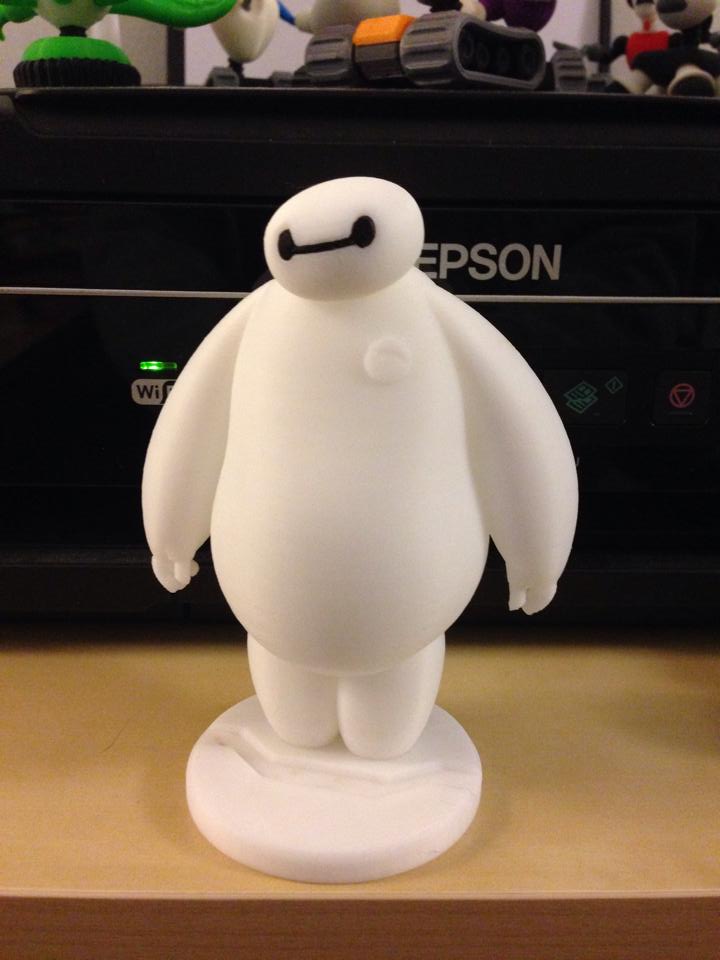
And here is the printed result, standing about 12cm high including base, or about 4.75 inches.
Total modeling time, just over an hour.
Total printing time, about 8 hours.
As an added feature I made two hexagonal posts on the base that fit into two hexagonal holes in the feet so he can stand firmly on the display base, but he can also stand on his own, since his feet are flattened.
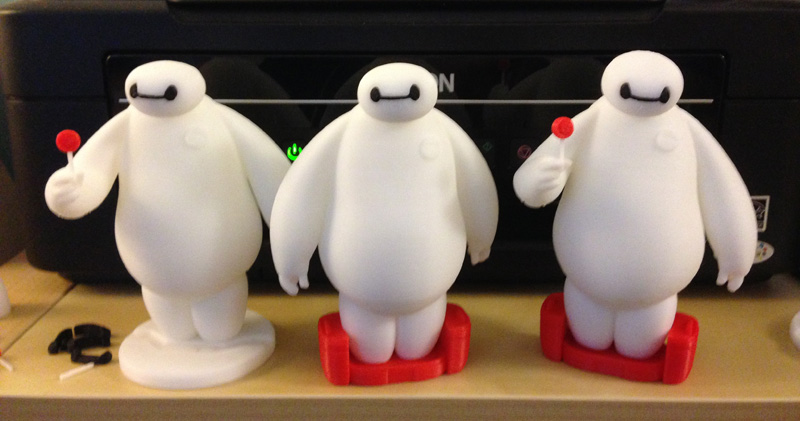
UPDATE – Nov 28, 2014
A day or two later I decided to position Baymax in a new pose – handing out a lolly-pop, as he is seen doing in the movie. Also I added his charging/docking station in open mode as a new form of display stand. I changed the angles of the left hand’s fingers so they print more consistently.
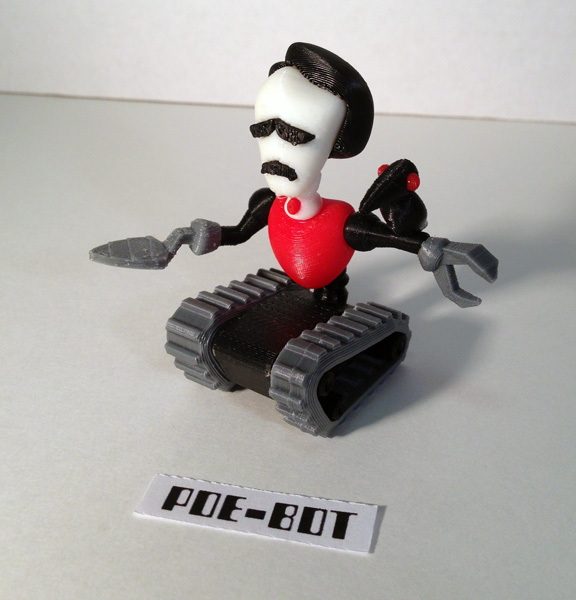
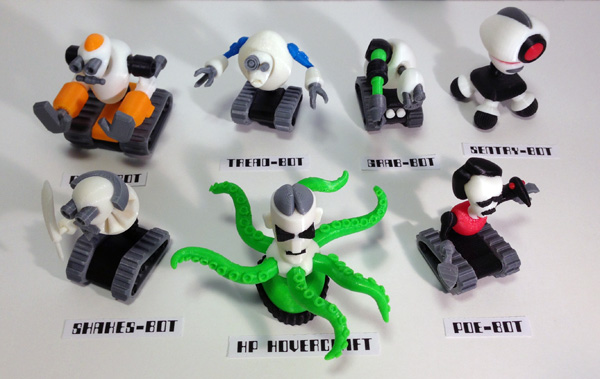
The Bot Shoppe now has two new members: Poe-Bot is based on Edgar Allan Poe and features a raven (“The Raven”, a trowl (“A Cask of Amontillado”), and his body is heartshaped (“The Telltale Heart”).
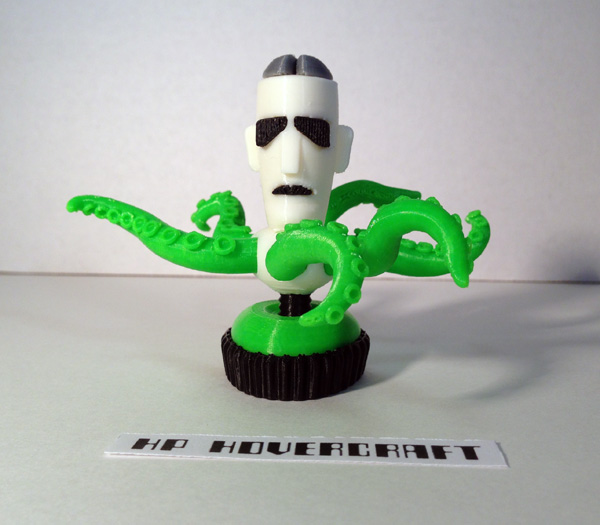
And his companion, HP Hovercraft is a new body design. Sitting atop a hovercraft motion system, HP Hovercraft has six tentacles with which to work his horrors. The be-tentacled body spins!
A while back I posted that I had entered a contest at 3DAGOGO and won a Makerbot Digitizer, a 3D optical scanner. I was thrilled and I gave the machine several test runs. I was not overly happy with the resultant scans. I sold the scanner. I may get one later when the tech becomes something more reliable and accurate.
But that didn’t stop me from entering another contest. “What Would You Print?”
The idea was to submit useful, practical designs (by sending a printable file) and a panel would judge the winners based on practicality, usefulness and ease to print.
I submitted two designs that I came up with quite some time ago:
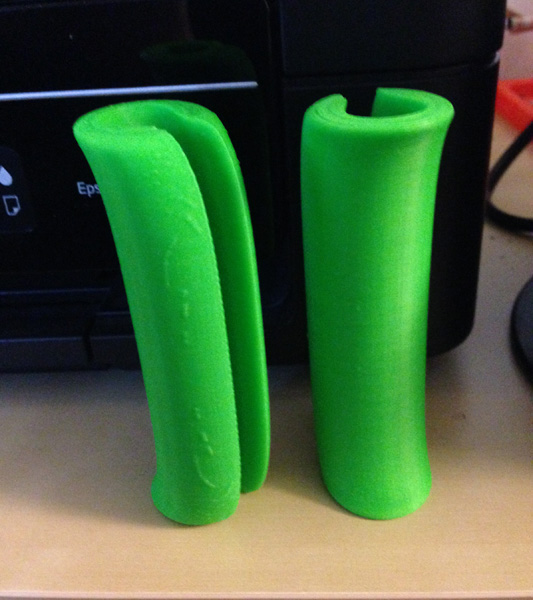
1) Grocery bag handles. One of the things I wanted to print with my printer even before I got one was a grocery bag holder that would help me carry more plastic grocery bags (and can handle cloth bags too) so my hands (which hurt when I carry too much weight with so little surface area) wouldn’t hurt when I carried groceries in from the car.
A simple design. Bag handles go into the slot, and you hold the handle. I find I can carry plenty of weight, but what the scrunched-up plastic handles do to my fingers makes the carrying much harder. This way there is no stress on my individual fingers, and I can carry double the weight in groceries per hand. The space is wide enough to accommodate cloth bag handles too.
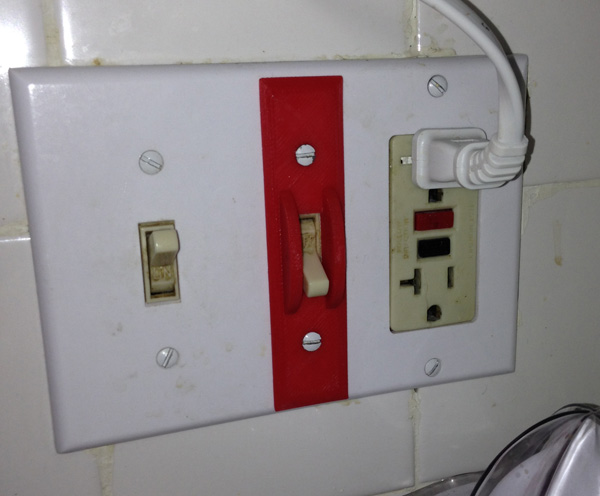
2) A switch protector plate for the garbage disposal on our sink. The switch is under a cabinet and is hard to see unless you lean down. There are two switches on a common plate and I can’t count the number of times I turned on the disposal when I intended to turn on the light. So this plate now sits over the disposal switch and makes it impossible to turn on the disposal by accident. You have to slide your finger in between the two guard rails to use it.
You simply remove the two screws, place this plate directly over the switch you want to protect, and screw the screws directly back in place. No expertise needed. And now to use the switch you have to be very deliberate. You simply cannot accidentally turn on the disposal.
Apparently both of my entries were in contention for a prize. This video announced the entries.
Then I got an e-mail congratulating me on winning second prize – a RioTBoard, which is a circuit project board that allows you to make any number of electronic projects. I was reasonably excited. I began to look forward to trying out some projects.
Not long after that I got an e-mail apologizing. They claimed they got the e-mails mixed up. Apparently I had not won second prize, I had won First Prize!
I had actually won Grand Prize which was an Afinia H480 printer!
The Afinia H480 is the next model up from my own Afinia H479 printer which I have had for a year and a half and have loved since I got it.
The Afinia H480 is essentially the same printer with some extra features including a print bed with springs to hold down a print plate, and an auto-calibration system.
With the Afinia H479 you calibrate the board by rotating three set screws holding the plate in place. You use the Mainenance Panel in the software to raise the print bed up to meet the nozzle and leave .2mm of room between the nozzle and the plate in all four corners and the center. When you can slip a standard file note card under the nozzle cleanly (not too tight, but you can feel the drag on the nozzle) you have calibrated the bed.
I find calibration stays set for quite some time. A knock or an accidental print incident that moves the bed could pull it out of calibration, but it’s not something you have to do daily, or even weekly, usually.
But if you want to ensure a good calibration, the H480 allows you to attach a calibration switch to the print head and use the software to level the bed and detect nozzle height. Note that this appears to be a software leveler. It does not level the bed, it just detects the tilt of the bed and prints to that angle, I believe.
Watch this video from 1:30 onward to see how the calibration and nozzle height detection works.
But I can’t tell you how thrilled I was to find I had won another Afinia printer. I sometimes do projects that require a lot of printing and being able to have two running at once will really cut down my print times on larger print runs.