No, not my concept for Thunderbird 3, which I call TB3, and I’ve already printed a rather nice one of, but rather a concept done by someone else that blends the old, TV version with the new movie version in what I consider a very nice homage. It can be seen on Deviantart
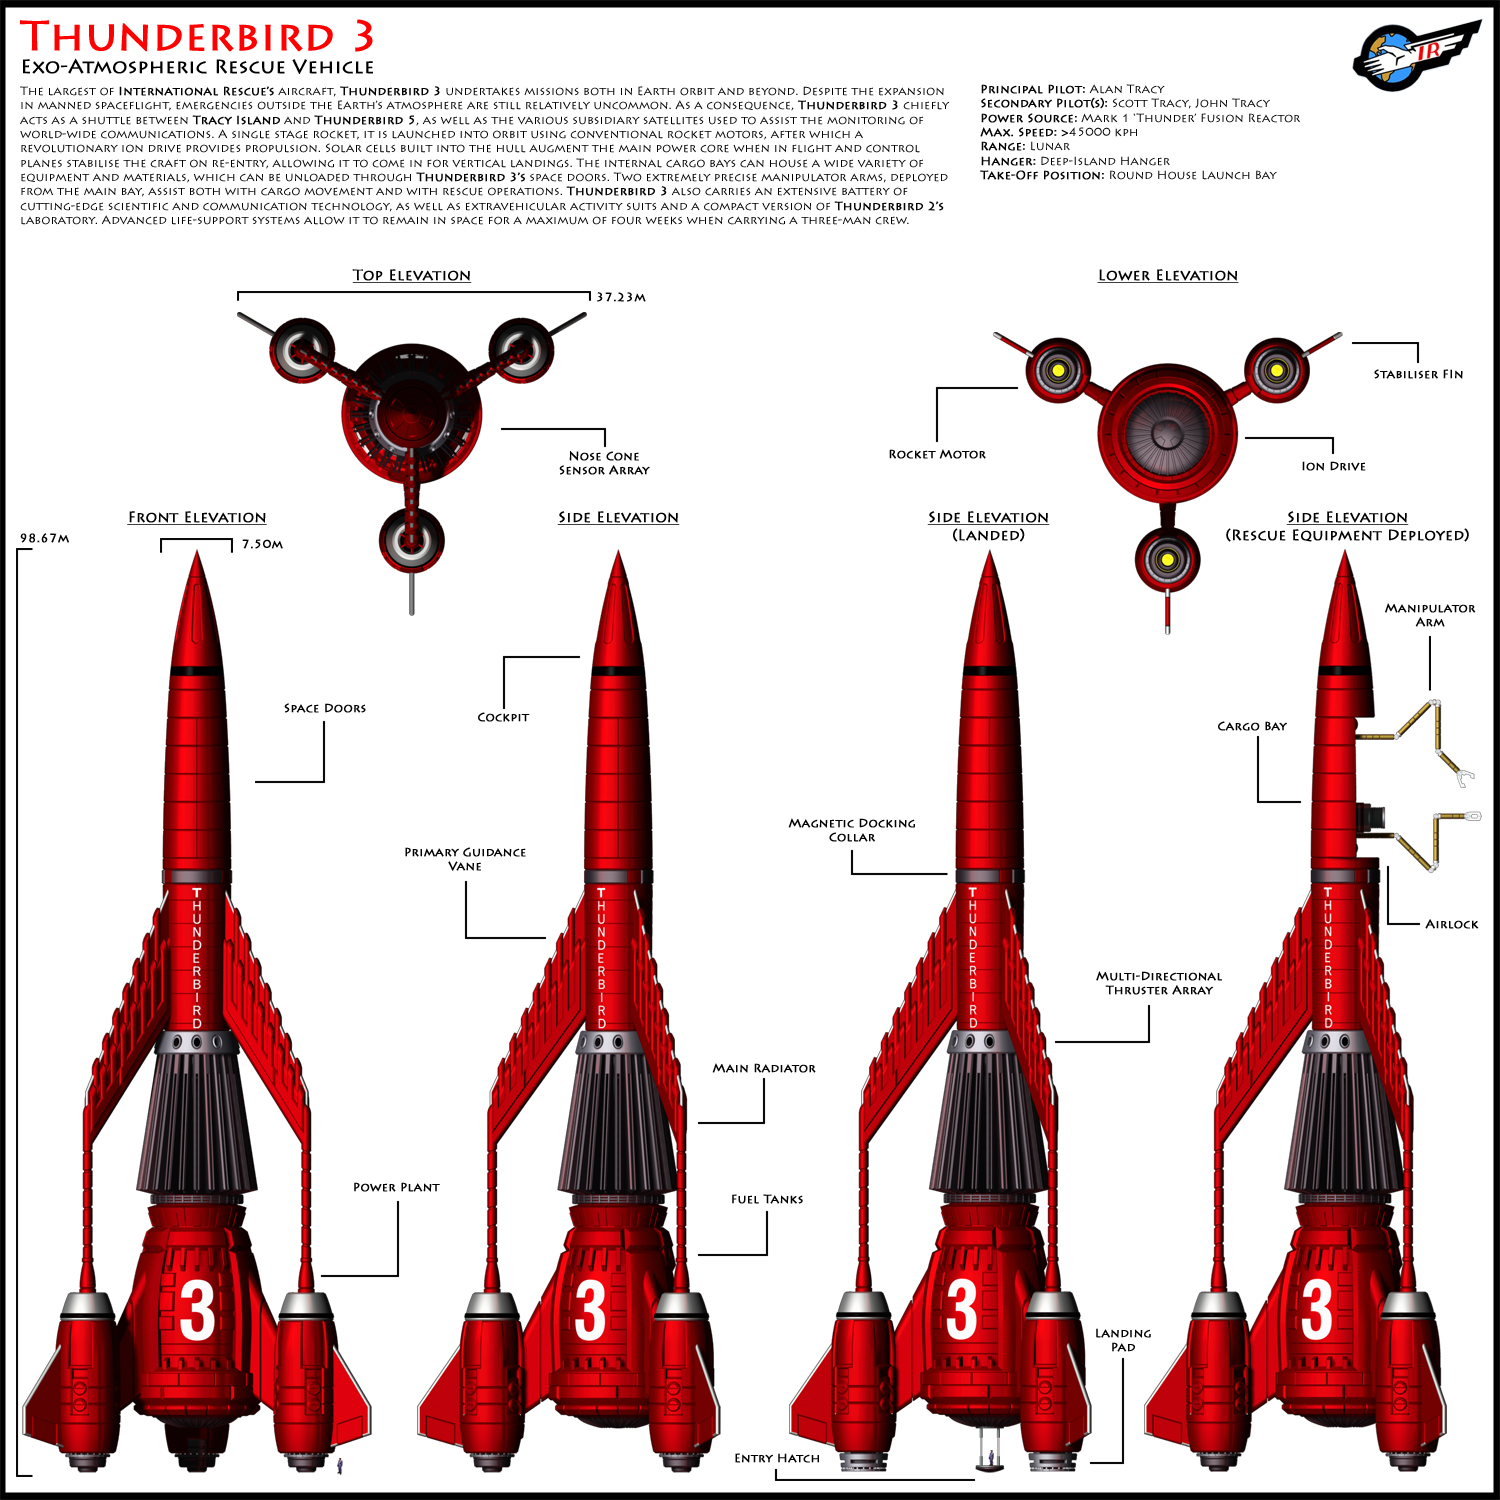
That’s the concept. Here’s the model as interpreted by a Thingiverse user, VanAllesWat.

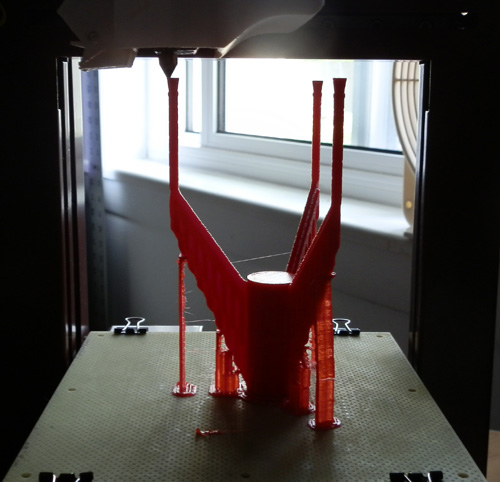
So I began by printing the most challenging bit, in case printing the lengthy struts was problematic. It wasn’t. It printed fine.
The model loaded into my Afinia software very tiny so I scaled it 15x, which will print a model just a bit smaller than you see in that photo.
Here’s the mid-section with struts:
It took about 2.5 hours to print this in .2mm slices in Normal mode.
I loaded in the nose cone and it came in much larger than the other pieces I have loaded in. I have no idea what scale it comes in at, so I loaded it in with the mid-section and moved the two parts so they line up and scaled the nose by eye.
I’m going to take this print opportunity to print some other smaller parts, too, like the engine pieces.
So I loaded all pieces in and they do not come in at a consistent size. So I imported the various STL files into Maya and re-exported them. Now they come in at a sensible size.
I am printing them, however, at 1.5x scale, to make it a bit larger.
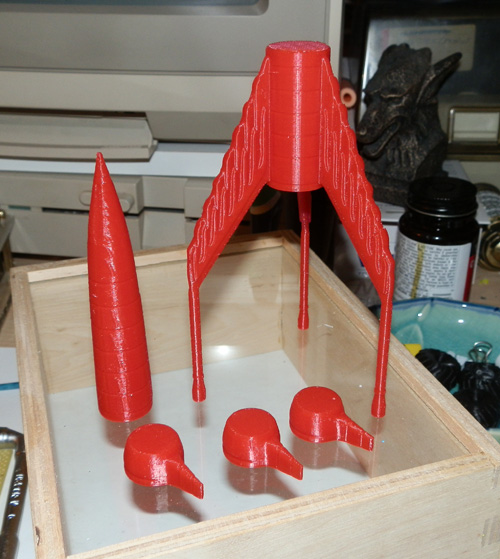
So the print I did (above) today was wasted, and now I’m printing this section again, along with the nose cone and the three engine bottoms.
Update:
I loaded all of the .STL files into Maya and re-exported them. Now they all load into the Afinia software at the same scale. I decided to begin printing again and printed the above piece a second time at 1.5x the new scale. With it, I printed the Engine Bottoms and the Nose Cone.
Even though it took longer, I used Fine mode, which is a slower print. I did this because by the time the print was getting near the tops of the three strut rods, the print was wiggling them significantly. This may have affected the shape somewhat so I slowed the print down. For most prints this is not necessary.
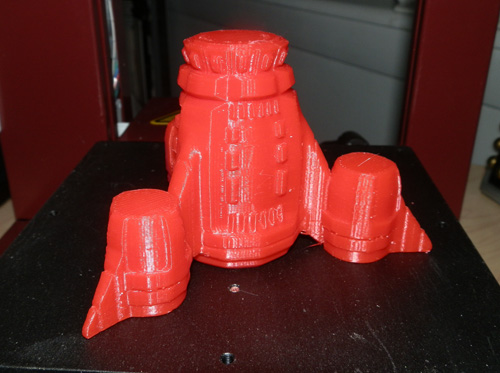
Then I loaded in the Main Engine section and printed it. Almost two hours later I realized I forgot to scale it to 1.5, so it’s too small.
Then I printed it at the correct 1.5 scale for a 3+ hour print.
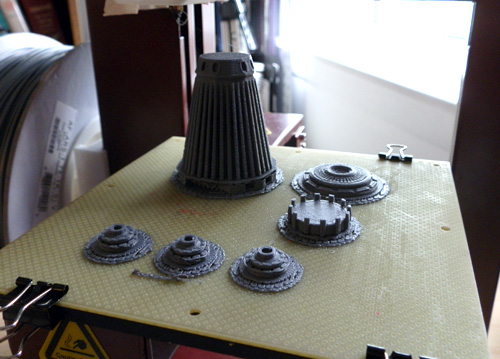
This morning I’m printing Vane section, the Engine Thrusters and Neck Ring in silver. On the above rocket they are black, but on the diagram they appear to be more silver. I’m thinking of mixing it up a bit by making the Engine Bottoms black, but the Neck Ring and Main Engine Bottom silver, with the Engine Tops white. I guess if you follow this page you’ll find out what I decided to do. I may print the same print in both black and silver so I can mix and match at assembly time to see which looks better.
A couple of hours later and the silver pieces are ready:
After a 14 minute print, I have now printed the Engine Tops, which I’m doing in white to be accurate to the original Thunderbird 3, and which the concept kind of hints at.
Then I decided to re-print the three Engine Thrusters and the Neck Collar in black, for contrast and variety.
Since some of the detail in the model went missing (due to the fineness of the widths being culled out by the slicing component of the software) I’m going to try printing these in .15mm Fine mode. But I doubt it will improve. That only determines how many slices, not how fine detail can get within any given slice.
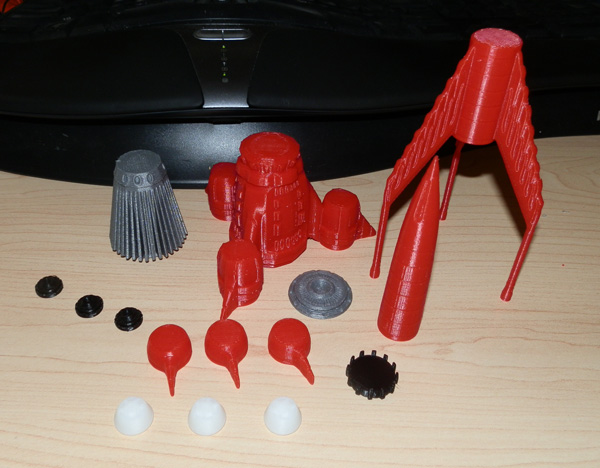
Here are the parts all together in silver, white, black and red:
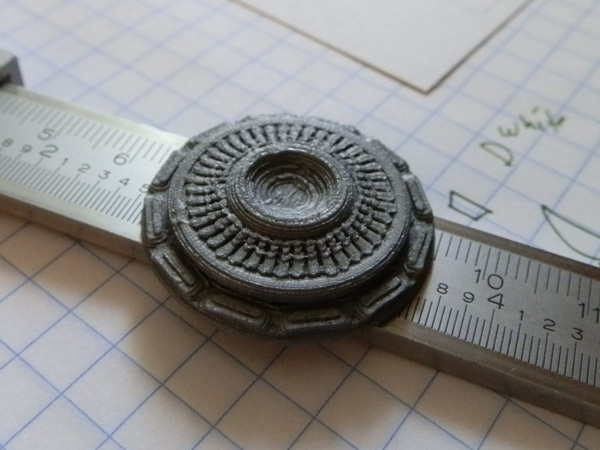
Before assembly I thought I would take a pic of the Main Engine Thruster just to show how fine the detail can get with the Afinia H479 printer.
Not bad at all.
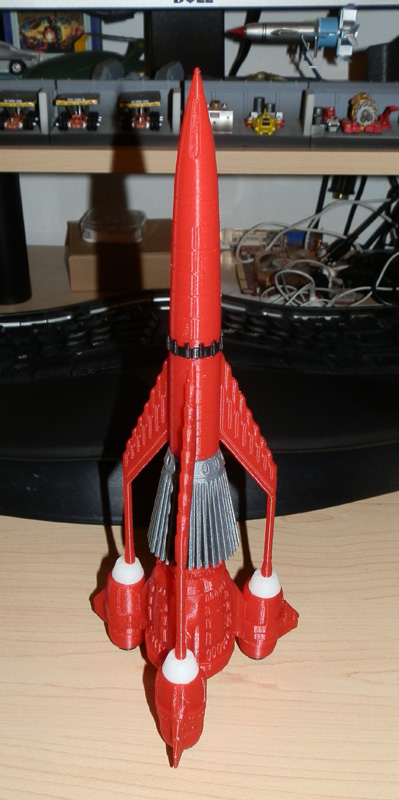
And here she is in all her glory:
Heh. A true Thunderbird fan will know why the background items are significant in this photo.

