
I spent last night scaling and altering my TB3 model to cut it into individually printable parts, with connecting holes and pegs, for a test print of the full TB3 rocket. When scaled, I ensured that no single part I intended to print would be taller than 5″. A bit less, in fact. And when completed, the full model should stand about 15″ in height.
I printed these pieces in white, so I used the premium white filament that came with the Afinia printer.
Then, when these were printed I withdrew the white plastic, and then attached the Universal Reel Kit and Filament Holder, adding the tubing that came with the Afinia. Then when I had the new assembly attached, I printed a very tiny object just to ensure the filament still flowed properly.
Then I switched the reel holder to the Octave holder and began to prepare to print in red for the first time.
I have to say the first part of this was highly frustrating. The Octave spool was wrapped in a cling-wrap plastic to keep the filament from unwinding. But the filament and the plastic had fused, and I could not remove the plastic wrap cleanly. After some considerable time trying to remove all the bits of shredded plastic, I gave up and just spooled some of the filament off until I had cleared the last of the wrap.
Note: I e-mailed Octave about this and within an hour they had replied with an amazing letter saying they were going to change the way the filament was shipped, and apologized, and offered to make amends. I was very impressed with their Customer Service.
Once I had cleared the reel of fused wrap, however, the printing went ahead apace.
I printed the nose cone and the neck section of the rocket in red. I printed this at 2mm thickness rather than the finest 1.5mm because there was not a lot of vertical detail, and it sped it up. (This is a test print after all.) I printed it in Normal mode.
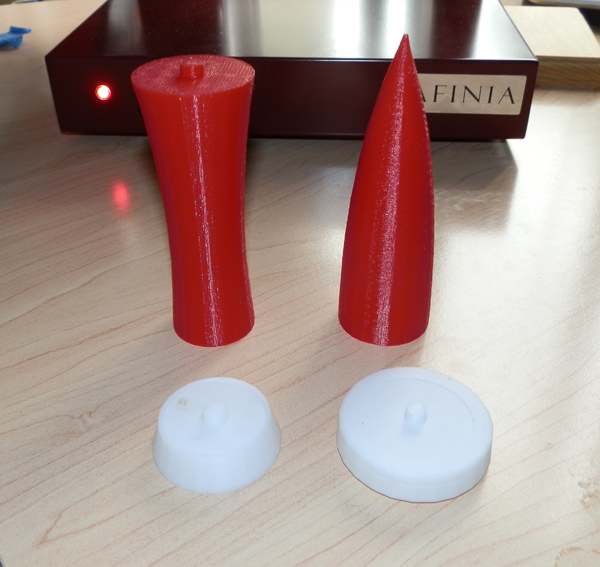
When printing with the lower quality red (not a Premium quality filament) there was fine spider-web-like filament stretched between the two pieces as they printed but only in two or three places. It printed fairly cleanly.
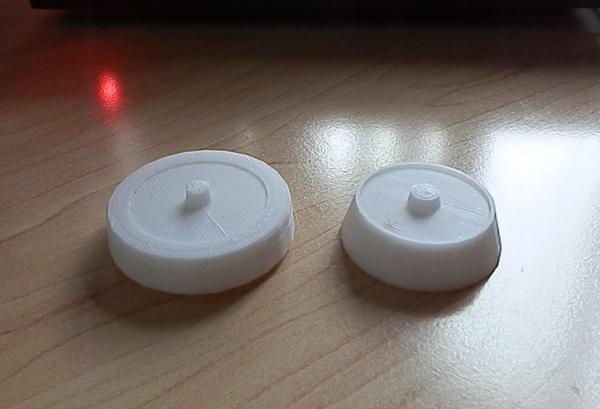
Here you see the body sections mounted onto the rings.
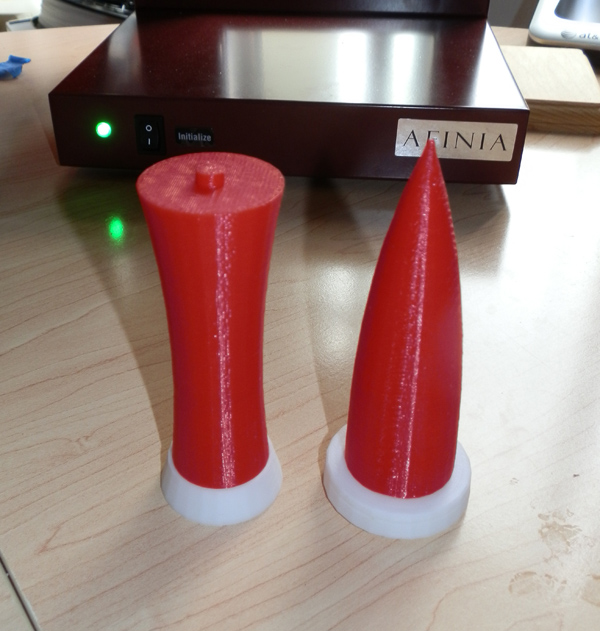
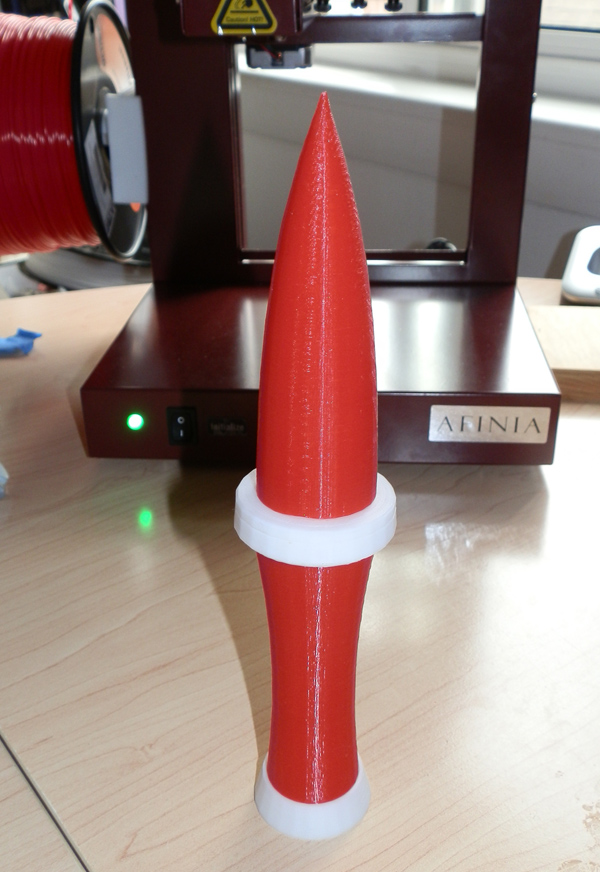
And here is the first four sections of the rocket assembled. These are just placed right now. No glue. I intend to glue the rocket together later. (I may also think about coming up with an interlocking connection mechanism that won’t require glue, but that’s much later.)
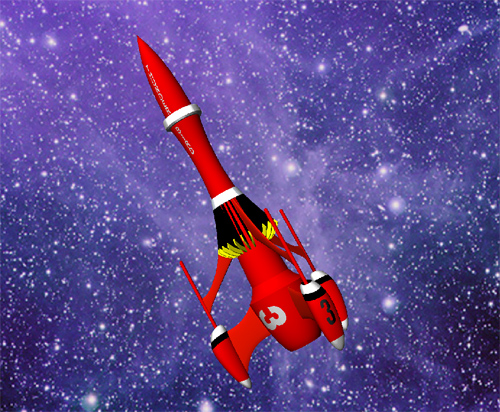
And as a reminder, here is the 3D model, so you can clearly see where this is headed.
I decided that the text on the rocket body won’t be a part of this project, not yet anyway, so I printed it without.
Impressive. I look forward to the finished product. Could you print it with the text if you wanted? Would it come out readable?
I’m not sure. I believe I could print the shapes, as they are 3D objects that I could extrude for depth, and then leave a hole for the text, but I haven’t done much experimenting with how tightly that would fit yet. I may have to have a gap to allow a fit. I will be playing with this later.