
The one thing I noticed when printing the Afinia spool holder is that the blue tape can cause a large flat print area to lift off the tape before printing, and this can warp the object. However, I also noticed when the thing was printed, that my printer is off calibration vertically. There is a calibration object and steps to fix this, but I haven’t done that yet. I was just basically putting the printer through its paces, and truthfully, the Afinia spool holder doesn’t need to be perfectly vertical to work.
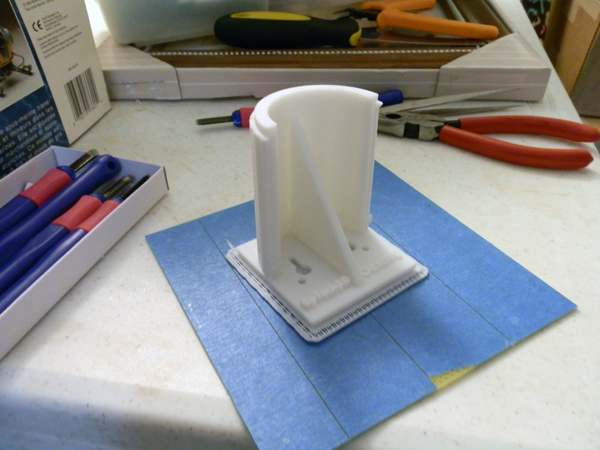
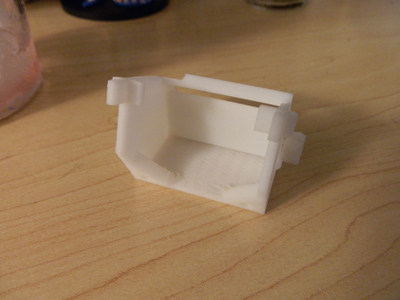
^ The Afinia Spool Holder hot off the presses.
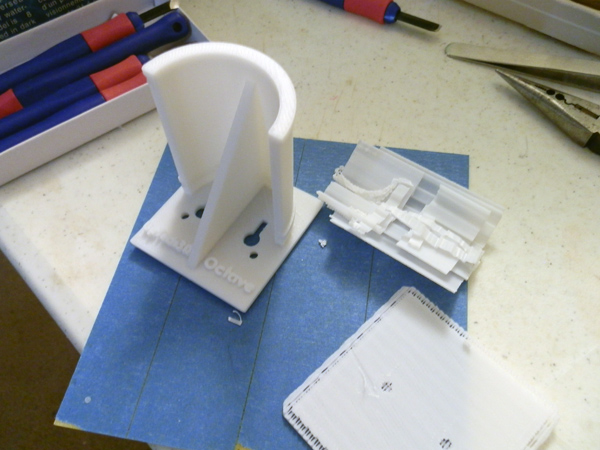
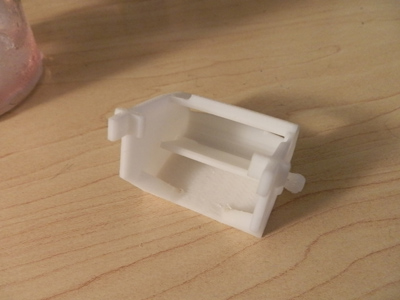
^ The Afinia Spool Holder cleaned up.
Note: During the printing of the Afinia reel holder, I came up with a way to do a single holder that should be able to hold either the Afinia reel or an Octave reel without changing it out. I’ll talk more about that later as I design it.
So next was the Filament Feed Mechanism. Two pieces. The first is a bracket that screws to the Afinia printer side replacing the current Afinia spool holder which has its own Filment feeder. This won’t be there when the Universal Adapter Assembly is attached, so Octave provides a Filament Feed Mechanism has to be attached to make up for it.
I printed the two pieces in one single run and it went perfectly using Fast mode and .25mm layers. But I found out something on cleanup. You really have to think about your support material.
I printed the Stalk Nipple so that the small groove that takes the filament (and feeder tube) is at the top. This was perhaps not the smartest thing to do because that meant for it to print a hollow cylinder inside (to fit over the base’s shaft) it had to print support material inside the hole. Oooops. Hard to clean out, and harder to smooth out. So it fits too snugly.
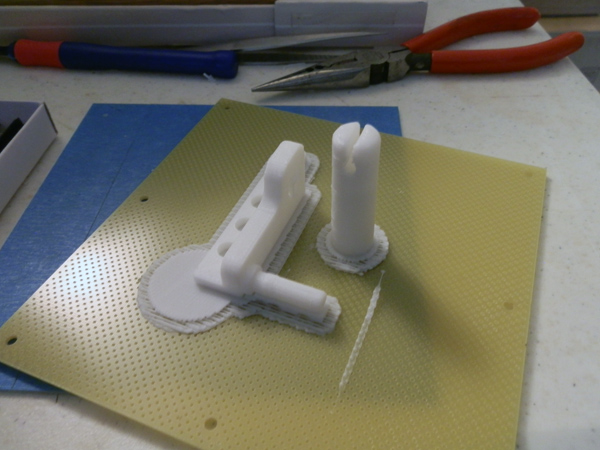
I then printed another version (using Normal mode instead of Fast) and I hope that printing it upside down may fill the slot with some support (easier to clean) but leave the inner shaft cylinder completely material-free. Funny enough, when it was done there was still material in the shaft hole. Oh well… It turns out the first one fit better, so I used that one. I had to file out the slot a bit to fit the filament smoothly so it wouldn’t kink while moving through.
Addendum:
I just noticed something not so great. There is a small tab underneath the fan on the print head housing, and the tab is attached to a shaft that comes from the housing under the fan. This is snapped. Probably happened during assembly. The printer has been working fine, but I saw this piece drooping. I e-mailed Afinia and they sent me out a file to – get this – print the entire fan attachment assembly!
They are attempting to repair my Afinia H-Series printer via e-mail!!! – I mean come on! How awesome is that?
So I printed it. It had a lot of support material because of its shape. And the handle didn’t print well. The little tab that rotates the fan baffle.
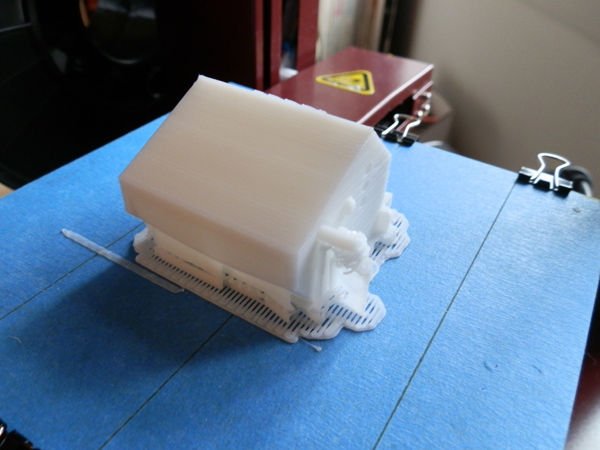
But check this out.
The tab is a rotation handle, and the shaft, printed in one go, allows this wind baffle to be rotated up and down.
Pingback: TB3 Rocket Test Print – First Printing in Red! | Huxter's Words