
The game I work on as a Technical Artist currently is Game of Thrones: Conquest. It’s no secret.
This past summer we worked very hard to introduce a new feature called Hero Cards, which players can collect and build up to help them in gameplay.
 (Pic from contconquest.com)
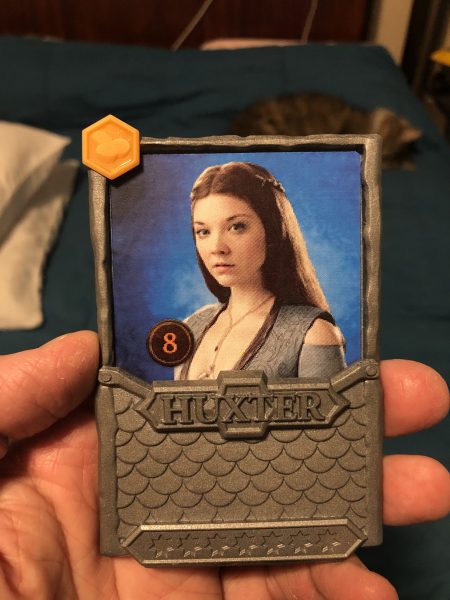
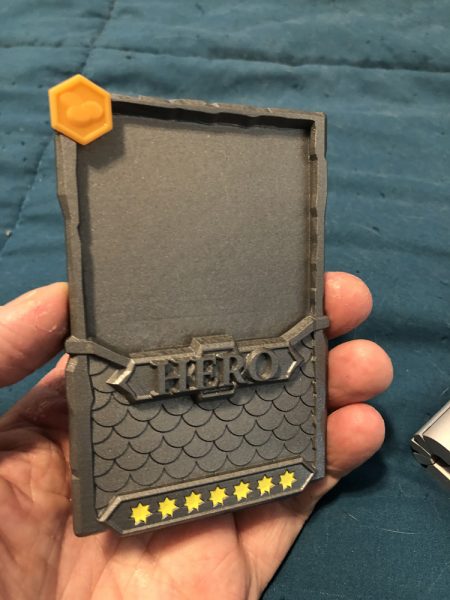
Each hero card is based on a character from the show and game. The card case itself houses a card, and has a symbol in a hexagon at the upper left.
For this game feature, I mostly supported the artists through profiling and optimization efforts to gain as much memory and rendering efficiency as we could, while delivering a lot of content.
A great team worked on this, and our Art Lead wanted to give the art team a token of appreciation for what was, believe me, a long and intense effort, so he and I threw around a few ideas, and eventually figured out that with my new Resin 3D Printer (an Anycubic Photon) I could put together something tangible the whole art team could have as a reminder of their amazing work.
But it had to be a surprise.
Only artists directly involved in the making of these gifts could be told. The rest were kept in the dark until they began arriving at doorsteps.
The Idea
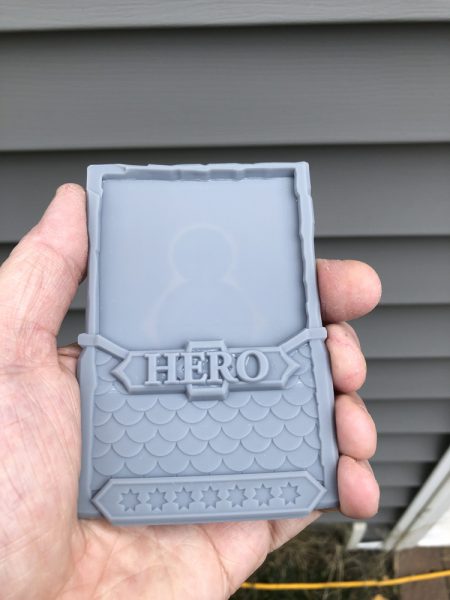
We hashed out the idea of doing a real solid hero card for each of the artists involved, with their name on the front, and a photo of them as a printed card that would be inserted into a slot in the body, and sit into the space provided by the frame.
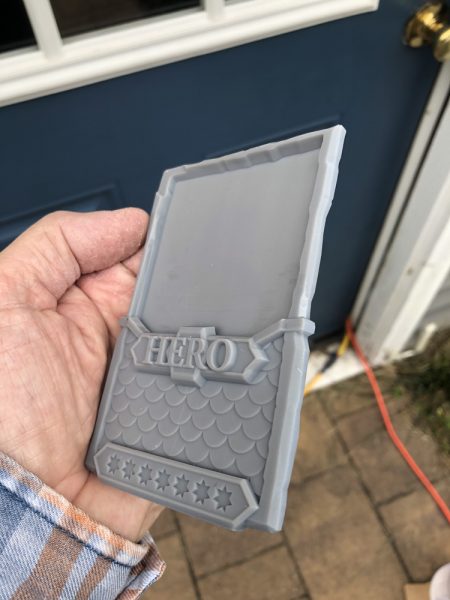
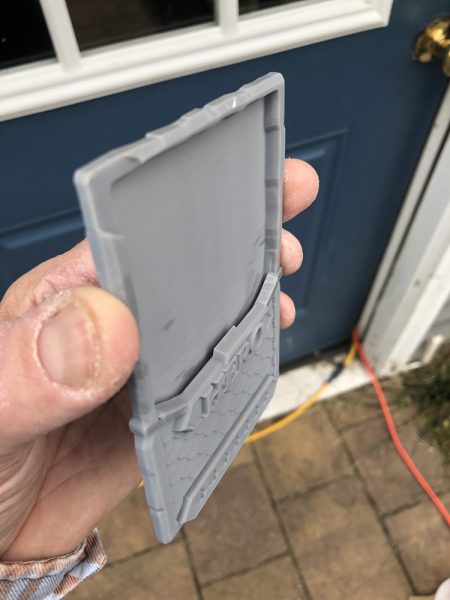
It started with an artist giving me a model of the card case itself in 3D that I could work with. I set it up as a solid 3D model I could print, and got to work. I had to make some alterations, and model some details that only existed in sprite art, like the scale mail lower front panel.

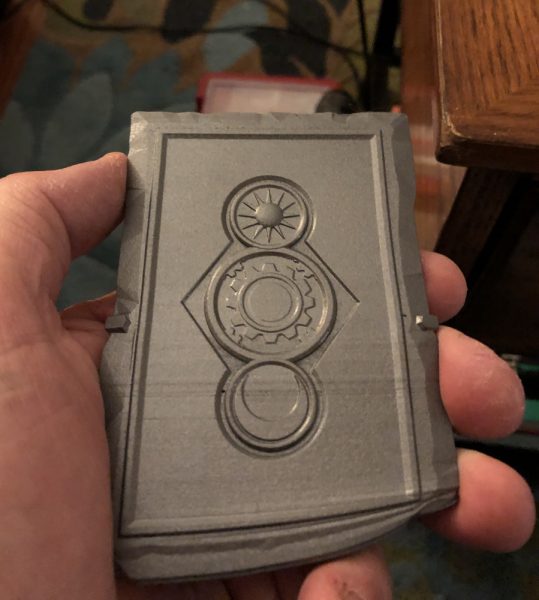
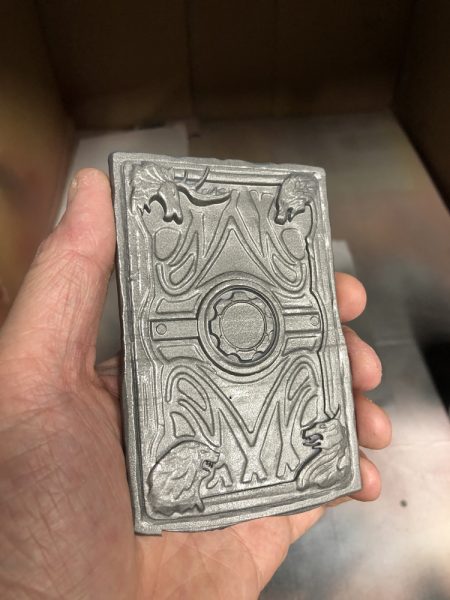
This is the 3D model of the back, but not necessarily the finished card, which was undergoing revisions throughout this time.
Here, you can see an early prototype 3D model, sitting on the print bed in my printer’s slicing software:

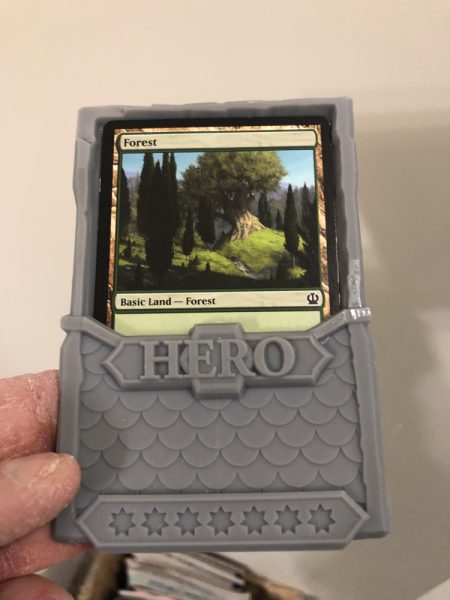
But I also was thinking a bit ahead. What else might a person want to use this card case for? I figured many people I work with play Magic: The Gathering, so I immediately made sure the card space could fit a Magic Card, or several, if needed. The gap is large enough to fit maybe four cards stacked.
The Prototype
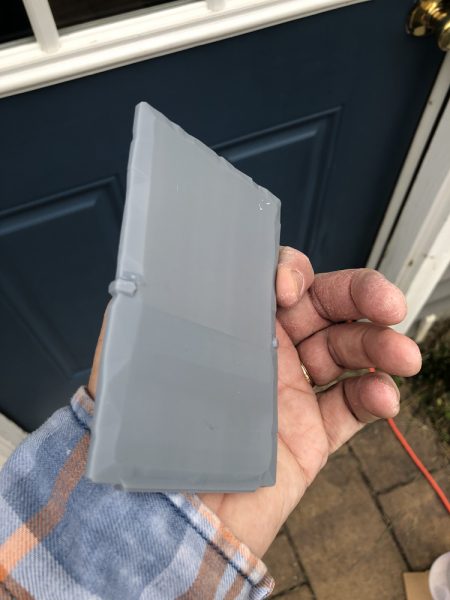
So I started printing prototypes before I got the final backing, and printed up an early prototype to see if it was even feasible.
Here, I printed a short base, to test even how I should attach it to the print bed for a good print. I wasn’t yet ready to print a whole card, just to see if it was even possible. I printed a section to test a few things:
- Could it print at all?
- Could I print it without a ton of supports that would “bite into” the model?
- Could I print a card gap that would work?
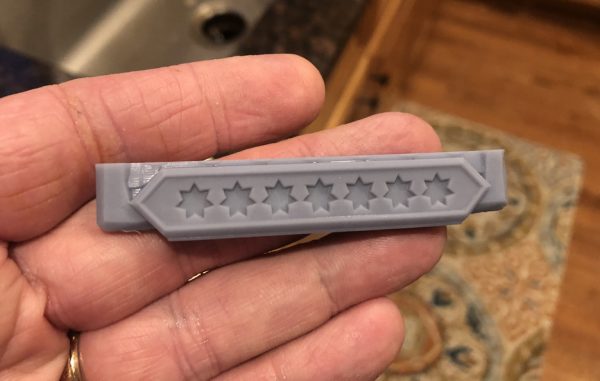
Though not visible in the art piece above, each card has a section for stars, to show their power and how much you have advanced them. For the artists on the project I decided they all deserved full 7 stars, and all filled out.
The early result:

Seemed I was ok to go with the project. I could print a card (likely) without too much difficulty.
But it was early days.
Here is what happens when the raft and support pull away from the bed when printing. This print (painted – see below) shows what can happen. The entire bottom warped because of print raft cohesion. It is one of the main reasons 3D printing with resin DLP technology can fail. If you don’t have the exact right bed leveling, the bed can be warped against the print bed just a hair, and it will refuse to hold, and while the rest of the print may work, that base is forever warped.
Many tests had to happen before I was sure I could even complete the project.
But it wasn’t long before I had a fully successful print:
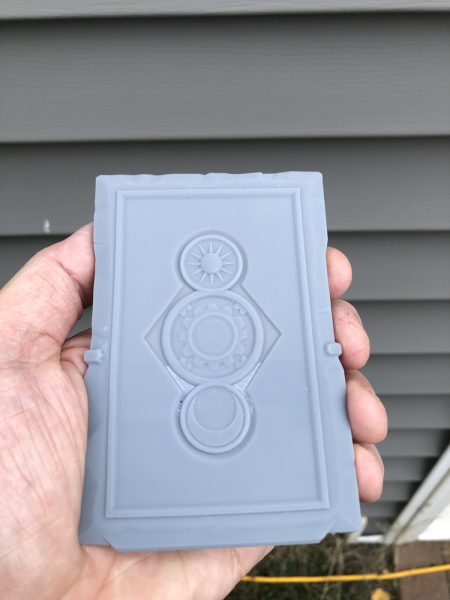
Early prototypes didn’t even have the back detail yet:
Early concept for the back: We changed it later.
At this point I tried a Magic Card in the space:

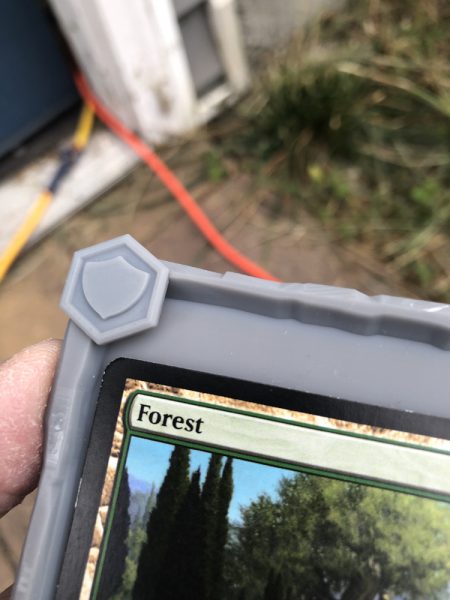
Oops. I did something wrong.
I did some adjustments to the card scaling, but the main problem was the card could slot too low into the case. I simply raised up the inner floor, and got a better result.
Painting
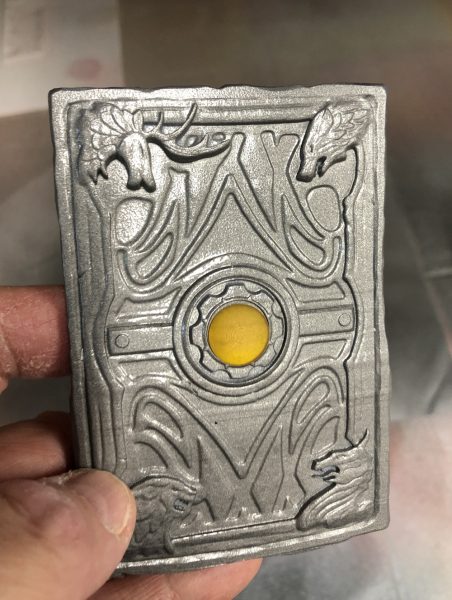
For the project the intent was to paint it like a metallic finish, but I wasn’t sure which color to use. While the final card ended up looking a bit more bronze, I went with a battered metal silver spray paint rattle can (Krylon?) and the result was not at all bad. Seen here in its more finished back:
But since the card has a very nice amber inset in the middle, I was lucky enough to have some very nice amber resin, and printed the inserts too, and they turned out amazing!
Finished Prototype
I soon had a pretty good prototype finished, to show. Using my own surname. Each finished card would have each person’s full name extruding from the front.
Then I had to figure out the best way to portray the stars. I played with simple yellow vinyl, cut out with my Cricut desktop cutter.
But while they were nice, the real stars are a gradation from orange to yellow, so I instead went with paper printed stickers, printed and cut with my Cricut.
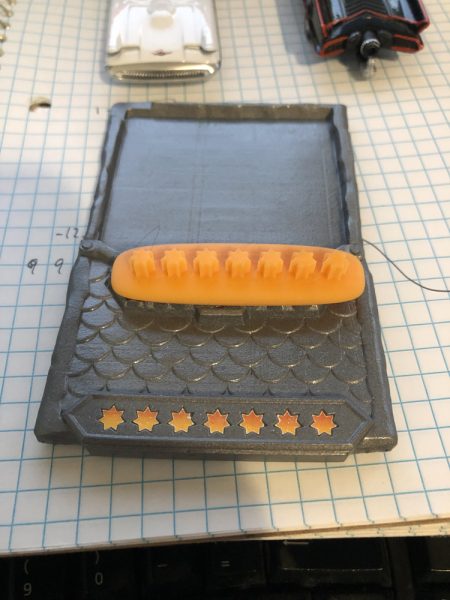
And since the stars were fitted into beveled spaces, I needed some way to press them in for a more permanent adhesion. I created a pressing tool that fits exactly into the star space, to ensure a solid stick.
Display Stand
During the prototyping period, it was suggested people might want a display stand, and I said “nothing could be easier”. Once you have a solid model, it is very easy to make a stand and use the original model as a boolean subtract to cut out the space needed for the card to fit into.
And here was another place we could use the theme of the art, gears, to make a great stand, and in the same amber color I made the back insert out of.
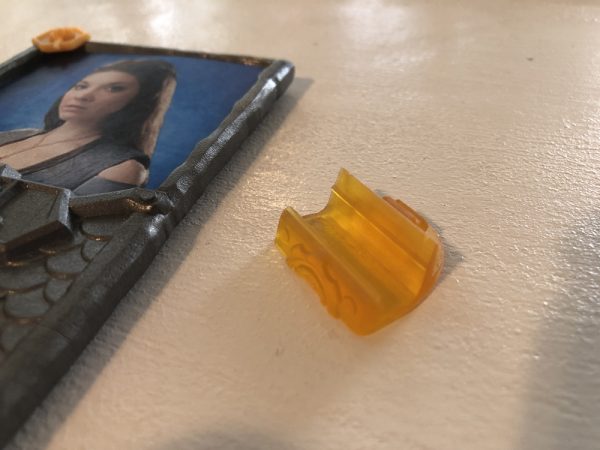

Here is a finished prototype, on display. Each card would feature a photo of the artist with their name.

The Package
But that wasn’t enough.
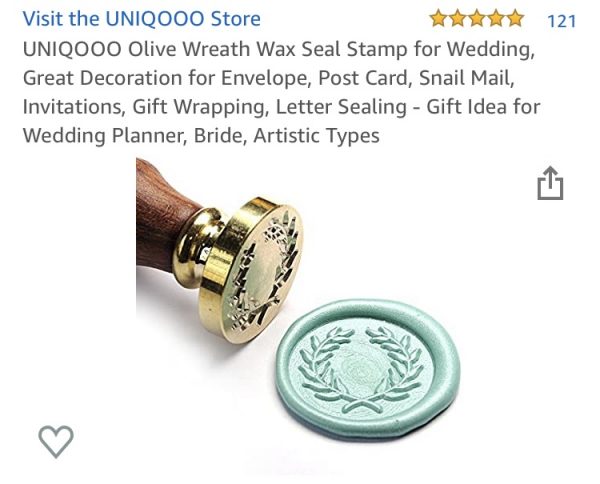
In the game, when you purchase Hero items, you see an envelope for a single purchase, or a pack for a larger one. It is sealed with a wax seal on parchment of different designs.
I was determined to deliver them in a pack with a wax seal.
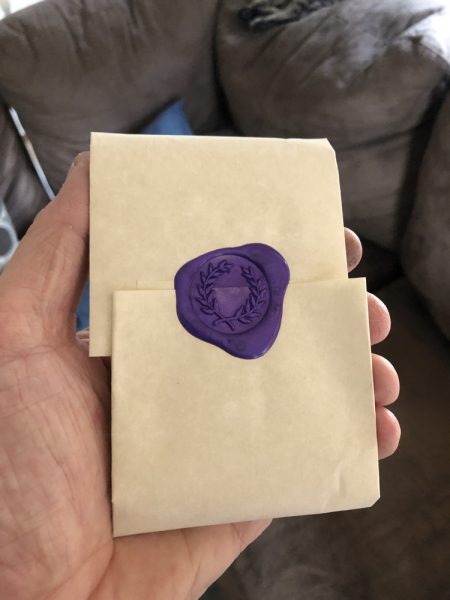
My Art Lead wrote a note of appreciation, which I printed on one side of parchment paper, which I then folded each card into and sealed it with hot wax using a wax seal I purchased.
And sealed each card inside a parchment note of appreciation, in purple was, with a symbol that was very similar to the actual symbol used in the game, in a purple color that was also one of the colors used in Hero Card purchases:
Mailed them all out when they were done, and – duh… I forgot to mail out the stands with them, so I had to mail out a second mailing later!
But in the end, every artist working on Heroes got their own Hero Card.