Konami has made some of the most beautiful small-scale models of the Gerry Anderson vehicles, including an amazingly comprehensive set of Thunderbirds rescue craft, pod vehicles, and dioramas including a gorgeous line of Pod Vehicles in their bays, under the depths of Tracy Island.
But their Space 1999 Eagle is one of the nicest.
A while ago I posted a pic of a Space 1999 Moonbase Eagle Launch pad, scaled to the tiny ERTL eagle that came with the Moonbase Alpha model kit done in the 1970s by AMT and re-released by ERTL in the 1990s. Here it is again:
But this was kind of a serendipitous item. I had never really intended to make a shadow-box diorama like this, it just worked out that way, and I’m glad.
But the base you see here was originally intended to serve as a diorama display base for my Konami Eagle. The Eagle measures just over 11cm in length, and to create a launch pad to scale would mean it had to be about 15-18 inches in diameter, which isn’t going to happen.
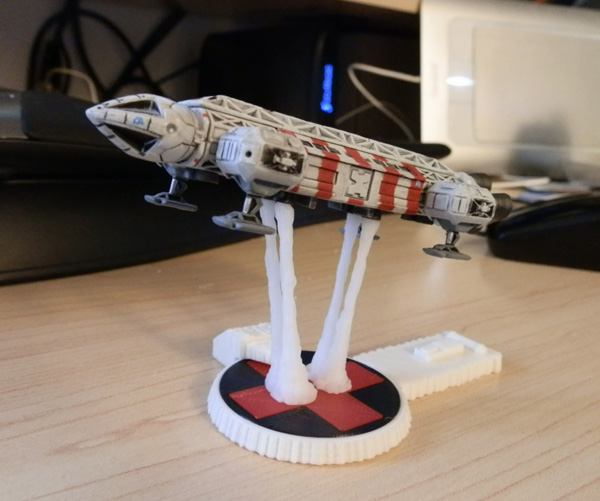
So I thought “What if I made it a forced-perspective take-off scene, with the Eagle hovering above the pad as if it had just launched, from a camera angle above, meaning the base would look smaller.
So today I’m printing just that. I spent an hour or so modeling a template piece that fits into the underjets of the Eagle (the thing some people may object to is that the jets are those under the passenger pod, not the main Eagle lift jets. But there are a couple of good reasons to use those and not the main ones, the most practical being that if I suspend the Eagle by the main lift thrusters, the pod will not stay in place. It sits there by friction, and it’s not very tight.
So heck with it. That’s how it is.
First I scanned the underneath of the Eagle and brought the image into Maya to scale, and used that image to place four pegs that would fit perfectly into the underjets of the pod.
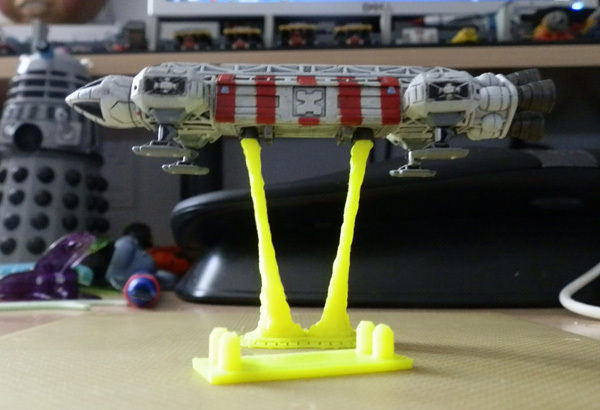
Then I used the Sculpt tool in Maya with some lattices to shape the exhaust trails, and made four unique smoke trails, printing them in test yellow. (I really dislike this yellow, so it serves a great purpose as a test color.)
Here’s the trail printing:
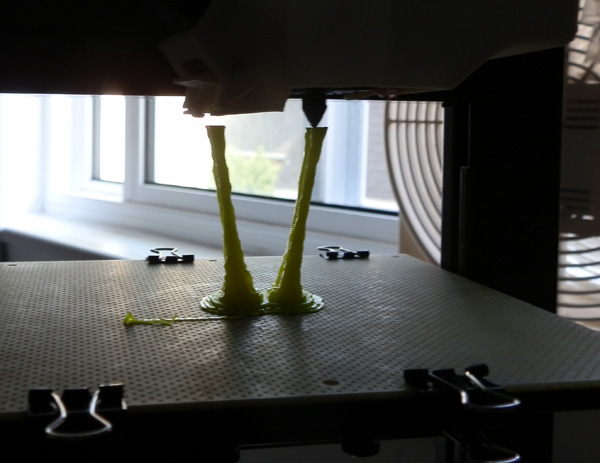
They get rather thin, so I was worried the print wouldn’t work. I had no reason to worry. It worked out fine.
Here is an image of the test print with the Eagle looking down, and looking from the side. The yellow rectangle is the test template for the pegs.
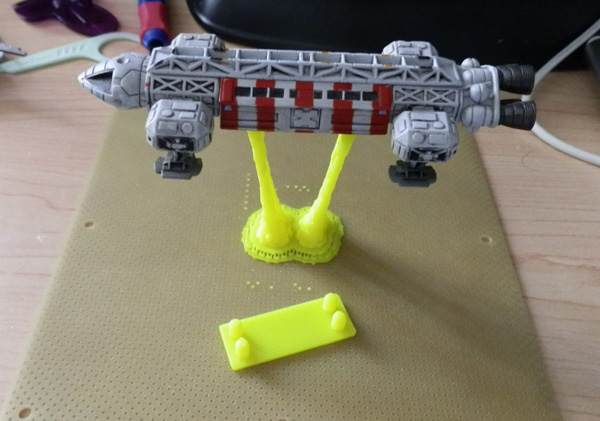
I then modeled peg holes in the bases, and pegs in the Landing Pad base, with holes in the red landing pad cross. It should all just snap together.
I am currently printing all the white parts. Updates later.
My hope is that by scaling this whole process up by two, (for the base at least) I can make a forced-perspective display for both my 12″ ERTL Model Kit as well as my 12″ Product Enterprise Eagle Freighter. That remains to be seen, as the Freighter is rather heavy. Perhaps I’ll model the display for the Freighter to be the Lunar Nuclear Waste facility instead. For that, you will have to stay tuned, it’s not on my top priority list right now.
Update:
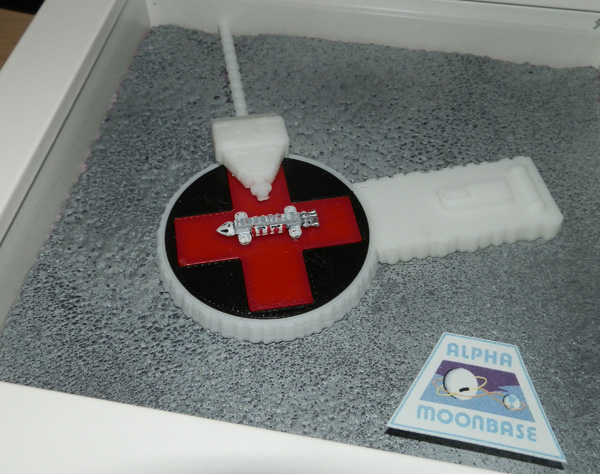
Here are all of the parts needed for the display stand.
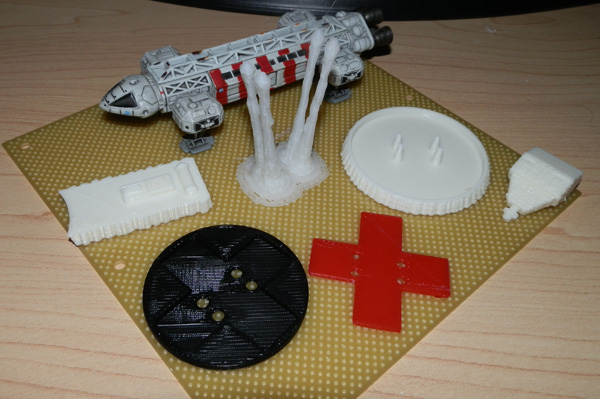
The Afinia printer tends to do flat surfaces on the diagonal. This is not terribly good for this particular application. I’m going to re-print the black and red deck sections on a 45 degree angle to make the striations in the surfacing align with the angles of those pieces which will help.
I am also designing a second plume of smoke that angles the Eagle slightly upward. That’s not done yet. For now, here is the Konami Eagle on its display stand:
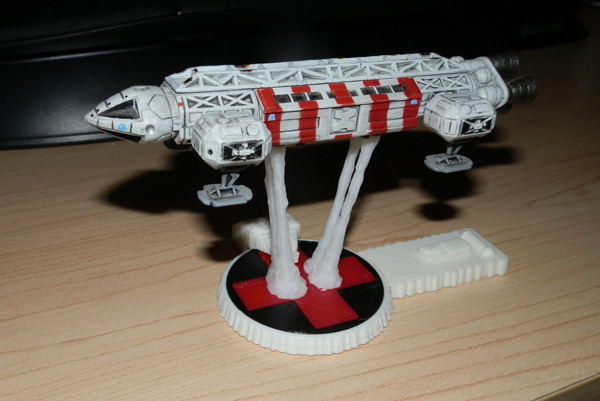
And here it is with the tilted jet plume: