As some of you may know, I entered three design contests at 3DAGOGO in December. Turns out I won all three, and won two reels of filament and a 3D scanner!
But I also won three t-shirts declaring the win. Like a trophy.
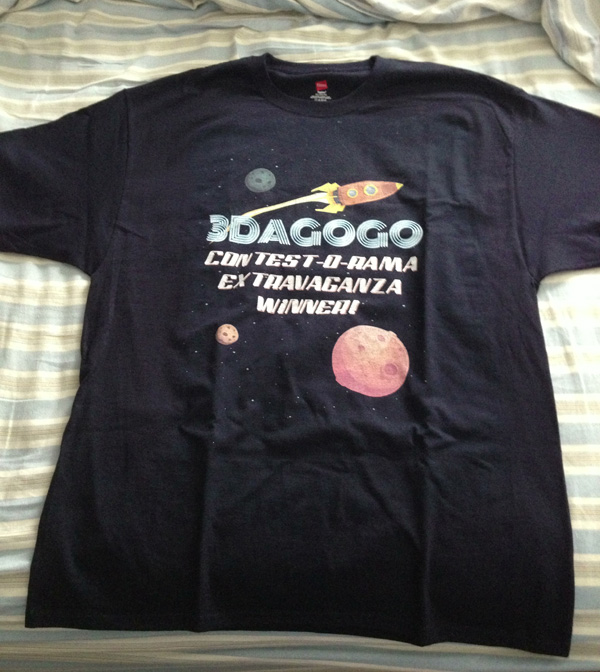
I really liked the cool rocket ship and thought, you know what would make a better trophy?
Exactly.
Today New England got socked with yet another snow storm and the weather reports were so bad for later in the day that driving would be dangerous. So my company shut down for the day.
I took the opportunity to watch a movie or two (“Battleship” which is universally panned, but I don’t know why. I rather enjoyed it.)
But during the day while doing various other things, I sat down and modeled the rocket seen on the 3DAGOGO shirt.
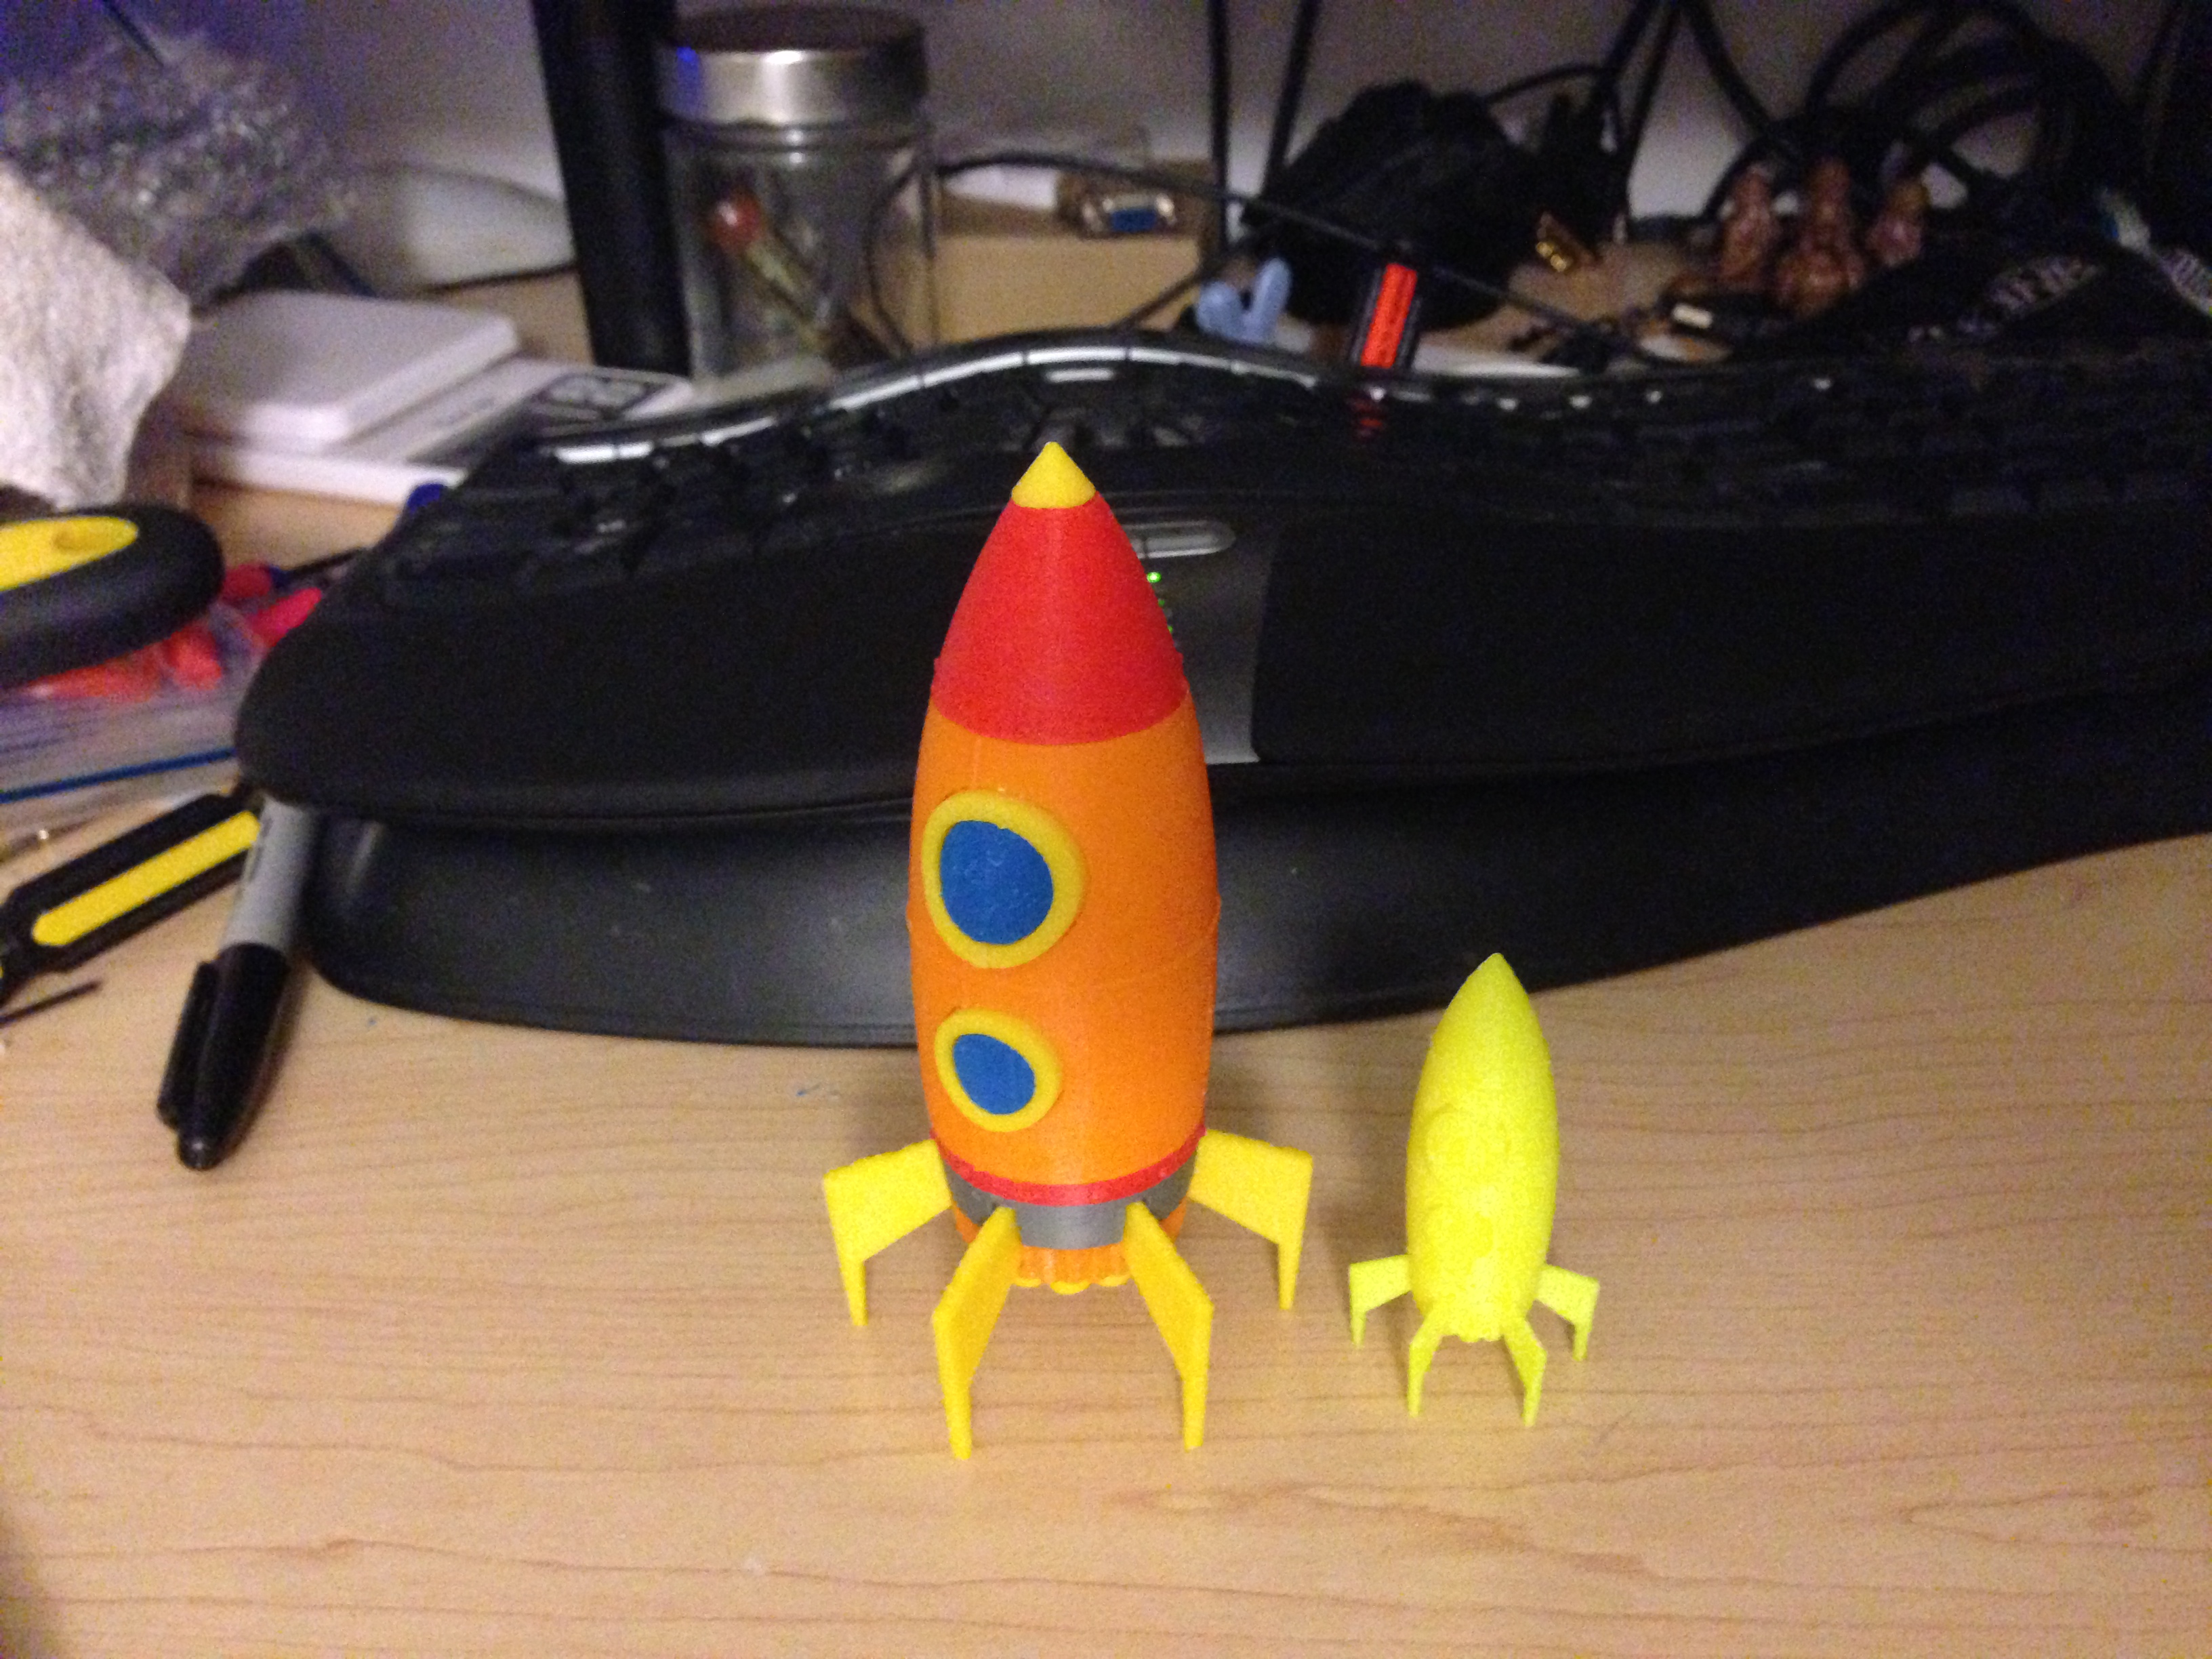
Here is the first test-print, which is about 6.5cm tall. It was a proof of concept, printed in my go-to test color, neon yellow (so the photo sucks. This color just does not photograph well.)

Concept proofed, I went to work printing the five-color rocket ship, starting with yellow, which had the most parts, but not before doubling the scale.
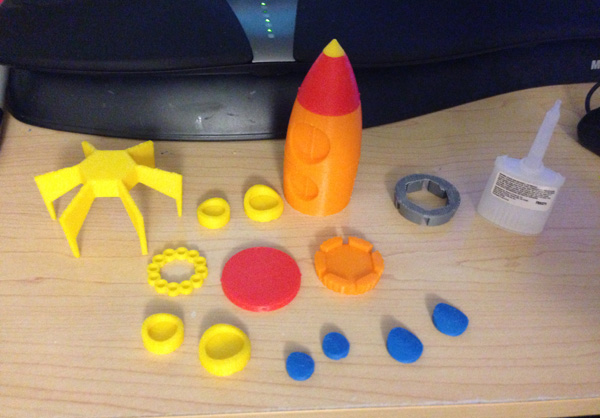
Here are all the parts laid out:

Here, I have assembled the main body in orange, the top red body section and yellow nose cone:
Here, I have glued on the bottom red section with the engine cowl in silver: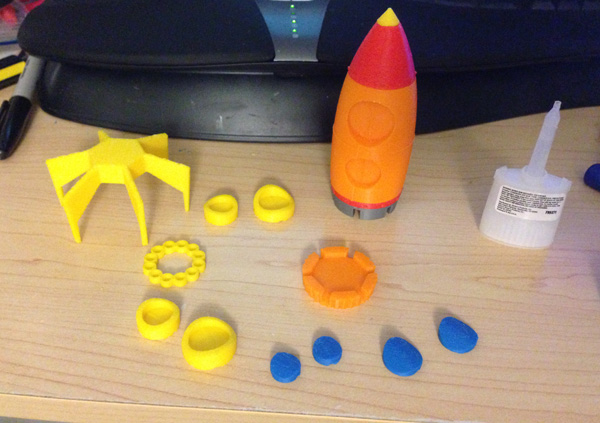
Then the fin section snaps into the grooves of the engine cowl:
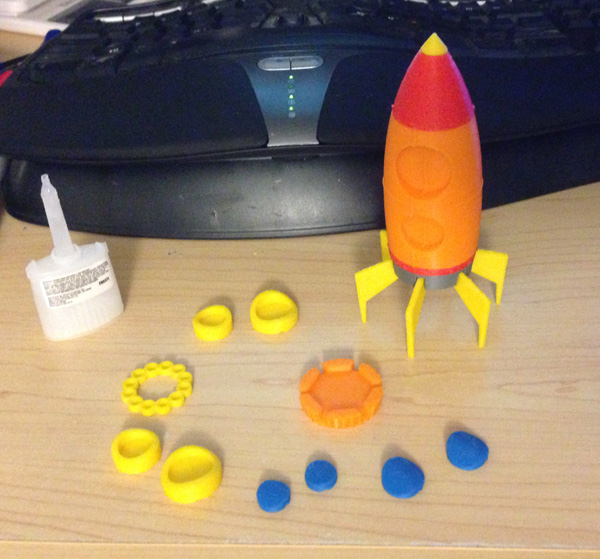
Then the orange engine section snaps onto the remains of the fins: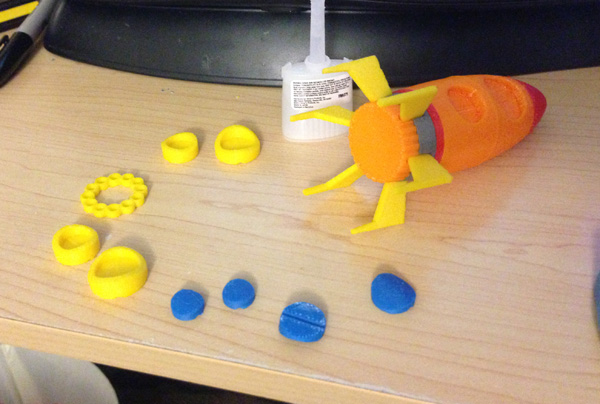
Not shown well here, the engines themselves (the ring of yellow circles above – a slight embellishment on my part since the T-shirt is very vague on this area) are glued to the bottom section and a strong rubber band is used to clamp the pieces together while the Krazy Glue sets. Meanwhile I glued the blue window “glass” into the yellow window frames: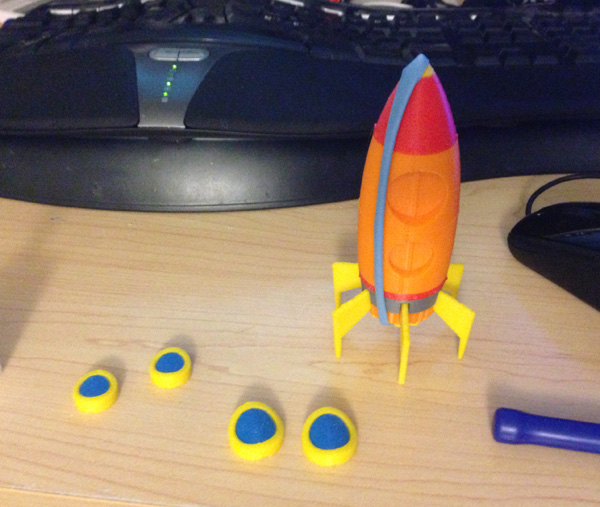
Then the windows are glued in place and clamped: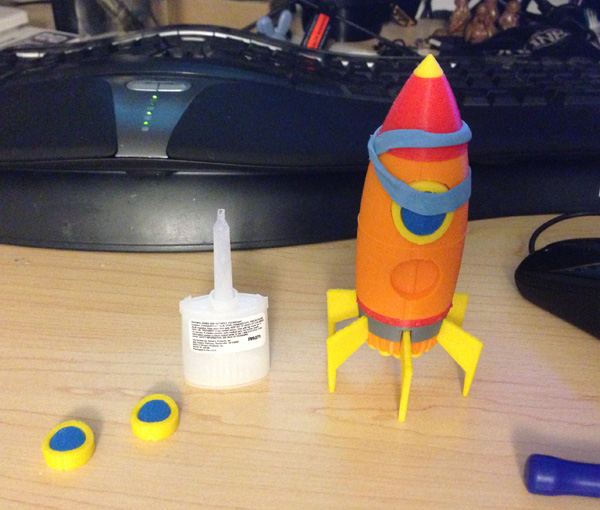
The finished model next to the test-print. Believe it or not, the larger one is 2x the size of the smaller one but looks quite bigger:
And here I placed the model rocket on the shirt above the graphical version. I think I nailed it! If you think the fins don’t angle back enough, you may be right, and my next version may address that, but I think it’s mostly due to the angle of the photo. In the shirt graphic, it’s angled back more, and the fins disappear into the perspective cone towards the back. The plastic model doesn’t, not at this angle, but does at others.