
Last year I posted an article about my 3D printed Adventure Team set, the Action Pack Backpack Drone Surveillance. I designed it and 3D printed it on my Afinia H479 printer. Originally the drone was white with black structure and red highlights. The backpack was orange and black. These are acceptable Adventure Team colors.
But I decided I wanted to see how it looked in the more typical Adventure Team colors of red and yellow. I bought some Afinia Premium Red filament for the first time. (I had some Afinia Premium Yellow before, and I printed my Backpack Jetpack with that material.)
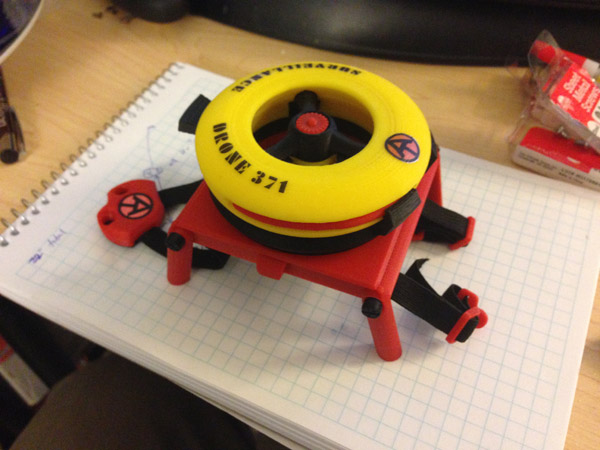
The result is pretty nice:
Note: To apply my laser-printed water-slide decals I had to do some experimentation. These decals do not stick to ABS plastic. I discovered that spray-painting the top part with a satin clear coat paint, the decals would stick pretty well. Another spray coat over it and it should seal them down nicely. (Of course rough treatment may still make them come off.)
The Parts and Assembly
You saw how the drone was assembled (though in a slightly smaller scale it is an identical process) in my post about the Cotswold Deluxe Midnite Mission set.
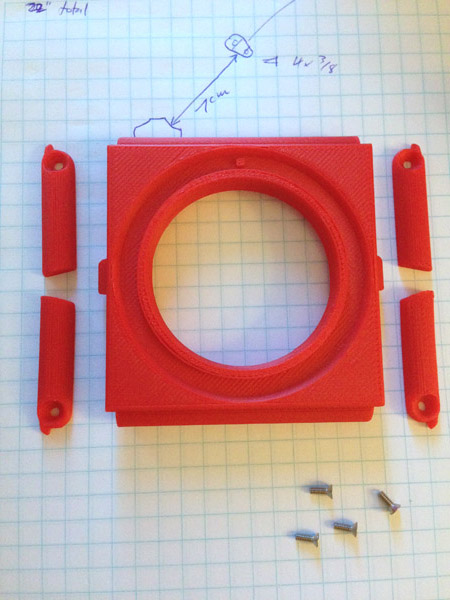
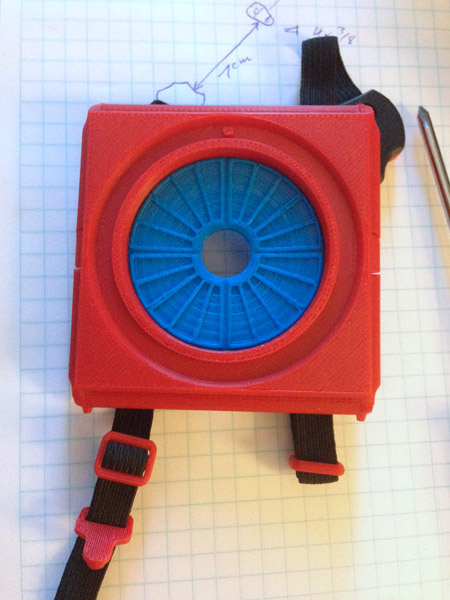
The backpack frame, legs and screws:
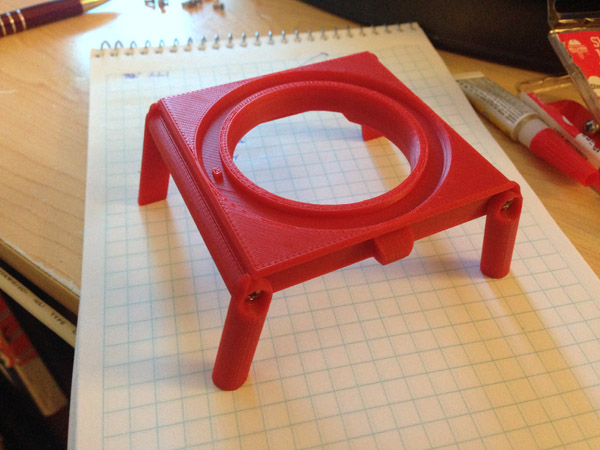
The legs form the side of the backpack when being carried, and support the frame as a launch platform for the drone when in use:
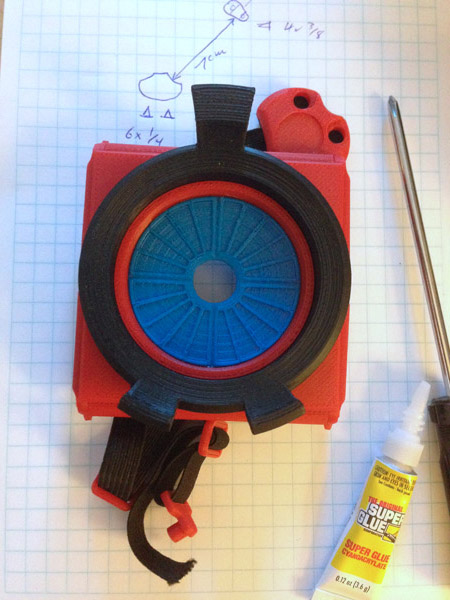
Next, the harness. It is comprised of a 22-inch strip of .375 inch wide black elastic. First, I fold the elastic in the middle and place it into the space modeled into the harness bracket front half. While this picture does not show it, the red half has a channel modeled to fit the elastic on a folded angle.
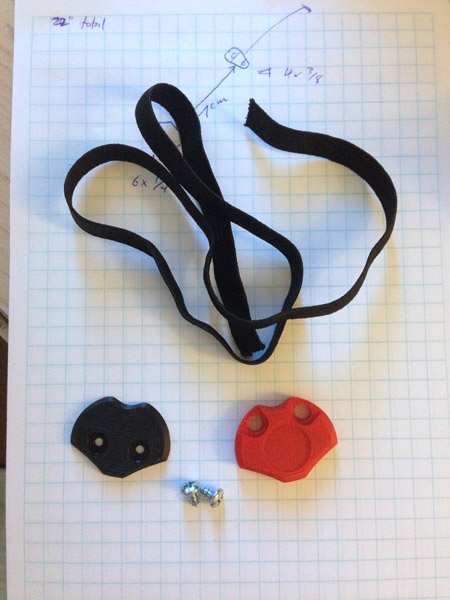
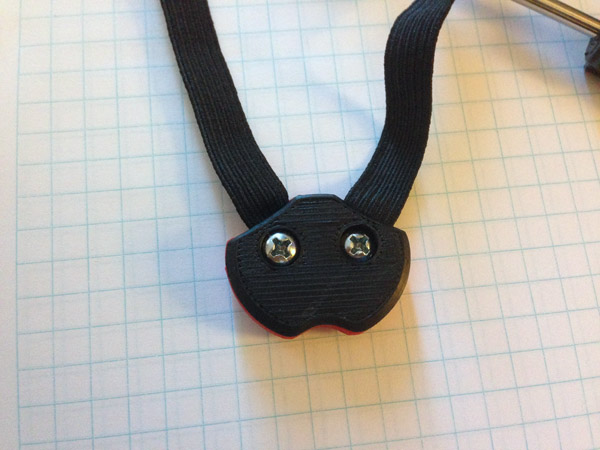
Then the two short, stubby screws are screwed into the black back plate through the elastics to hold it firmly:
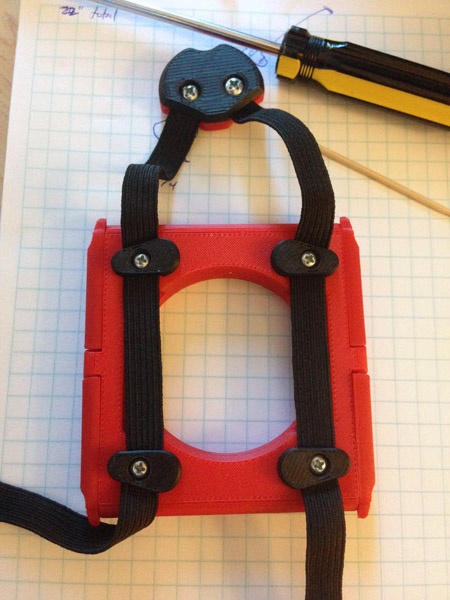
Here are the four black strap brackets that will hold the elastic harness in place on the frame:

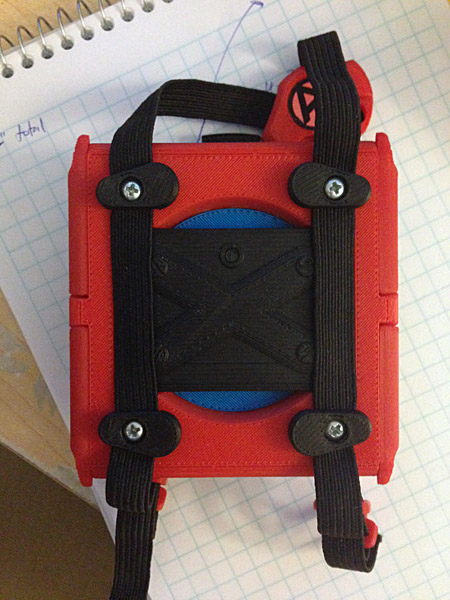
The elastic is carefully placed so there is a 7cm distance between the top bracer and the harness chest piece. A screw holds the elastic and the bracer in place firmly. Then the elastic is stretched somewhat (consistently) to the lower bracer and that is screwed onto the frame. There is equal tension between the two bracers for a purpose:
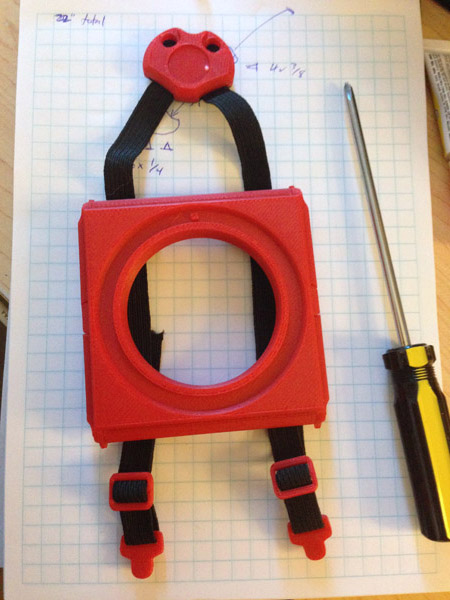
Next the strap adjuster and harness clips are placed onto the elastic strips:

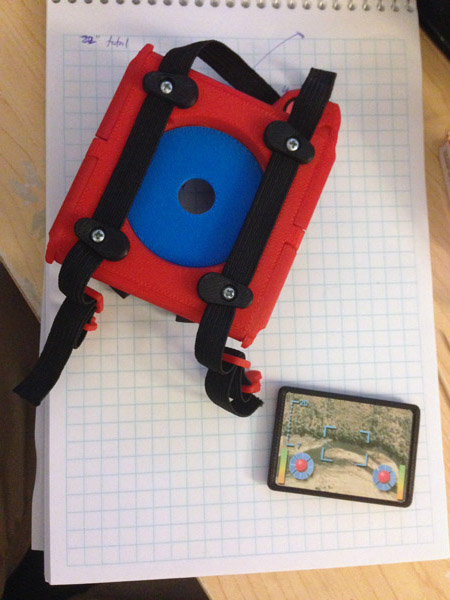
The completed harness:
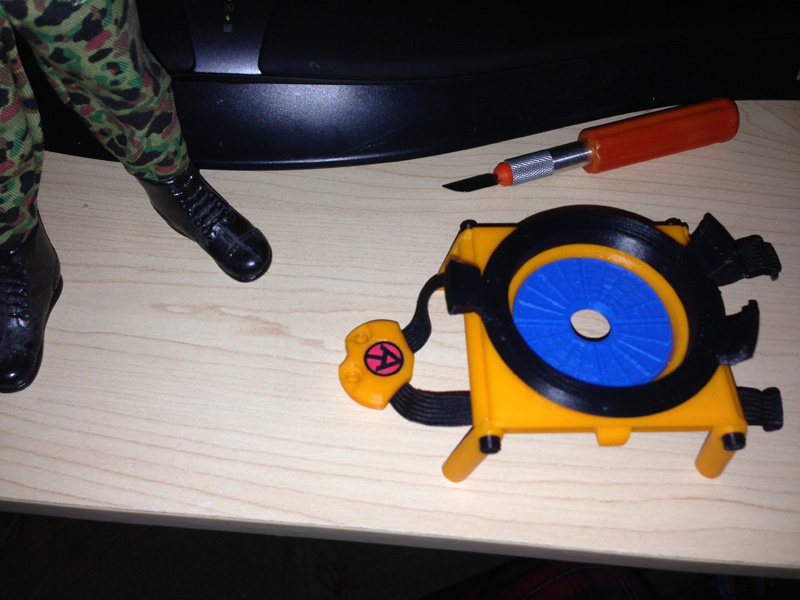
Next, the solar cell (which charges the drone’s recharging batteries when it is in the air) is glued to the circular aperture:
On top of this the drone’s holding tray is glued: The drone fits perfectly between the three clips, and the top clip is used to free it by pressing gently until the drone is released from the grip of the tray.
Here you see the touch-screen tablet used to fly the drone, and to monitor the drone’s camera capturing ability. This is a single printed piece with clear-coat and a glossy printed screen spray-glued (with permanent glue hopefully) to the surface:
Ok, I’m going to claim some cleverness now. This tablet stores perfectly flat in the backpack frame in a cavity modeled to fit it, held in place by the harness straps:
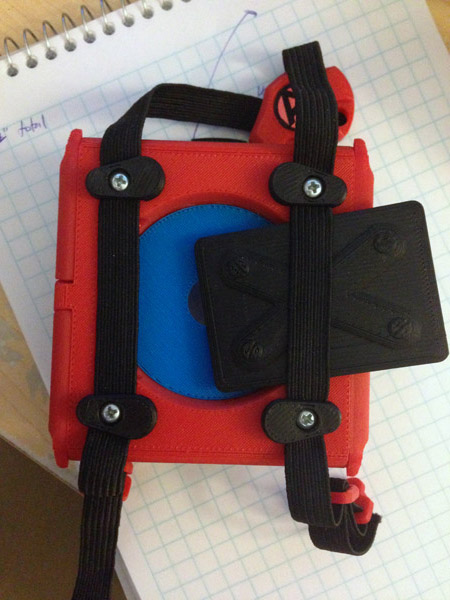
Here it is, stored fully:
Lastly, for the backpack, these four black “bolts” are glued onto the legs (so as not to interfere with the screws) to finish off the look:

Et voila:
Pingback: GI Joe Jetpack V2.0 | Huxter's Words
Pingback: Huxter Industries – How I Got To Work With Cotswold Collectibles | Huxter's Words