
From a previous post, you saw the basic work behind the design of a stable, solid display base for my Offworld M2019 Blaster replica.
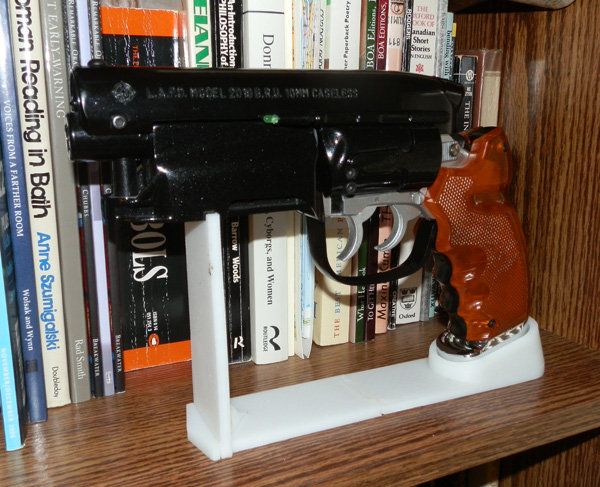
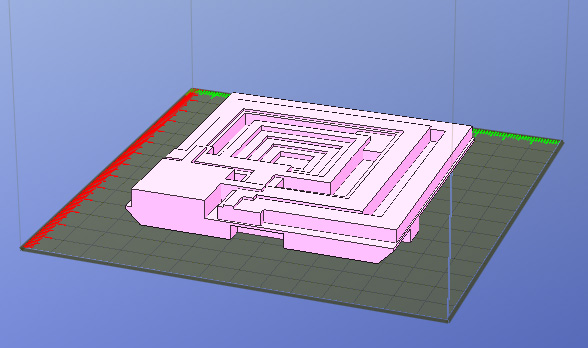
Here is the finished model:
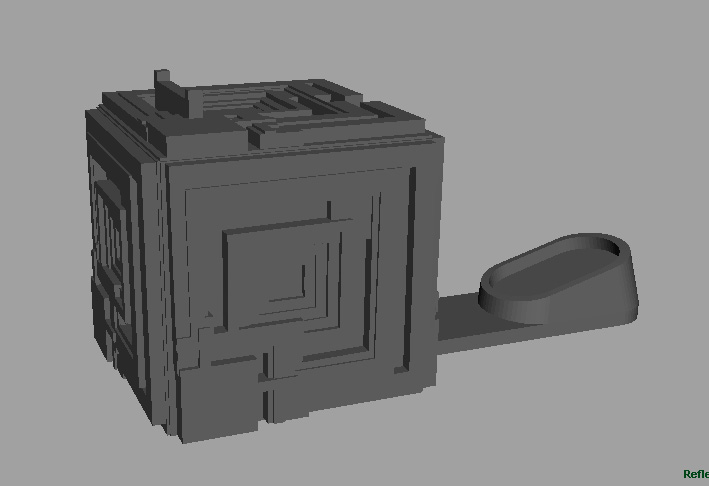
Hidden inside the block are the changes I made to print what I hope will be the real model.
– The front, left and right tiles now have interlocking connections for a solid join, as well as divots at the bottom to fit a bottom bracing part
– The top tile has the barrel holding brace built in. (It’s just two meshes combined, but it should print cleanly.) It also has a cut in it to accommodate the pistol trigger guard
– The rear tile has a cut in it to accommodate the pistol trigger guard, and a chunk removed from the bottom to fit the pommel stand
I’m starting by printing the top tile:
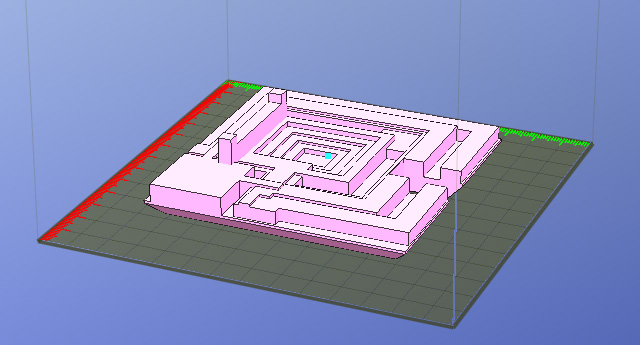
Printing at .25mm, Normal, with hollow fill – I could have printed this thinner, but there is no detail to catch. As long as a thicker print maintains the dimensions, this should be fine. I could even go thicker, but I’m not sure how refined the final print will look. Let’s experiement with .25mm for now.
91 layers
43.1 grams
1 hour, 38 minutes
Here is the Rear Tile, which faces the pistol grip. There is a notch in it for the trigger guard.
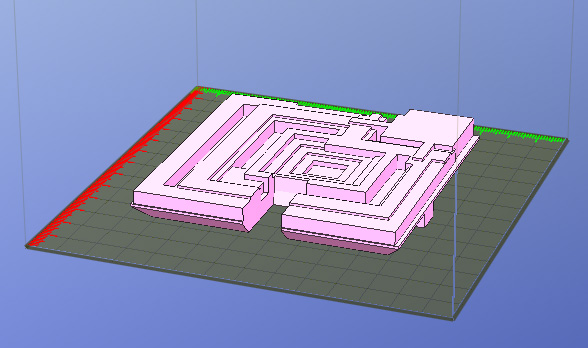
55 layers
46.9 grams
1 hour, 33 minutes
Here is the side tile. I’ll need three of these, identical:
Each:
55 layers
43.2 grams
1 hour, 37 minutes (x3 = 4 hours 51 minutes)
This is the Base Square. It connects to the Pommel Base and ensures the base block’s tiles are all square. Each tile slots into this piece: (The pyramid is just my printing logo. It’s not a functional feature.)
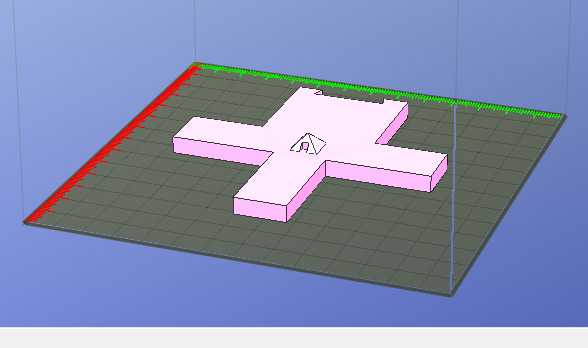
49 layers
15.3 grams
32 minutes
Up next: The Pommel Base:
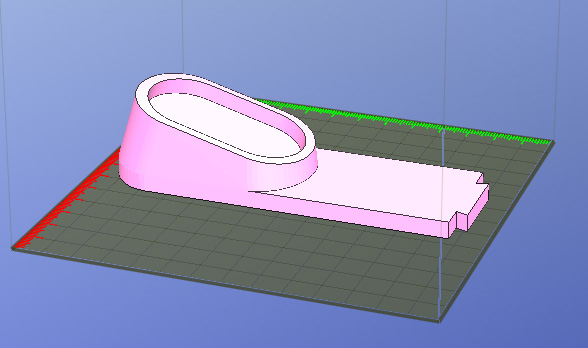
.2mm
155 layers
24.6 grams
1 hour 38 minutes
For a total of:
259.5 grams, or about 1/3 of a Premium Afinia reel, which cost $45. So this cost about $15 to print the final piece, not including test prints and earlier tests. Still, that’s not too bad.
Total print time: 10 hours, 12 minutes, not including bed pre-heating, head heating, etc.
Tomorrow I will post photos of the pieces, and the construction.
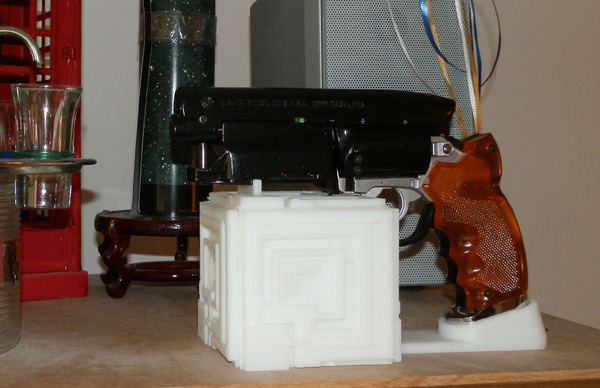
Note: The pieces did warp a bit, so they will not meet perfectly at the corners. I may have to do something about that, like apply a putty or something.
Here it is, assembled, glued together with clear binary epoxy:
Pingback: What’s Next? (Or Should I Say ‘What Now’?) | Huxter's Words