Fume Hood
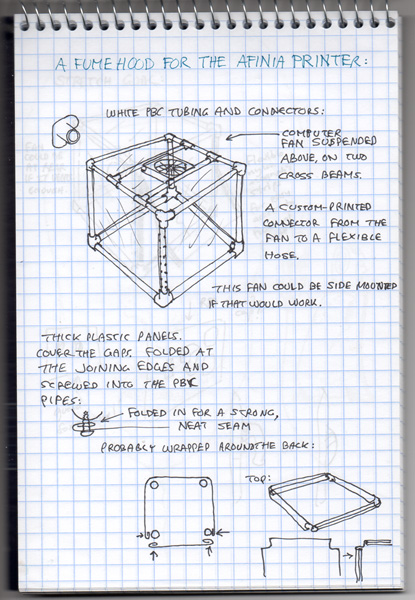
The first apparatus I wanted to make for my Afinia printer was a fume hood. I designed one early on, even before I bought the printer, as you can see by this plan:
Today I bought a 3/4″ PVC plumbing pipe, about 10 feet long, and 8 90 degree joints and 8 T-joints. Since there were no three-way “corner” joints (as pictured in this diagram) I had to redesign a bit, but not too much.
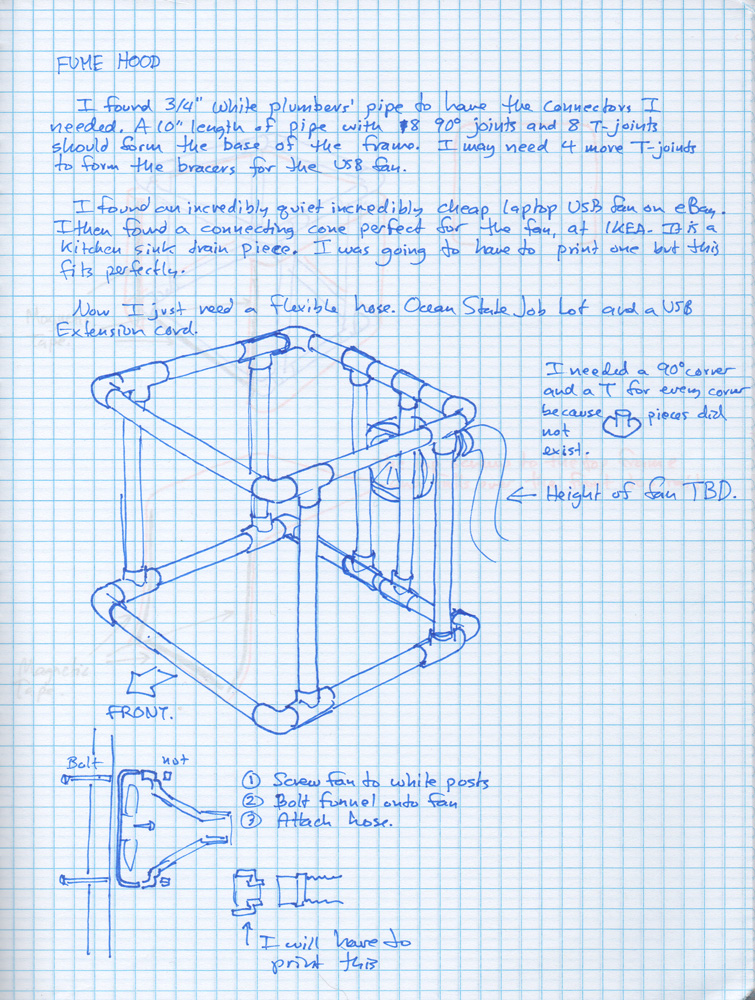
Here’s the new design:
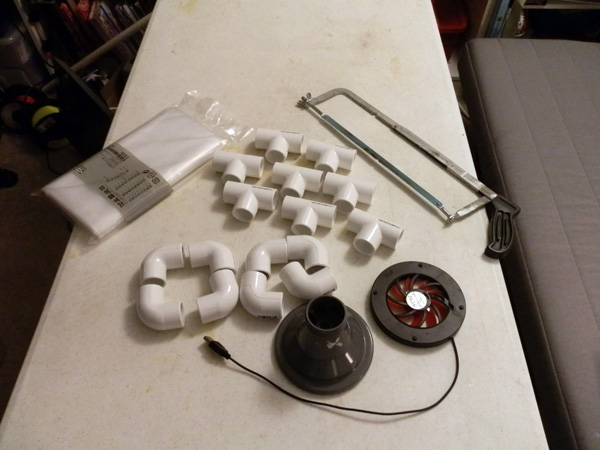
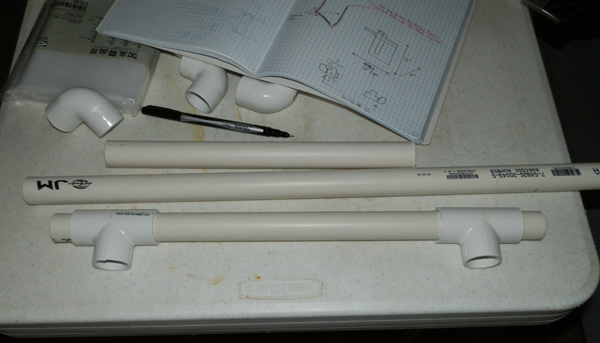
Here are the parts. (The pipe is not in the picture.)
I need four more T-joints for the frame in the back that the fan will be screwed to.
The plan is to put a clear shower curtain all the way around the frame’s 3 sides, leaving the front open. Then another piece of clear shower curtain will cover the top and drape down over the front top rail. Adhesive magnetic tape will be applied to the edges of the side plastic and bottom front rail, and on the inside of the top/front piece of plastic, so they will adhere together for a seal, but easy access to the printer when needed.
The back two bracers will be used to screw the fan assembly.
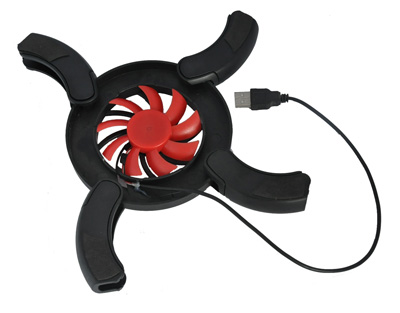
The fan:
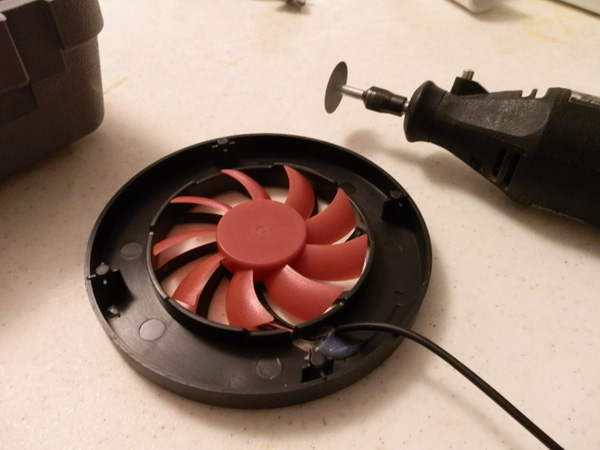
This is cool. I bought this fan on eBay.
It was cheap, and when I got it, the construction was a bit shoddy, with the wire just hot-glued in place, but it is deadly quiet and runs off my USB power.
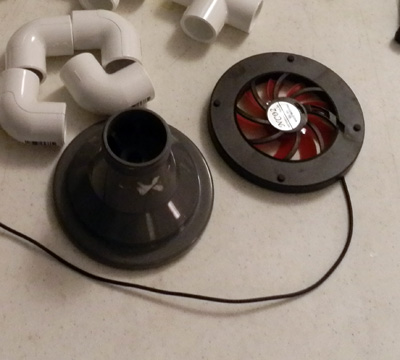
And as luck would have it, I was at IKEA today and in the sale/junk room I found a sink drain plug system for $2.00, and it fit like a charm!
I will bolt the funnel onto the fan, and screw the fan into the two upright supports at the back of the printer. Then a flexible hose will attach to the funnel. (I likely will have to model an adapter to make it fit.)
I began construction on Aug 20 on a day off.
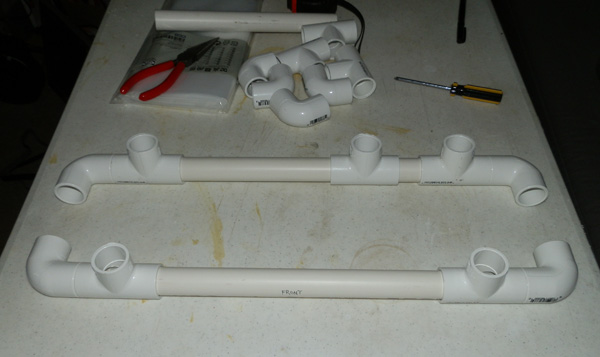
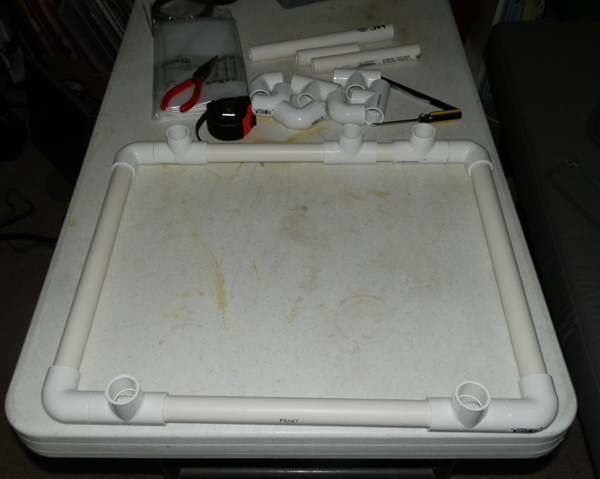
Here is the bottom frame front coming together:
I decided to rotate the way the frame worked, with the T-bar in front and back instead of on the sides. This should help wraparound of the plastic and the door flap to work a bit better.
I decided that the plan had one upright too many in the back. I didn’t have to have two in the middle. I just needed one, as long as I used one of the existing uprights as the second upright to screw the fan into.
Here is the bottom frame completed:
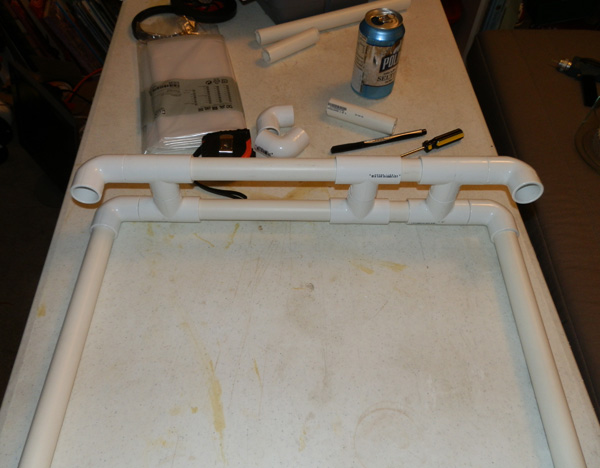
Here I begin the top frame, ensuring the T-joints would line up ok:
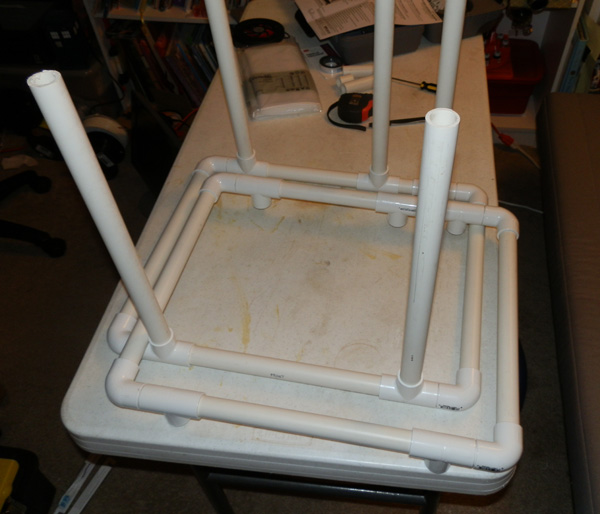
Then in go the uprights:
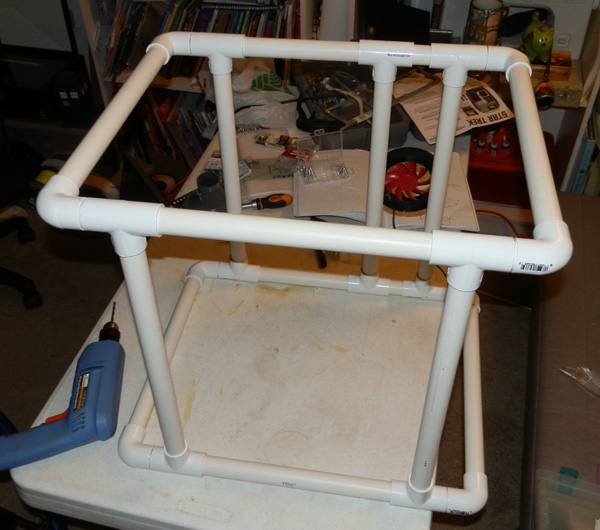
And the top gets put on:
The fan is screwed into place. Before the night was out, I had the fan funnel bolted on as well, and the fan tested. The funnel had some flanges inside that had to be removed, but once it was, the hose fit in for a test of air flow.
It works.
Now I have to model a connector for the hose to the funnel, as, while it did fit for a test, it was loose, and I had to hold it in place. A simple gasket or connector and it will be in nice and tight. Then I have to model the other end, where I will connect the hose to a strip of foam-core to slip into my window while it’s open, so I can close the window on the foam-core strip, as if the window was closed. Winter printing won’t be as kind as summer printing. I can’t leave a window open with a large fan running.
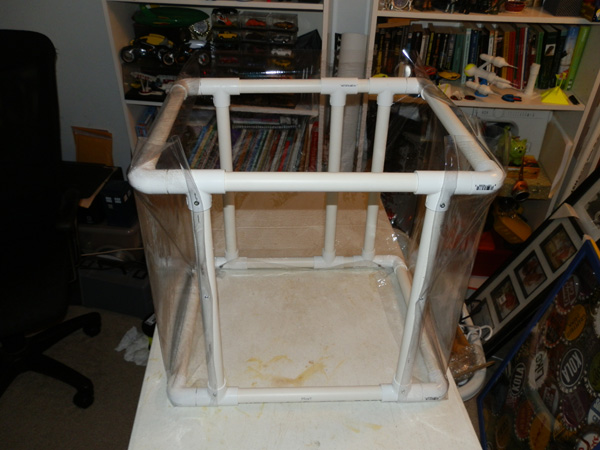
Here’s the fume hood with clear plastic covering the sides:
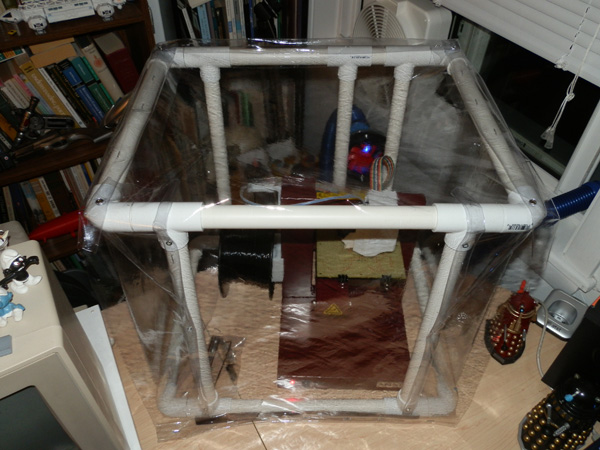
And here it is, in its rightful place, fan (blue LEDs in the back) is blowing air out the hose to the window.
There are a couple of minor things I need to fix, like the adhesive magnetic tape sticks nicely to the sheet plastic, but not the rails, so I have to screw them into the bottom rail. But otherwise it’s nice. Works, and has the added unexpected bonus of dampening some of the sound. The printer is not terribly noisy, but still, it does buffer some of the sound. Nice.
Acetone Bath
The second piece of apparatus I wanted to make was an acetone bath. Suspending a print on a rack above a thin layer of acetone or nail polish remover is supposed to smooth out the print and make it shine, depending on how long you leave it exposed to the vapor.
At IKEA I bought three decorative glass containers as a set. The tall one was just the right size for my needs. It has to fit a 5″ x 5″ x 5″ maximum print size. It’s 7″ in diameter, so it should work.
The taller glass (inverted) can fit into a shallower wider glass bottom, which means all I needed was a metal rack and a handle for the glass cover.
I bought a simple plastic cabinet handle, and was going to epoxy-cement it to the top (bottom really) of the glass cover container, but it would be a tenuous grip. So I modeled a flange that I could screw the handle into to give the epoxy a much larger surface area to hold fast to the glass. I now have a working cover.
A wire basket makes for a nice holding rack, but it is also covered in plastic, so I’ll have to remove that with an acetone bath of its own before I can use it.
Toothpick Handle
The first lesson you learn with an ABS layer printer that uses a perf-board as a print bed is how to push the plastic bits out of the holes when you’re done. It’s a tedious, repetitive job, and I’ve tried various tools to help.
Paper clips are too weak, and bend too easily.
There are very few metal tools that are small but strong enough for the job.
So I tried these square-bodied toothpicks (tapered ends) that I use for modeling, gluing and painting.
Work perfectly. They are hardwood and you can clear several boards before having to replace a toothpick.
But it’s hard to hold the toothpick with the strength needed.
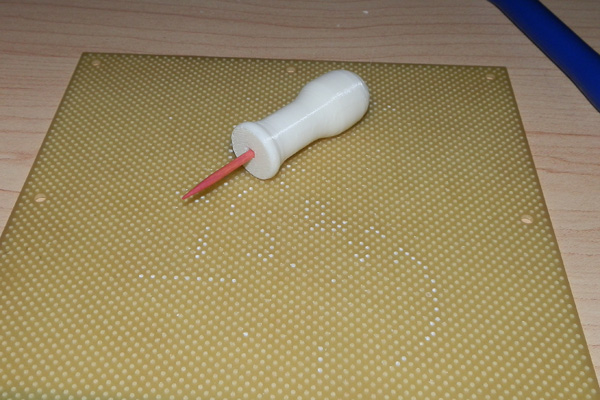
So I designed a handle for the toothpick.
The handle will allow me to cut a toothpick in half and use a half at a time until the tip is ruined, and then I can chuck the half and use the other half. This handle should prevent wear and tear on my hands.

Pingback: Support Apps for 3D Printing | Huxter's Words