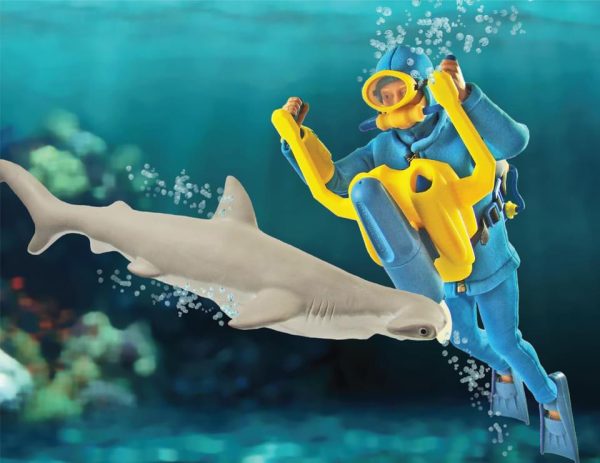
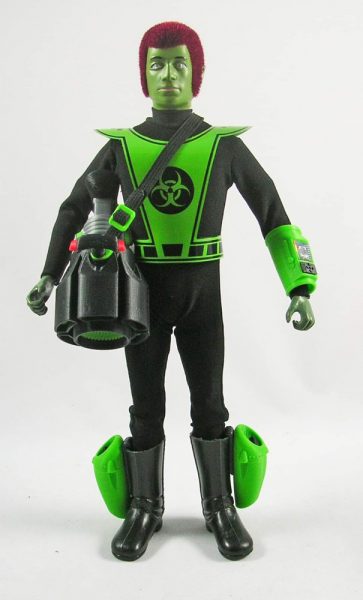
The second boxed set Greg Brown put together for Cotswold Collectibles this year was another set that nicely pays homage to original GI Joe Adventure Team sets – Catastrophe in the Gulf.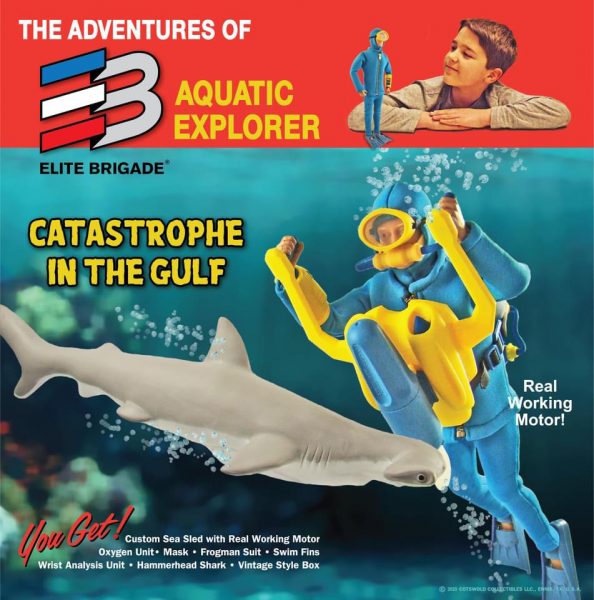
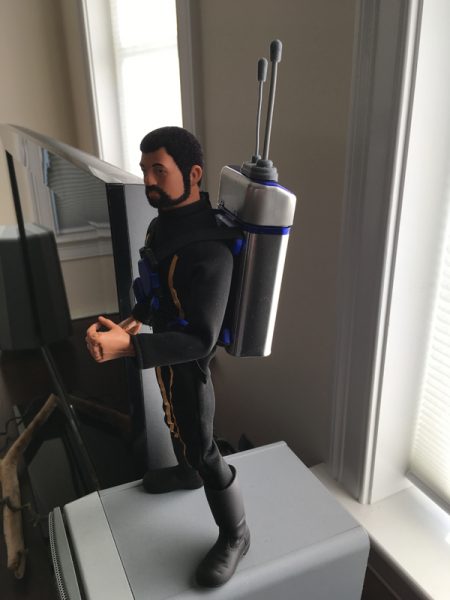
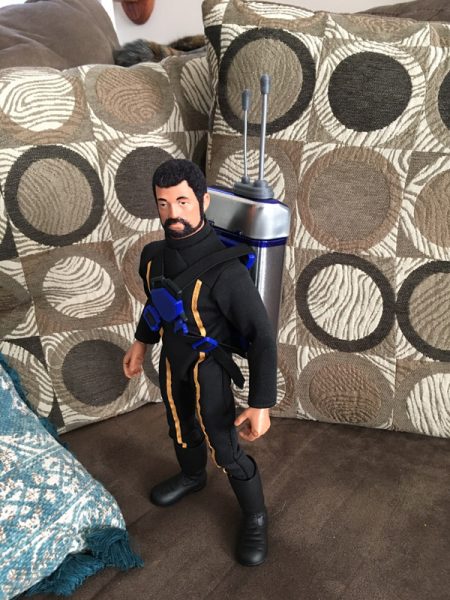
Based around a very nice Hammerhead Shark, Greg also sourced some great new Scuba gear, and a working motor!
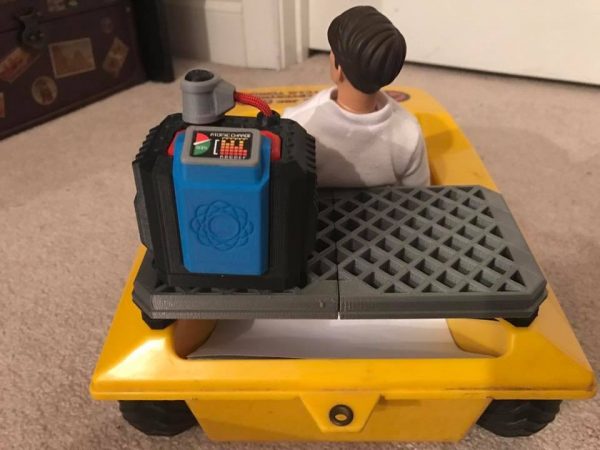
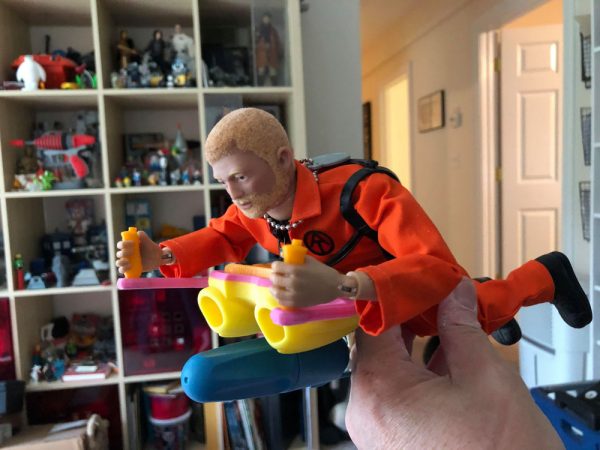
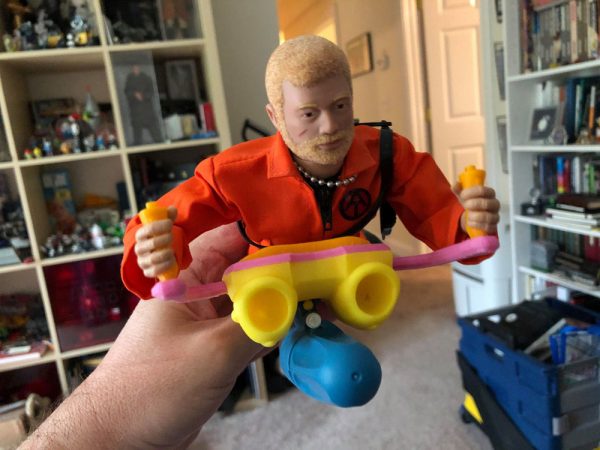
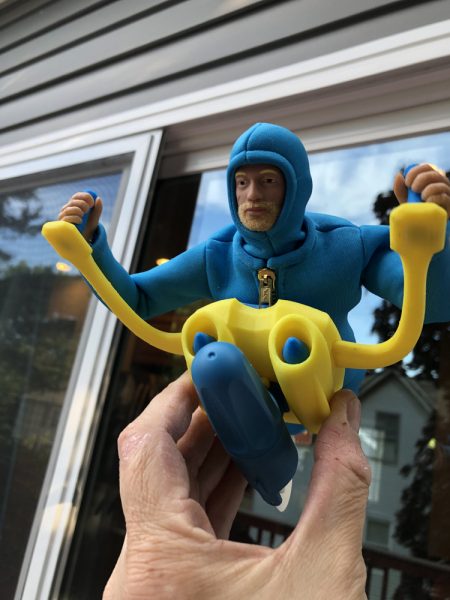
My part was to create an Undersea Sled which could fit the motor, and a Rebreather Oxygen System with Mask.
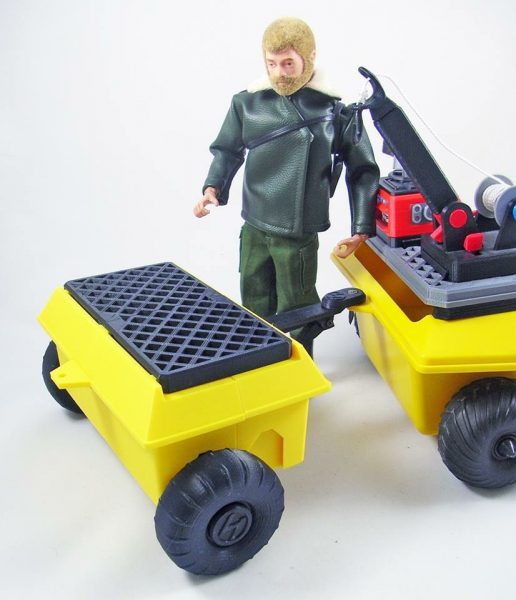
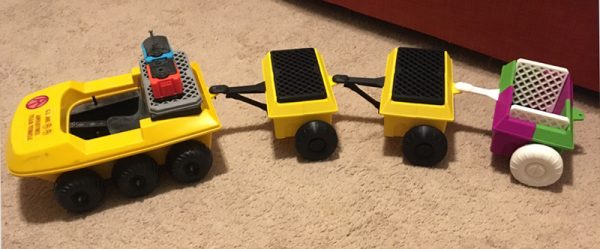
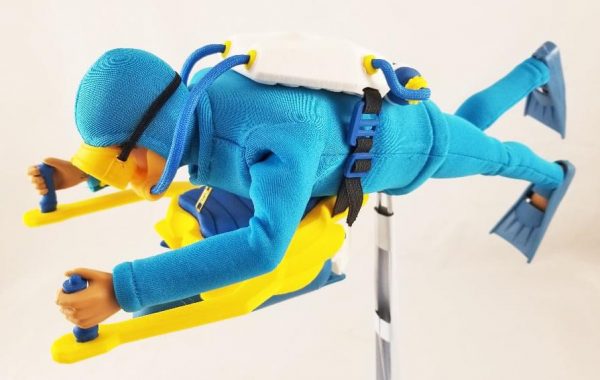
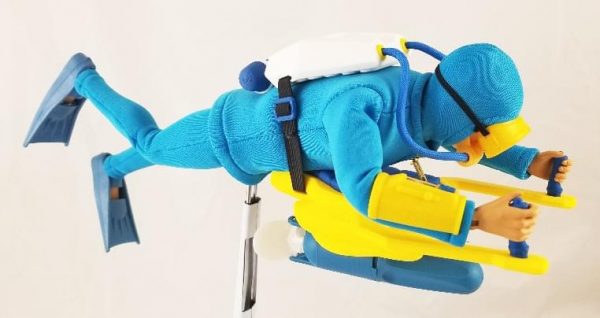
Undersea Sled
But first things first. I had to get started on the showpiece – the Undersea Sled.
First, a rough sketch to get our heads in the same space.
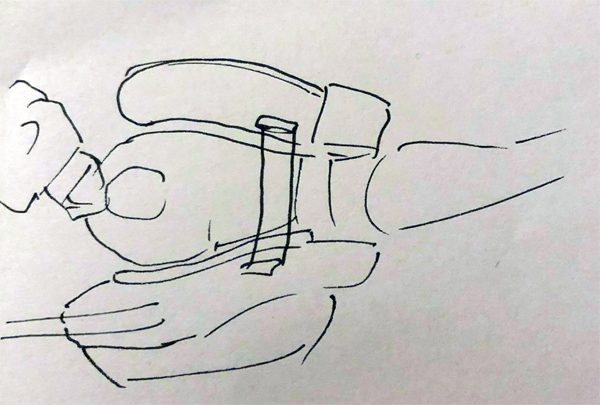
Yep. This is how I start. With rough concepts that I don’t really elaborate on on paper. At least not always. The concept is a quick sketch to get an idea across. By that time, my mind already has the idea much more solid, and in full 3D. Sometimes I take time to draw them out more carefully and even add color, on paper, before starting. Not this time.
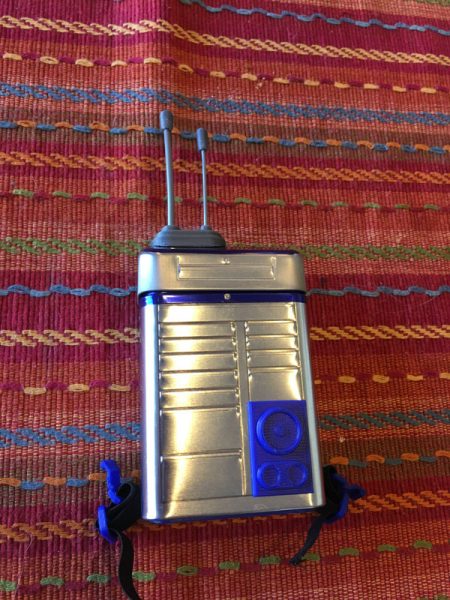
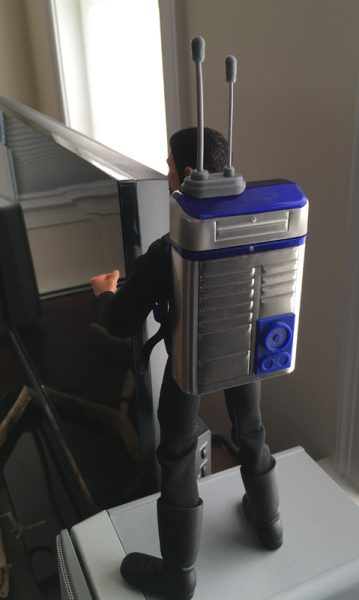
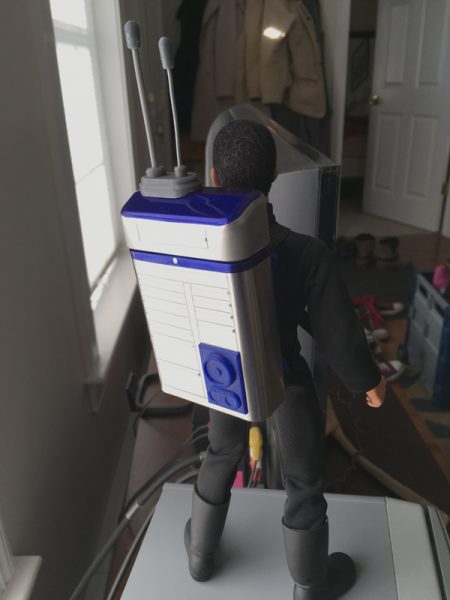
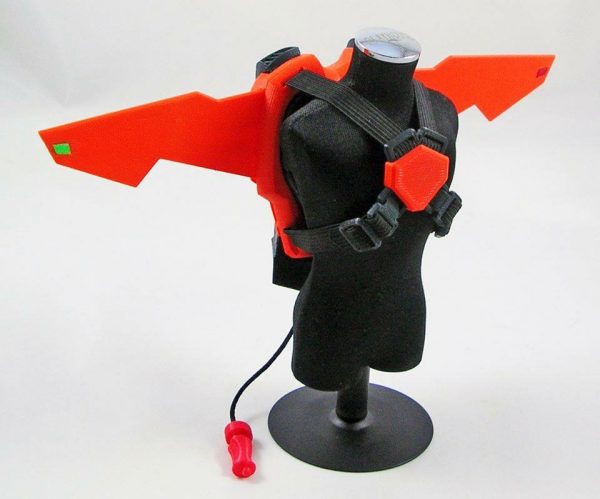
I wanted to start with a familiar base, something that looked like mine, so I used the main body of my Helijet Pack. The body was actually quite conducive to the Sea Sled design, with some alterations.
First, I wanted a water-jet system that could be used for propulsion, and not look dumb.
My first thought was a set of boot jets I had created previously.
I incorporated those boot jets into the design of the Undersea Sled, enlarging and scaling them appropriately, until they fit the design.
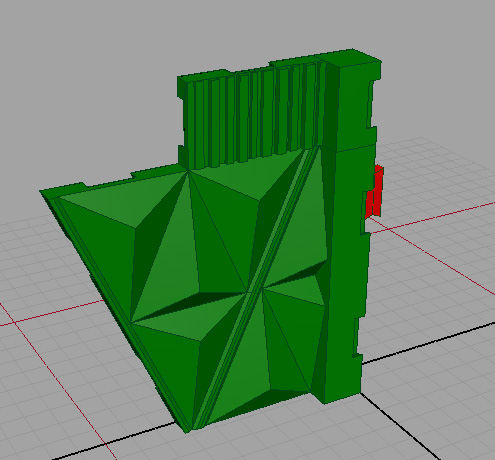
Here is a screenshot I sent Greg of the model early on:

This 3D model is actually a little later in the process. I had already updated the arms.
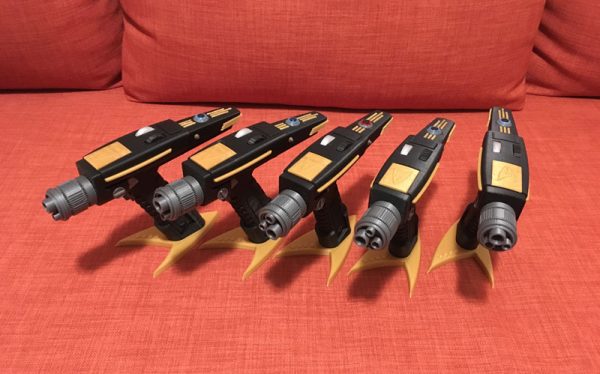
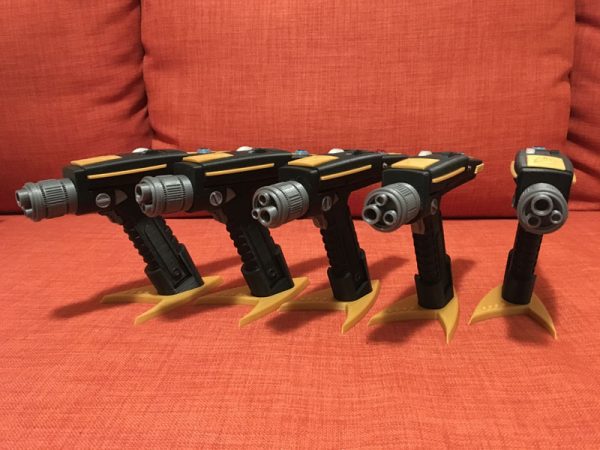
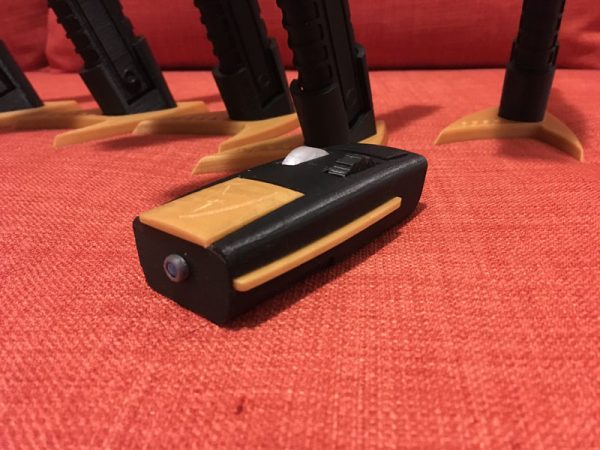
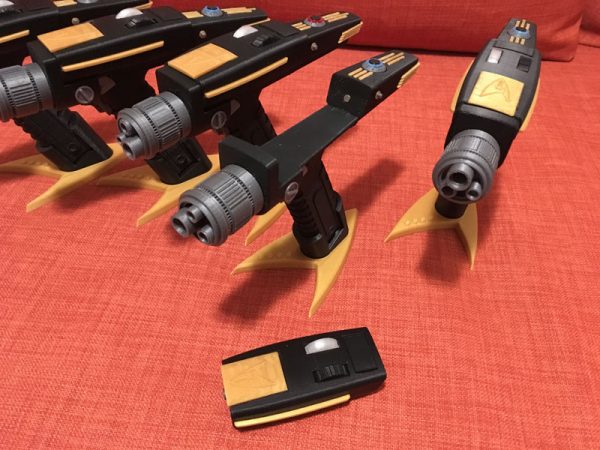
But the early prints came out pretty well:

A sharp-eyed person may notice I’m using pink. I often use seldom-used colors to prototype, so I don’t waste the good stuff.
Then came prints in real colors.
Note that at this time, I thought a curved arm might work, but I opted against it, as it didn’t fit with my other designs, such as the Flight Pack, which uses a similar body, but has some vital angular parts.
Some images of the prototype as it was being developed:

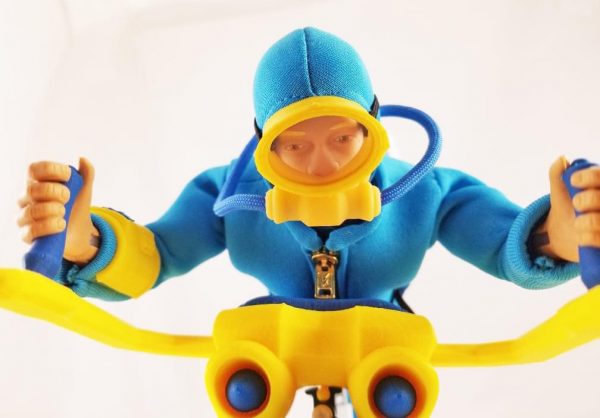
I chose a blue that closely matched the Scuba Suit Greg had made.


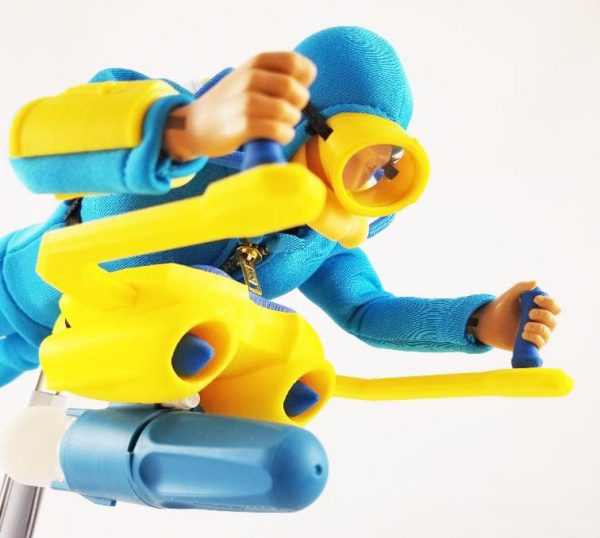
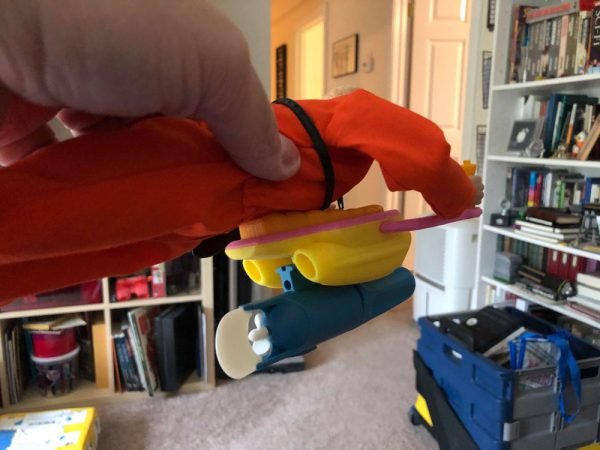
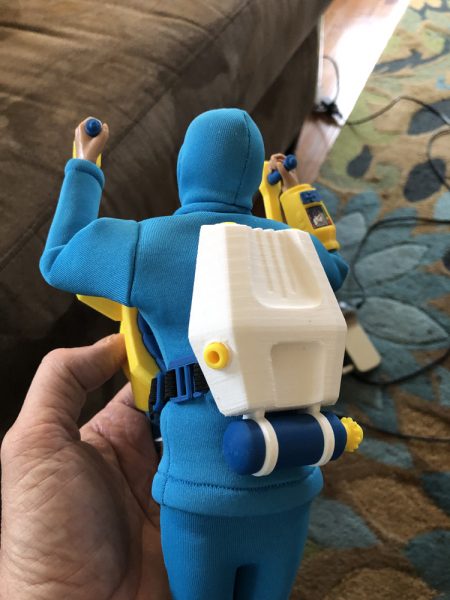
Rebreather Tank And Mask
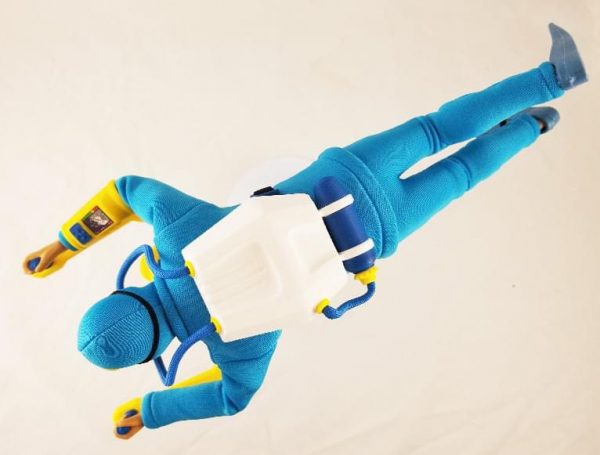
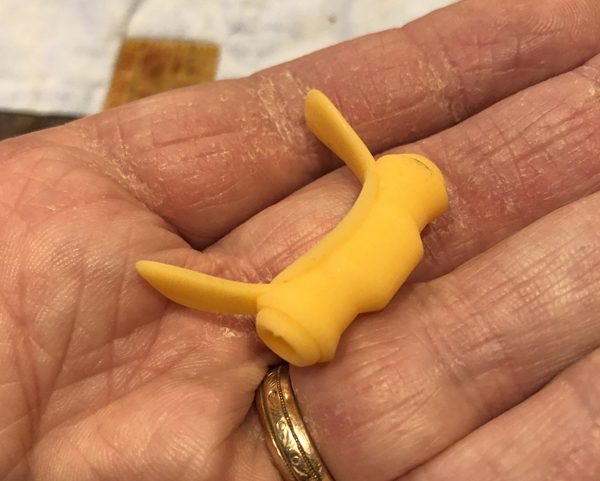
Once Greg liked what he saw, I started on the Rebreather. I had concepted out something like a futuristic SCUBA tank, with twin tanks, held at the bottom only, fitted to the body and strapped into place, with hoses to a mask.

Which I modeled up and sent Greg a screenshot:

First print:

Greg saw the prototype and thought it looked too much like the Rocketeer’s Jet Pack, and I have to say… I agreed. It hadn’t struck me before, but on looking at it in that light, I could see the problem.
And Greg had a bit of an idea of what he wanted for it, and soon enough, my sketches were looking more like what he had in mind.
So I switched gears completely, and went with a more modernistic, less future-retro approach.
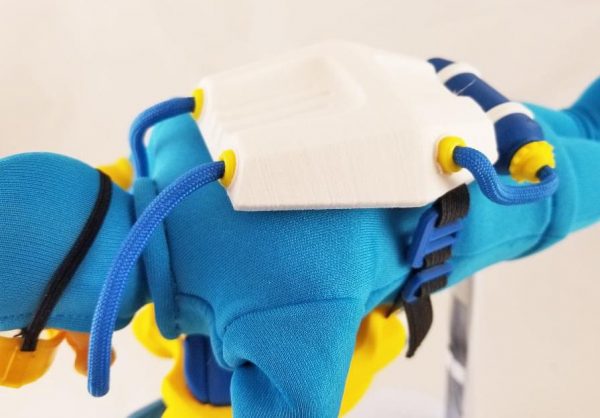
I added a very obvious tank at the bottom, which gives it a functional feel, while also being completely recognizable as a SCUBA tank, which would feed a hose into the body, then two hoses would feed into the mask.
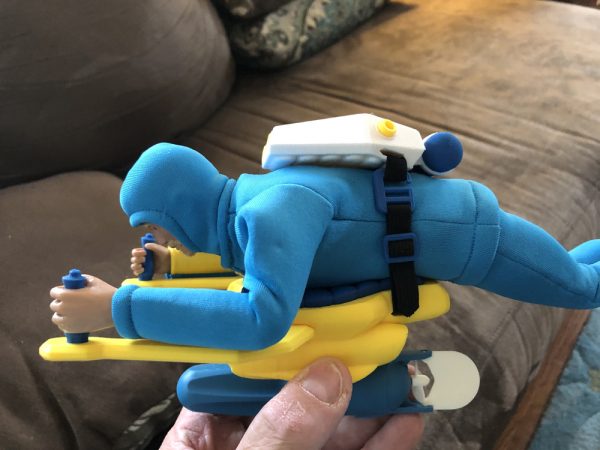
Mask
We settled on this, and then I began working on the hoses and mask.
My first issue was that a small part that should hold some detail (the Mask) could be printed with the FDM printers I use for most of my toys, but I felt for this one, I should use my new Resin printer, the Anycubic Photon.
Printing things for the Photon is a bit harder, and can fail easier, so I’m not all that eager to make whole large parts with it (with some exceptions) but for smaller things, I thought it was time to give it a try.
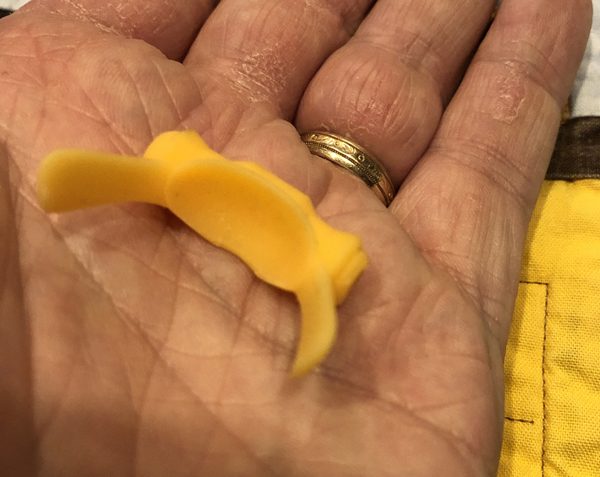
I modeled them so the paracord I would use as hoses would fit into the sides, and epoxy into place nicely.
But the real quiz was – how the heck am I supposed to attach this to the head?
I didn’t want to add yet another piece of elastic, given that the Goggles had their own, which fitted onto the SCUBA hood.
So I thought – why not put the SCUBA hood to good use?
I figured if I made tabs that would fit along the cheeks of a head, inside the hood, it would hold rather nicely.

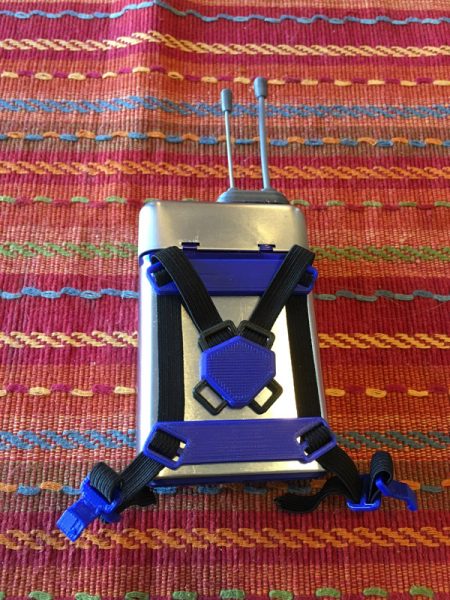
Really, the last thing to do was the hoses and elastic attachment which was a bit complicated, since I didn’t want an elastic for the Rebreather, and a different one for the Sea Sled.
I decided to loop them together. This way, you could use one, or the other, individually – or both as a single strap.
The last thing was how to hose it all together.
Blue paracord fits into the tank, connecting it to the body. Then two hoses go to the mask.
And after adding one of my very popular wrist Cuff Communicator/Controllers, with new sticker of a sea wreck, we called it done.