Happy Valentine’s Day to My Lovely Wife!

house-brooch-01

As posted here (and I have not posted since, to keep it “live” for a while) I gave Carol a 3D printed gift for our Silver Anniversary. It was a Narwhal 3D printed in sterling silver, on a base of brass.

narwhal-finished-01

So for Valentine’s Day I thought I would follow that up with something else she loves – our house. And brooches. She absolutely loves brooches and has a very nice collection. What better, then, than to 3D print her a brooch of my own design based on our house?

First, I opted not to go with silver, because of cost. I thought a brooch might be better priced under $50. In sterling silver, it would have been more than double that. And I’m not discounting it for later. Or even Shapeways’s new material – aluminum, which, due to the printing method, is more expensive than stainless steel, which is what I went with.

I first took a model I created a year ago based on our new house:

our-house-ornament-pair-01

I consolidated the various separate parts into one and began simplifying the model, squashing it into a very thin bas-relief type sculpture, and ended up with this:

house-brooch-3d-model-02

First, I printed it on my own Afinia H480 printer to see if it would hold detail and be worth doing at all. It turned out fairly well considering the size and detail:

house-brooch-test-print-01

I had it printed in two different materials as a test. One in stainless steel, and one in nickel, thinking they would both be silver, but one shinier, and perhaps nicer, than the other. I got them back, and to my surprise, one was nearly gold in color. Since the house is grey, I wanted it in silver, so I focused on that one.

house-brooch-03

The middle one was printed in ABS plastic on my own Afinia H480 printer, as a test. I’m honestly not sure which brooch was which, but one is stainless steel and one polished nickel.

So next I had to design a Valentine’s Day card to put it in. My concept was of a foam-core card with a rectangle cut out, and the brooch fitted into that rectangle tightly. Then a collage of colored paper would be used to form a picture of our garden with the house planted firmly in the middle. I used a magazine and cut out various images to match grass, trees, and used a heart-shaped hole punch to cut out red paper for a small Japanese Maple I planted in the yard, and her beloved blue hydrangeas that line the front of the house.

house-brooch-card-open-01

I put it in a parchment envelope I made simply, and used hand-torn red and pink paper to cut out hearts for both the envelope and the front of the card.

house-brooch-valentine-envelope-01 house-brooch-card-closed-01

The card itself is two pieces of foam-core wrapped in a crimson-red sheet of paper, scored and folded along the seams, so it would open nicely, and that the two cut-outs would hold the pin in place.

The pin, by the way, had no brooch pin attached during printing. That would have proven impossible. So I simply bought jewelry brooch pins from Michael’s Craft Store and used a binary epoxy to attach them to the backs.

house-brooch-04

And try not to tell Carol I got the wrong year on it! I brought over the 2015 from the Narwhal base, and forgot to change it!!! Grrr.

I then pinned the house brooch to a piece of corrugated cardboard and glued it to the card, holding it firmly in place.


25th Anniversary Gift for Carol – A 3D Printed Silver Narwhal

narwhal-finished-01

This is the story of my 25th Anniversary gift to my wife, Carol Hobbs. This is the story of how it came to be, and why.


Background

In the winter of 1978 several whales became trapped under the ice in Hall’s Bay, Newfoundland, on which lies my hometown of Springdale. Several humpbacks and a rare Narwhal. Rare, because they are high arctic whales, and rarely get this far south.

Throughout the winter, locals kept a large hole open so the whales could breathe. In the spring, an ice-breaker came in to the bay close enough to the hole that the whales could escape. Not all of them survived the winter. The belief is that mid-winter, one made a run for it, but Hall’s Bay, while being very deep, is also very long, and one humpback was found dead. The rest, though, we believe survived. They were gone the day after the ice was opened up.

narwhal
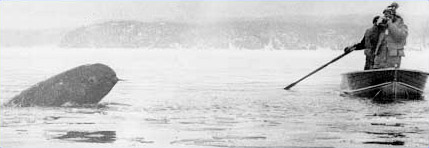
“Springy”, as some of the locals called this young Narwhal, whose tusk was not yet fully formed.

One one particularly nice day, Carol skated out on the perfectly smooth ice, and spent some time with the whales. It was amazing. My friends and I skated out there as well on a different day. Here we were, mere feet from the edge of this twenty-foot-diameter hole, and these whales kept coming up and getting air. The big humpbacks made a show of it, but the little Narwhal would kind of surface quietly, we’d get a glimpse of her, and then she’d dip silently down into the water again.

Carol wrote a poem about the experience, which has been published multiple times, and is one of my favorite poems of her large body of work. The poem was called “Narwhal”.

Narwhal

Hall’s Bay is a china plate.
I skate far out to the breathing hole
where the men chop the ice away.
The echo of auger and axe
grapples the lip of hills.
They are building a lung for whales –
a pair of humpbacks, a narwhal
surfacing through the slush.
The little narwhal lingers,
mottled back steaming.
Its eye oily in the dark cup,
me mirrored in the eye-slick,
the horn spiraling into brittle air.

-Carol Hobbs

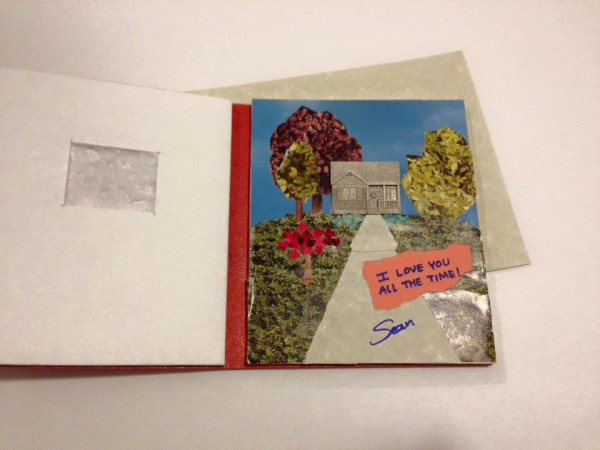
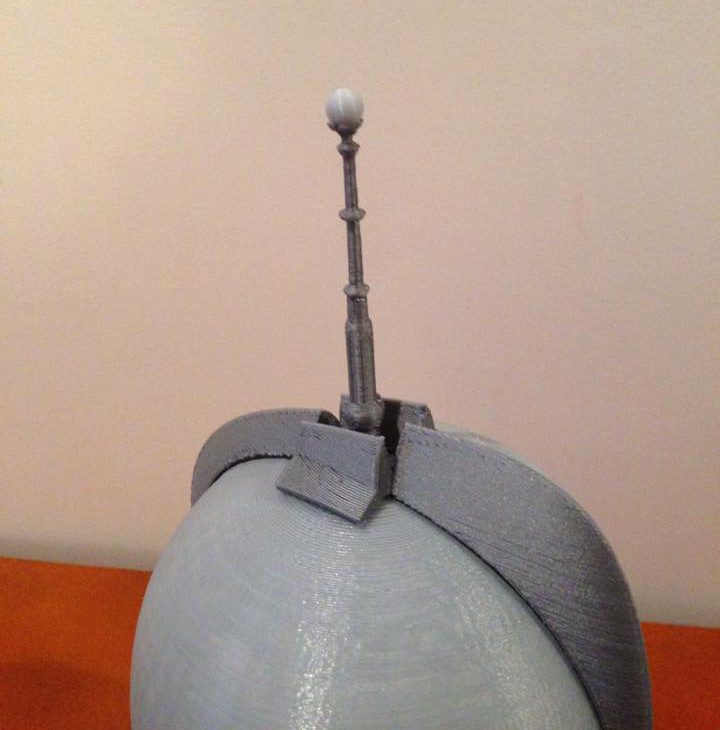
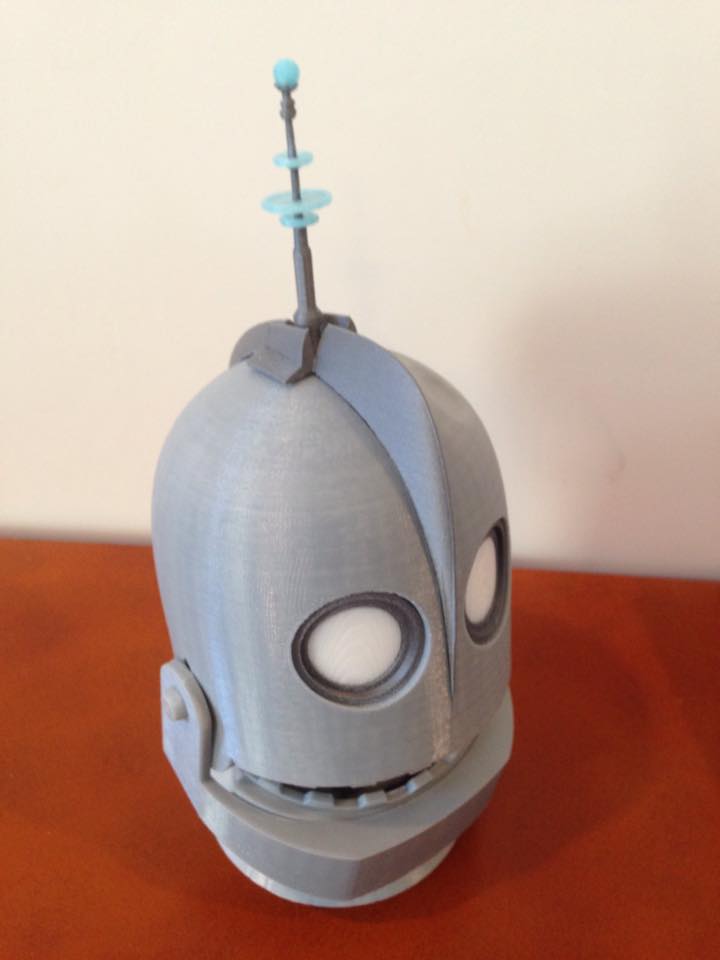
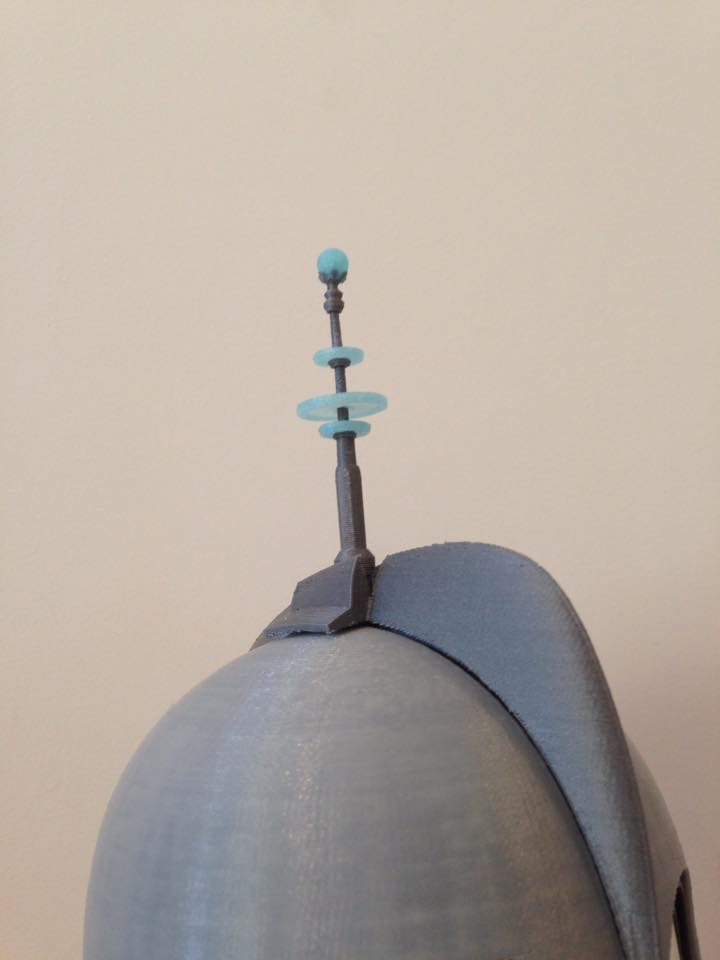
On her birthday in 2010, I gave her this installation, which hangs on our wall in our new house, at the base of the stair under a tall window. (Seen here in our apartment previously)

2010-12-10-narwhal-gift

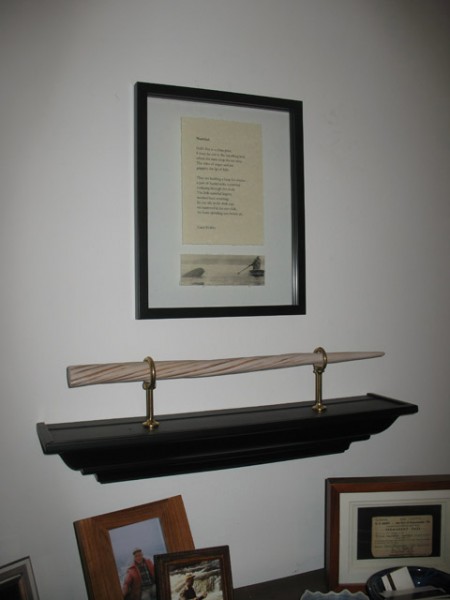
I framed a copy of her poem, with a print of Springy the whale. Under it is a shelf with brass brackets holding about 18 inches of a narwhal horn. Not a real one of course. That would be priceless. This is a casting in dental polymer of a real one, one of a rare few that someone was lucky enough to get a full casting of. (They also make available a 5 foot version.)


The Silver Narwhal

Last year, after our 24th Anniversary, I realized that the next one would be the big 25. Silver. I began thinking almost immediately what to get Carol for our 25th Anniversary that was silver.

At the time I had printed some things at Shapeways, an online 3D printing service. They keep adding materials and services, and at some point they introduced 3D printing in precious metals. They print the item in wax, then use the centuries-old lost-wax casting process in whatever metal you like, including solid gold and platinum.

So this was perfect. I would create a silver narwhal for her.

As time was getting on mid-year and I found myself with little time for 3D modeling and printing, I searched the web for models that would suit. I found a whale model that was very similar to a narwhal (without the horn) and downloaded that.

I found a splash model (as part of something else) and separated out the water splash.

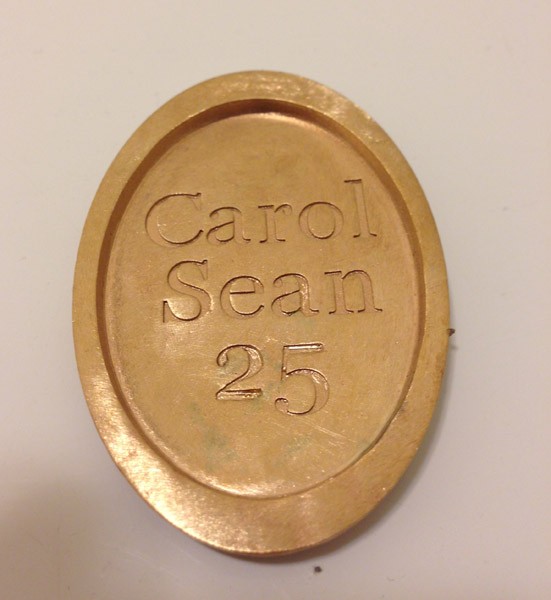
I created the base myself (a simple oval, with an indented bottom, and an inscription.)

I smoothed out the whale, because I thought that in the Shapeways preview software that the facets of the original model would be noticeable in metal, and posed the whale in the water base I had created, using a boolean subtract to remove the bottom of the whale.

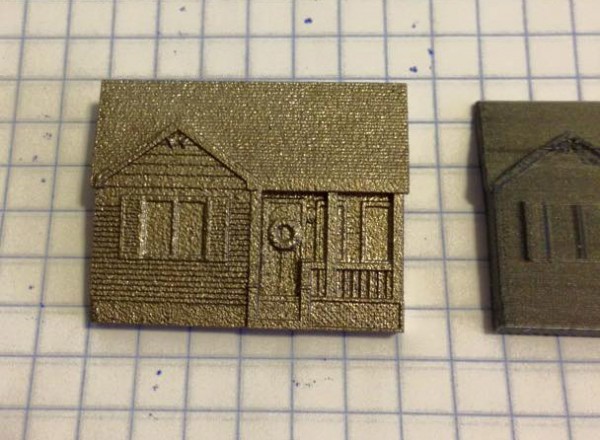
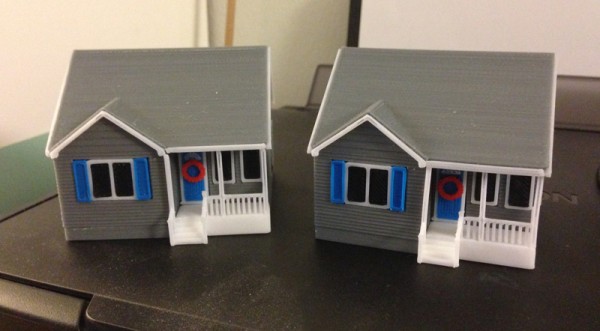
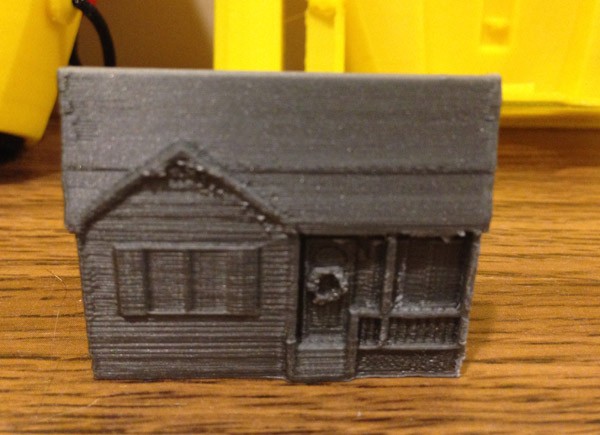
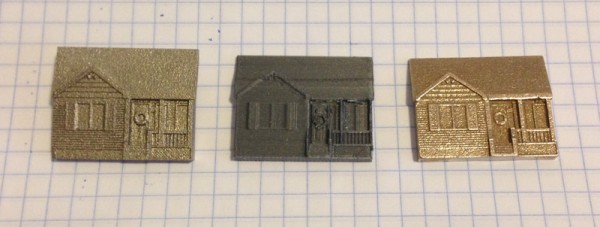
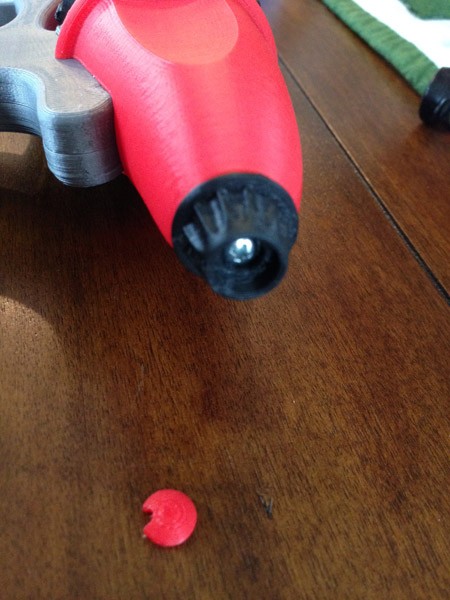
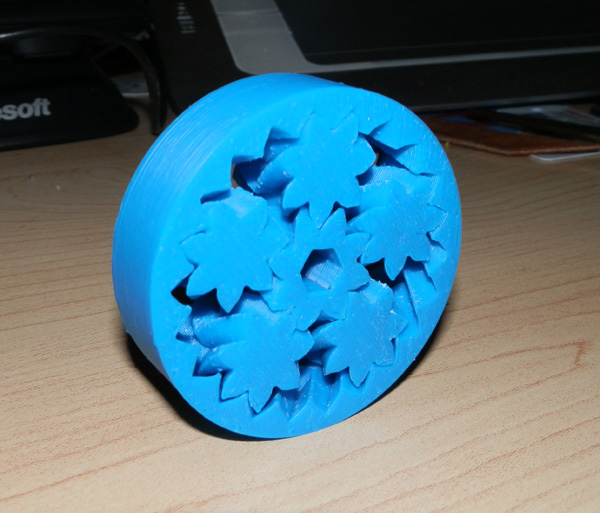
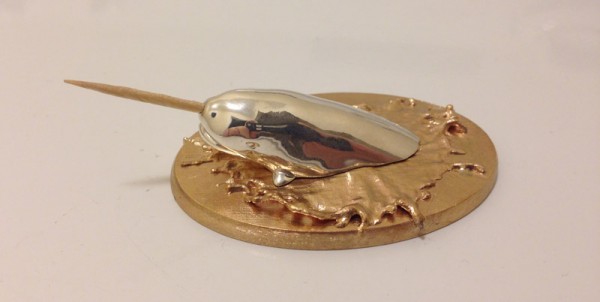
Here is a test print I did on my own printer.

narwhal-my-own-print-01

The horn is a simple standard toothpick. It works!

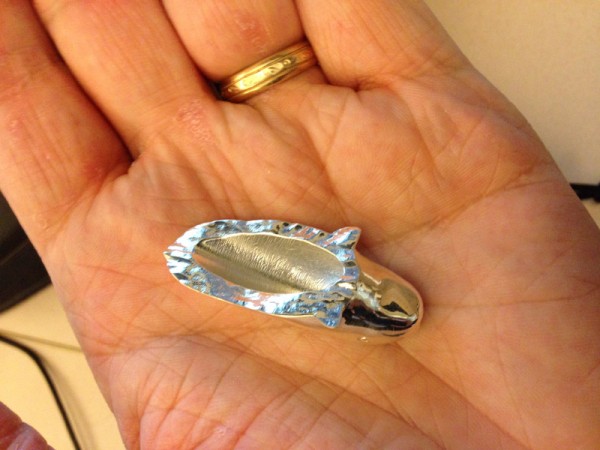
I then cut some interior space out (waste of silver) and sent it away to Shapeways for a silver print. I had the option of raw or polished. I felt the whale should be polished, shining as if coming up from the ocean, covered in water.

This wasn’t cheap, and I was nervous at how it would turn out, being my first metal print.
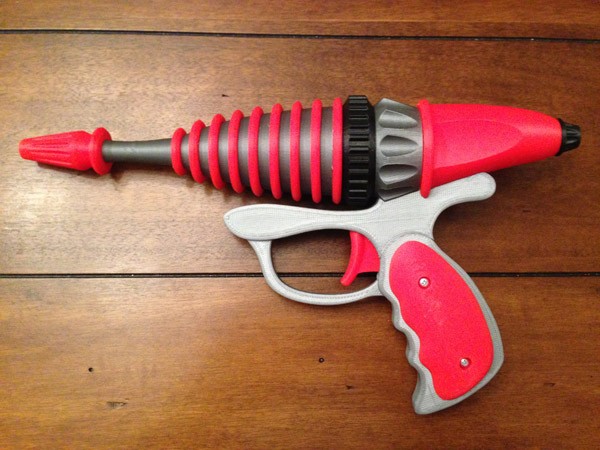
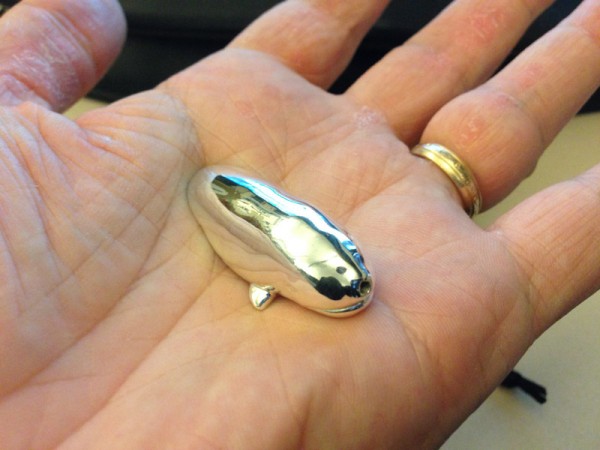
Then it arrived:

narwhal-bagged-02

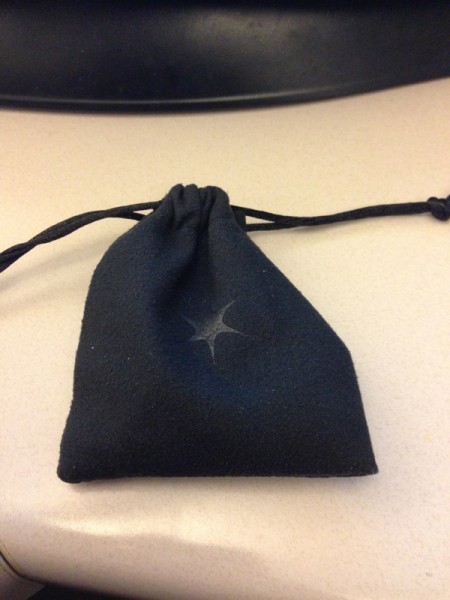
In a nice, soft microfiber bag to keep it safe.

And then I opened it:
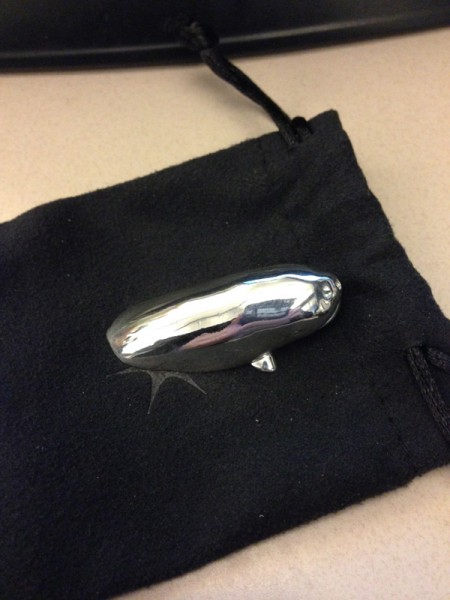
narwhal-unbagged-01

Wow.

I couldn’t believe how it turned out. It was perfect!

narwhal-closeup-01 narwhal-closeup-03 narwhal-closeup-04

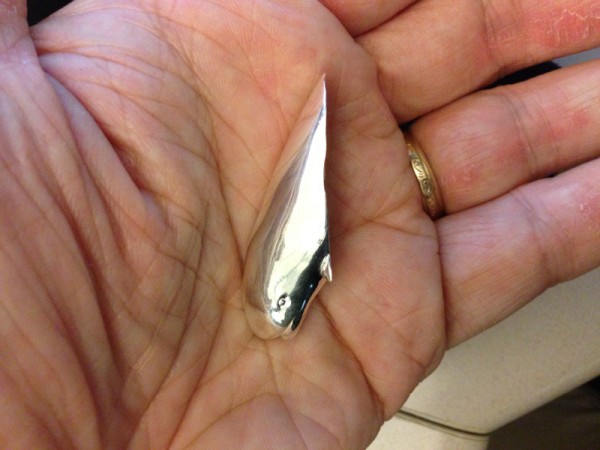
Emboldened with confidence, I sent for the base to be printed in raw bronze. I opted not to have it polished. Two polished metals in the same piece would be harder to see. The two shiny metals would compete with each other for attention.

I forgot to photograph the base separate, but it turned out very nicely. I was worried because a portion of the wave was suspended above the water, very thin, splashing out past the base itself, and my own printer had issue with that. Shapeways printing, however, did not. It was great.

Here is the base’s bottom, with inscription:

narwhal-underside-inscription-01

So I used a binary clear epoxy to bind the pieces together:

narwhal-finished-02

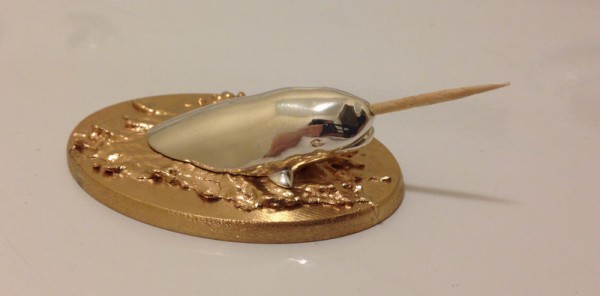
Then I used my Dremel to carve a spiral into the toothpick, then stained it with the same stain we have on our front porch, which Carol and I put down this summer.

I varnished it, and used binary epoxy to attach the horn.
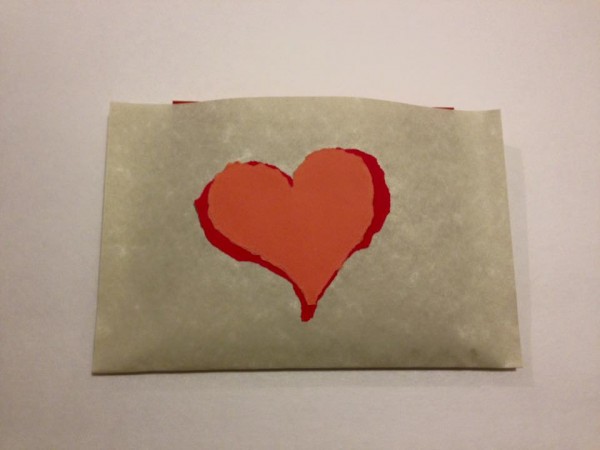
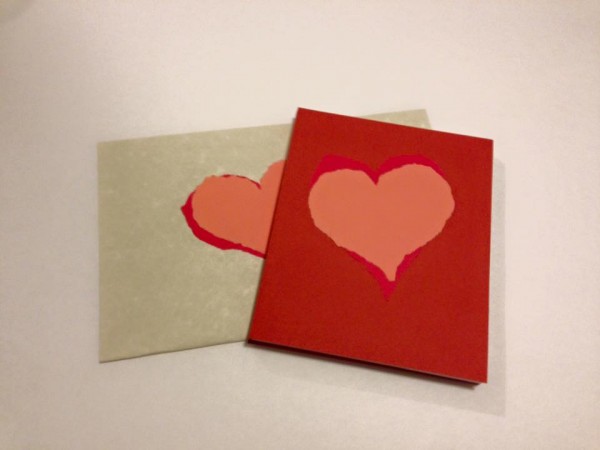
 

The Presentation

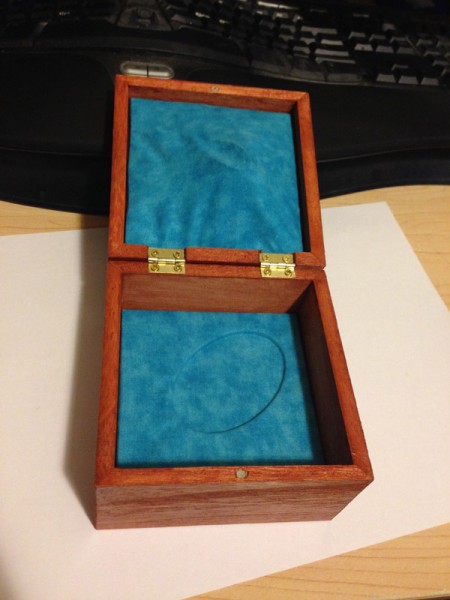
How best to present this? I thought it should come in a box, like a piece of jewelry, but not have her expect jewelry. A cubic box I found at Michael’s Craft Store would do the trick:

narwhal-box-01

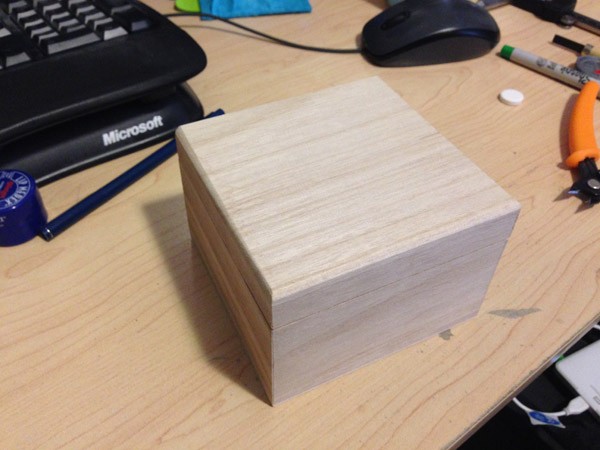
This one has a magnetic clasp, and a deep interior:
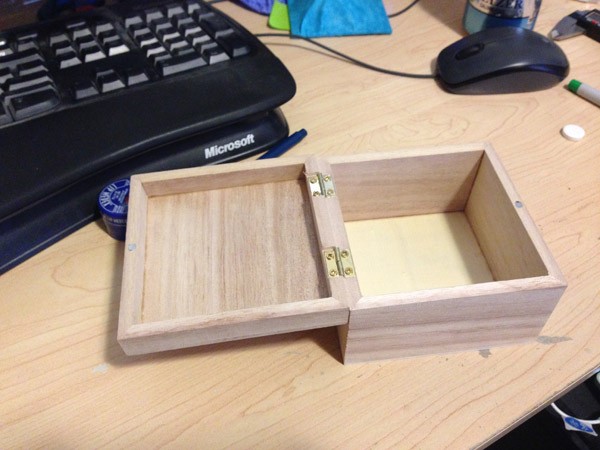
narwhal-box-02

Perfect.

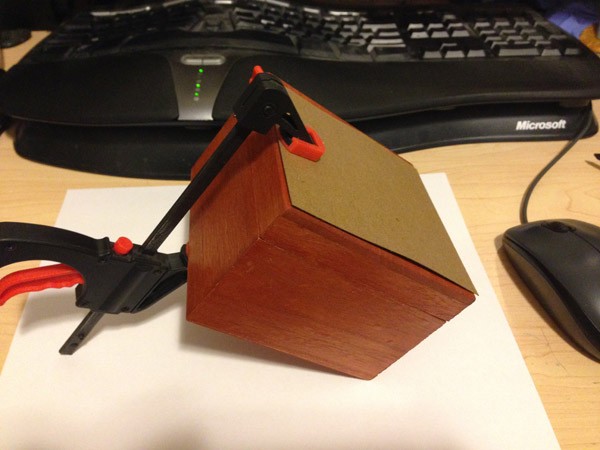
So I stained this box in the same stain we have on our back deck, which Charlotte, Carol and I did early in the summer:

narwhal-box-03

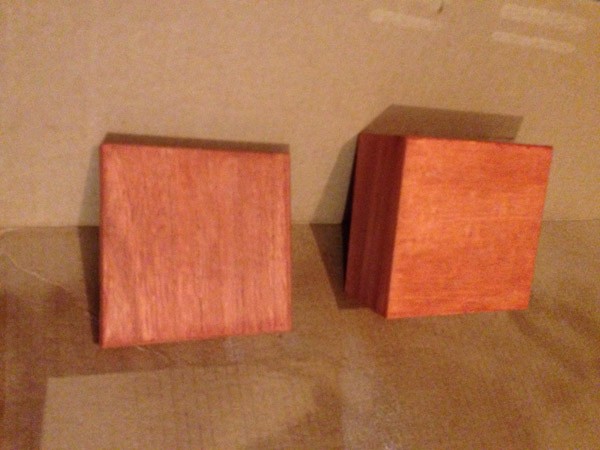
And a few coats of semi-gloss satin varnish.narwhal-box-04

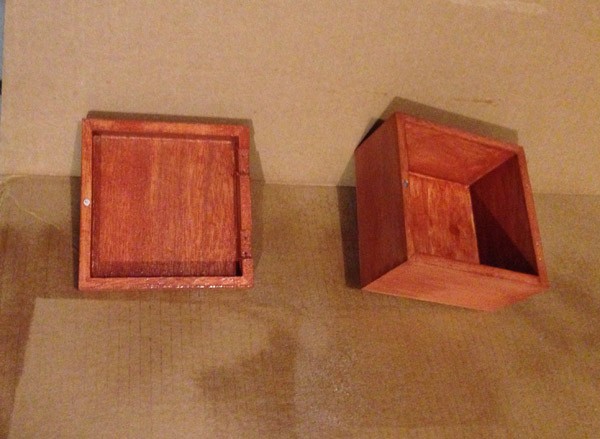
But that couldn’t be all. I had to have something inside to hold the piece. Most jewelry boxes have a velvet covered sponge insert. I knew it had to be an insert, and it had to hold the piece firmly in place.

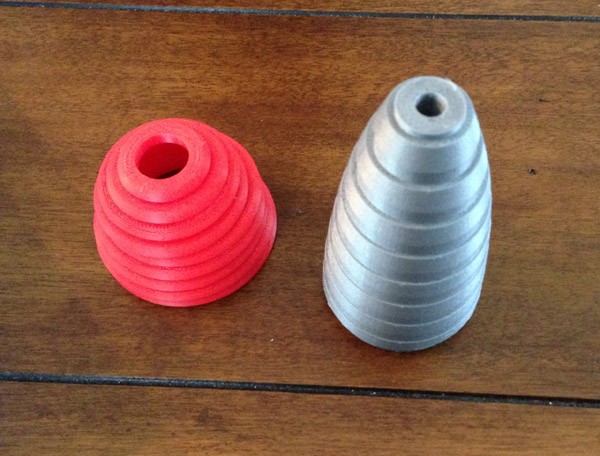
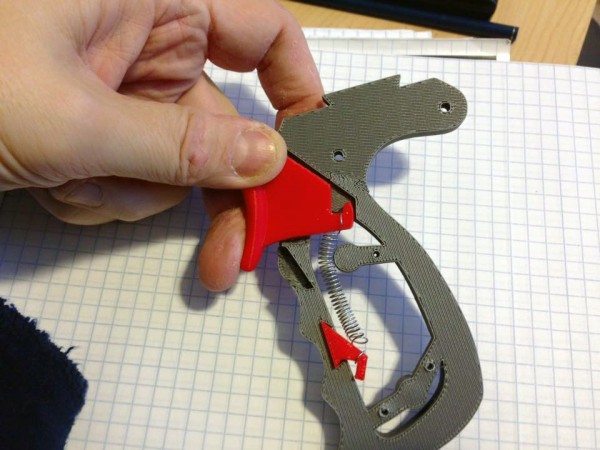
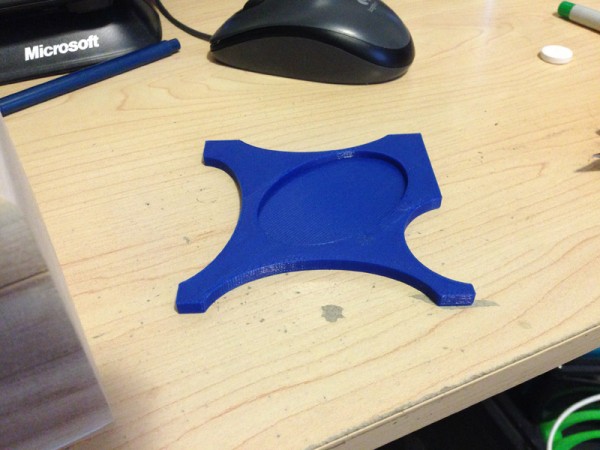
So I used my own 3D printer to create an insert that had a perfect inset for the base: A quick test print for fit:

narwhal-base-test-print-01 narwhal-base-test-print-02

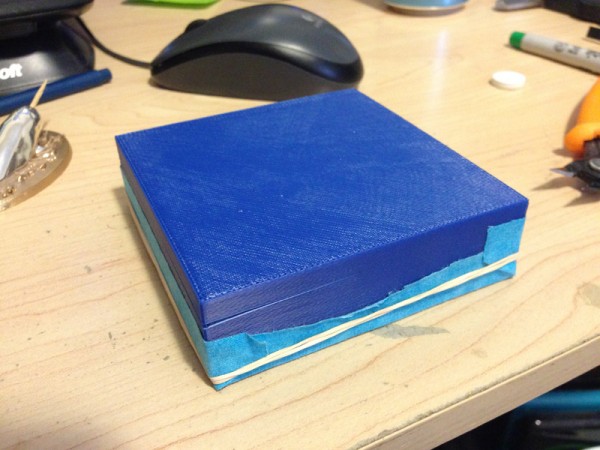
And then I printed the full insert, much thicker.

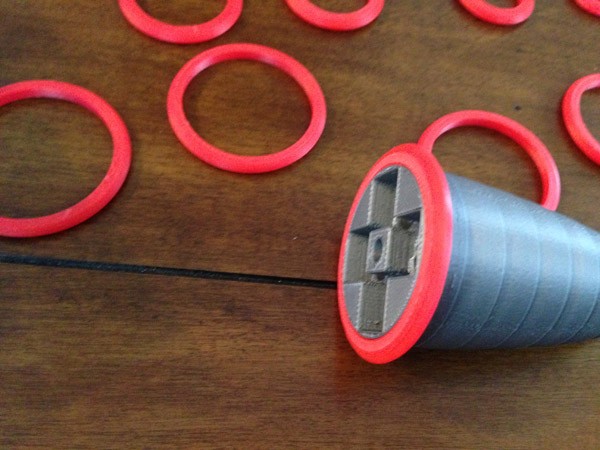
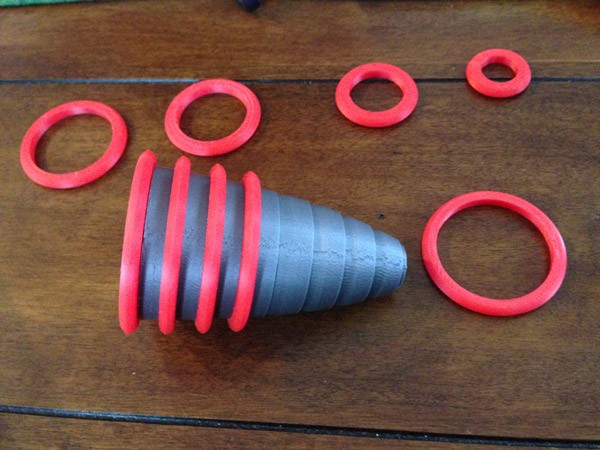
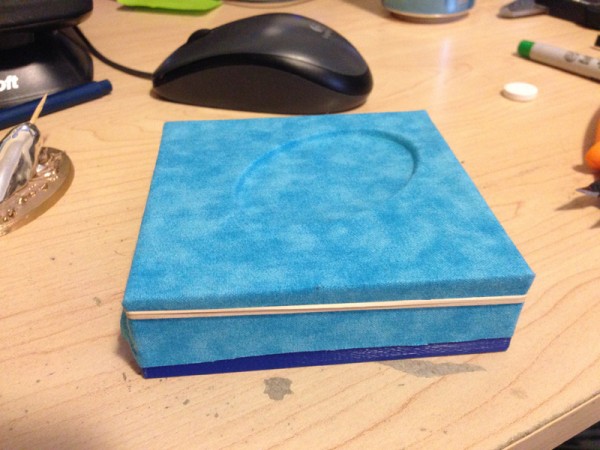
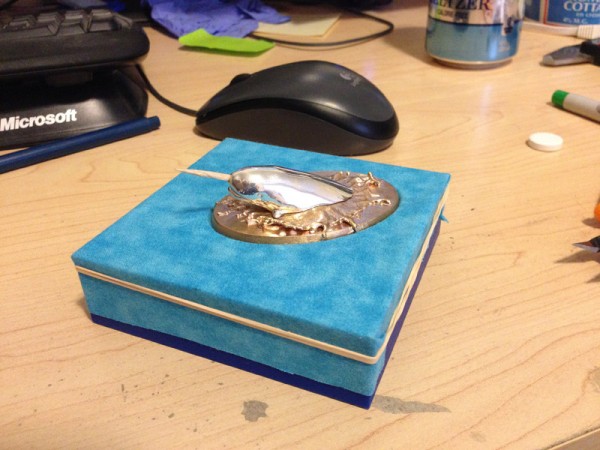
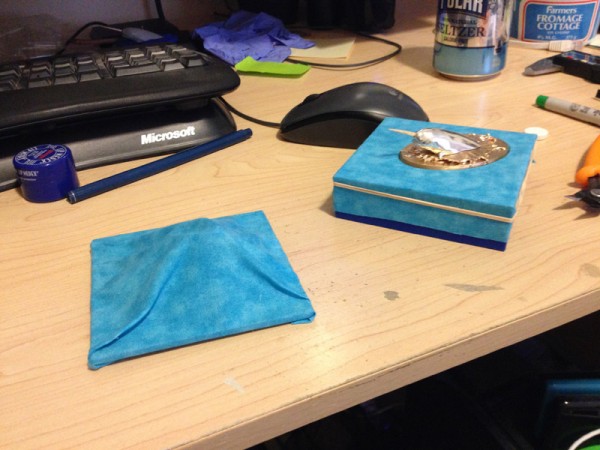
And then what? I had decided to cover it with some kind of fabric, and I had only to decide what. I found this nice watery blue batique at Michael’s, and cut it to shape and wrapped it around my insert:

narwhal-base-final-wrapping-01

I used a spray adhesive, and an elastic to keep it in place while it dried.

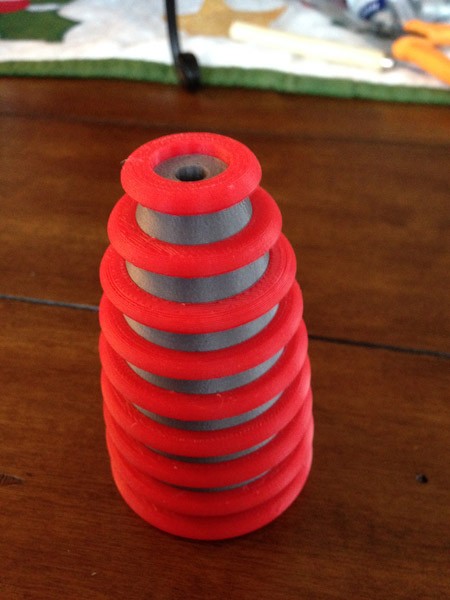
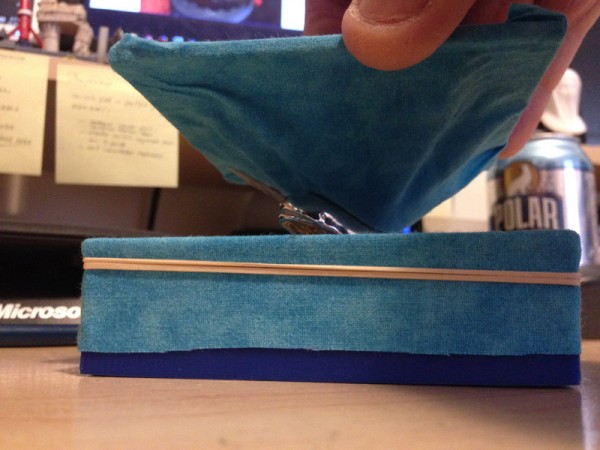
Then I used a plastic version of the base and a clamp to push the fabric into the aperture I had cut:

narwhal-base-final-wrapping-02

Testing it with the final piece showed it would work perfectly:

narwhal-base-final-wrapping-03

But it would still flop around the box, (which would not be good, and might, indeed, break the wooden horn.)

So I 3D printed another part that would fit inside the cover of the box and hold the whale down while the box was closed:

narwhal-base-final-wrapping-04

I used an oval cylindrical shape, and then used the actual whale model (in 3D) to cut out a part of it that would ensure it fit down exactly over the whale’s back and clamp it down while the box lid was closed. It could go nowhere:

narwhal-base-final-wrapping-05

Used contact cement to glue these inserts firmly into the box. I used a stand-in piece in place of the metal final work, and held the box closed with a clamp while the inserts dried in place:

narwhal-box-05

And this is what it looked like when finished:

narwhal-box-interior-01

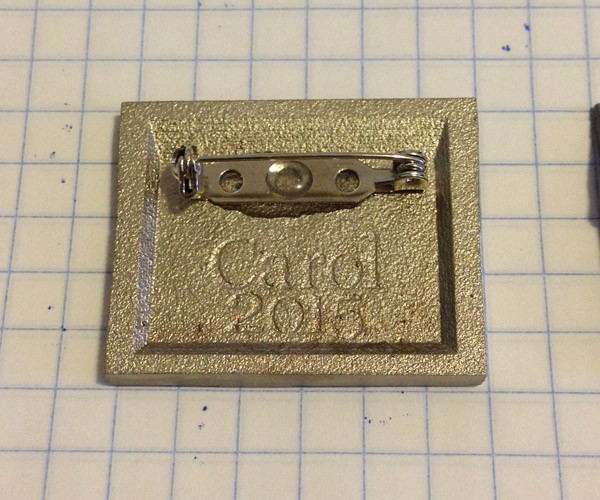
But that was not all. I needed a finishing piece: A silver engraved plaque. I went to Things Engraved in our local mall and got the perfect oval silver plate and had engraved on it: “For Carol On Our 25th Anniversary, Love, Sean”

narwhal-box-with-plaque-01

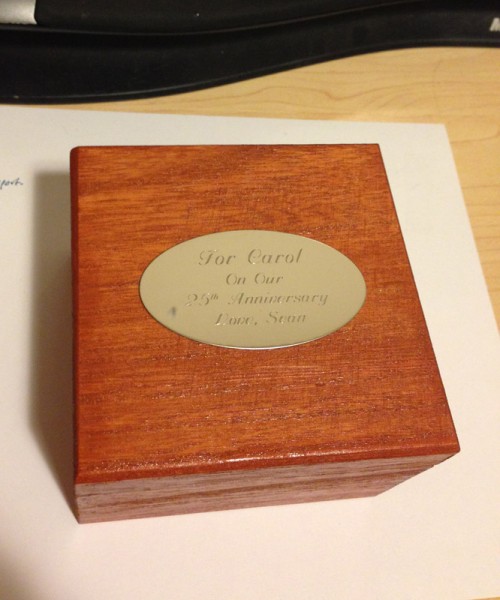
And that’s the complete package.

I gave it to her on our anniversary and she loved it.

narwhal-finished-01

Working Winch – For Cotswold Collectibles

Last year I worked on a second project for Cotswold Collectibles. The first one was the smaller aerial drone, which they wanted to fit in their lovely cloth backpack, for a Deluxe Midnight Mission Set.

The second one had to do with retrieving lost treasures from a buried tomb in a set called Descent Into Danger. Here are photos shot for the catalog:

12463771_10205465001371559_488760127_n

My part of the project involved creating a working winch and hook. So I did some research and saw that modern winches have motors attached, so I opted to create a working winch, with ratchet gear, and the winder (which works by hand) winds what looks like a motor, but is actually a crank.

Greg, my friend at Cotswold, wanted it to mount on top of a table-top camera tripod, which is coincidentally perfect for a GI Joe-scaled winch tripod. It tilts, has extending legs, and screws on using a standard mounting screw.

So I designed the base of the winch to hold a nut that would fit that screw tread, so it could be screwed on tightly.

12459954_10205464997251456_1594099390_n 1931944_10205464996891447_1768960341_n 12483497_10205464997451461_485078390_n 12467892_10205464997171454_787790447_n

The ratchet works by a springed gear stop (in red) which was printed to be flexible. You turn the motor (the blue piece) and the winch cranks upward, and doesn’t go back down unless you press on the red lever, which frees the winch gear.

I confess I was a little surprised how well it all worked.

Drop Canisters – Cotswold Collectibles

My latest project for Cotswold Collectibles: A Drop Canister.

The concept is simple: A canister that can be dropped by parachute into a mission area.

The design was fairly simple too. The canister would be about the size of a soda can. Two handles, one on each side, for easy carrying, and a handle on top of a twist-cap. I designed the cap to twist into a slot and the closure is nice and snug and feels great. The cap is made from two pieces: the main cap and the top.

They are designed (in this case) in Adventure Team colors: Yellow, black, red.

Here are the printed bodies:

canister-bodies-01

Here are the printed caps in two pieces:

canister-caps-01

And the completed order. I did 30.

canisters-complete-01

Here’s the ad as it appears in the Cotswold Collectibles catalog:

cotswold-collectibles-catalog-canister-page

Red Special Retro Ray Gun

Concept

Ok, I’m going to confess that I like this one quite a bit.

I started with some small sketches of retro 50s ray guns. When I sketched one in pencil I quite liked, I redrew it in pen, and colored it with colored pens, on graph paper.

red-special-planning-sketch-01

I scanned this image and created an image plane in my 3D modeling software package. I used that as a horizontal guide.

The one thing I didn’t like was the muzzle, so I left that for last, hoping I would come up with a better idea when I got to it.

Assembly

One thing I wanted to do, and added a lot of time to modeling, in this one, was to avoid having to use glue of any kind. This required carefully designing each piece to screw or bolt to previous pieces until it was solidly constructed.

That, and I wanted it to be heavy.

Recently, I created WERBLZ, a series of rolly-aliens, which I hope to make available to the general public soon. To bet these WERBLZ to roll, I used a short carriage bolt.

ss_Carriage_Bolt_221

I sheared the rounded head off to use at the bottom of the WERBLZ to make them wobble. That left the bolts as junk, so instead of tossing those, I decided to keep them for weight in various models I wanted to add weight to.

I started with halves of a handle. Since this was a little too large to print on my Afinia H479 and H480 printers, I cut it into two pieces, using a jig-saw method to attach them nice and tightly.

red-special-handle-bottoms-01

Each half has three screw holes at the top, and three screw holes in the handle itself. Then there were two screw holes to screw the grip panels to.

I needed space to add a trigger, which pulled correctly, and a part for the base of a spring to attach to. This would allow for the trigger to actually work.

Once these elements were placed, the two halves screwed together: (Note I only use two of the three screws to attach the handle halves. No need for the third, but it could be used. I was running short on screws, so I skimped.

red-special-handle-assembled-01

Note the notch at the top, near the rear. This is to slide the body of the gun onto the handle frame. First, the central “heat sink” section is slotted into position:

red-special-heat-sink-01

At this point a 6 inch bolt with a hex head is pushed into a space in the heat sink piece. The hex head fits into a hex aperture, while the bolt comfortably (though snugly) fits through the whole piece. The heat sink section acts as a wrench, in a way. I can rotate the barrel on and the bolt will be held in place by the heat sink.

red-special-rear-section-assembled-01

Four screws screw into the front of the heat sink, and drill into the red rear section. Note the square nubs at the front of the heat sink section. These fit into squares in the main barrel so the barrel won’t spin.

The black dial ring slips over the heat sink, and is allowed to freely rotate. This is a ray intensity dial.

I slipped a bolt inside the rear section for weight too.

red-special-intensity-dial-assembly-01

Next, the main barrel gets its rings:

red-special-barrel-main-stacks-01

Each of the rings (left) slips over the main barrel cone very snugly.

red-special-barrel-main-ring-assembly-01

red-special-barrel-main-ring-assembly-02

The main barrel is complete when all the red rings are in place:

red-special-barrel-main-ring-assembly-03

Here I show the bolt section of the carriage bolt I sheared off eariler (to create the WERBLZ), wrapped in Scotch Tape for friction hold, placed into the main barrel section for heft:

red-special-barrel-main-barrel-weight-01

Then, three more:

red-special-barrel-main-weight-02

Then the main barrel is slipped over the long bolt. The four holes for bolts also meet up with four square plugs on the heat sink section to prevent the barrel from rotating.

red-special-main-barrel-assembly-01

The barrel neck has a slightly smaller cylindrical aperture, with ridges so the bolt can grab on and act like a nut:

red-special-barrel-front-assembly-01

Then the muzzle is attached with a single screw:

red-special-barrel-nozzle-assembly-01

Four small pegs/holes in the neck/muzzle keep the muzzle from rotating.

Then the focus dial at the back is added:

red-special-rear-dial-assembly-01

A single screw holds the dial on:

red-special-rear-dial-assembly-02

A red plug covers the screw, but has a small notch so it can be easily removed if needed.

Last, I put one more carriabe bolt in the gap inside the handle frame, for better weight, then the handle grips are screwed onto the handle frame to form the final product:

red-special-complete-01

So there are 9 #4 3/8 screws, one 6″ bolt, and six sheared carriage bolts.

Prototype

When I was test-fitting and adjusting the model, I printed a version using colors I had that I don’t use much, usually accent colors and highlights, and things that I use for smaller objects. So rather than waste the real colors (which I use a lot and can’t spare as easily) I printed a fully working version (before final adjustments) in a rainbow of colors:

red-special-rainbow-prototype-01

It was a throw-away, but my daughter loved it, and asked for it. So it’s now hers.

Future Plans

Electronics!

I bought some cheap carded laser guns at a dollar store, and they have very loud laser sounds and bright LEDs. I will have to do some wiring and soldering, but with a few changes, I could make this gun electronic.

Problem – The Trigger Sounds Springy

I noticed when I completed the first print that the trigger makes an ugly springy noise like rusty bed springs. I looked at the design again to see if there was anything I could do about it.

red-special-ray-gun-trigger-spring-problem-01

You can see the problem. The handle frame has a post for the grips to screw into. It sits amid the handle right where the spring has to be when the trigger is pulled back. The trigger is basically a lever (with the fulcrum right under my thumb.) The end of the lever inside the gun has to hold the spring, which needs an anchor somewhere else inside the frame. There’s lots of room below it, but not when the post is in the way.

The result is that when you pull the trigger, the spring is raked over that post, making a squeaky noise.

So I tried to figure out a way to remove the spring.

In the past I have made a few things that use magnets as springs:

Space 1999 Stun Gun Settings Switch

OLYMPUS DIGITAL CAMERA

I used three magnets: One in the trigger switch slider (on the right) and there are two under the KILL and STUN settings.

EMP Grenade Plunger

OLYMPUS DIGITAL CAMERA

I used three magnets, one in the plunger, one in the bottom, and one in the base.

So I began to think magnets would be the perfect solution to this problem. I diagrammed out how this would fit into the existing structure. I had to make a few small changes and additions, as well as cut out some gaps for the magnets to fit, but here’s the scheme:

The trigger itself has one magnet, North pole facing upwards.

The handle has a magnet below it to pull the trigger forward. This is also North pole facing upwards for attraction

Then above the trigger a third magnet, South pole up so the two North Poles repel each other as the trigger approaches, for some resistance on the back pull.

red-special-ray-gun-trigger-magnet-diagram-01

A quick test print (in blue and brown) later and here it is:

red-special-ray-gun-trigger-magnet-test-print-01

(Ugly pink tape holding the magnets in place because what really holds them in place is the two halves of the frame screwed together.)

The resulting feel is very nice. No noise, good pull resistance, and retraction.


Barnes & Noble First Ever Mini Maker Faire

barnes-noble-maker-faire-small

A month and a half ago I was in a Barnes & Noble in Framingham. I saw a Da Vinci Jr.  3D printer on display there and was staring at it when an employee asked me if I had any questions. I told him I had two printers and was eager to participate in the Maker Faire. He said he would refer me to their community manager, Paige Murray.

She contacted me and we chatted by e-mail and made plans for me to do a talk on Sunday, during the Maker Faire. I would bring some samples, and a printer, and answer any questions people had about 3D printing.

Later she contacted me about an event the previous Friday for a Framingham school. So my first event was for the principal and students, though there were plenty of public there too. It went very well, and I was a hit, apparently.

I printed a rack of Emmett’s (on Thingiverse) planetary gears, one in each color I had:

These were a huge hit. I gave away about 20 of them.

I also had a table full of my best prints.

I did the Sunday event as well. Here are a bunch of photos.

(Note, there were a lot of kids there. I blurred them out of these photos because they are minors and I do not have permission to post their pictures.)

bnmf-cleanup-01 bnmf-kids-01 bnmf-kids-02 bnmf-kids-03 bnmf-kids-04 bnmf-public-01 bnmf-public-02 bnmf-public-03 bnmf-public-04 bnmf-public-05  bnmf-samples-01 bnmf-samples-02

Tintin On The Moon

Tintin, by Hergé, is a character in a series of comic books from Belgium, beloved the world over. I read them as a kid, and my two favorite ones were a pair of books, in a rare thing for Tintin, a two-parter: “Destination Moon” and “Explorers on the Moon”:

tin-tin-moon-books

A year or so I bought a nice die-cast Jeep (the one on the first cover) and I downloaded and 3D printed the rocket, someone put up on Thingiverse.

But not satisfied, I wanted to make a statue of Tintin in his space suit.

Here it is:

12189801_10153071016431105_5607296879127696805_n 12208704_10153071016496105_2524085349619937784_n 12187668_10153071016596105_2605207907898148152_n 10406440_10153071016551105_2176392486078442578_n

The bubble is a vending machine bubble capsule, which is not terribly transparent, which sucks a little, but it works fairly well.

The figure stands about 8-9 inches in height.

Iron Giant Head

iron-giant

Ah, my favorite animated movie.

I decided to make a large (as large as my printer could print) copy of the Iron Giant’s head for my desk, with articulated jaw, teeth, and replaceable, and hopefully, lit-up eyes.

Here’s my progress: I ran a 12 hour print last night, and while the print turned out pretty good, sadly, it suffered stress cracks, which seems to be an inherent issue with ABS printing:

iron_giant_head_wip_02

I didn’t help matters by how I modeled the crest. It’s like a knive blade stuck down into a groove of almost the same size. This pushes the head apart a bit more. Some adaptation will be required there.iron_giant_head_wip_03

But the main problem is that I think this filament needs to be printed a little hotter to get these cracks to disappear, and I’m not even sure about that, so when I’m done with this prototype completely, with hinged jaw and retracting teeth, I will reprint it hotter.iron_giant_head_wip_01

I may also be able to print it in PLA which doesn’t require a heated print bed, and may be less prone to stress cracking. We’ll see…

Here you see the space for the upper teeth. There are slots which will hold posts attached to the teeth so I can slide them up and down evenly. Hopefully.

iron_giant_head_wip_04

There is plenty of room inside to add lighting:

iron_giant_head_wip_05

UPDATE – NOV 10, 2015

Last night I printed the jaw, the teeth, and all of the pegs and small bits. I glued the hinge pins to the jaw, then pushed the upper teeth into the gap, glued the pins in place which allow them to slide up and down. Then I glued the pins into the lower teeth and snapped them onto the lower jaw, into similar grooves to allow the lower teeth to retract. (I will have to do some adjustment there, since my tolerances were off. Some cutting down of the pins made it fit for the prototype.)

Here you can see the lower teeth retracted, but still visible on the lower jaw. The upper teeth are fully retracted and hidden:

iron_giant_head_wip_08

Here, both sets of teeth are fully out:

iron_giant_head_wip_07

They are carefully designed to fit together perfectly.

iron_giant_head_wip_10 iron_giant_head_wip_09

All in all (except for those darned stress cracks) I’m very happy with this guy.

iron_giant_head_wip_06

UPDATE: Nov 23, 2015 – Version One Complete!

This weekend, after some redesign, I reprinted the Iron Giant’s head. I noticed a ring around the head, just under the “nose” where the crest stops, and I think there’s a problem with one of my 3D printers. It has been consistently printing a ring about 1 inch above the platform, on a lot of my prints. I’m thinking there’s a worn part in the vertical arm which holds the belt. This weekend I printed the head on my other printer, and at a hotter temperature in hopes of avoiding the stress cracking you see here.

Then I printed a neck, and gave the neck two spherical bumps, and the head two spherical cavities, so the neck could slot into the head. The first attempt had the head too upright, so I tilted the bumps a bit to form ovals at a bit of an angle. The result was the ovals should have been spheres, for more flexible angling. This is how I had it planned originally, but didn’t think it would work.

Here’s some shots:

iron-giant-a-03 iron-giant-a-01 iron-giant-a-02 iron-giant-a-06 iron-giant-a-05 iron-giant-a-04

After I got this one assembled, I went to work creating the “repair summoning” crest. This crest is removable for a reason.

When the giant is hit by the train early in the movie, his crest opens, and a summoning beacon rises up, calling all of his semi-autonomous parts to return and be re-assembled:

Iron_Giant_Becon

So I modeled a new crest, with the aperture open, and the beacon:

iron-giant-a-07 iron-giant-a-08

Later, I will add rings around in semi-translucent glow-in-the-dark blue.

Oh, look, I did it:

12299221_10153100418921105_972279996824590205_n 12274559_10153100419121105_5654223664222722806_n