This is going to be a long post, guys. Take it in stages. But it has lots of nice pictures to keep you entertained, and will include photos of diorama entries, convention sets (for 12″ collectors anyway) and just lots of generally cool stuff! It’s worth sticking with it!
I just got back from the 2014 GI Joe Convention in Dallas Texas. This is an annual event held by the GI Joe Collectors’ Club where thousands of fans of GI Joe gather to buy cool, exclusive GI Joe toys made just for the event, and in this case, to celebrate GI Joe’s 50th Anniversary.
The 50th Anniversary of GI Joe And How To Handle It Badly
GI Joe was first introduced to the world at Toy Fair in 1964. He and I coincidentally share a birth year, and when I decided not to go to this convention, Carol and Charlotte thought it would make a very nice birthday gift to send me. So I went.
First, let me say this: Here’s what Hasbro, the owners and creators of one of history’s most iconic toys did to celebrate the 50th Anniversary of their signature brand – the brand that made them rich and famous:
NOTHING!
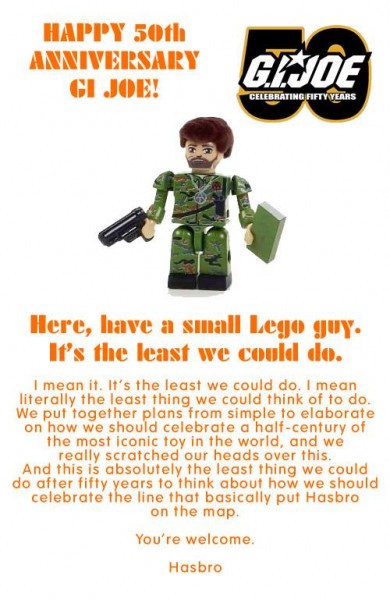
Ok, so perhaps not nothing. Here’s what they did do. The put out two Kre-O figures honoring the GI Joe Adventure Team. These are little Lego-sized figures, and here they are:
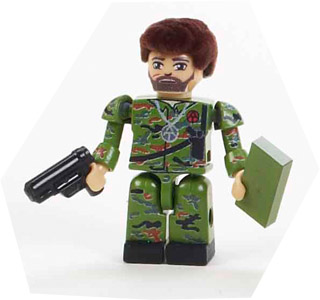
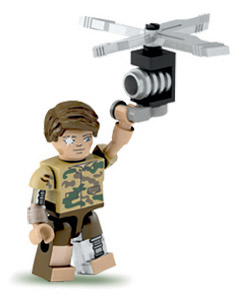
Yeah.
Yup. That’s it. That’s all they did for the 50th Anniversary of their signature line.
Which prompted me to post this to the Sandbox, facebook’s prominent GI Joe collectors’ forum, (which morphed from the old newsgroup alt.toys.gi-joe)
The 50th Anniversary of GI Joe And How To Handle It Properly
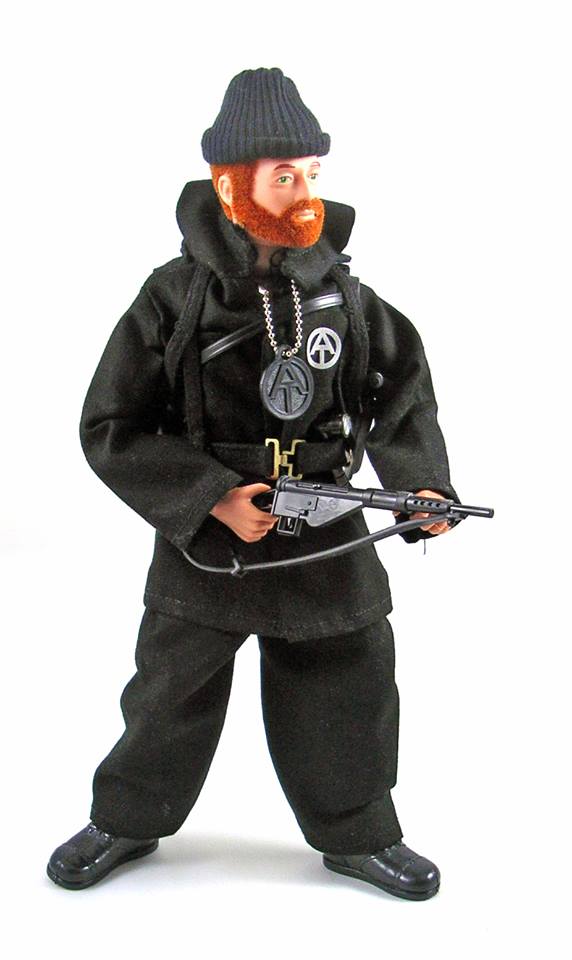
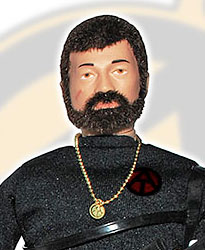
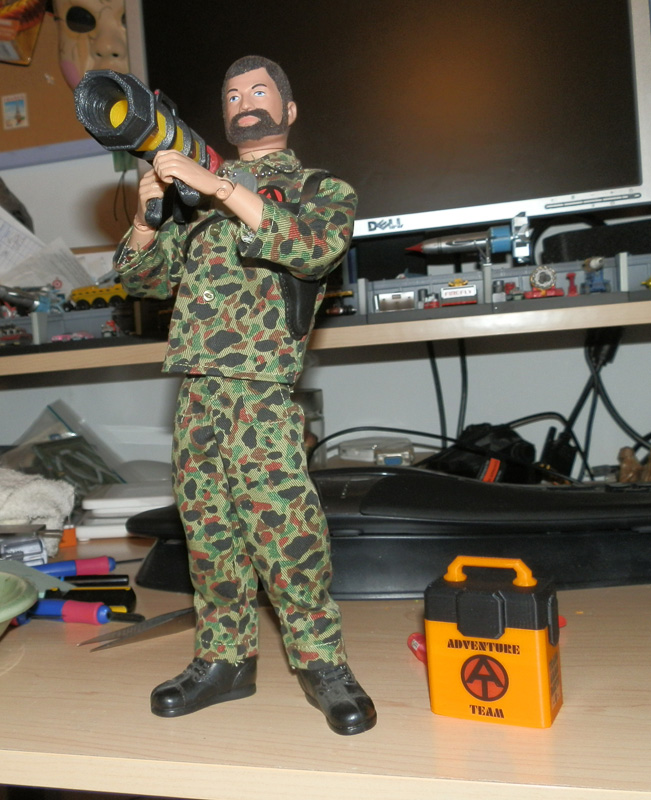
However, thankfully, the GI Joe Collectors’ Club seems to think a bit more about Hasbro’s famous action hero. Every year when you join the club, or renew your membership, you get a free figure, or figure set. For the 12″ collectors like myself, here’s this year’s figure:

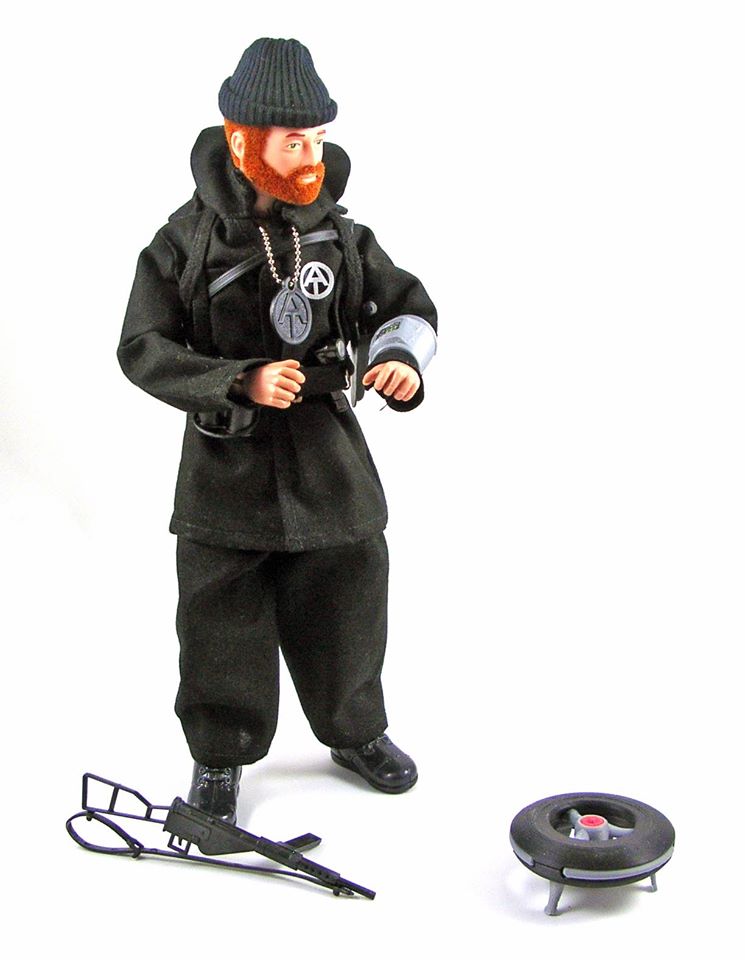
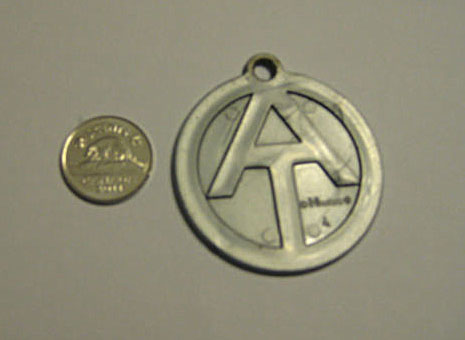
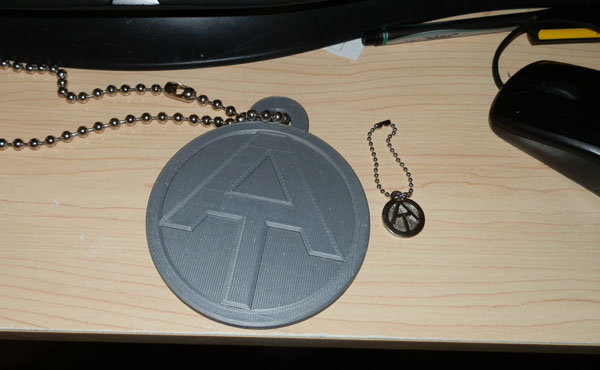
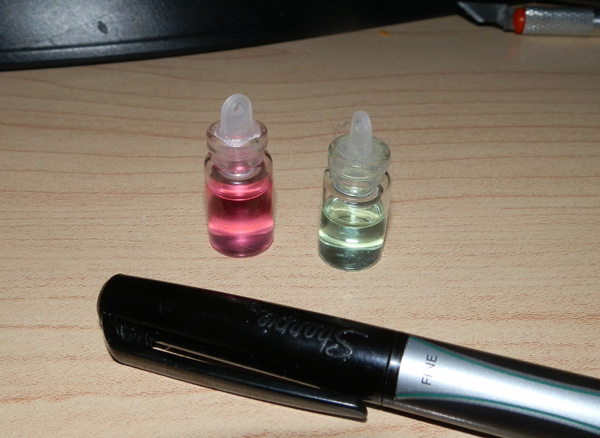
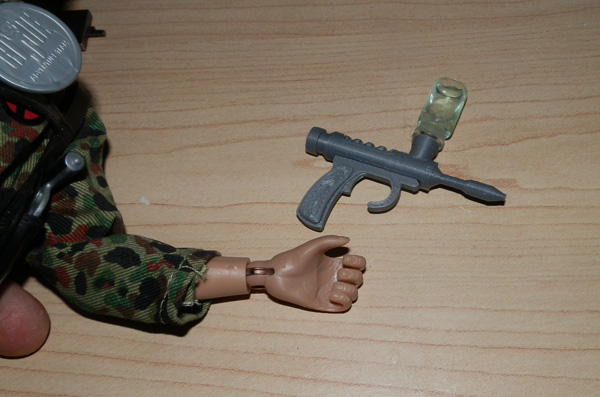
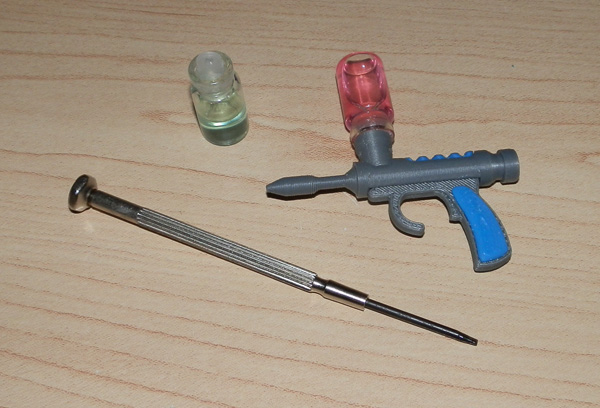
Also, each year the club puts out an add-on accessory set for the free figure, which normally costs in the range of about $40 or so, depending on complexity. This is the accessory set that goes with this year’s figure:
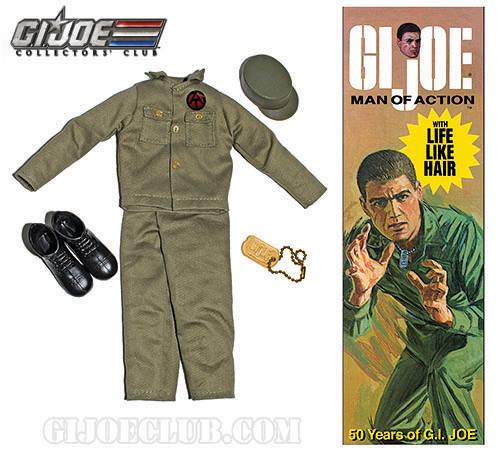
It is an homage to the 50th Anniversary that Hasbro couldn’t even touchthis year. It also completes the GI Joe Adventure Team reproduction line the club was doing. Their past figures can be seen on this page I wrote up some years back.
So that’s not a bad homage to the 50th.
Convention Exclusives – A Resurgence of the Adventure Team
Each year, too, the club creates exclusive toy sets for the convention attendees that members (and non members) can purchase after the con if there are any left. The last few years saw some wonderful 12″ Adventure Team-themed convention sets. I am proud to own several of those, and am envious of those who own them all.
In 2005, the club re-cast the recently-re-released dog sled, and made a two-figure set using, (if I’m not mistaken) the original GI Joe body, and a new Super-Articulated body versions of the Land Adventurer, along with a plush wire-articulated polar bear. Fight For Survival: Polar Bear Attack!
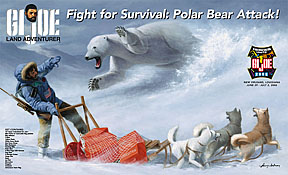 (I do NOT have this set)
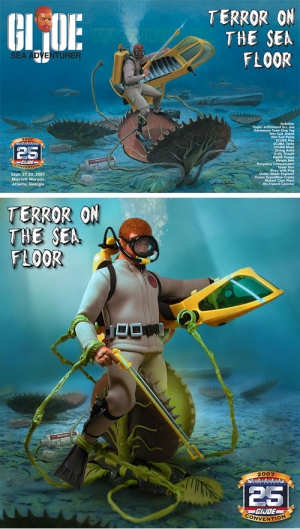
Their second AT themed Convention Sets was Terror on the Sea Floor, made for the 2007 Convention.
 (I do NOT have this one)
This set reprised a vintage Adventure Team set, bringing back the yellow Undersea Explorer, and replacing a giant clam with a genetically manipulated venus flytrap-like plant, and a great diving suit.
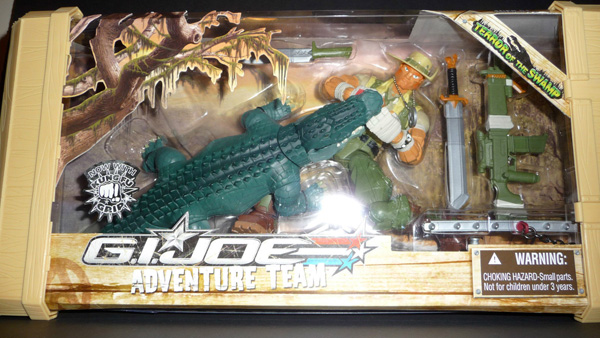
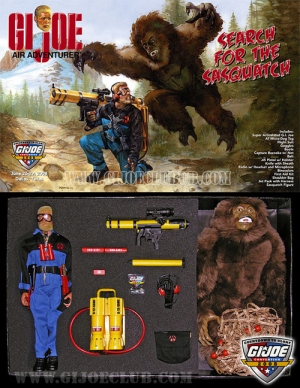
In 2008, they did Search for the Sasquatch.
 (I have this one. Got it for Christmas thanks to the Club’s Thanksgiving sale of 2013.)
This one reprises the Adventure Team “Search for the Abominable Snowman”, moving the search this time to a bigfoot Yeti. This one makes a brown version of the white Yeti done a few years back.
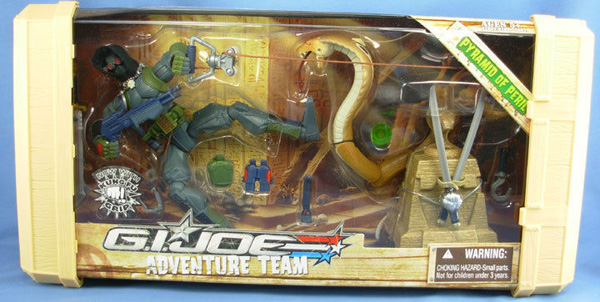
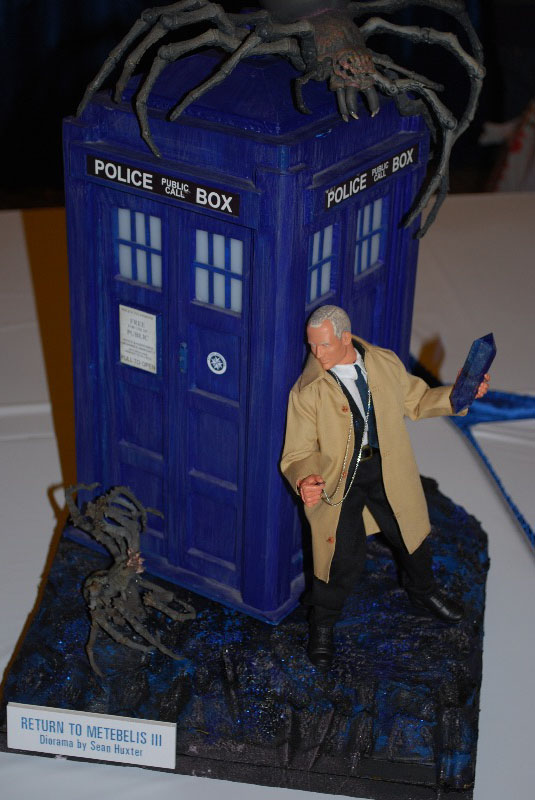
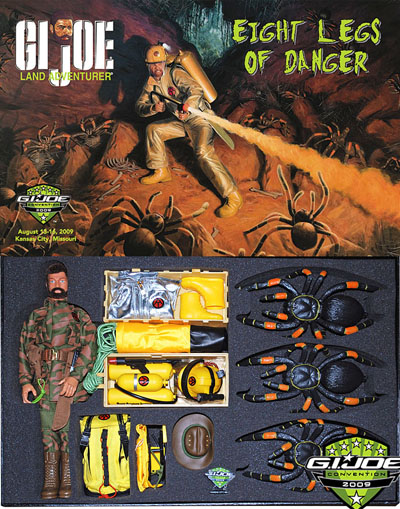
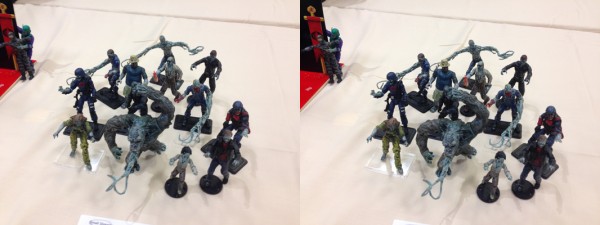
2009, Eight Legs of Danger:
 (I do NOT have this one)
Cutely, this set took the name of a set that originally included a deep-sea diver and octopus and morphed it into a set about giant spiders.
Ahem… Certainly they did not get the idea from my 2003 photo story: “Black Spider Rendezvous“, right? :-)
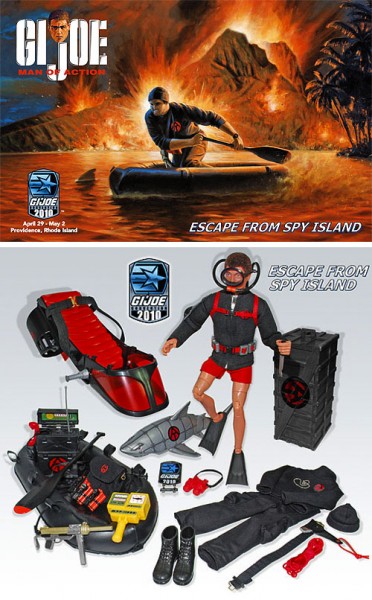
When I attended the convention in 2010 (because it was in Providence, Rhode Island, an easy 40 minute drive away) I got the Escape from Spy Island Convention Set, and it rocked my world. It was beautiful!
 (I do have this one, thankfully! Got it by attending the convention.)
This set has it all – a red/black colored Undersea Explorer, a great diver, with a Spy Island commando outfit as well, a box full of scuba gear and an inflatable raft, a radio, dynamite, and to top it all off a mechanical shark missing only a frikkin’ laserbeam on its head. (And if you attended the con they gave you a black version of the shark for free.)
The Add-on figure was a MARS Henchman.
2011 – Drive into Danger:
 (Got this one during the 2014 Spring Club Sale)
This one is a yellow cast version of the black Desert Patrol Vehicle Hasbro released a few years back. Gorgeous vehicle. The first AT Vehicle in many years.
The Add-on figure for this was an astronaut with a red space suit, black helmet and gear, and a parachute. In the comic book that comes with the set, he space-dives from a satellite in time to stop a nuclear reactor from exploding.
Then in 2012 they did Last Man Standing:
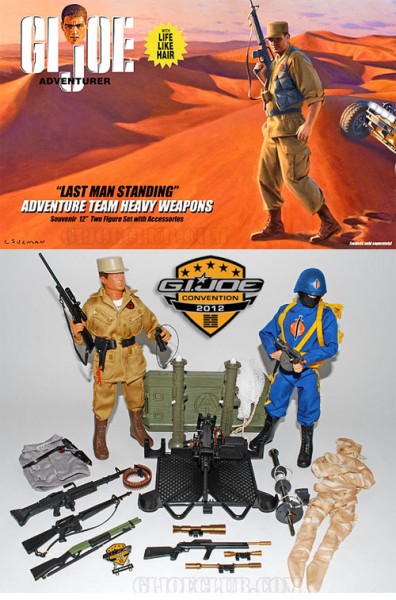 (I do NOT have this one, but as you will see later, I have some vital pieces of it!)
This set, interestingly, contained add-ons for the previous year’s set, including a winch, and cage top (with gun mount) for the yellow Sand Rail vehicle. Centered around MARS, a Cobra pre-cursor organization (like the Escape from Spy Island) it dealt with baddies masquerading as mummies. It included almost every heavy weapon made for the modern GI Joe era, and a beautiful reproduction of the rifle and scope set from Magnum Power, a rare vintage GI Joe set.
I do not know if this set had an Add-On figure.
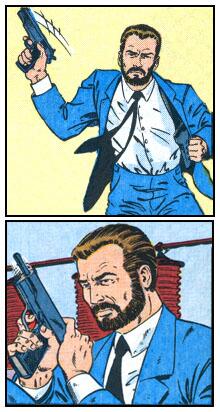
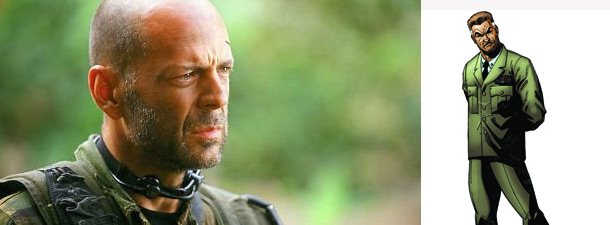
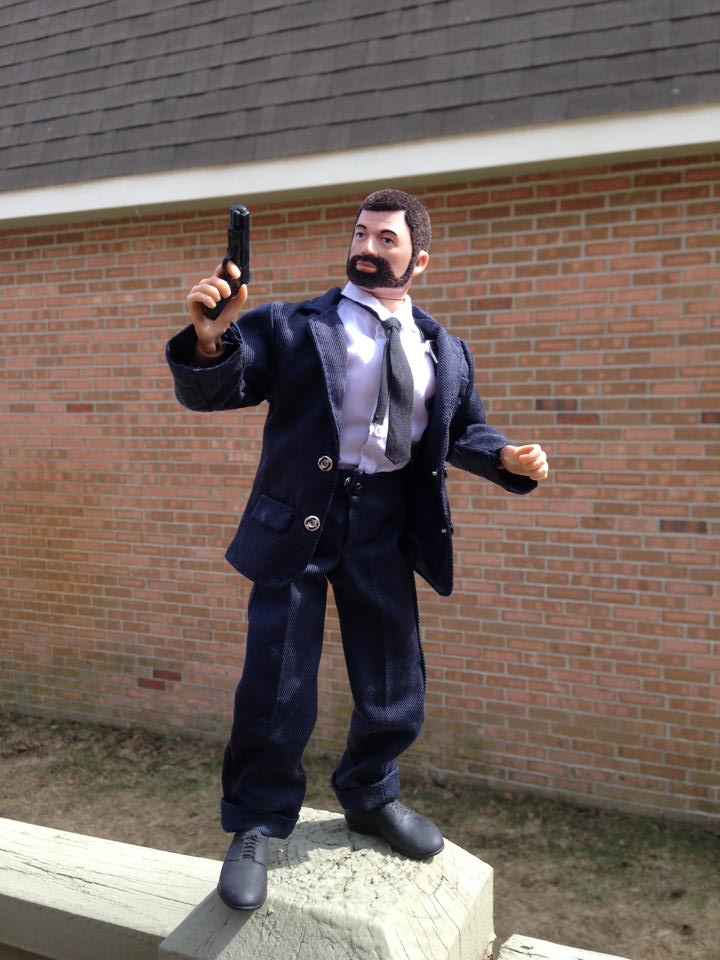
And finally (and I’ll explain why “finally” shortly), in 2013, Secret Mission to Dragon Island, a very James Bond theme including tuxedo-wearing agent, and Nehru-jacket-wearing bad guy:
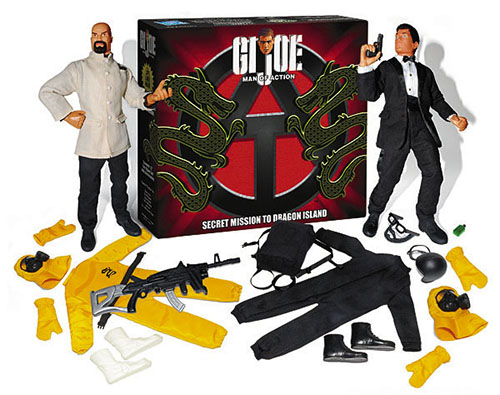 (And sadly, I do not (yet) have this one.)
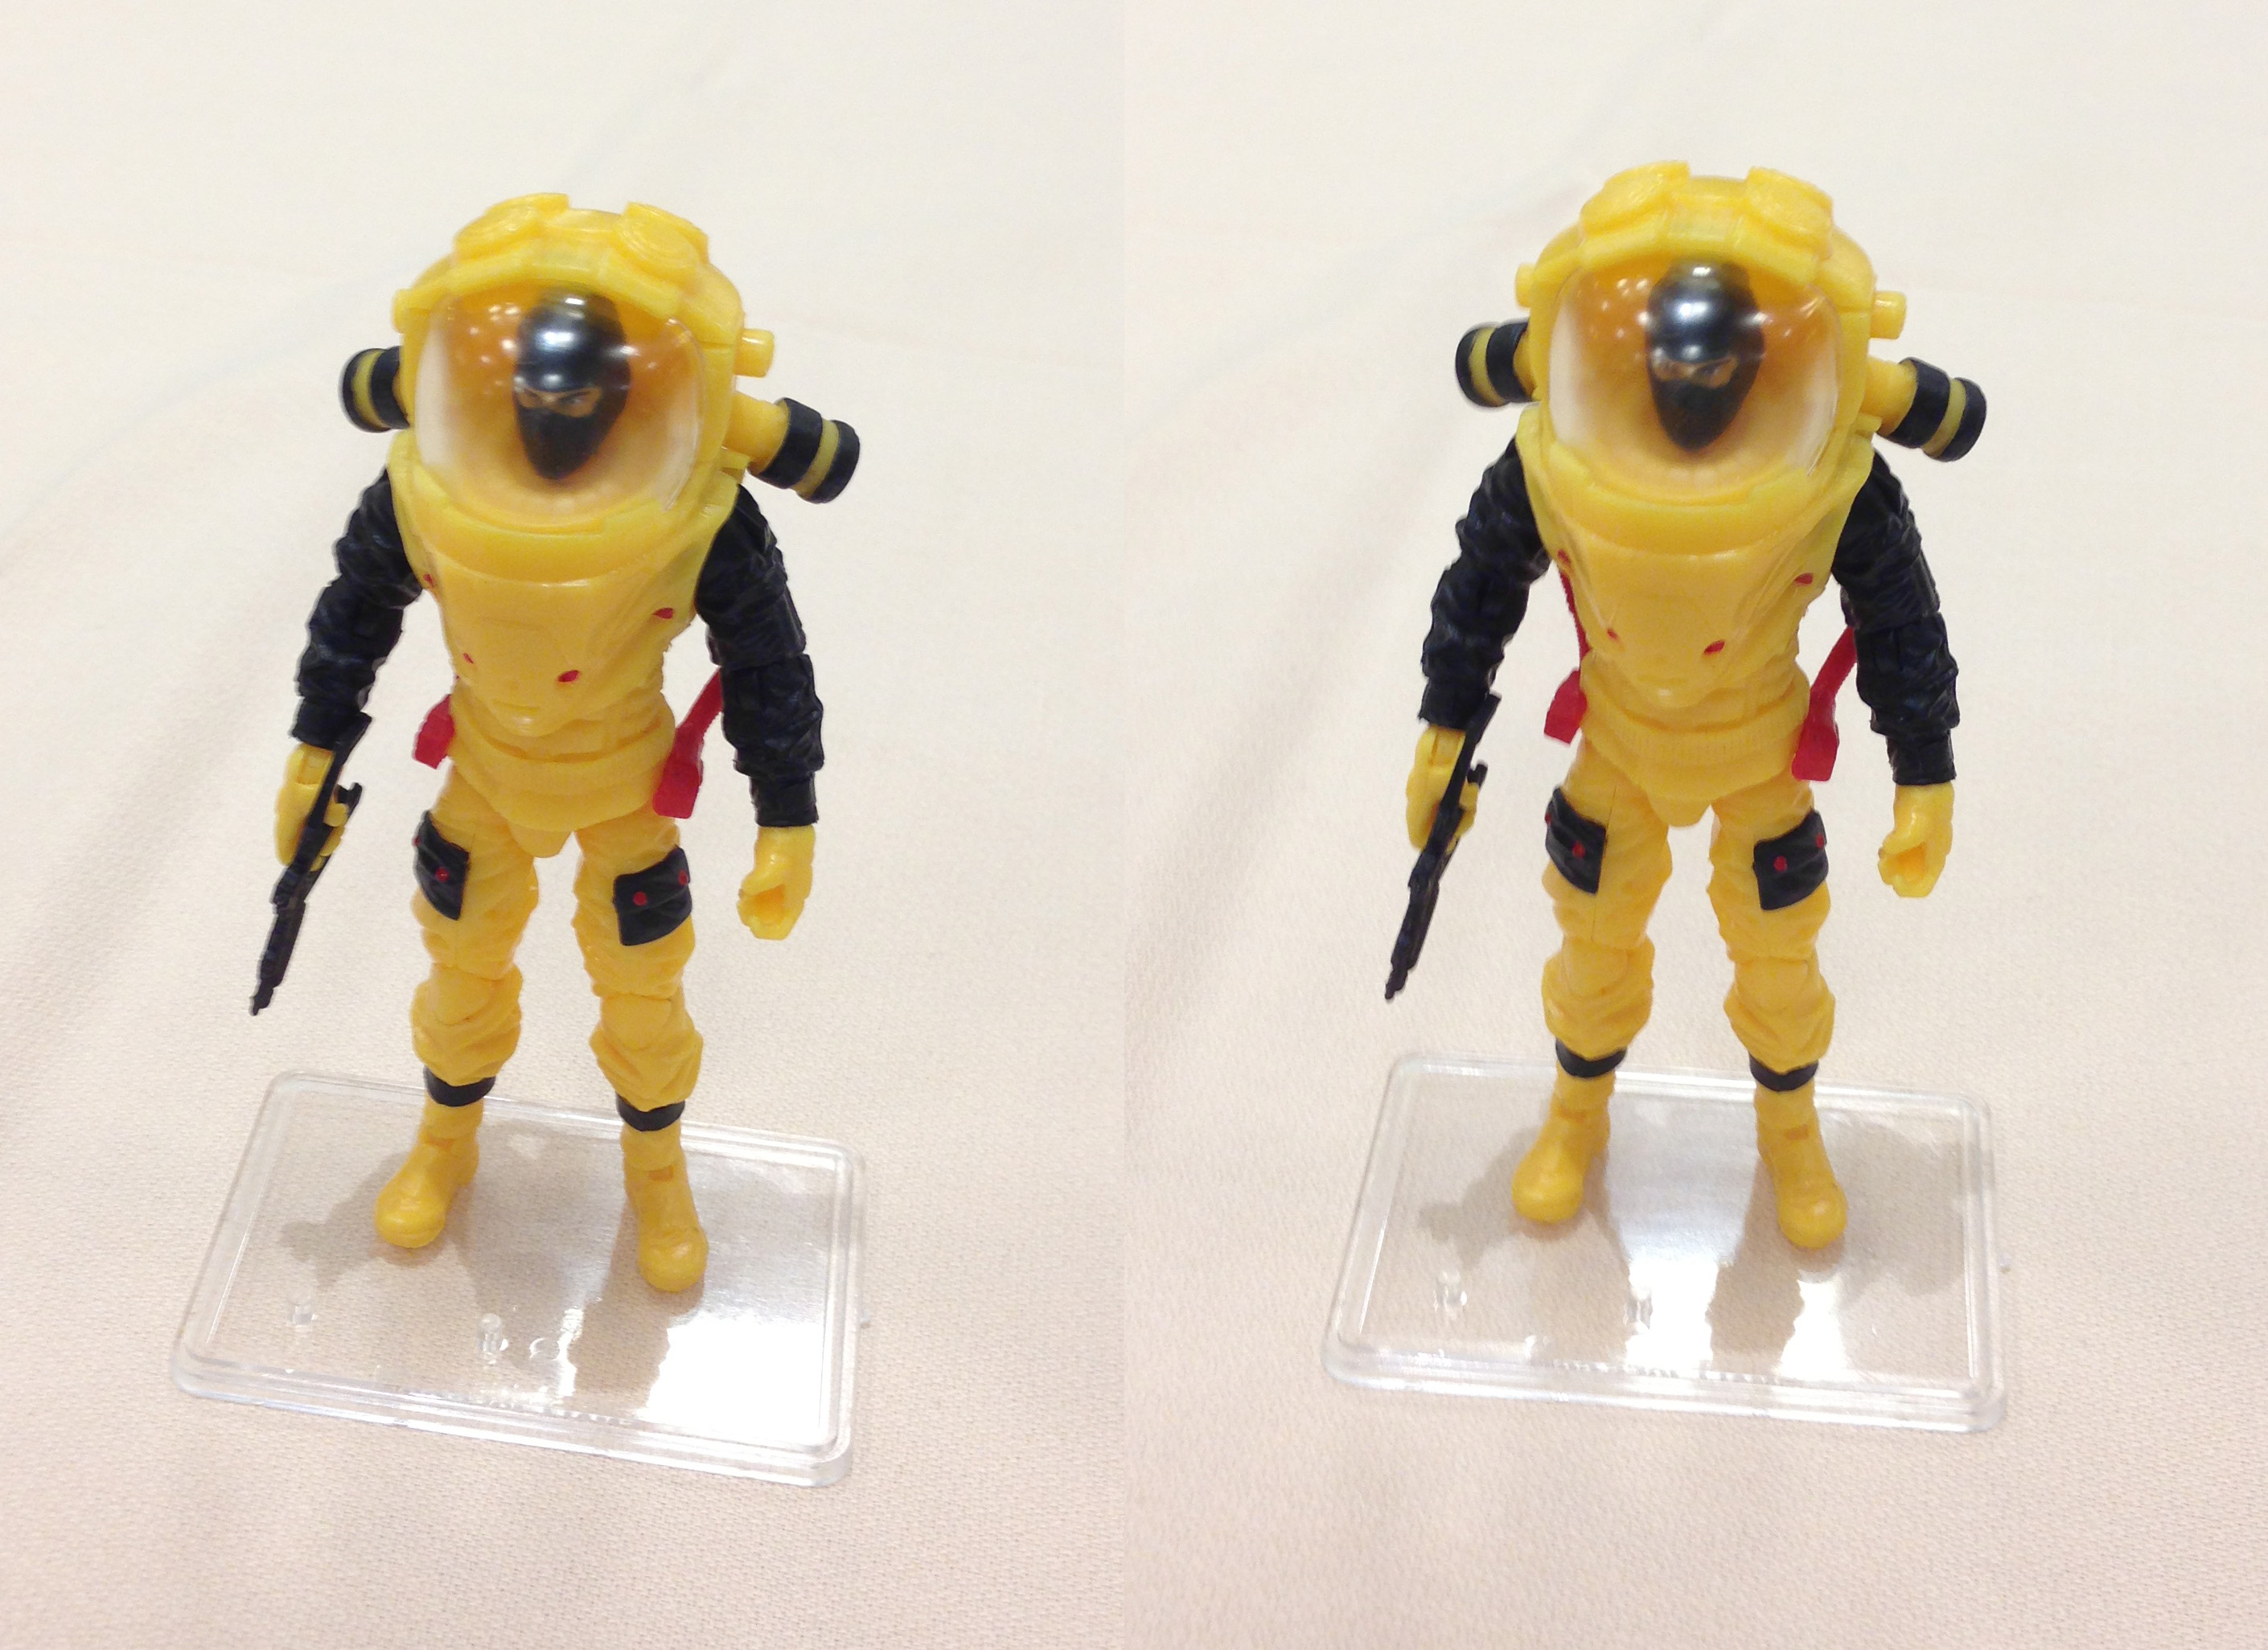
The Add-on figure for this one was a Laboratory Guard, wearing a blue version of the yellow Haz-Mat suit.
In previous years, the club also produced add-on figures for the 12″ set.
This year, 2014, there was nothing extra at all for the 12″ set, and it irked many collectors.
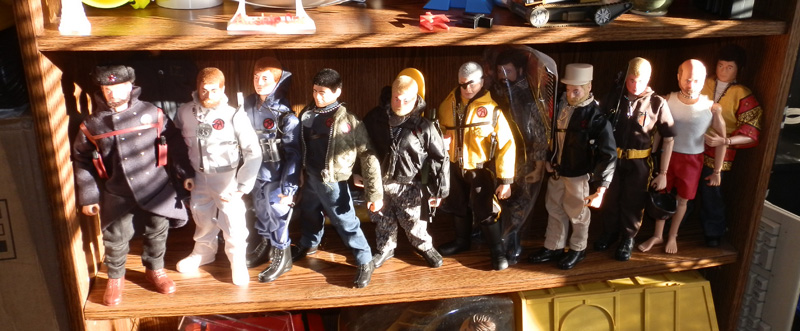
Here are some of the club exclusives from the past. This image includes the club freebie figures with accessory sets, as well as one-off figures the club created, and a couple of Convention add-ons.

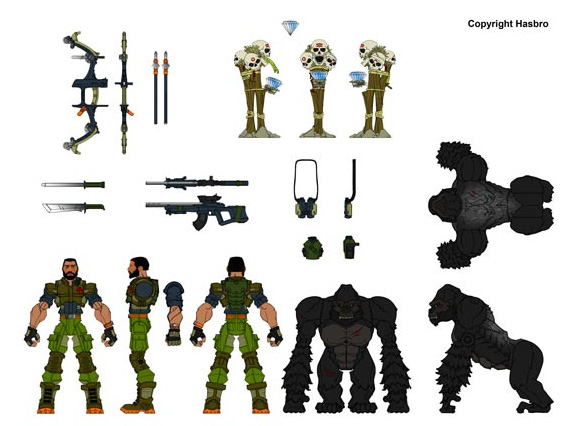
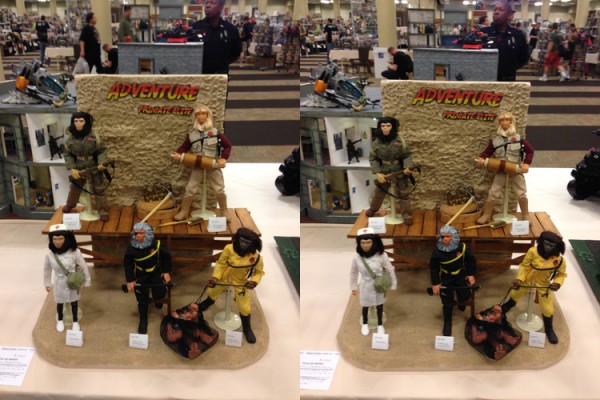
Anyway, the reason I said “and finally” is that the 2014 GI Joe Convention Exclusive was not Adventure Team themed. In fact, that’s completely appropriate for this year since it is the 50th anniversary, and GI Joe did not begin in 1964 with the Adventure Team, it began as a military figure, and this year’s club exclusive set pays homage to him.
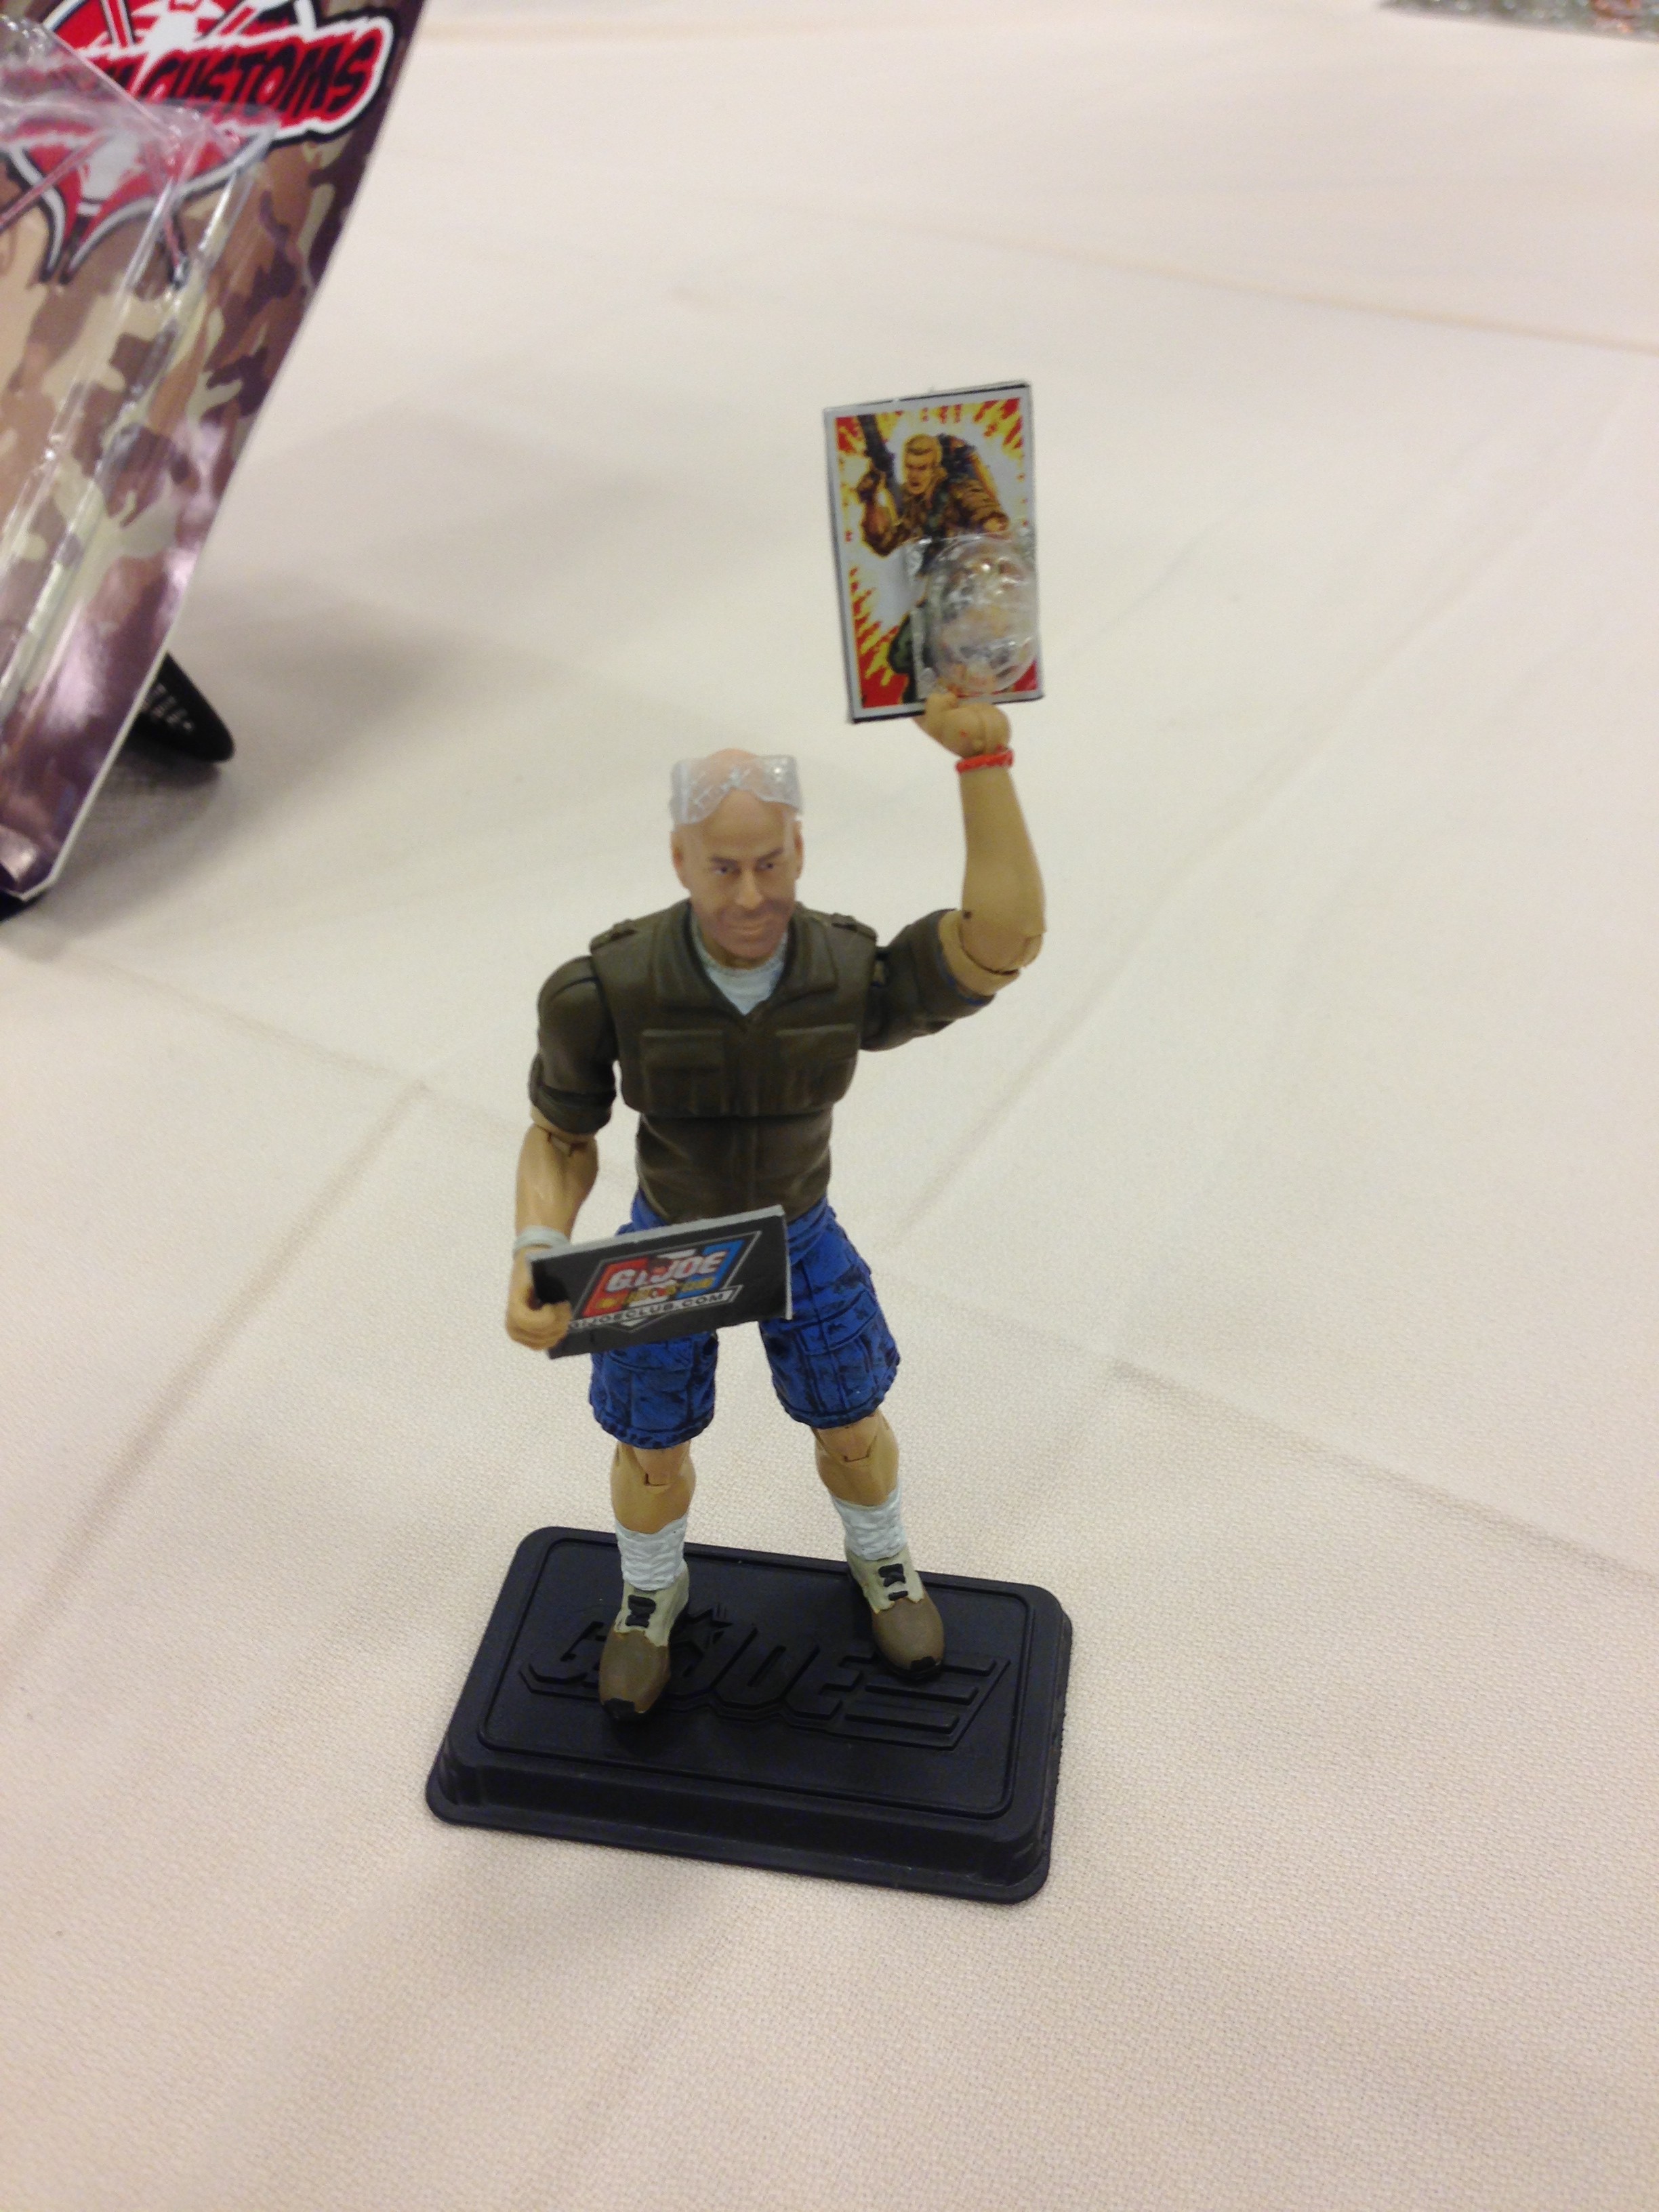
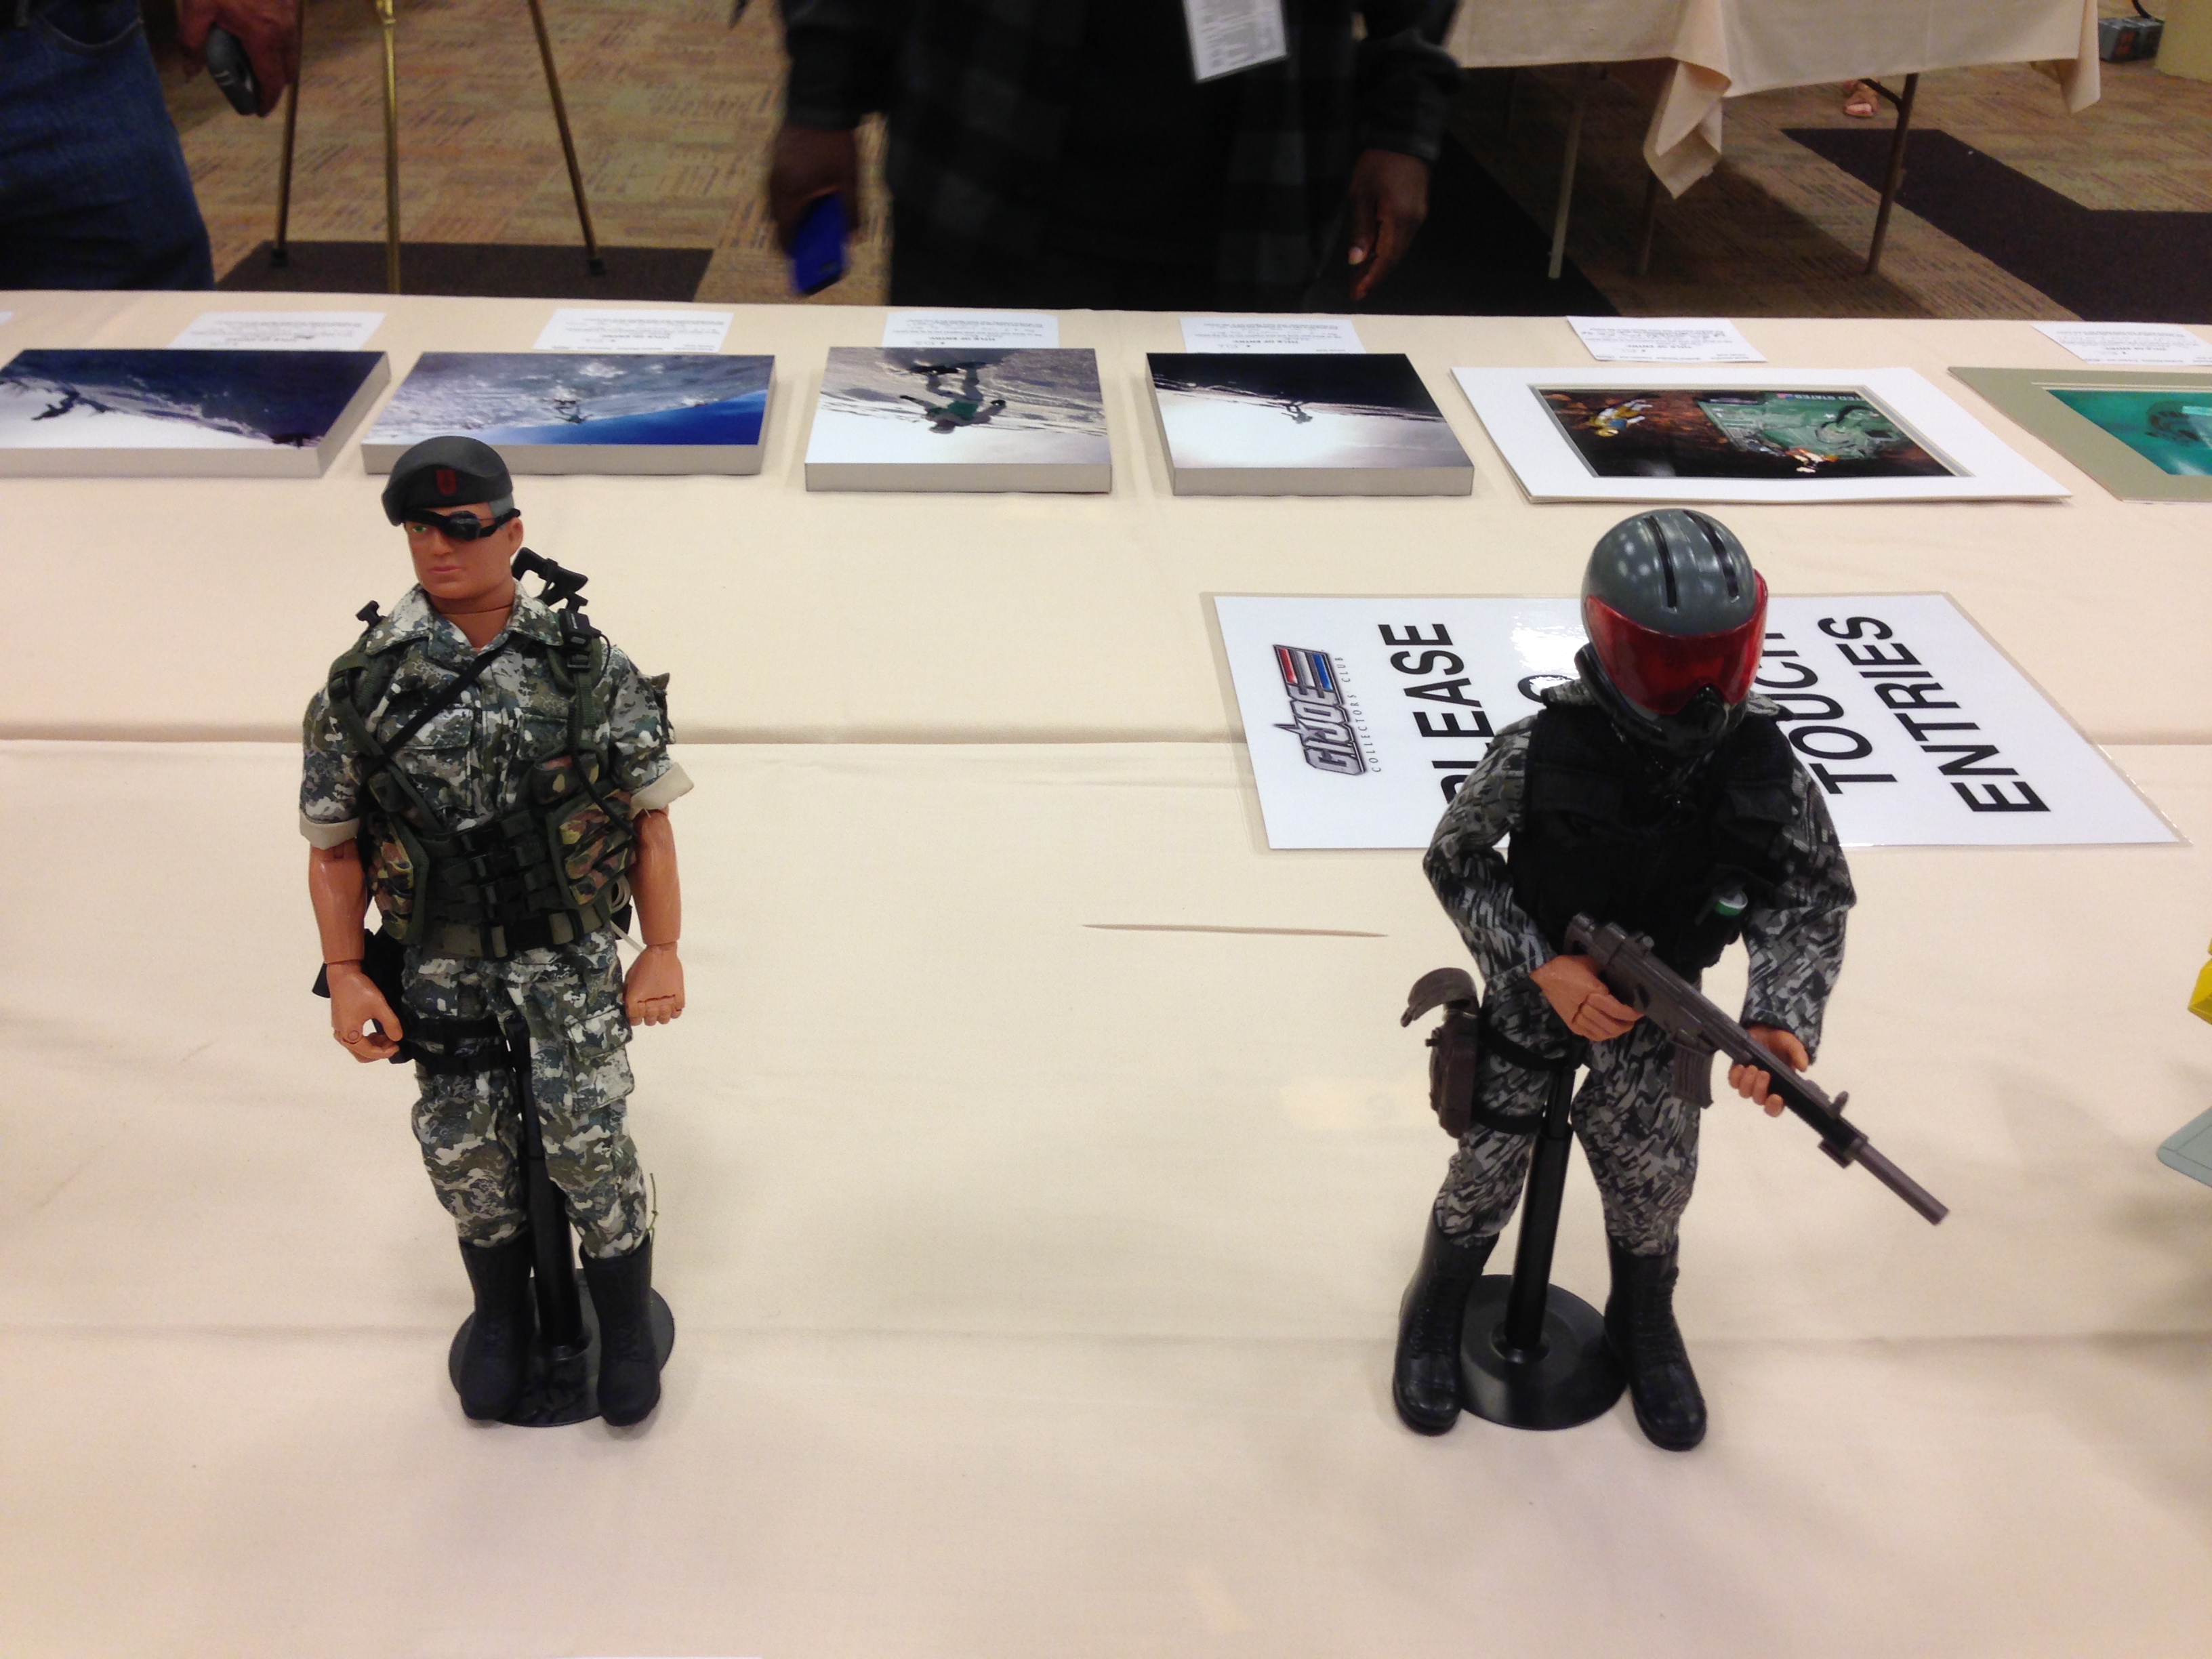
So, 2014 – Codename: GI Joe:

This set includes GI Joe (rectonned as Joe Colton some years back) in three forms: His original Military incarnation as a Green Beret, as an Adventure Team Commander, and in his 3.75″ Real American Hero incarnation, as civilian head of security, Joe Colton.
As for next year, my gut tells me that will be the last year they do a 12″ set, since the number of 12″ collectors is dwindling, and the number of 3.75″ collectors are vastly outnumbering us.
But I have no insight into that, nor into what next year’s set may be, but it seems they have plumbed the depths of what Adventure Team themes they can apply. Still, you never know.
And Now On To The 2014 Convention
I arrived in Dallas on Thursday afternoon and began to set up my dioramas.
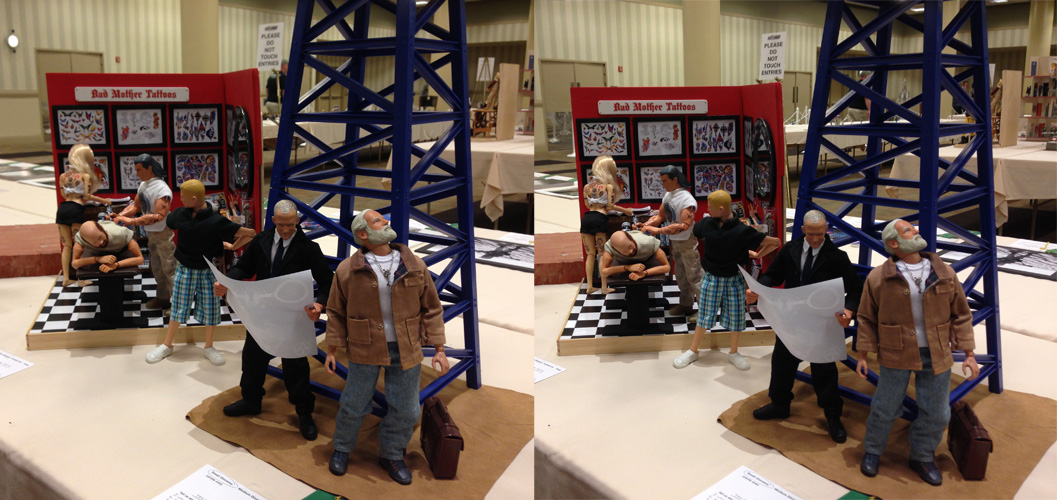
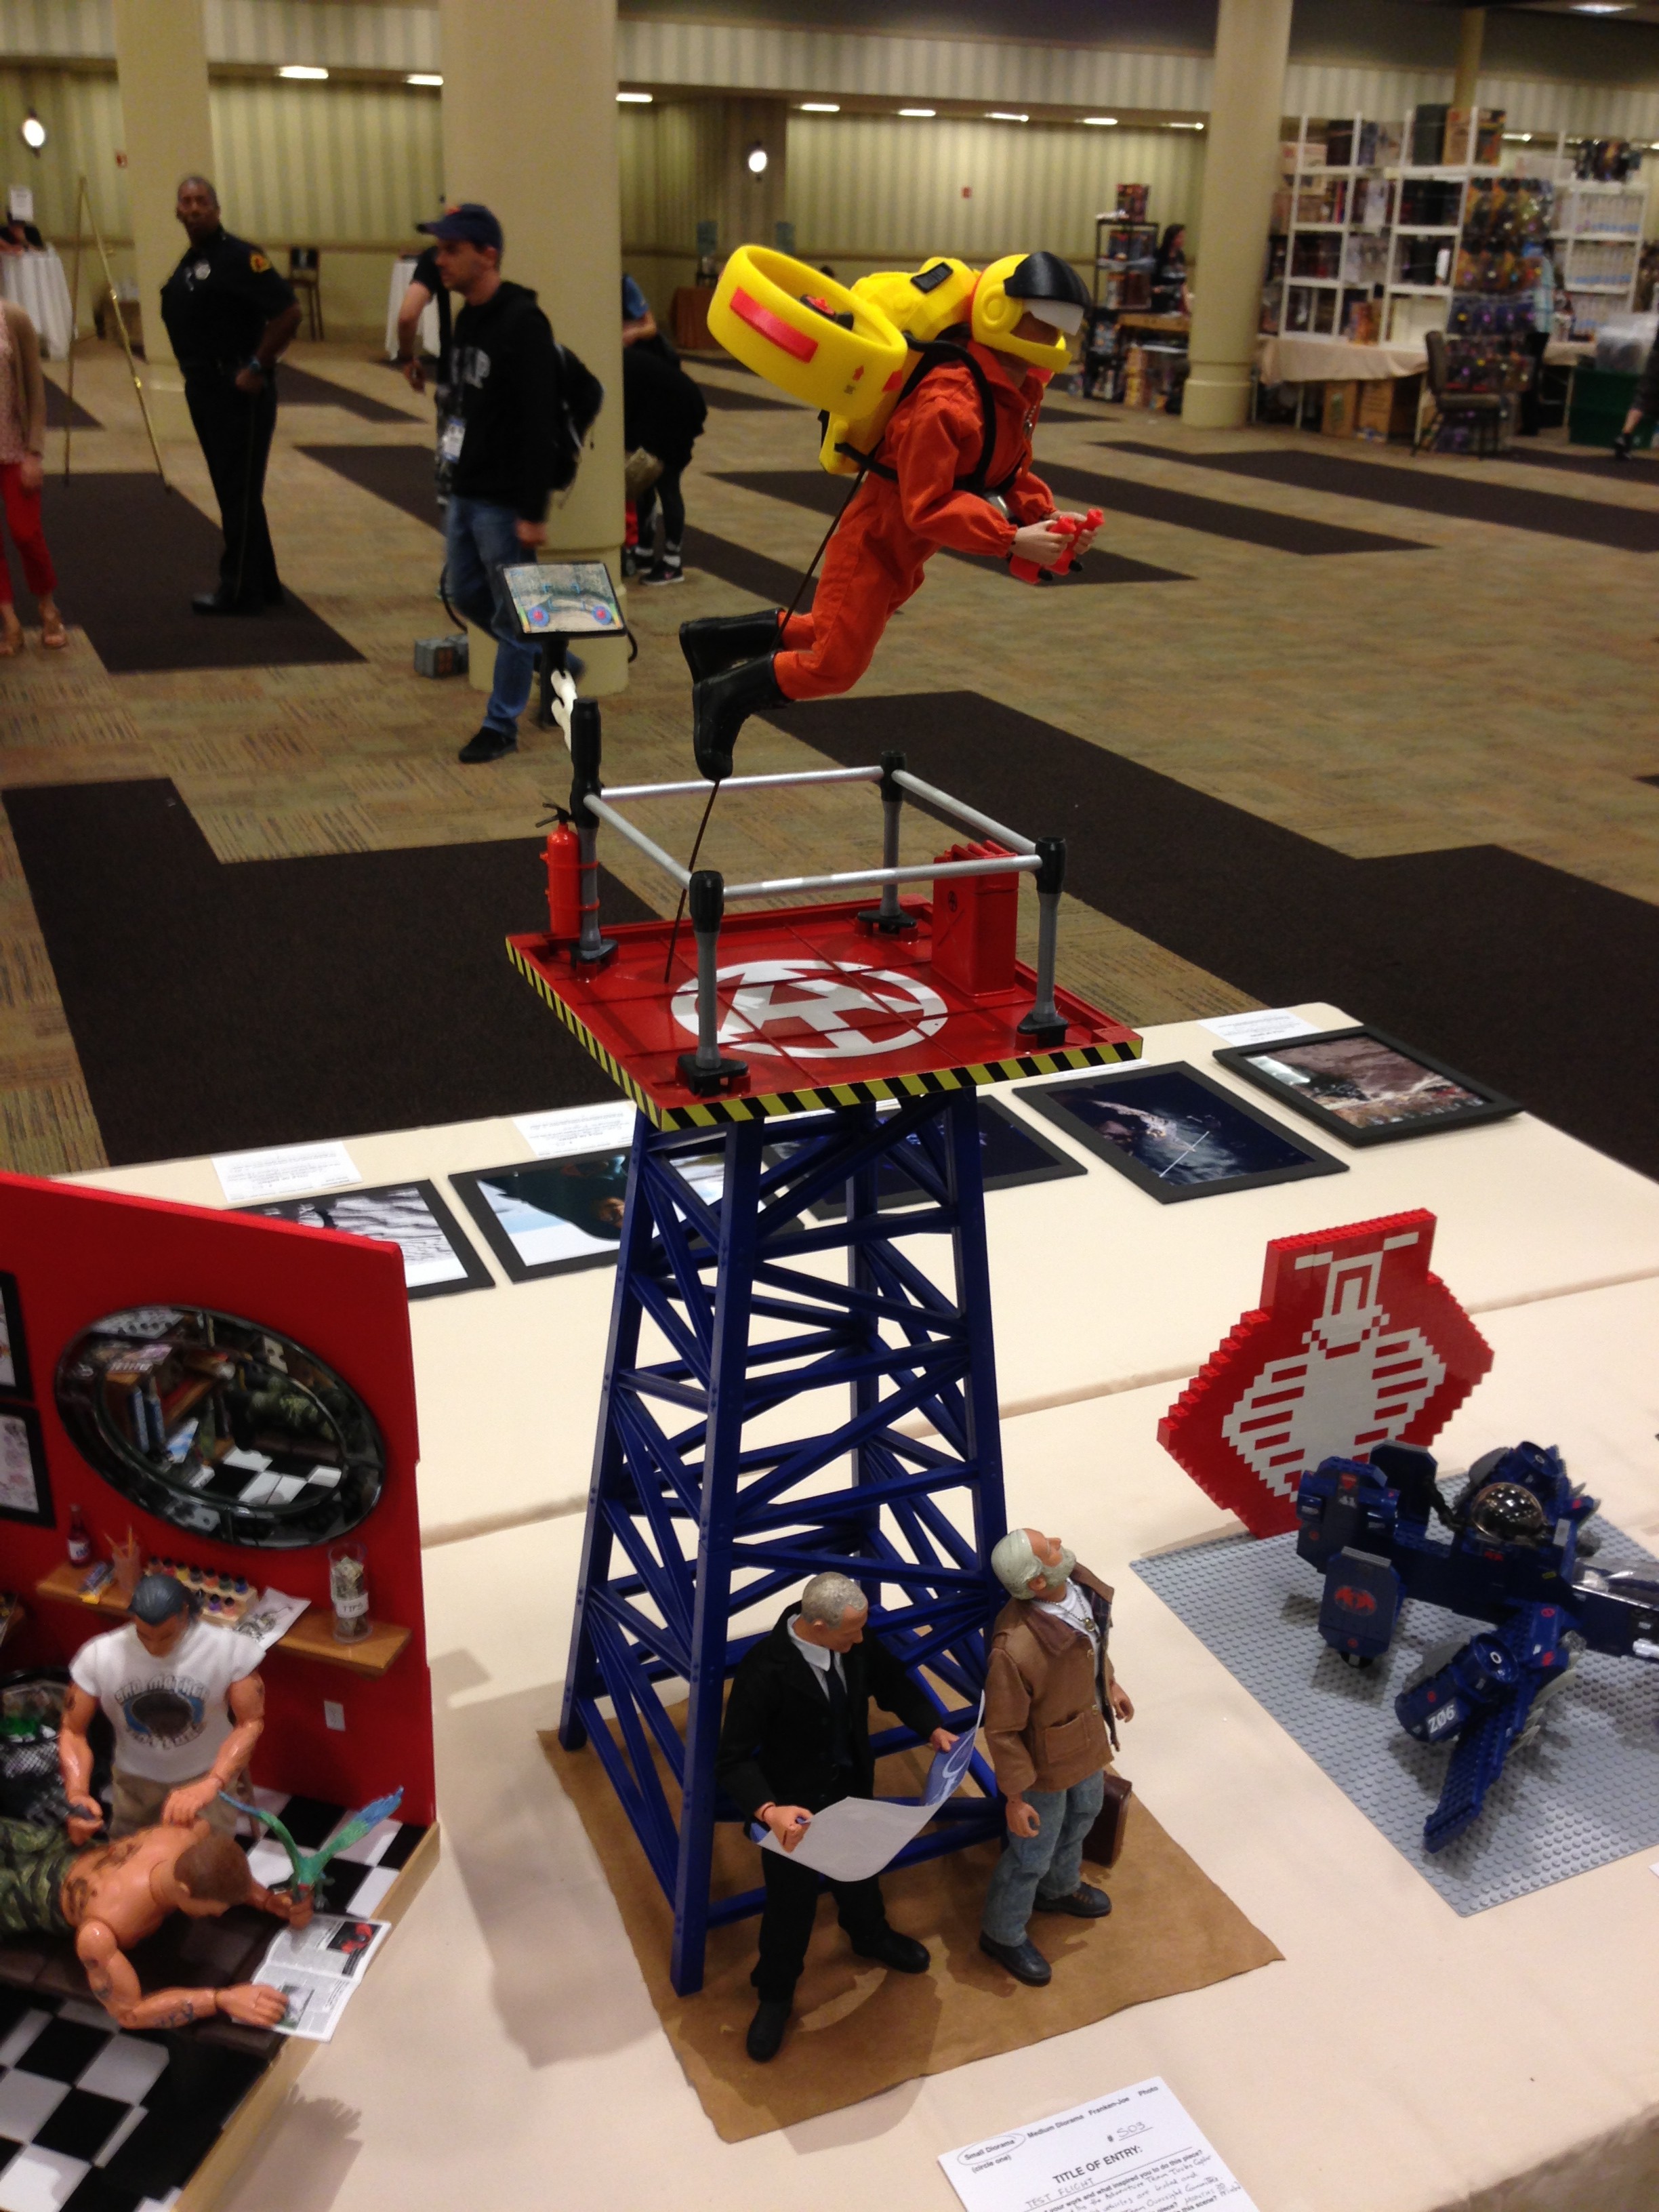
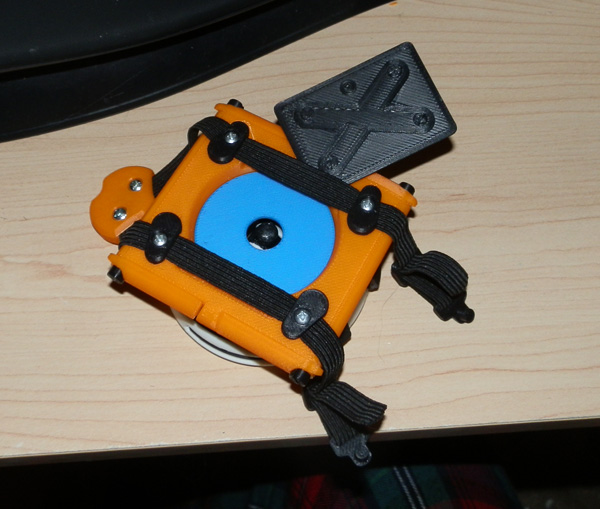
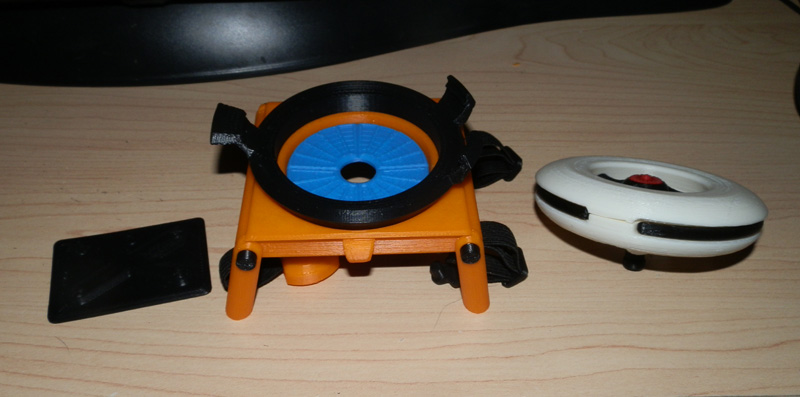
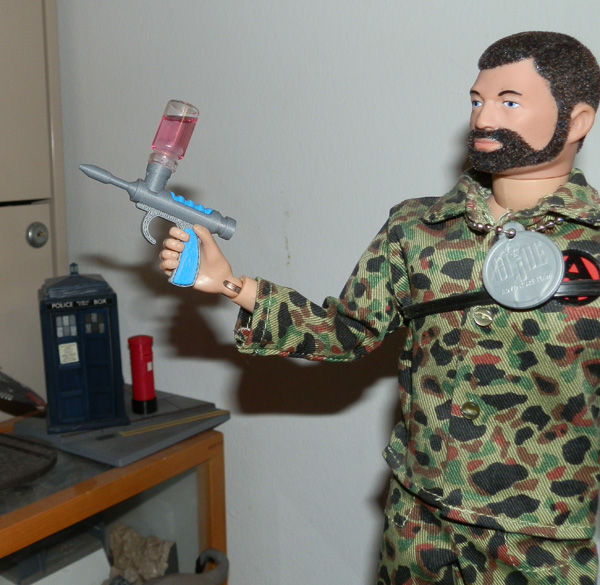
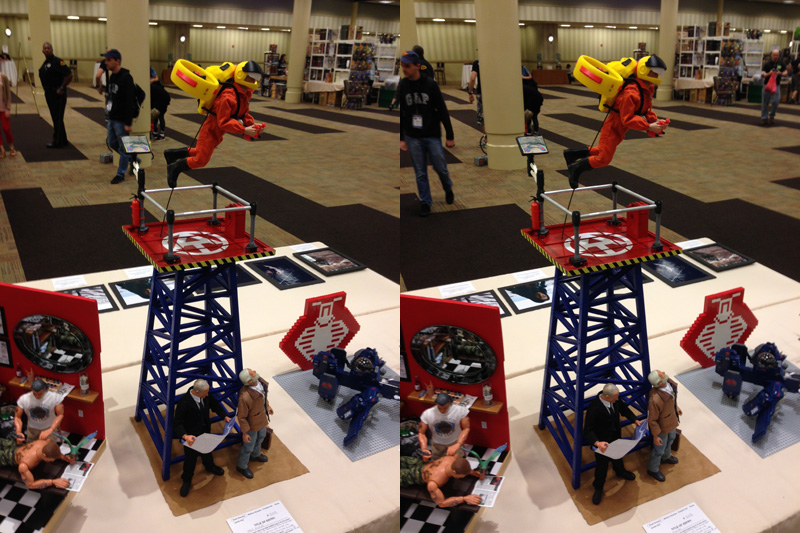
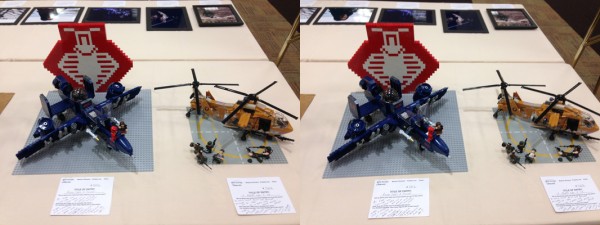
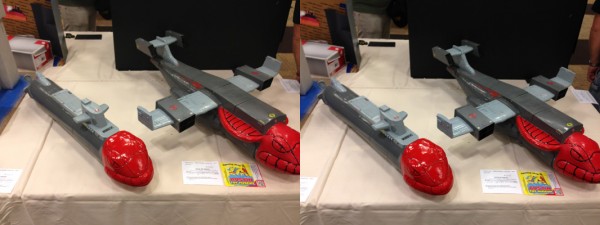
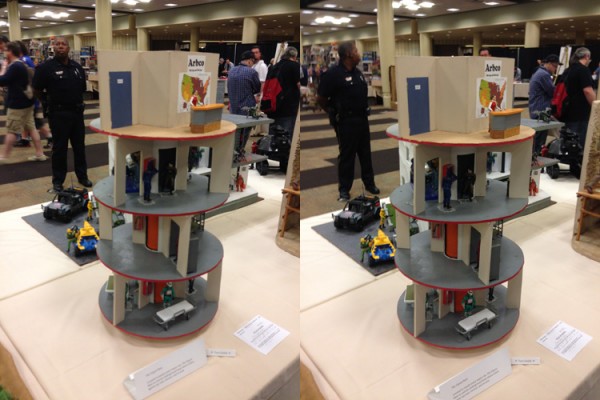
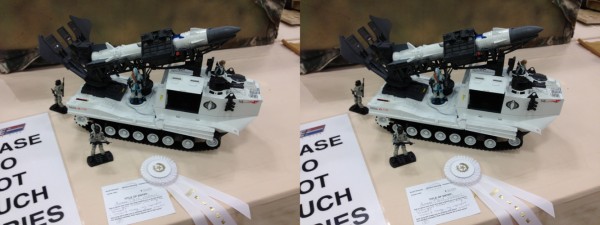
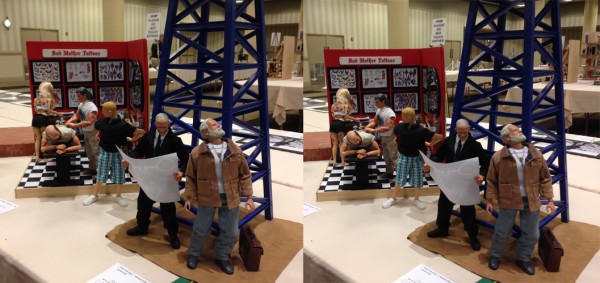
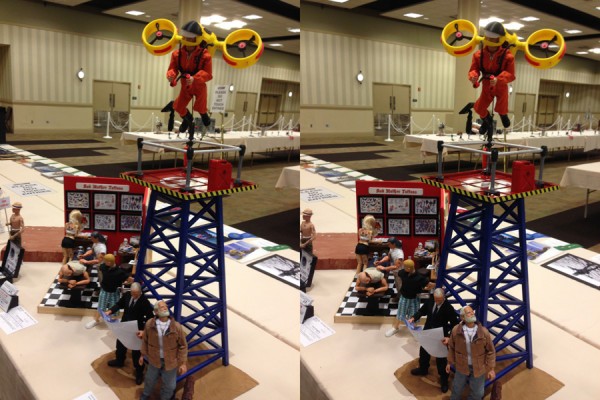
I set up the Test Flight diorama and while I was doing that, the guy next to me was setting up his Tattoo Parlor, and I knew I had stiff competition. Mine was clearly showing a toy, and that was its intent. It was very Adventure Team-themed, with a blue tower with a red top, orange jumpsuit, yellow jetpack, and then below, some reality injected – the Adventure Team Oversight Comittee member meeting with the Adventure Team Commander, poring over blueprints.
(From here on, cross your eyes to see the image in 3D. Click on it to make it larger.)
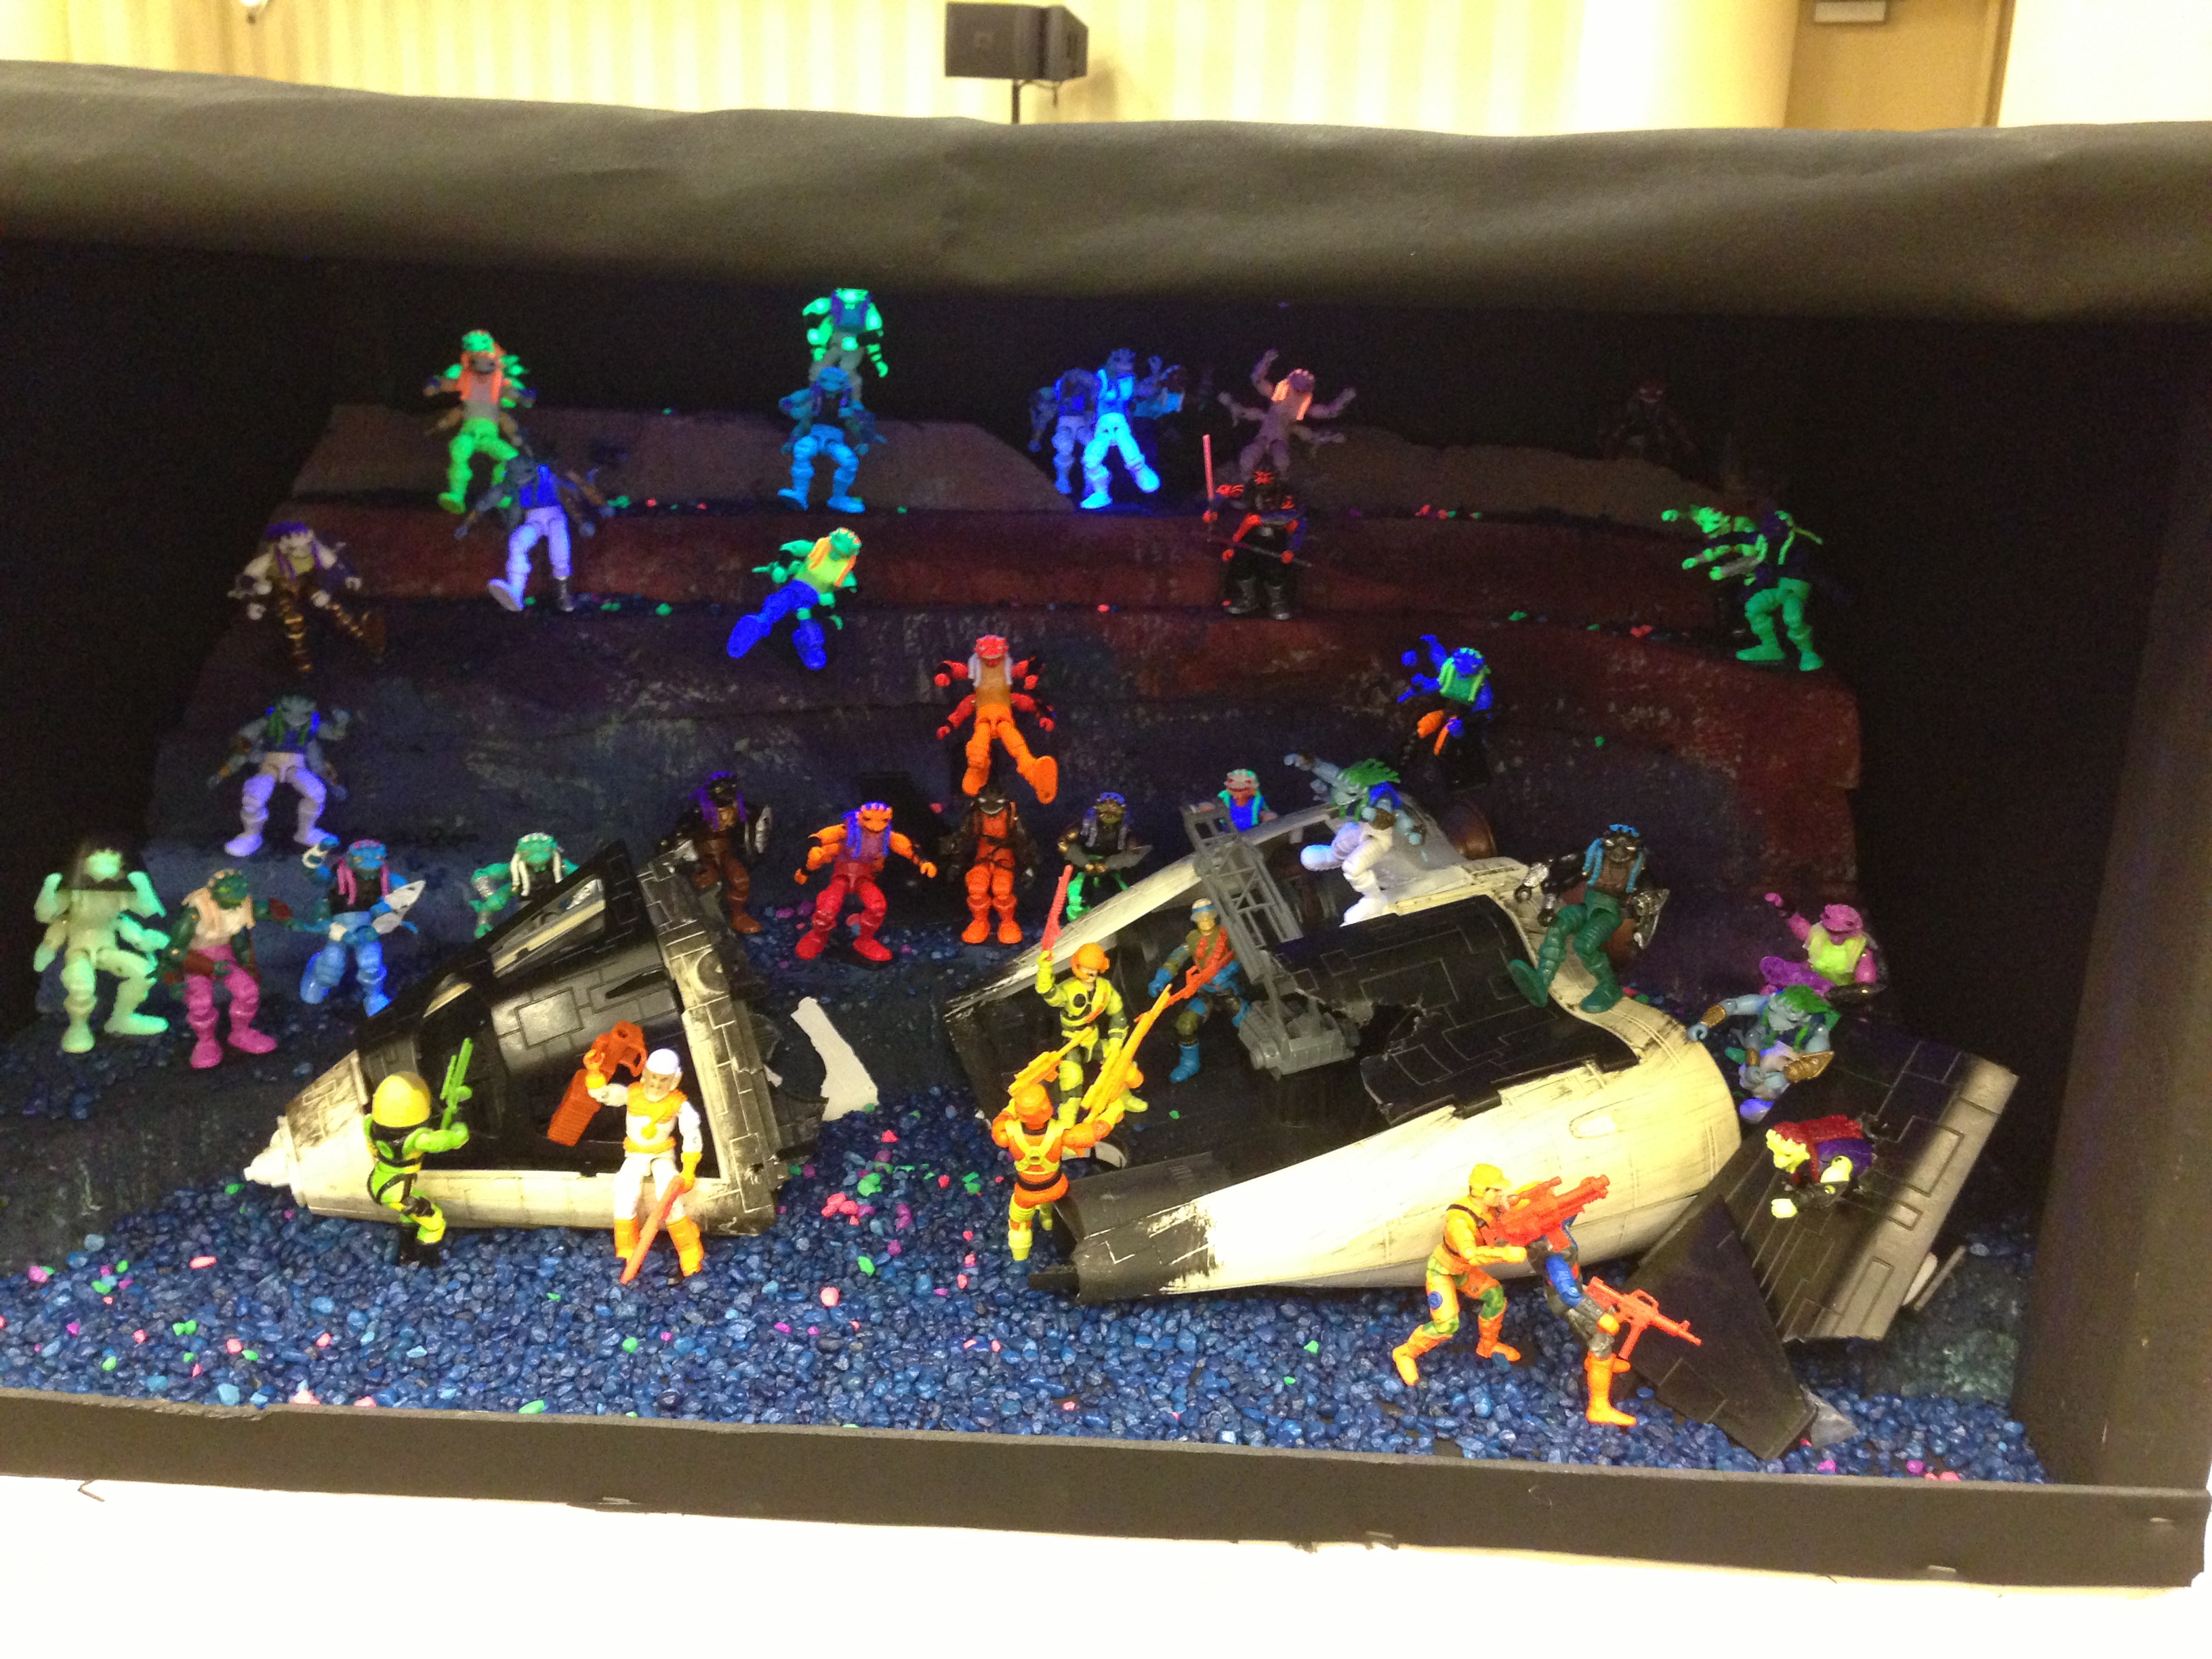
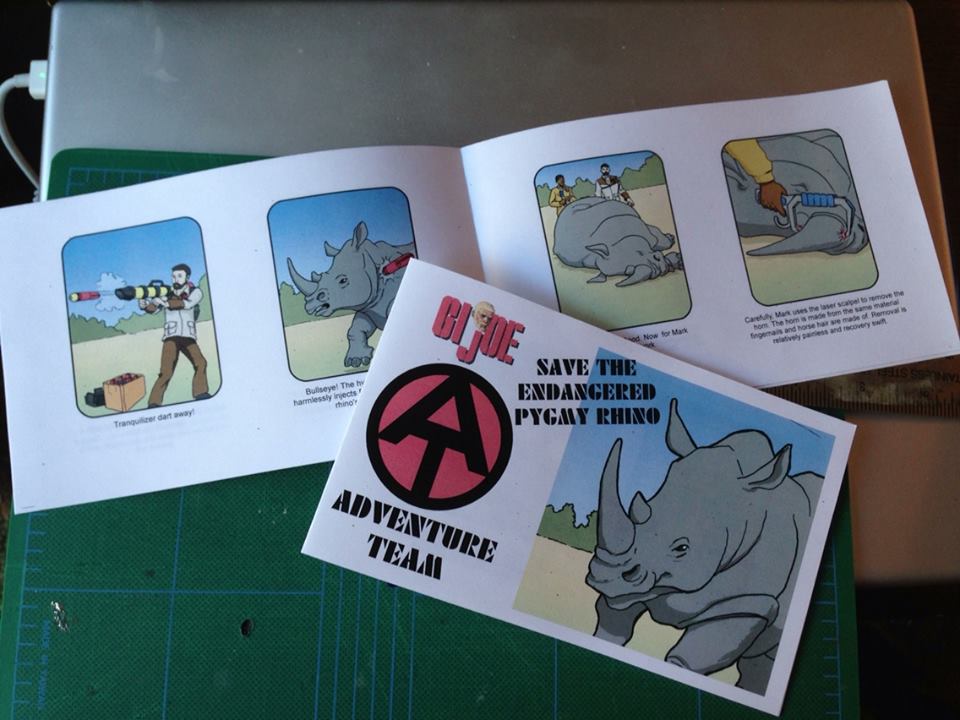
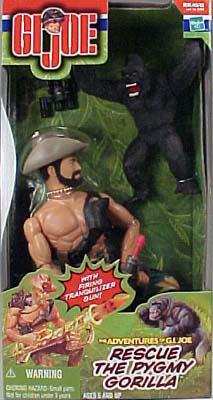
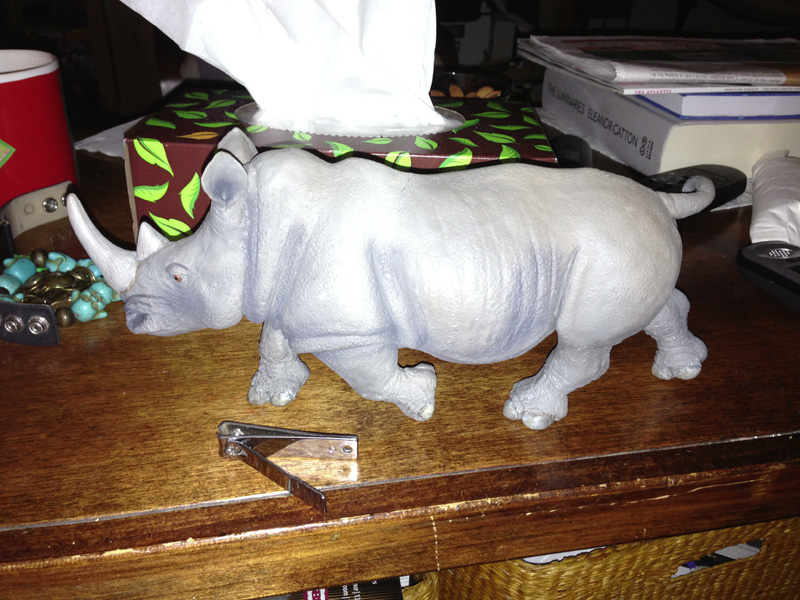
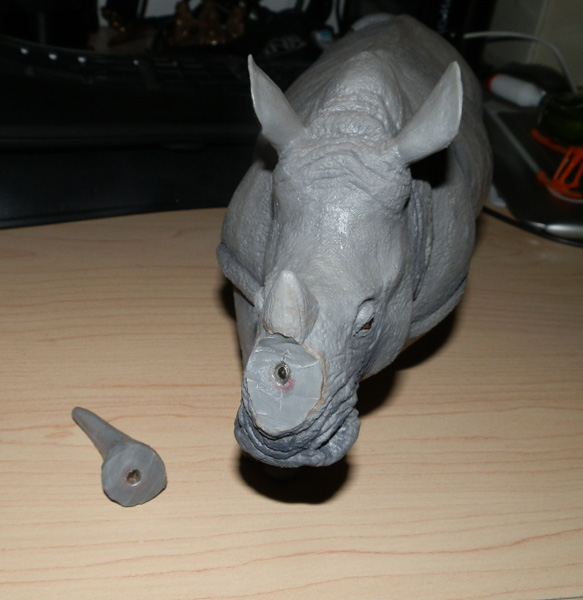
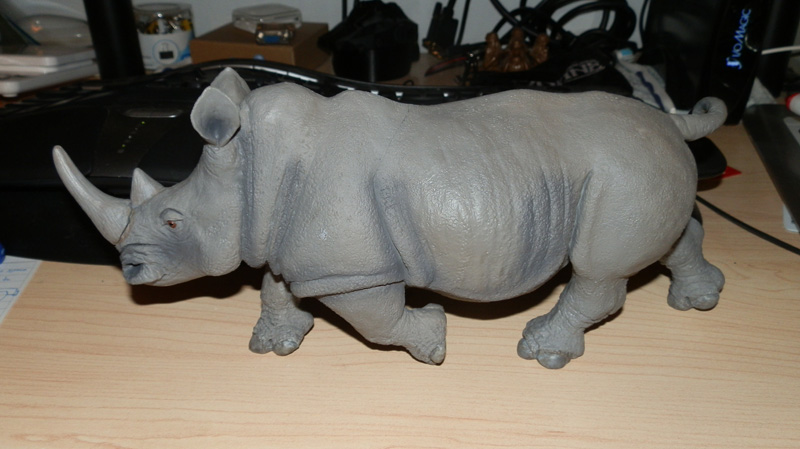
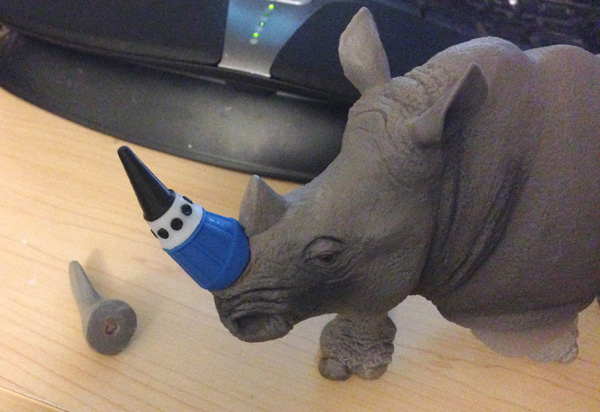
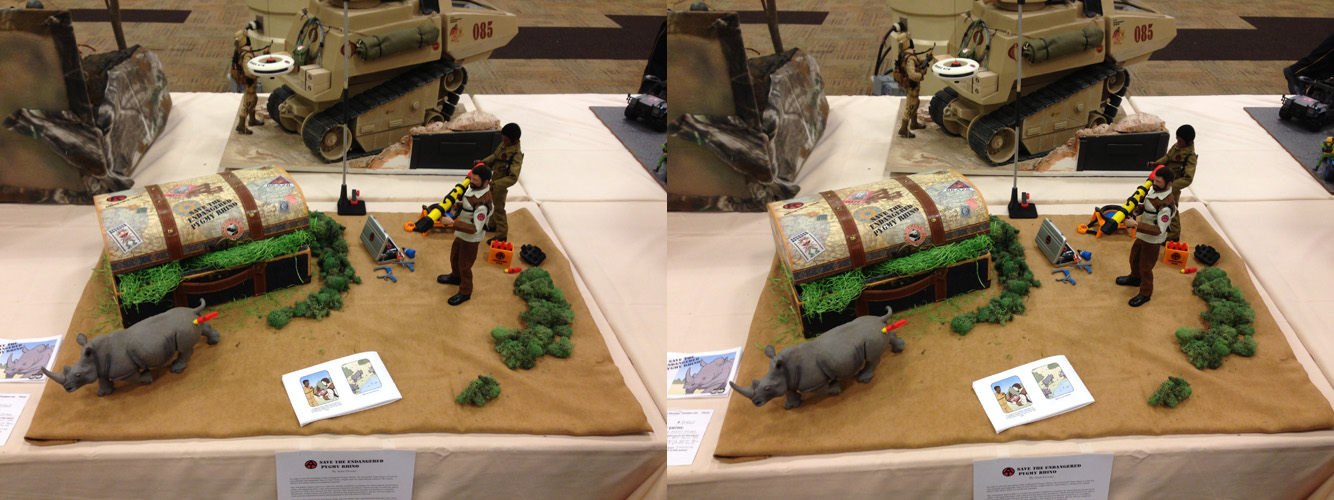
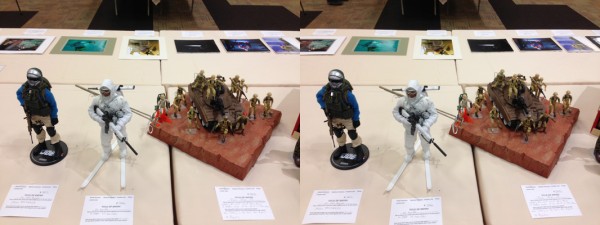
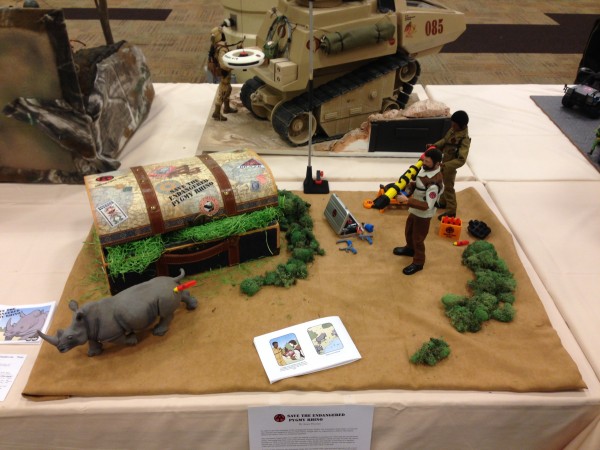
Then I went to set up my Save the Endangered Pygmy Rhino set.
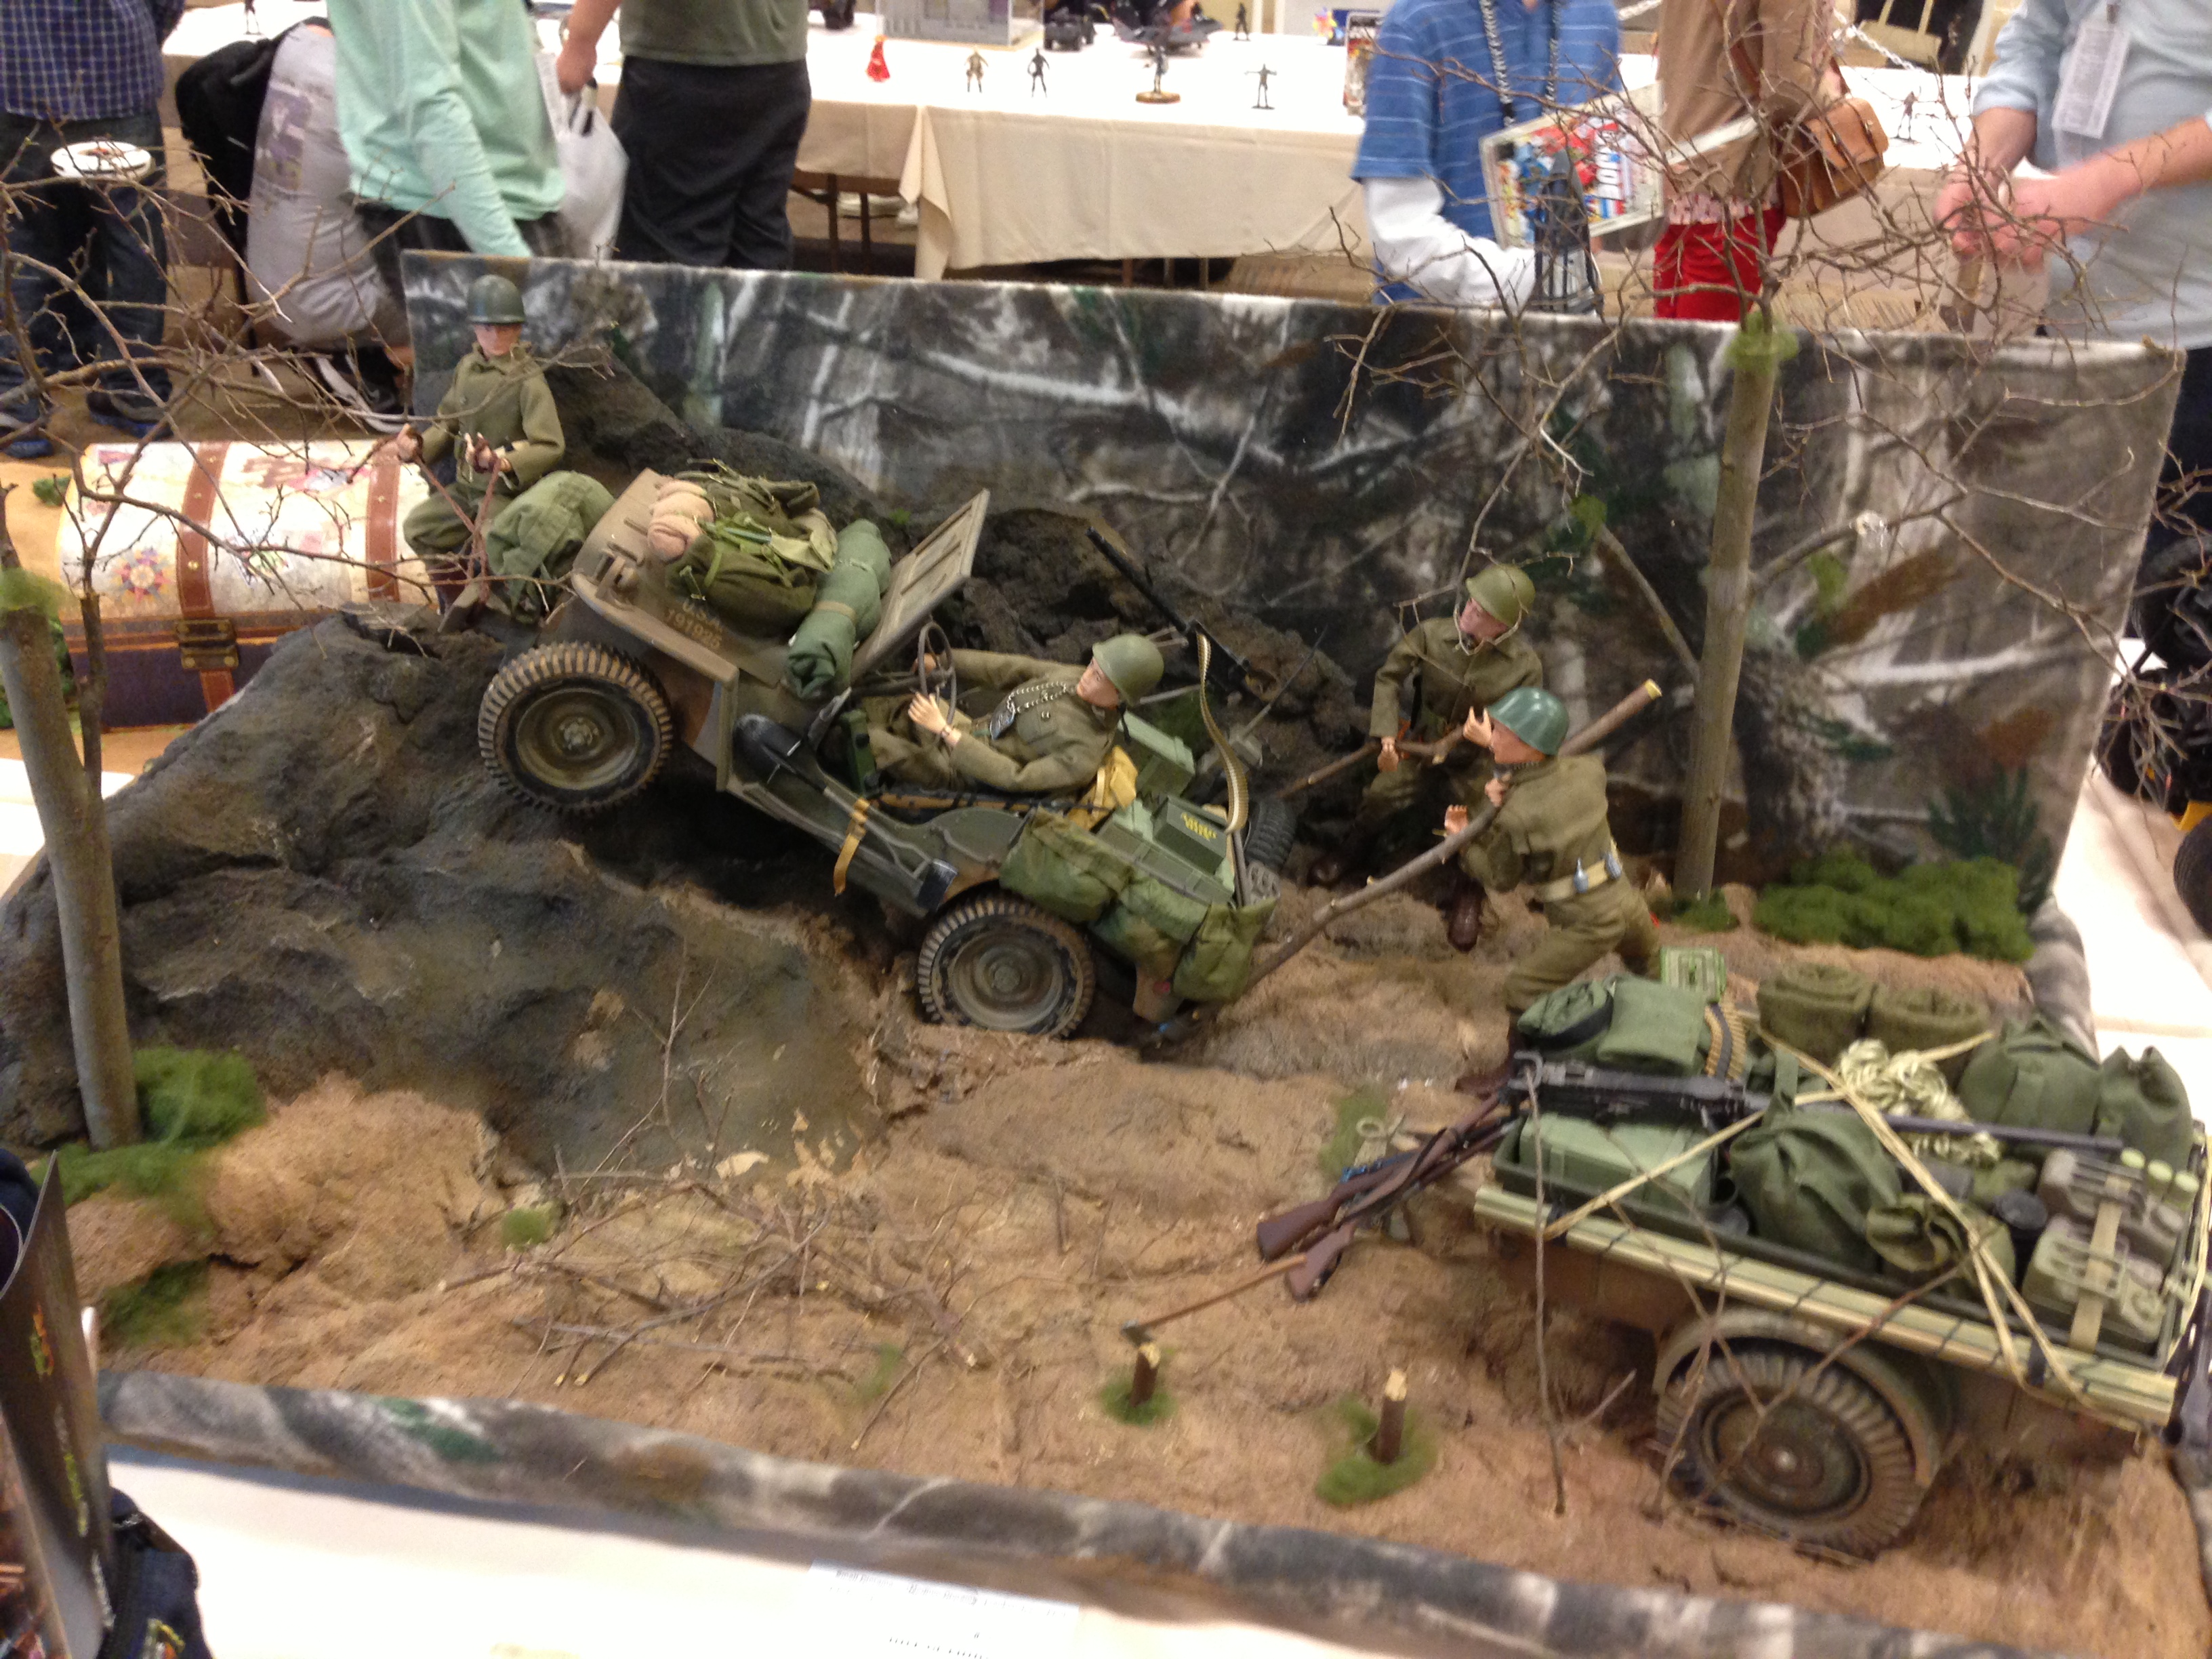
Diorama Entries
Here are my competition. However, these photos only represent ones I thought were interesting. I missed some that were very nice, but mostly because my battery was running low. No offense to anyone whose entry is not here. One winning entry by none other than Kurt Bozigian, the man who brought the 1981 Real American Hero revival to life. His entry was one of the winners and I’m sorry I have no picture of it.
Here we go:
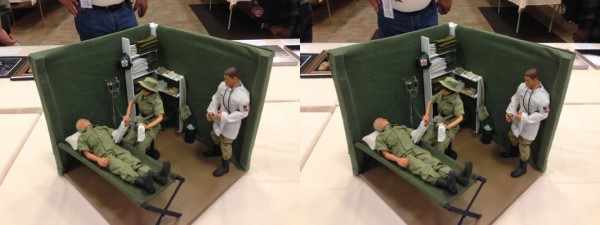
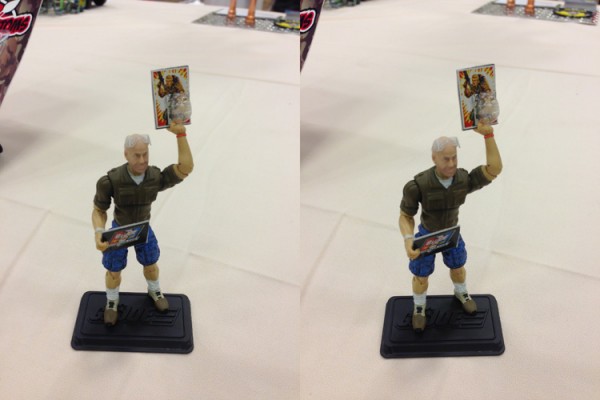
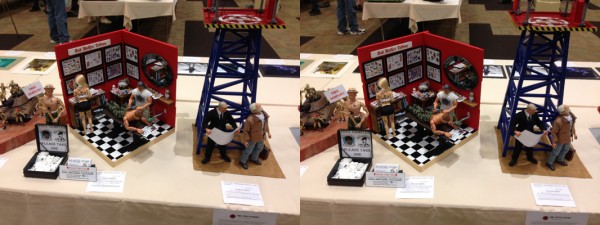 The tattoo parlor won Third Prize in the Medium Diorama competition.


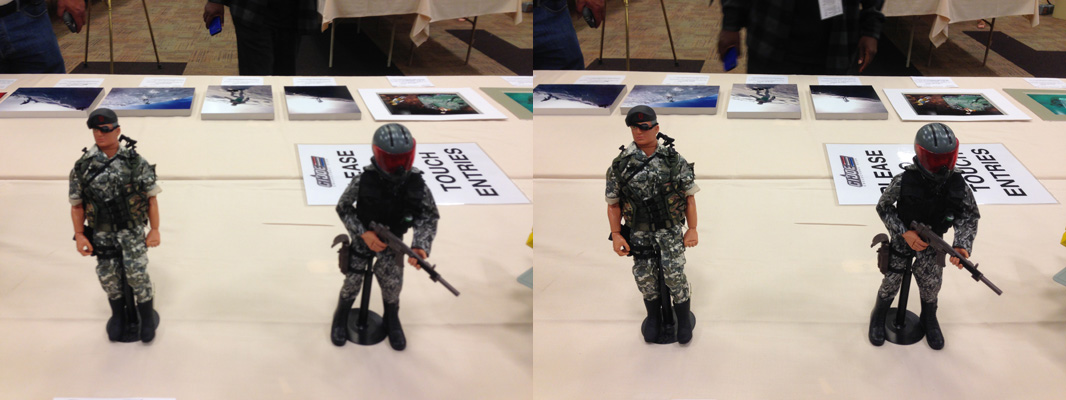
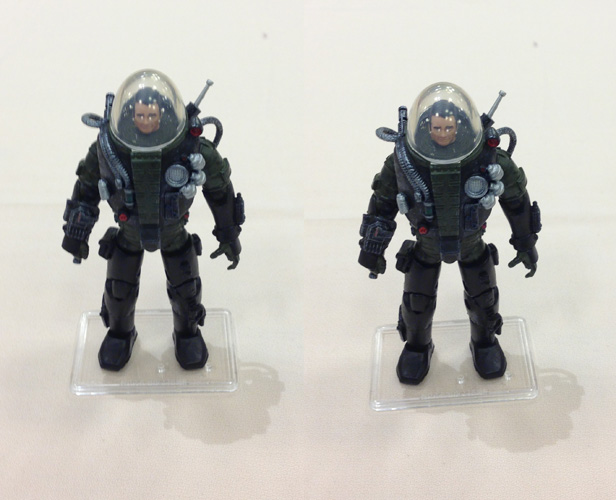
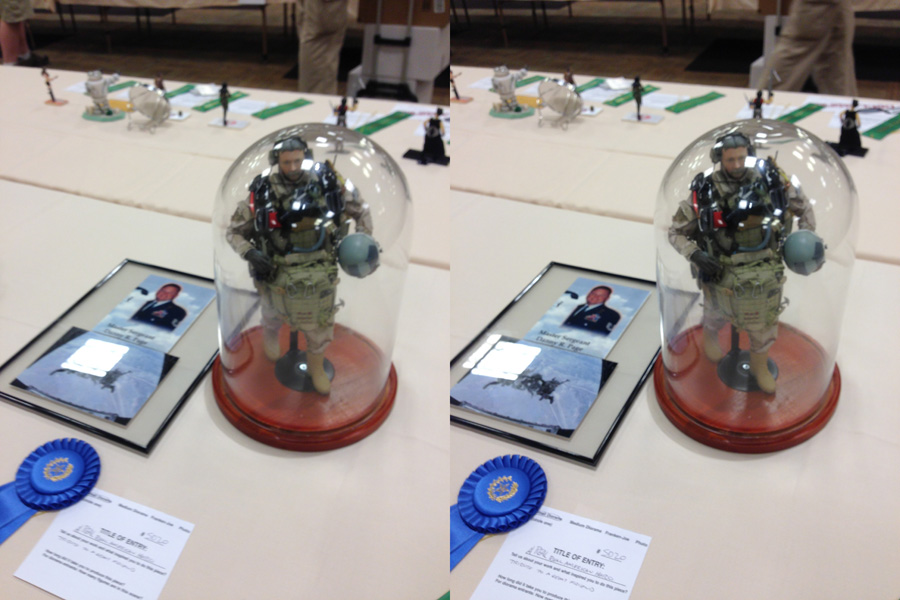
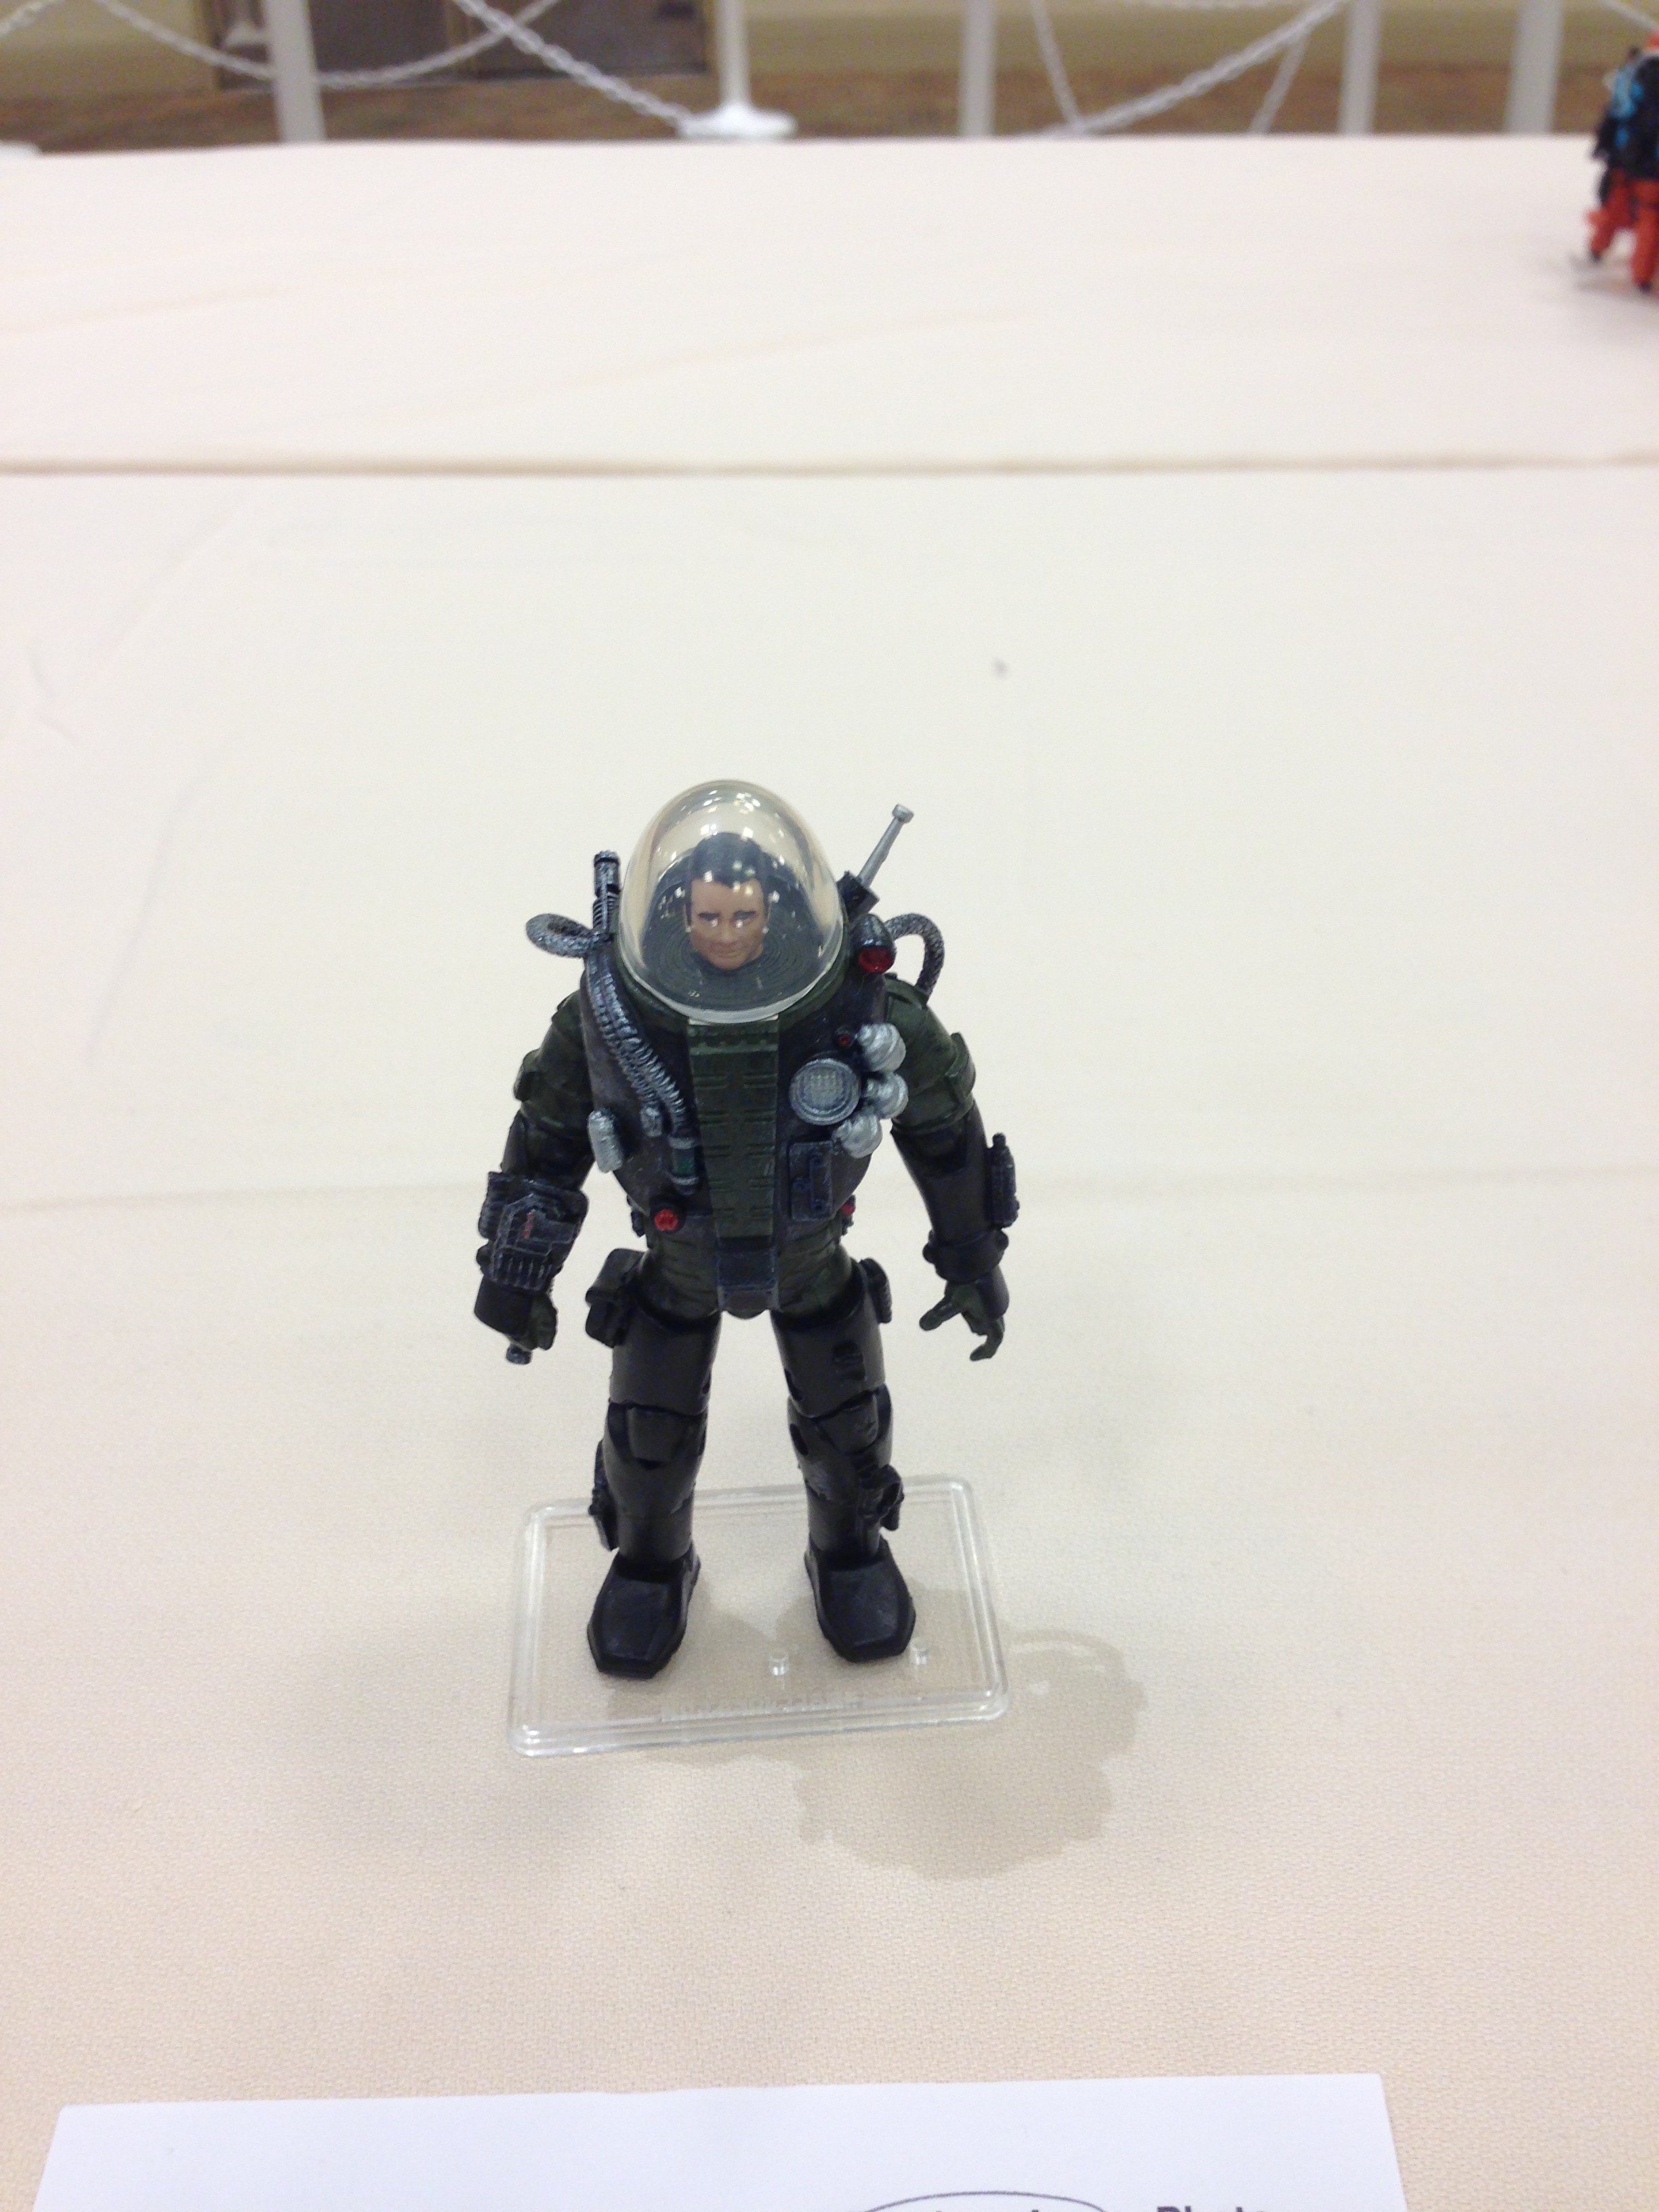
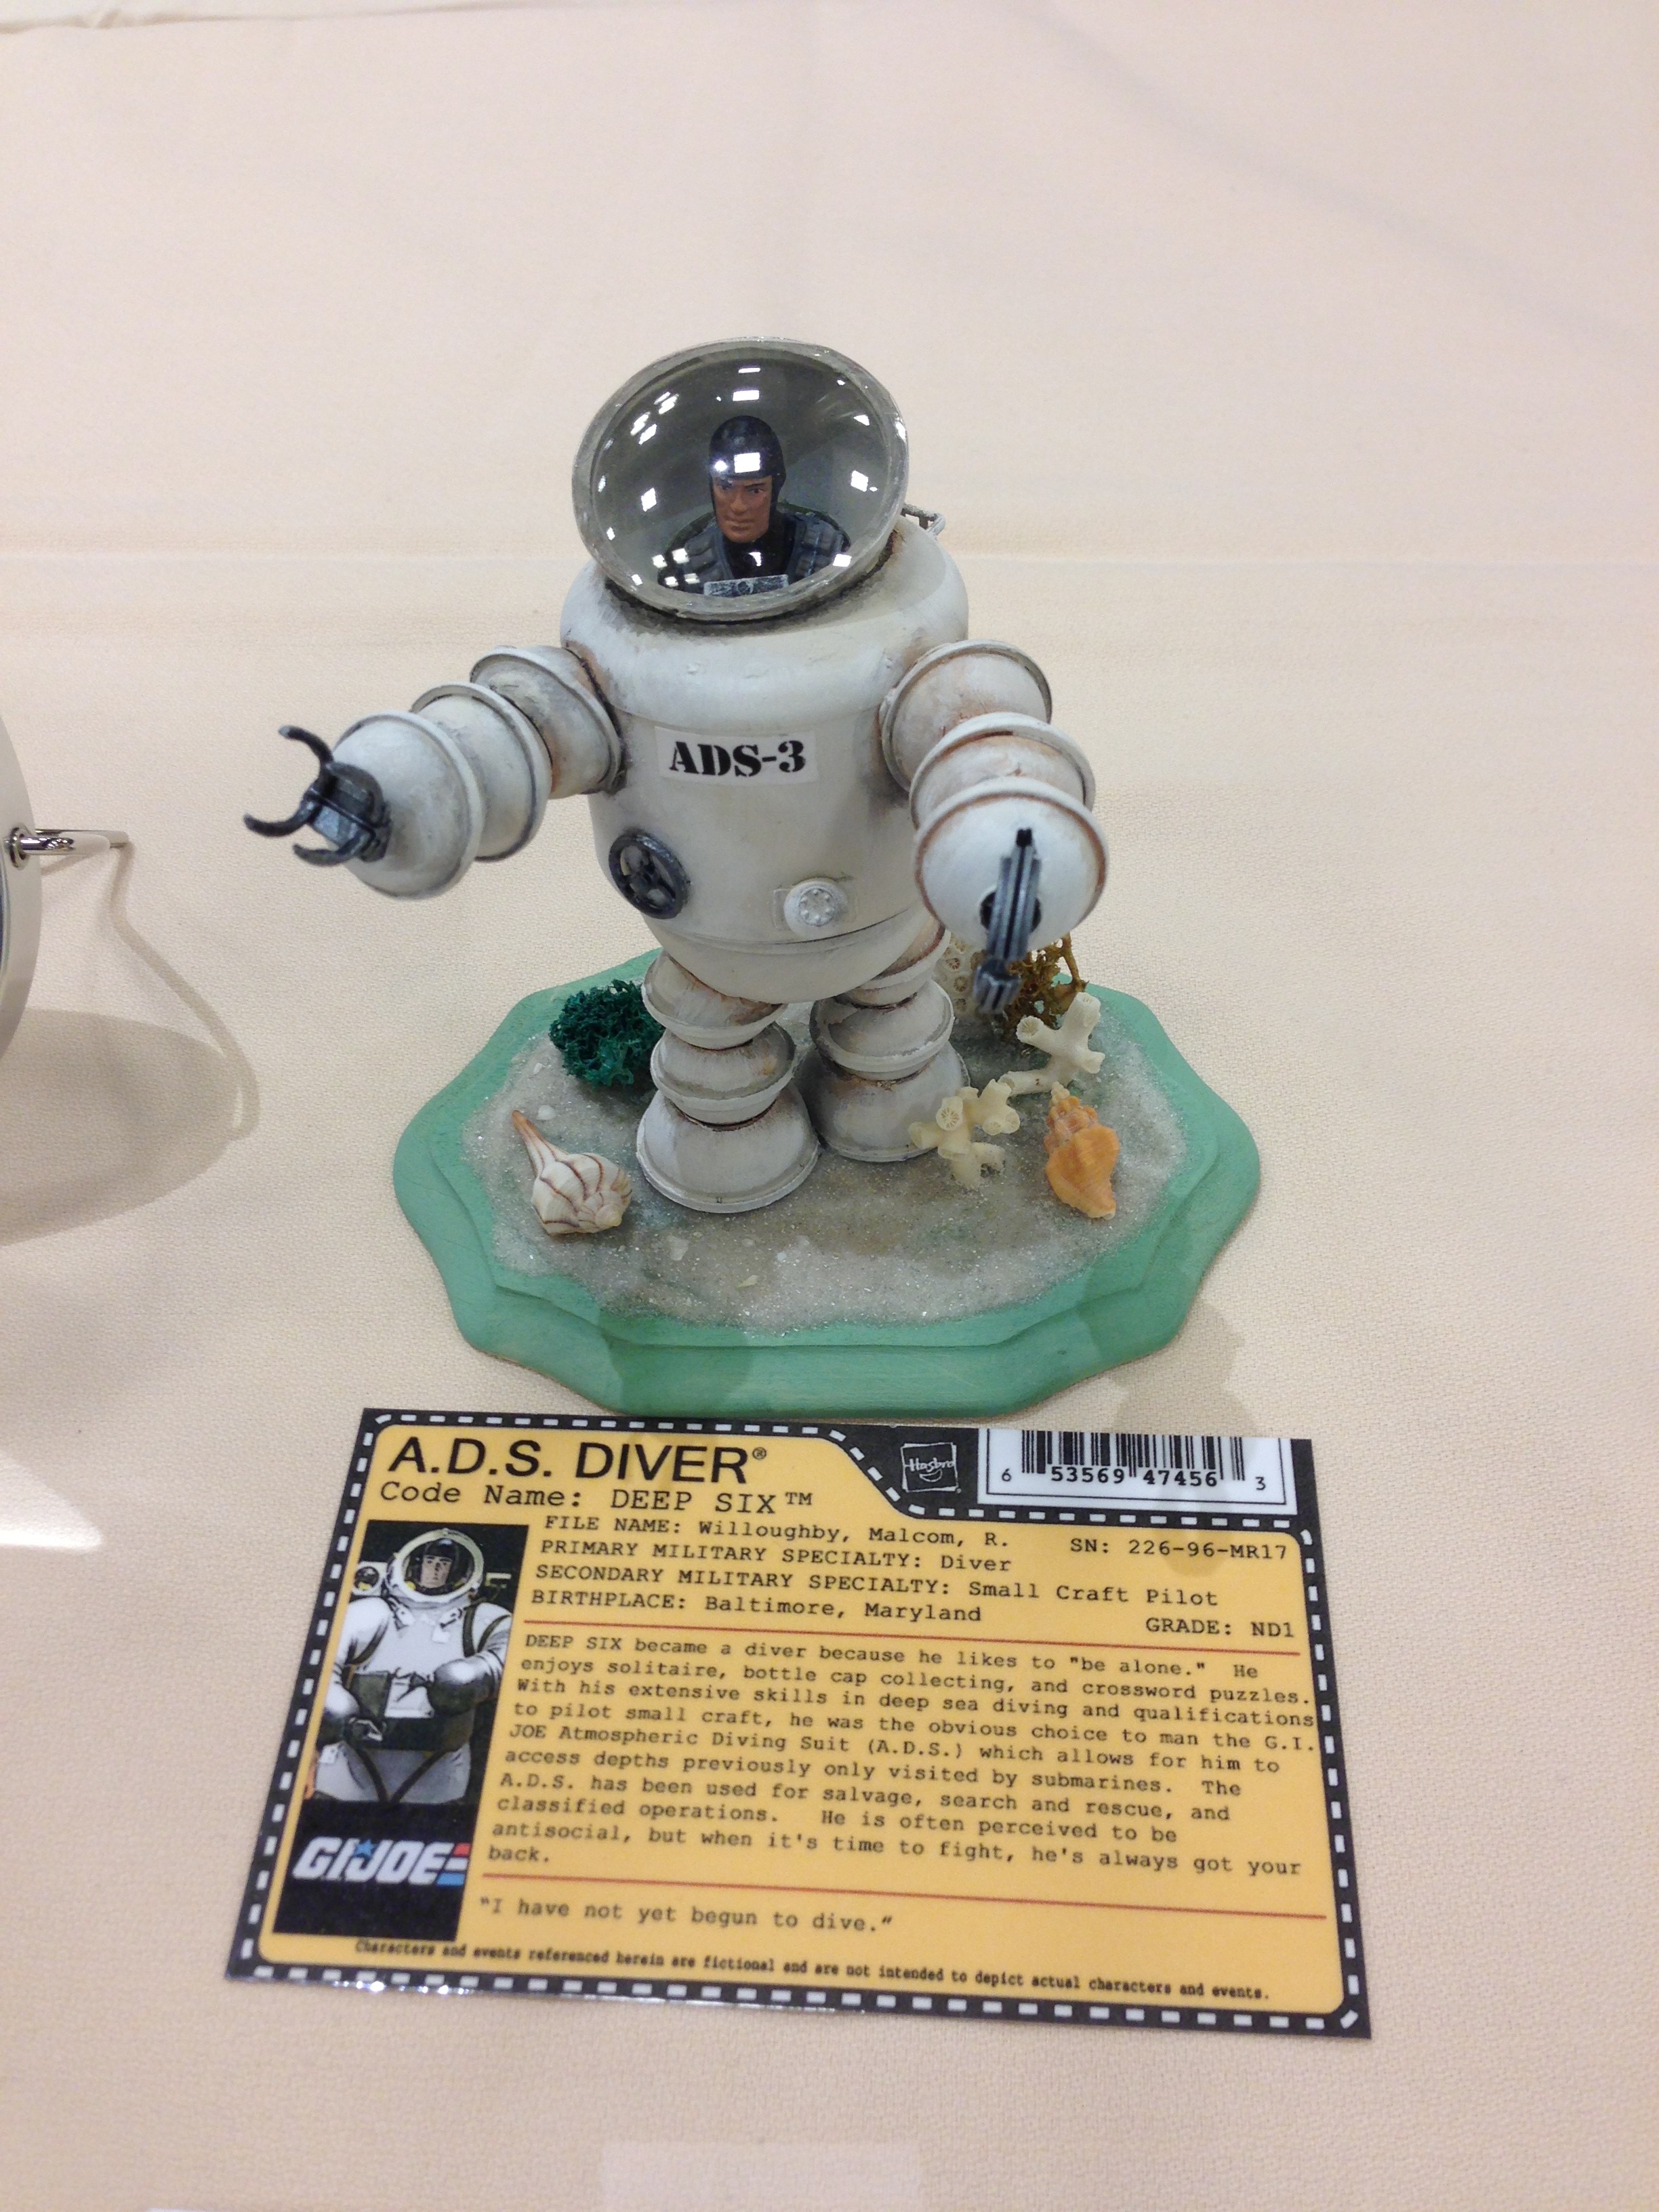
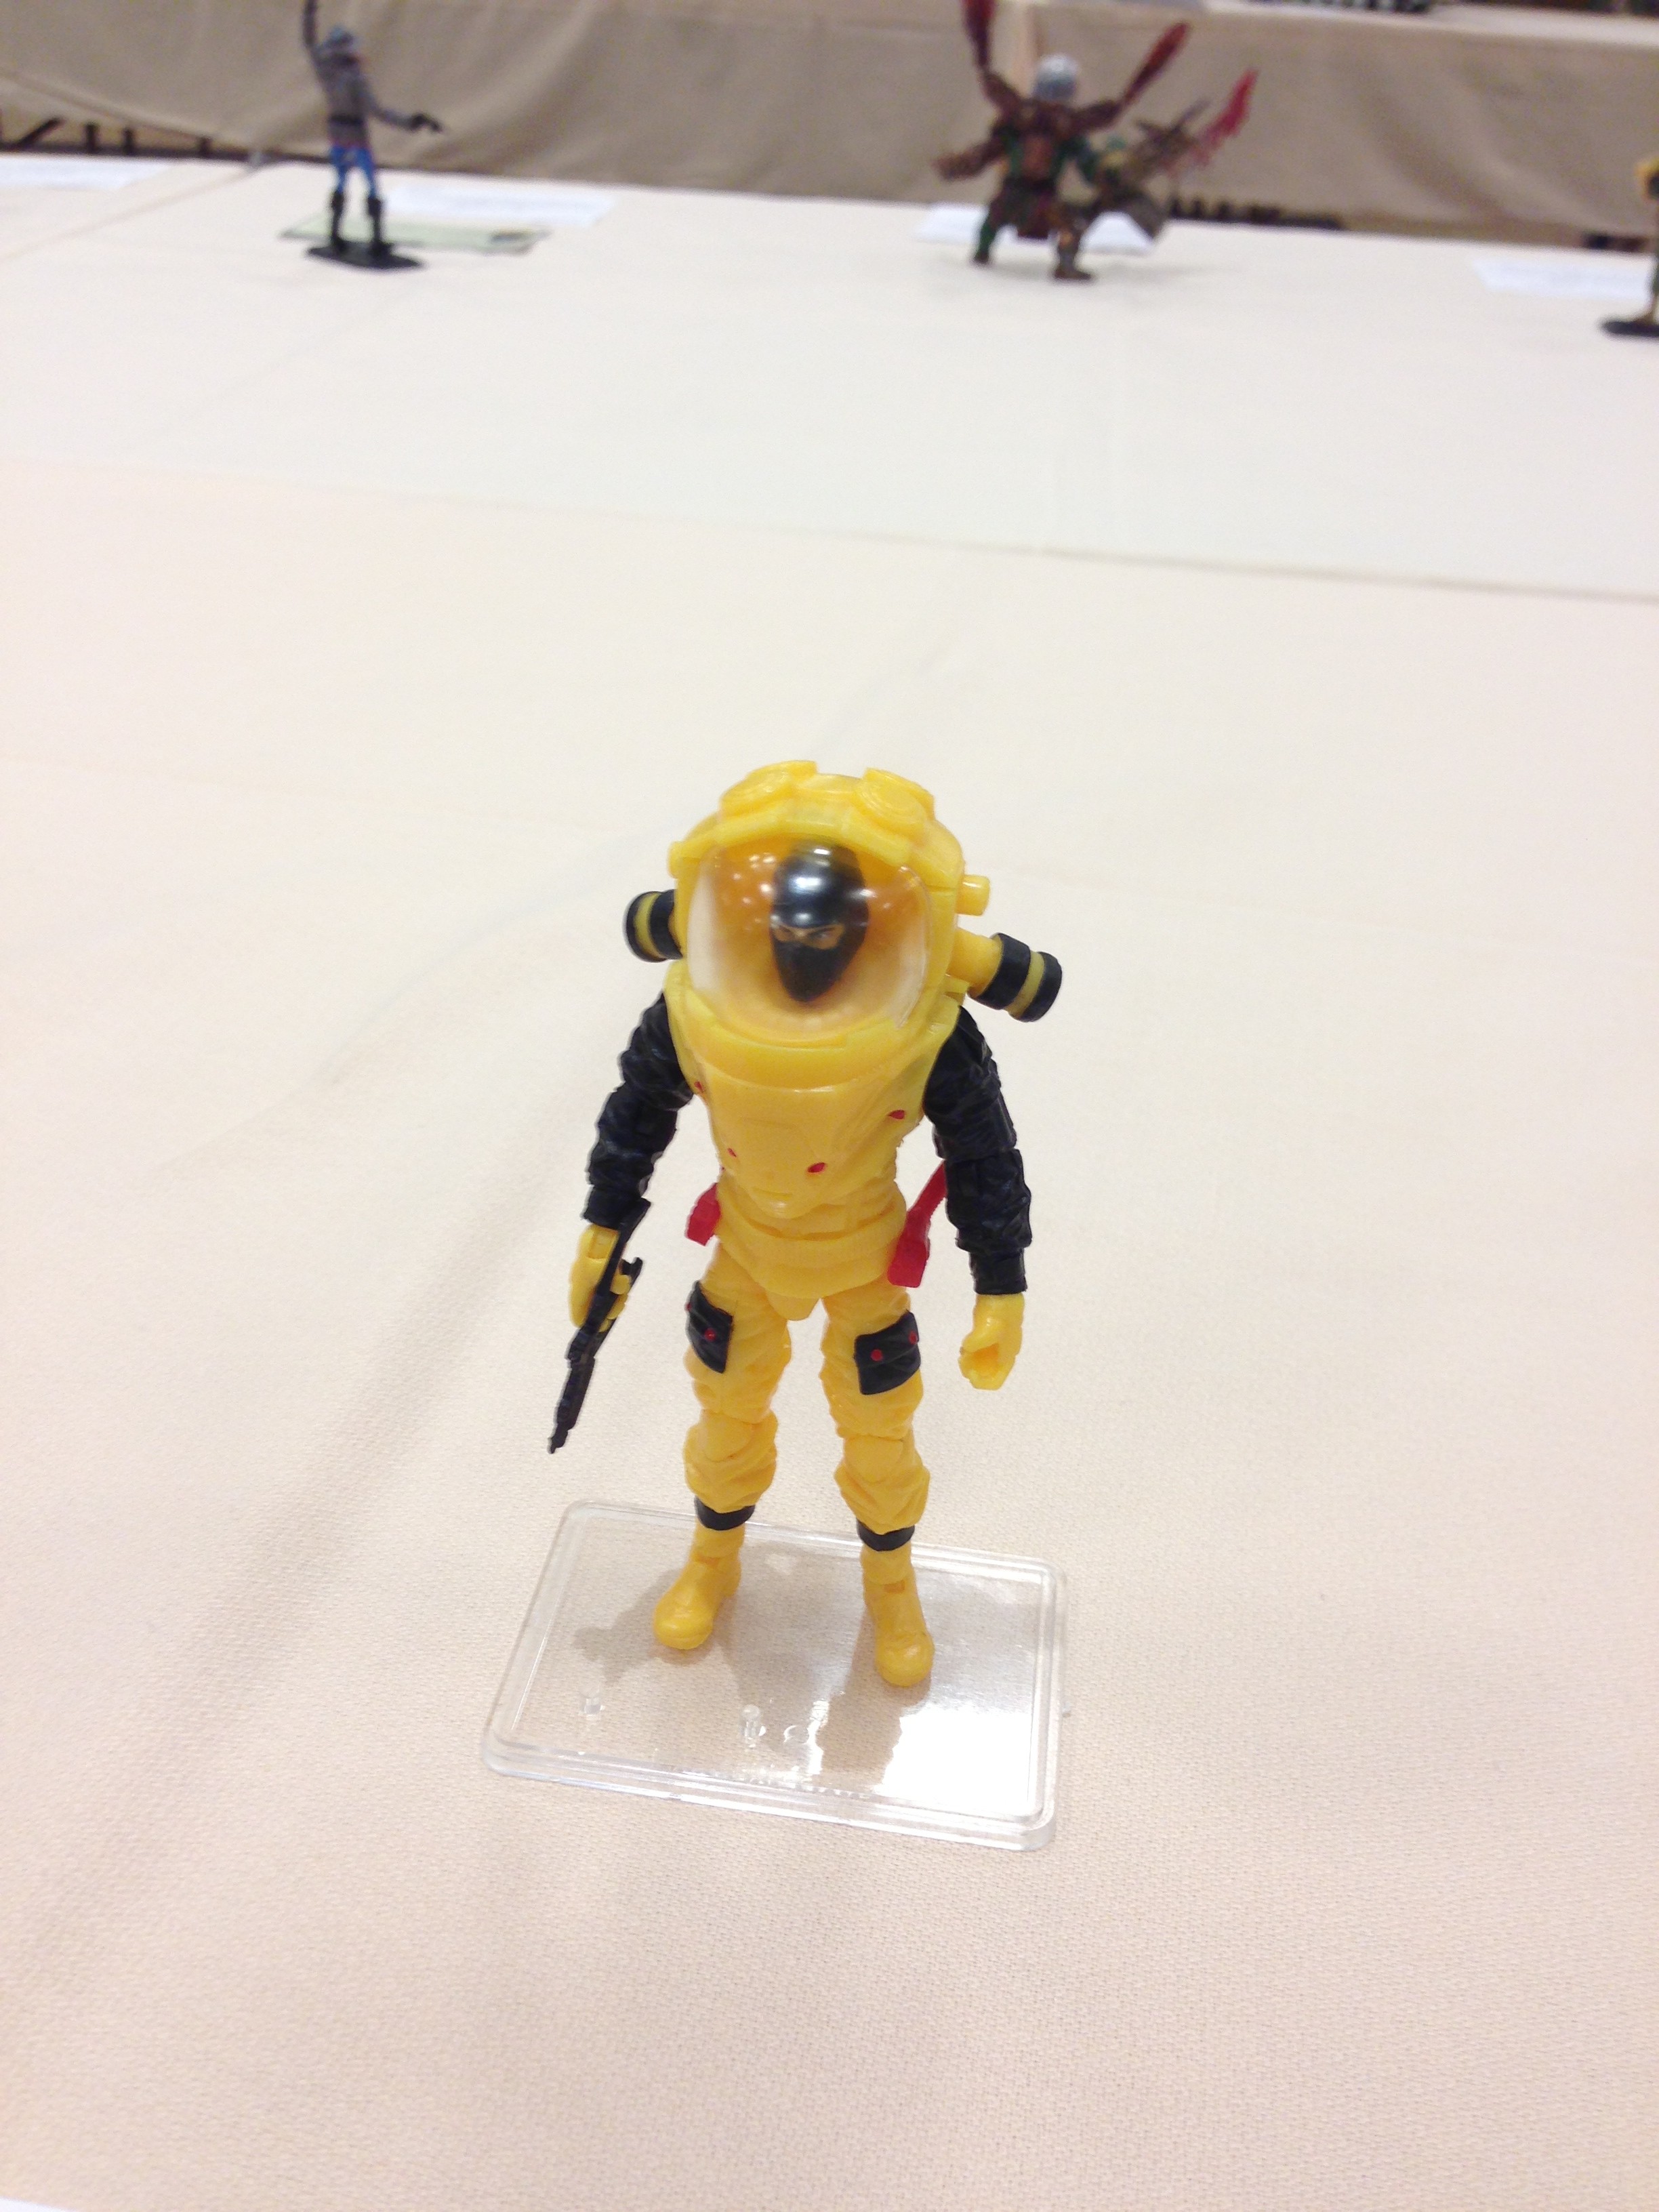
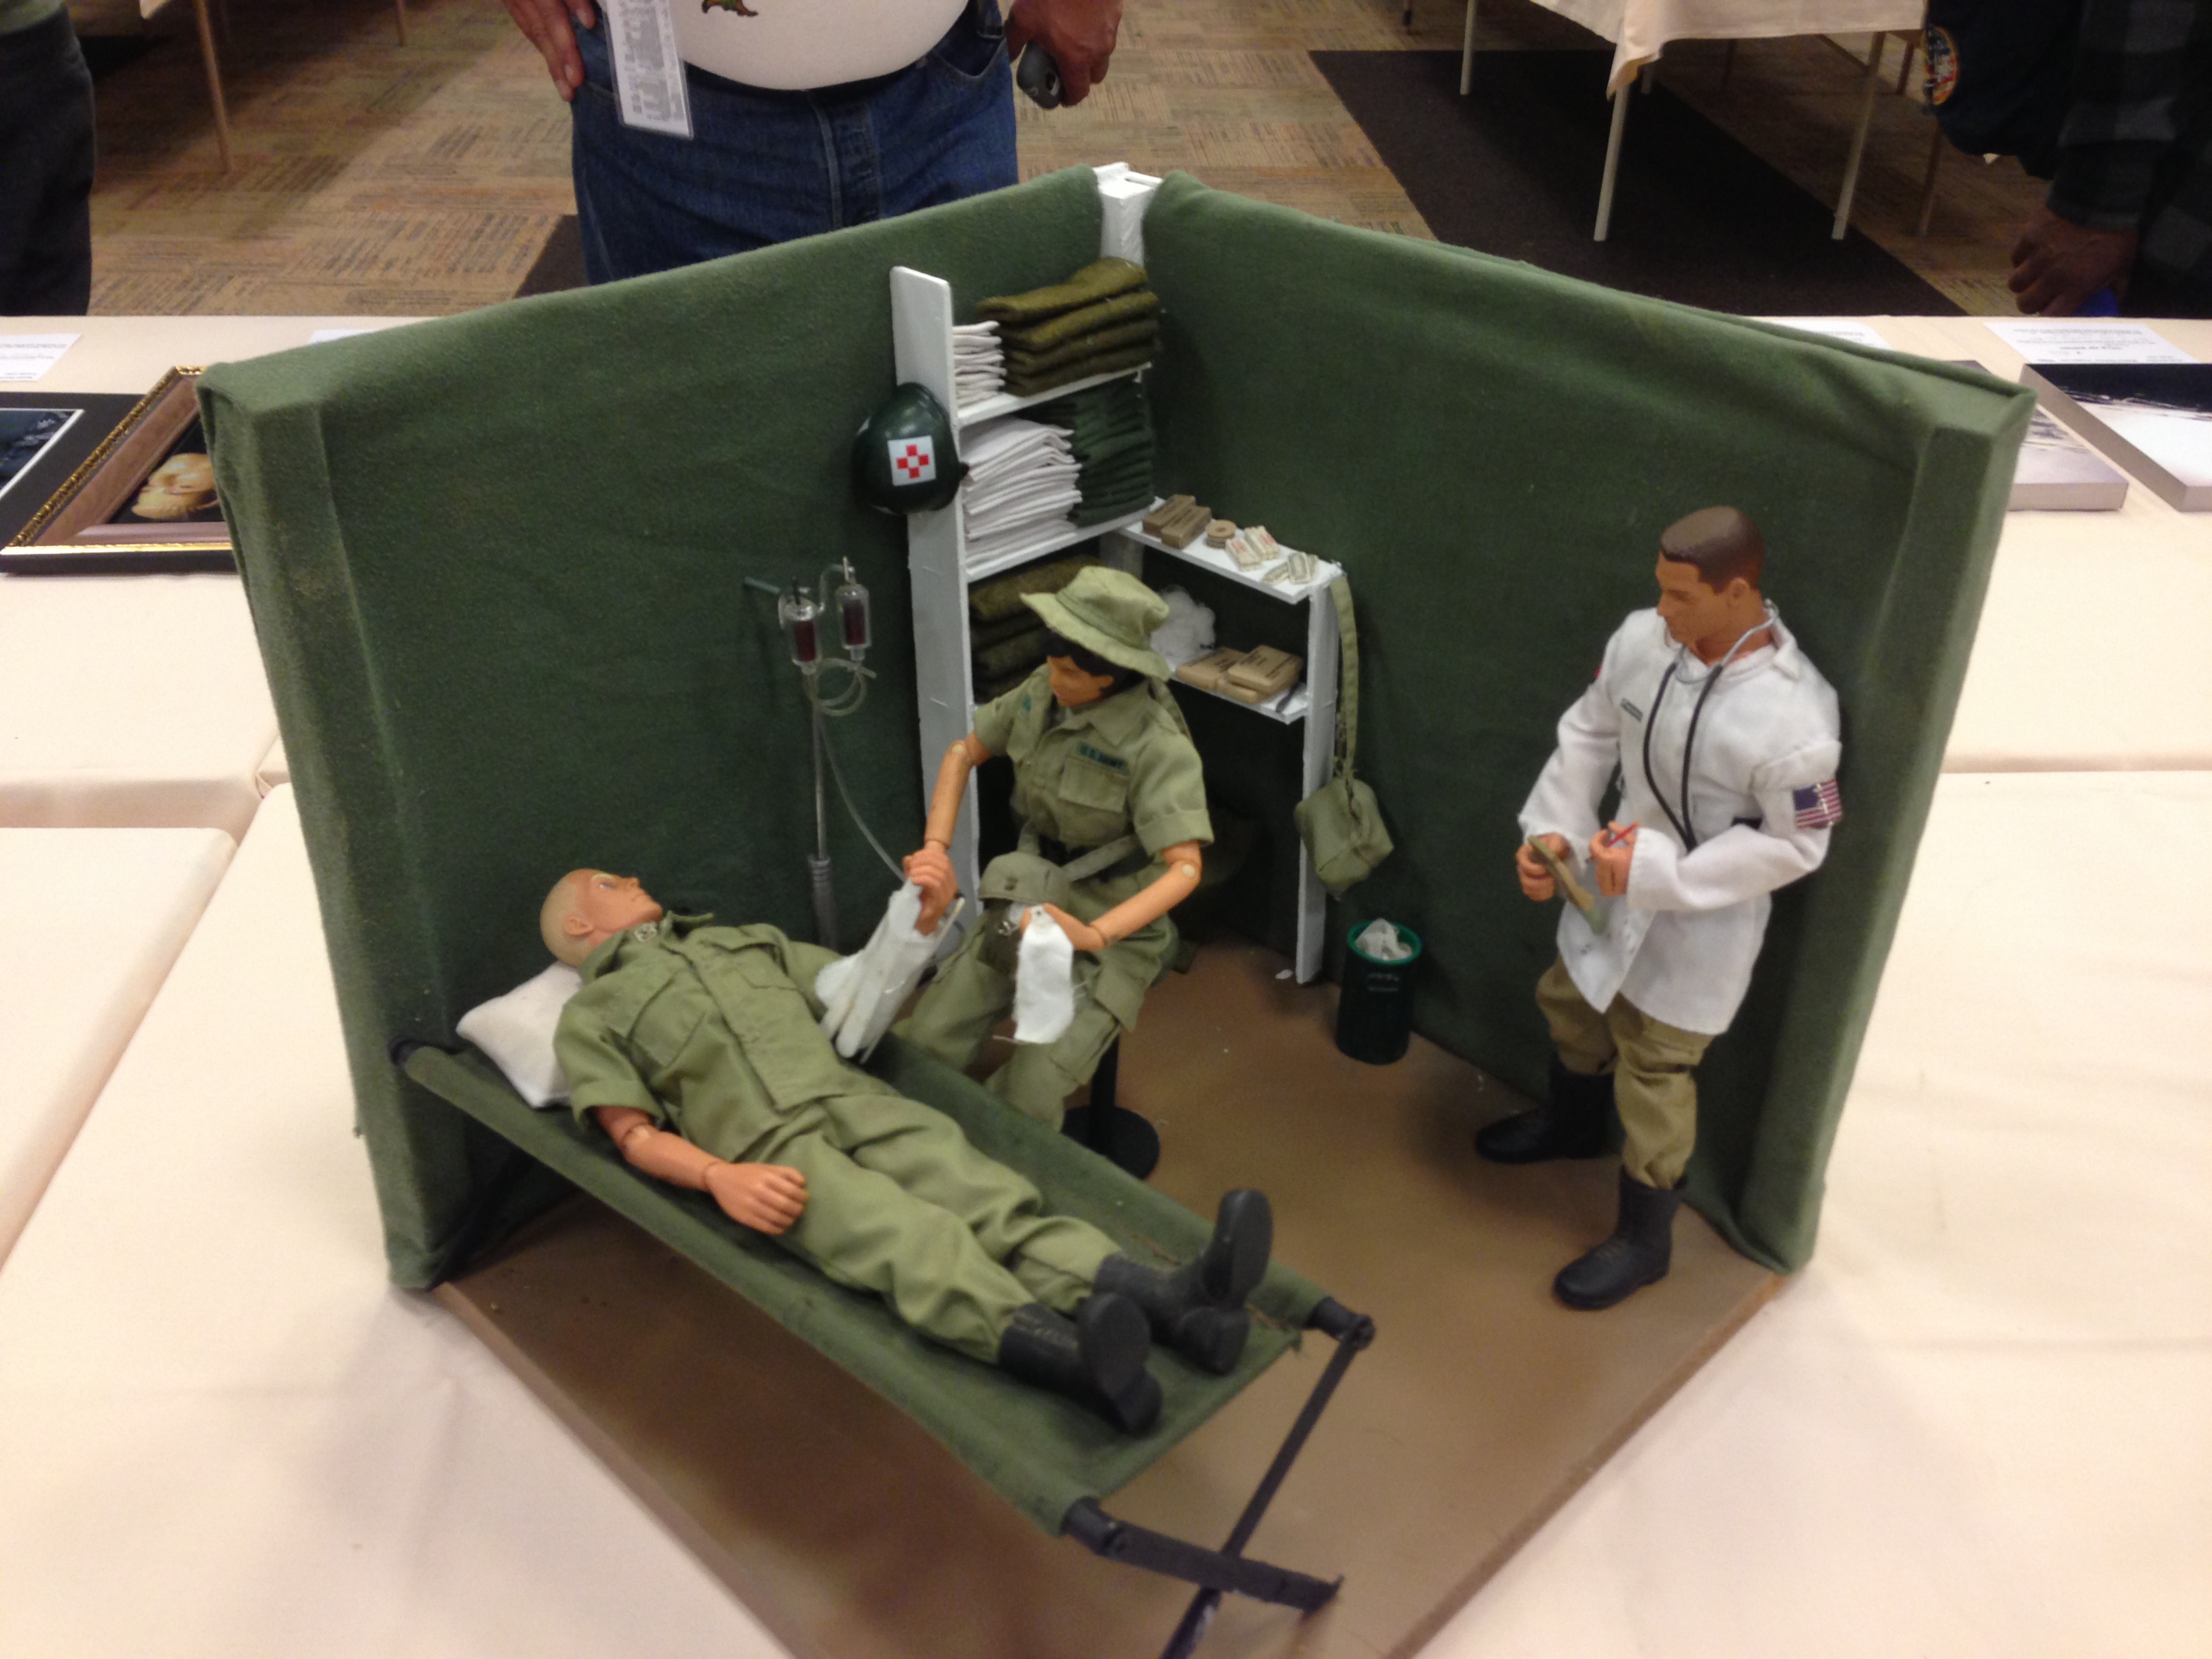
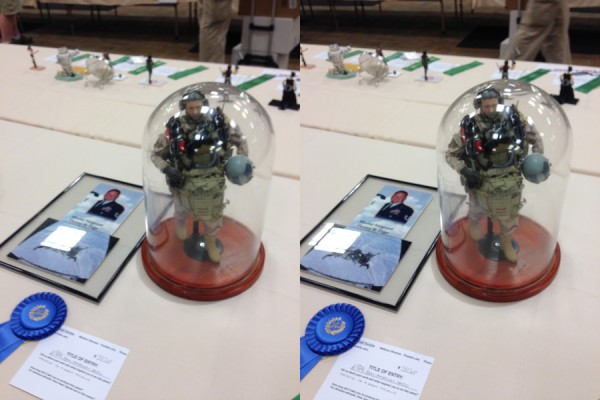
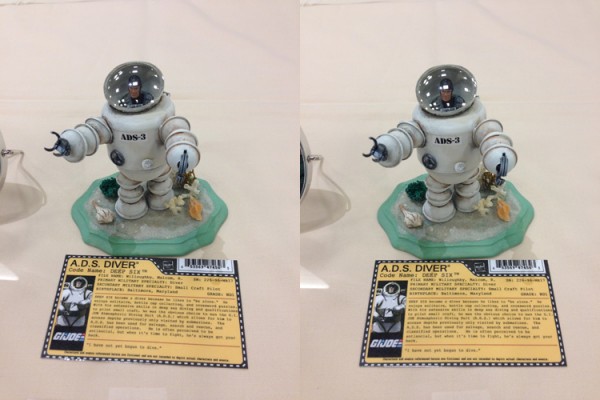 This ADS Diver was one of my choices for a prize. I loved this one.
 Apologies for the blurry image.
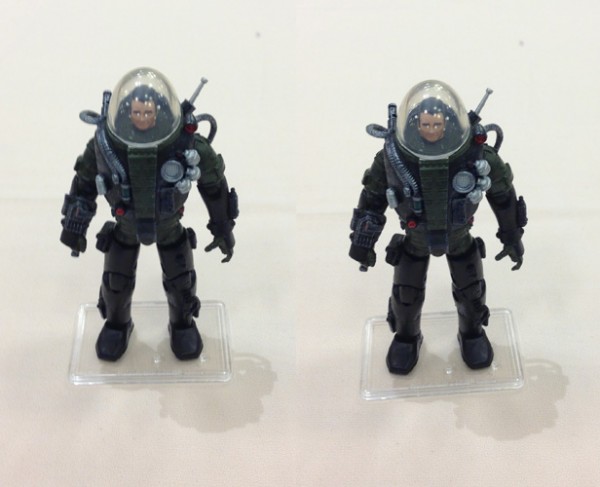

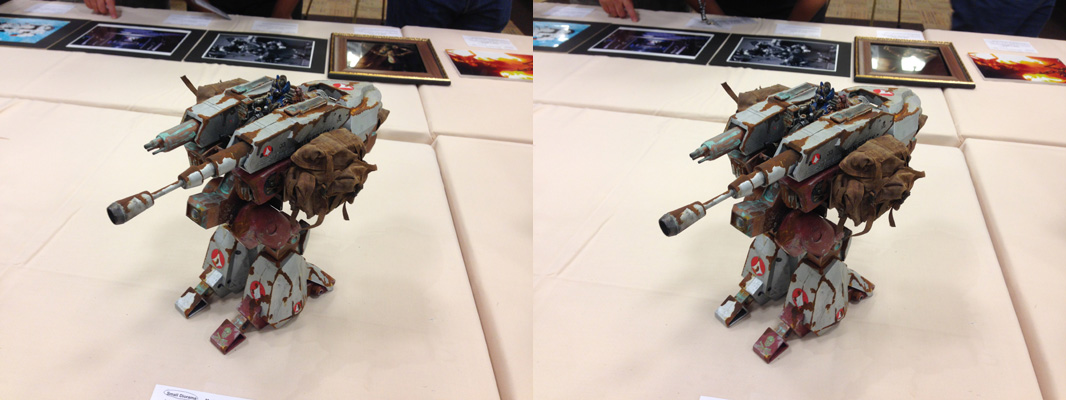
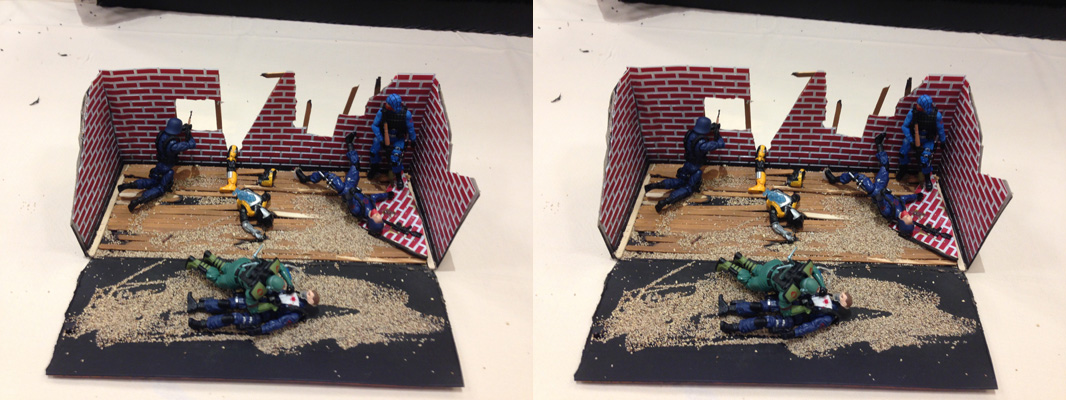
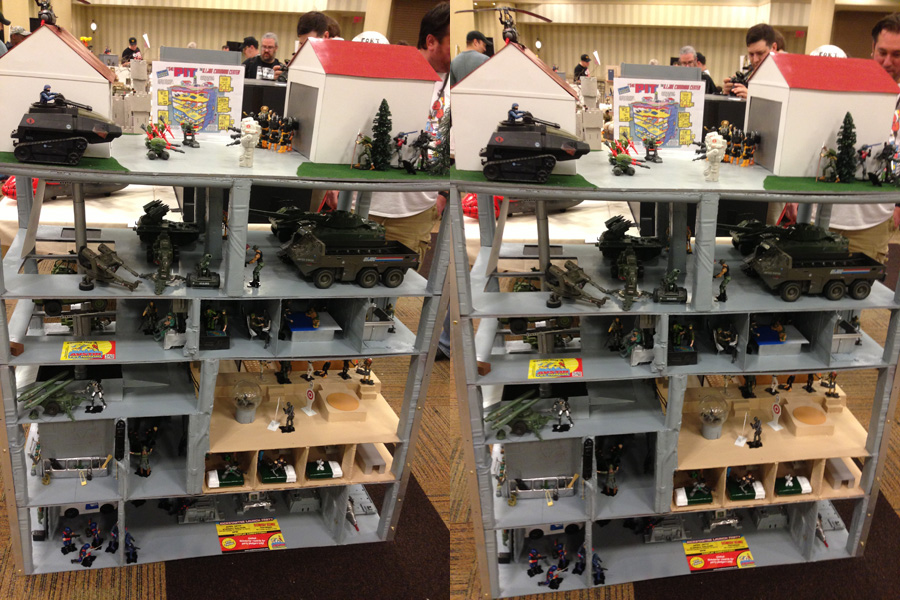
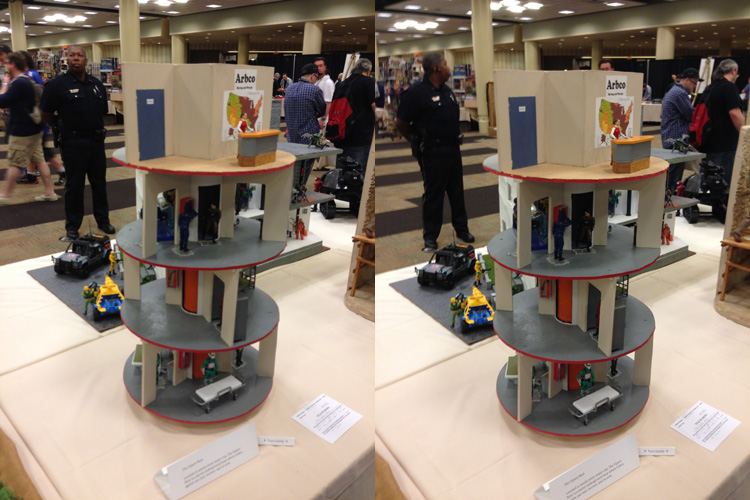
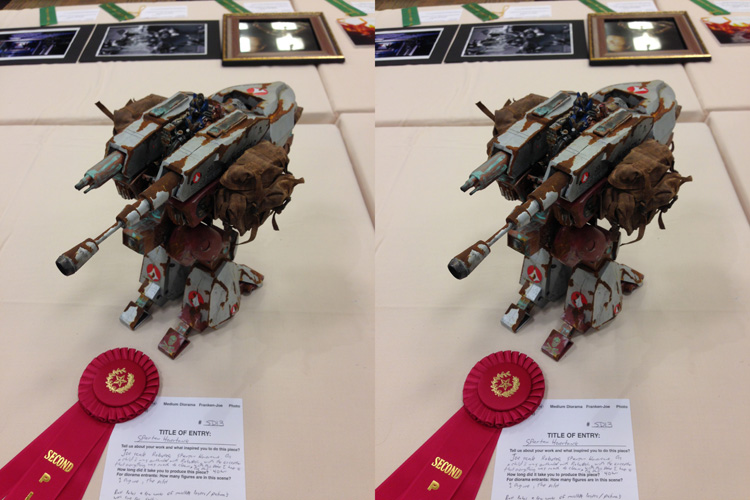
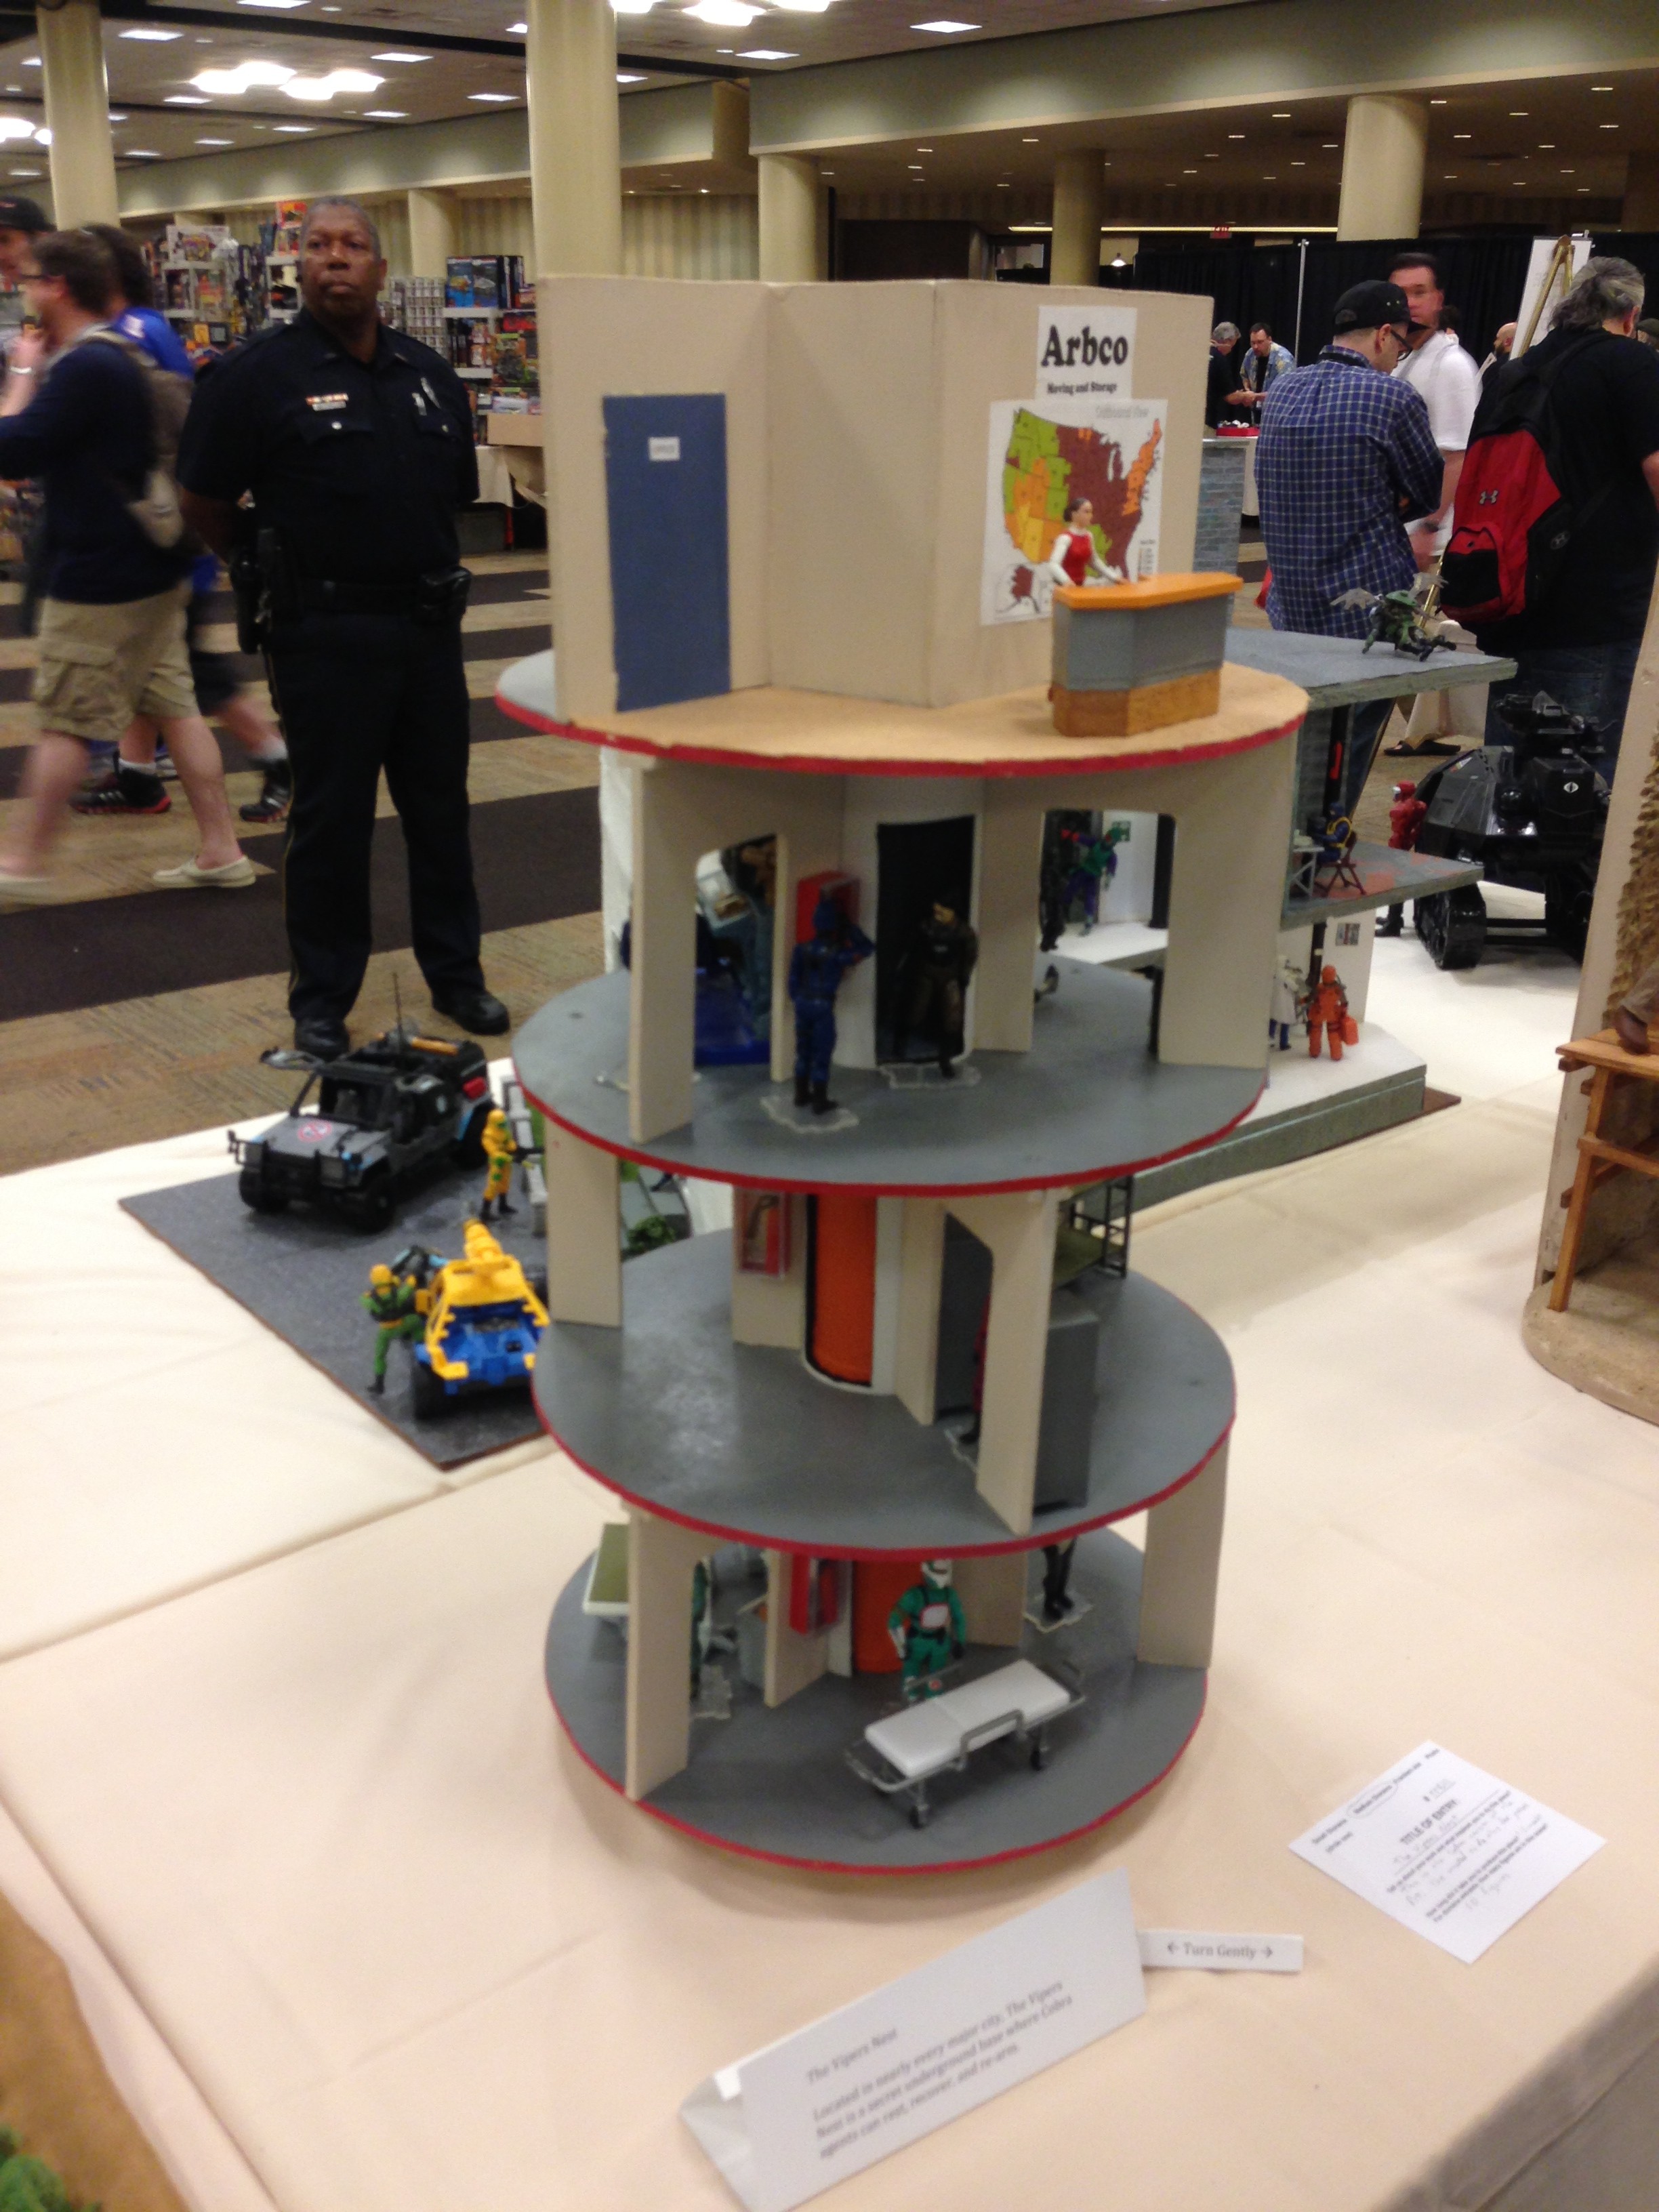
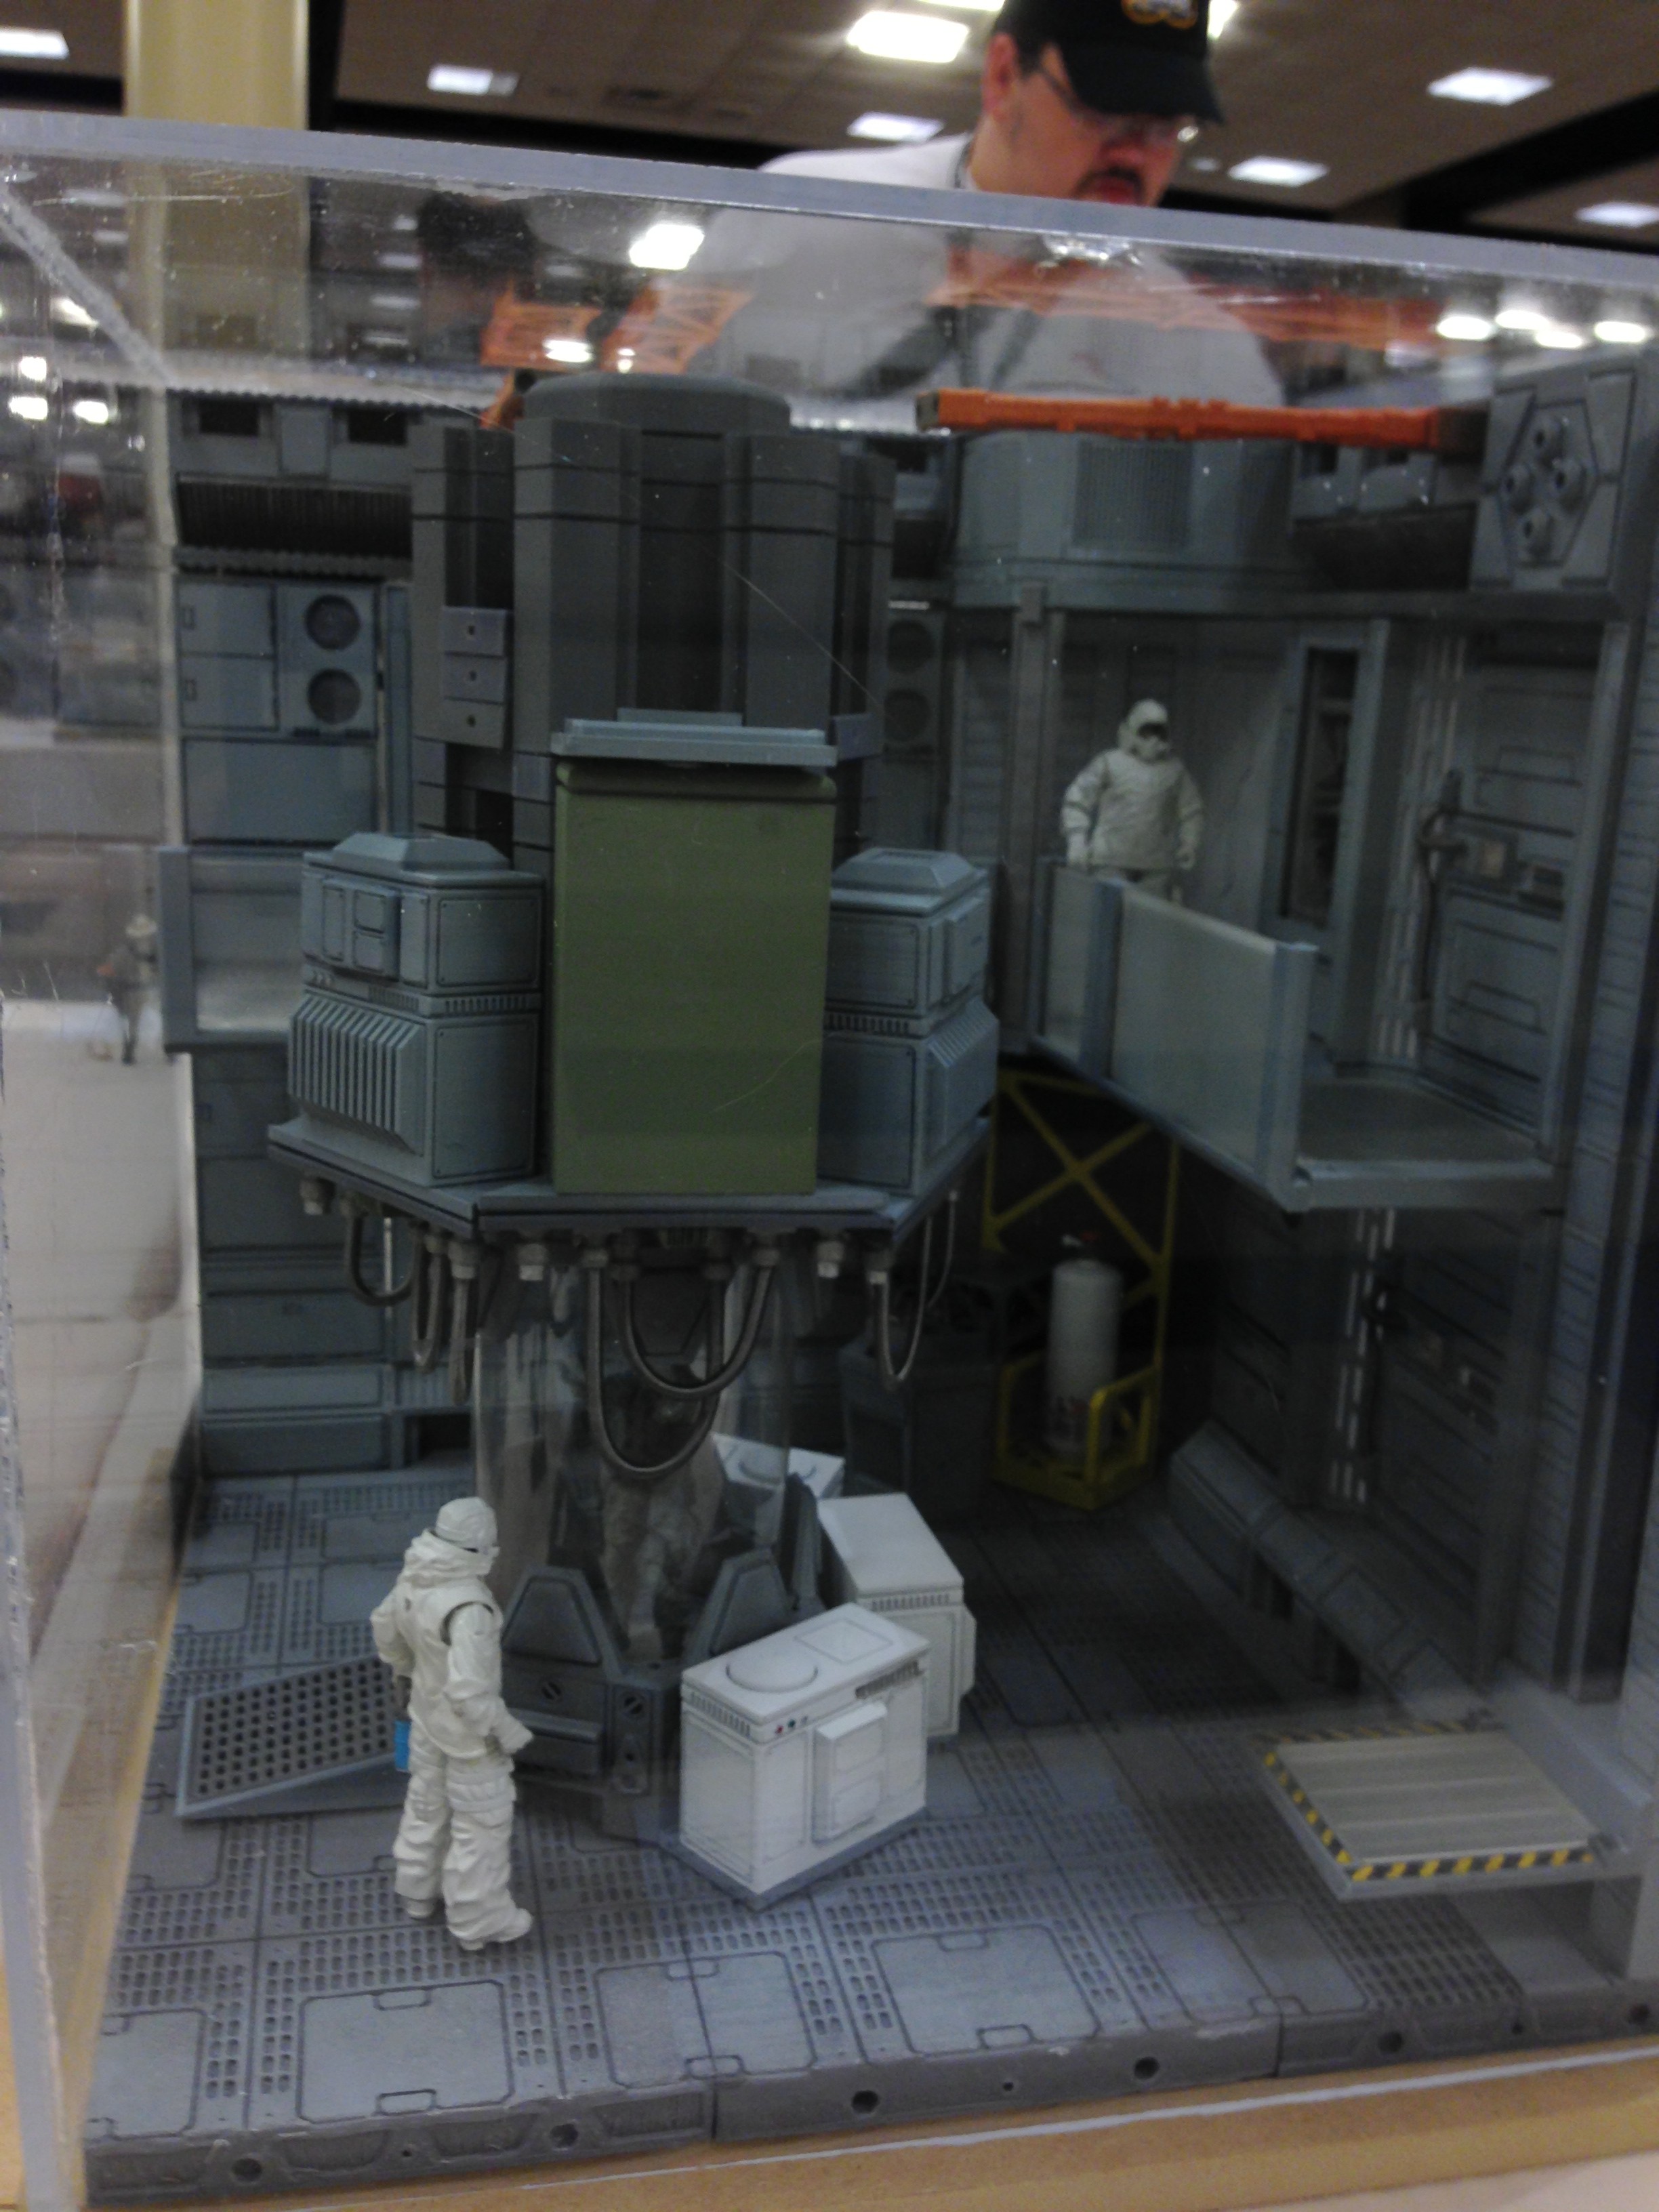
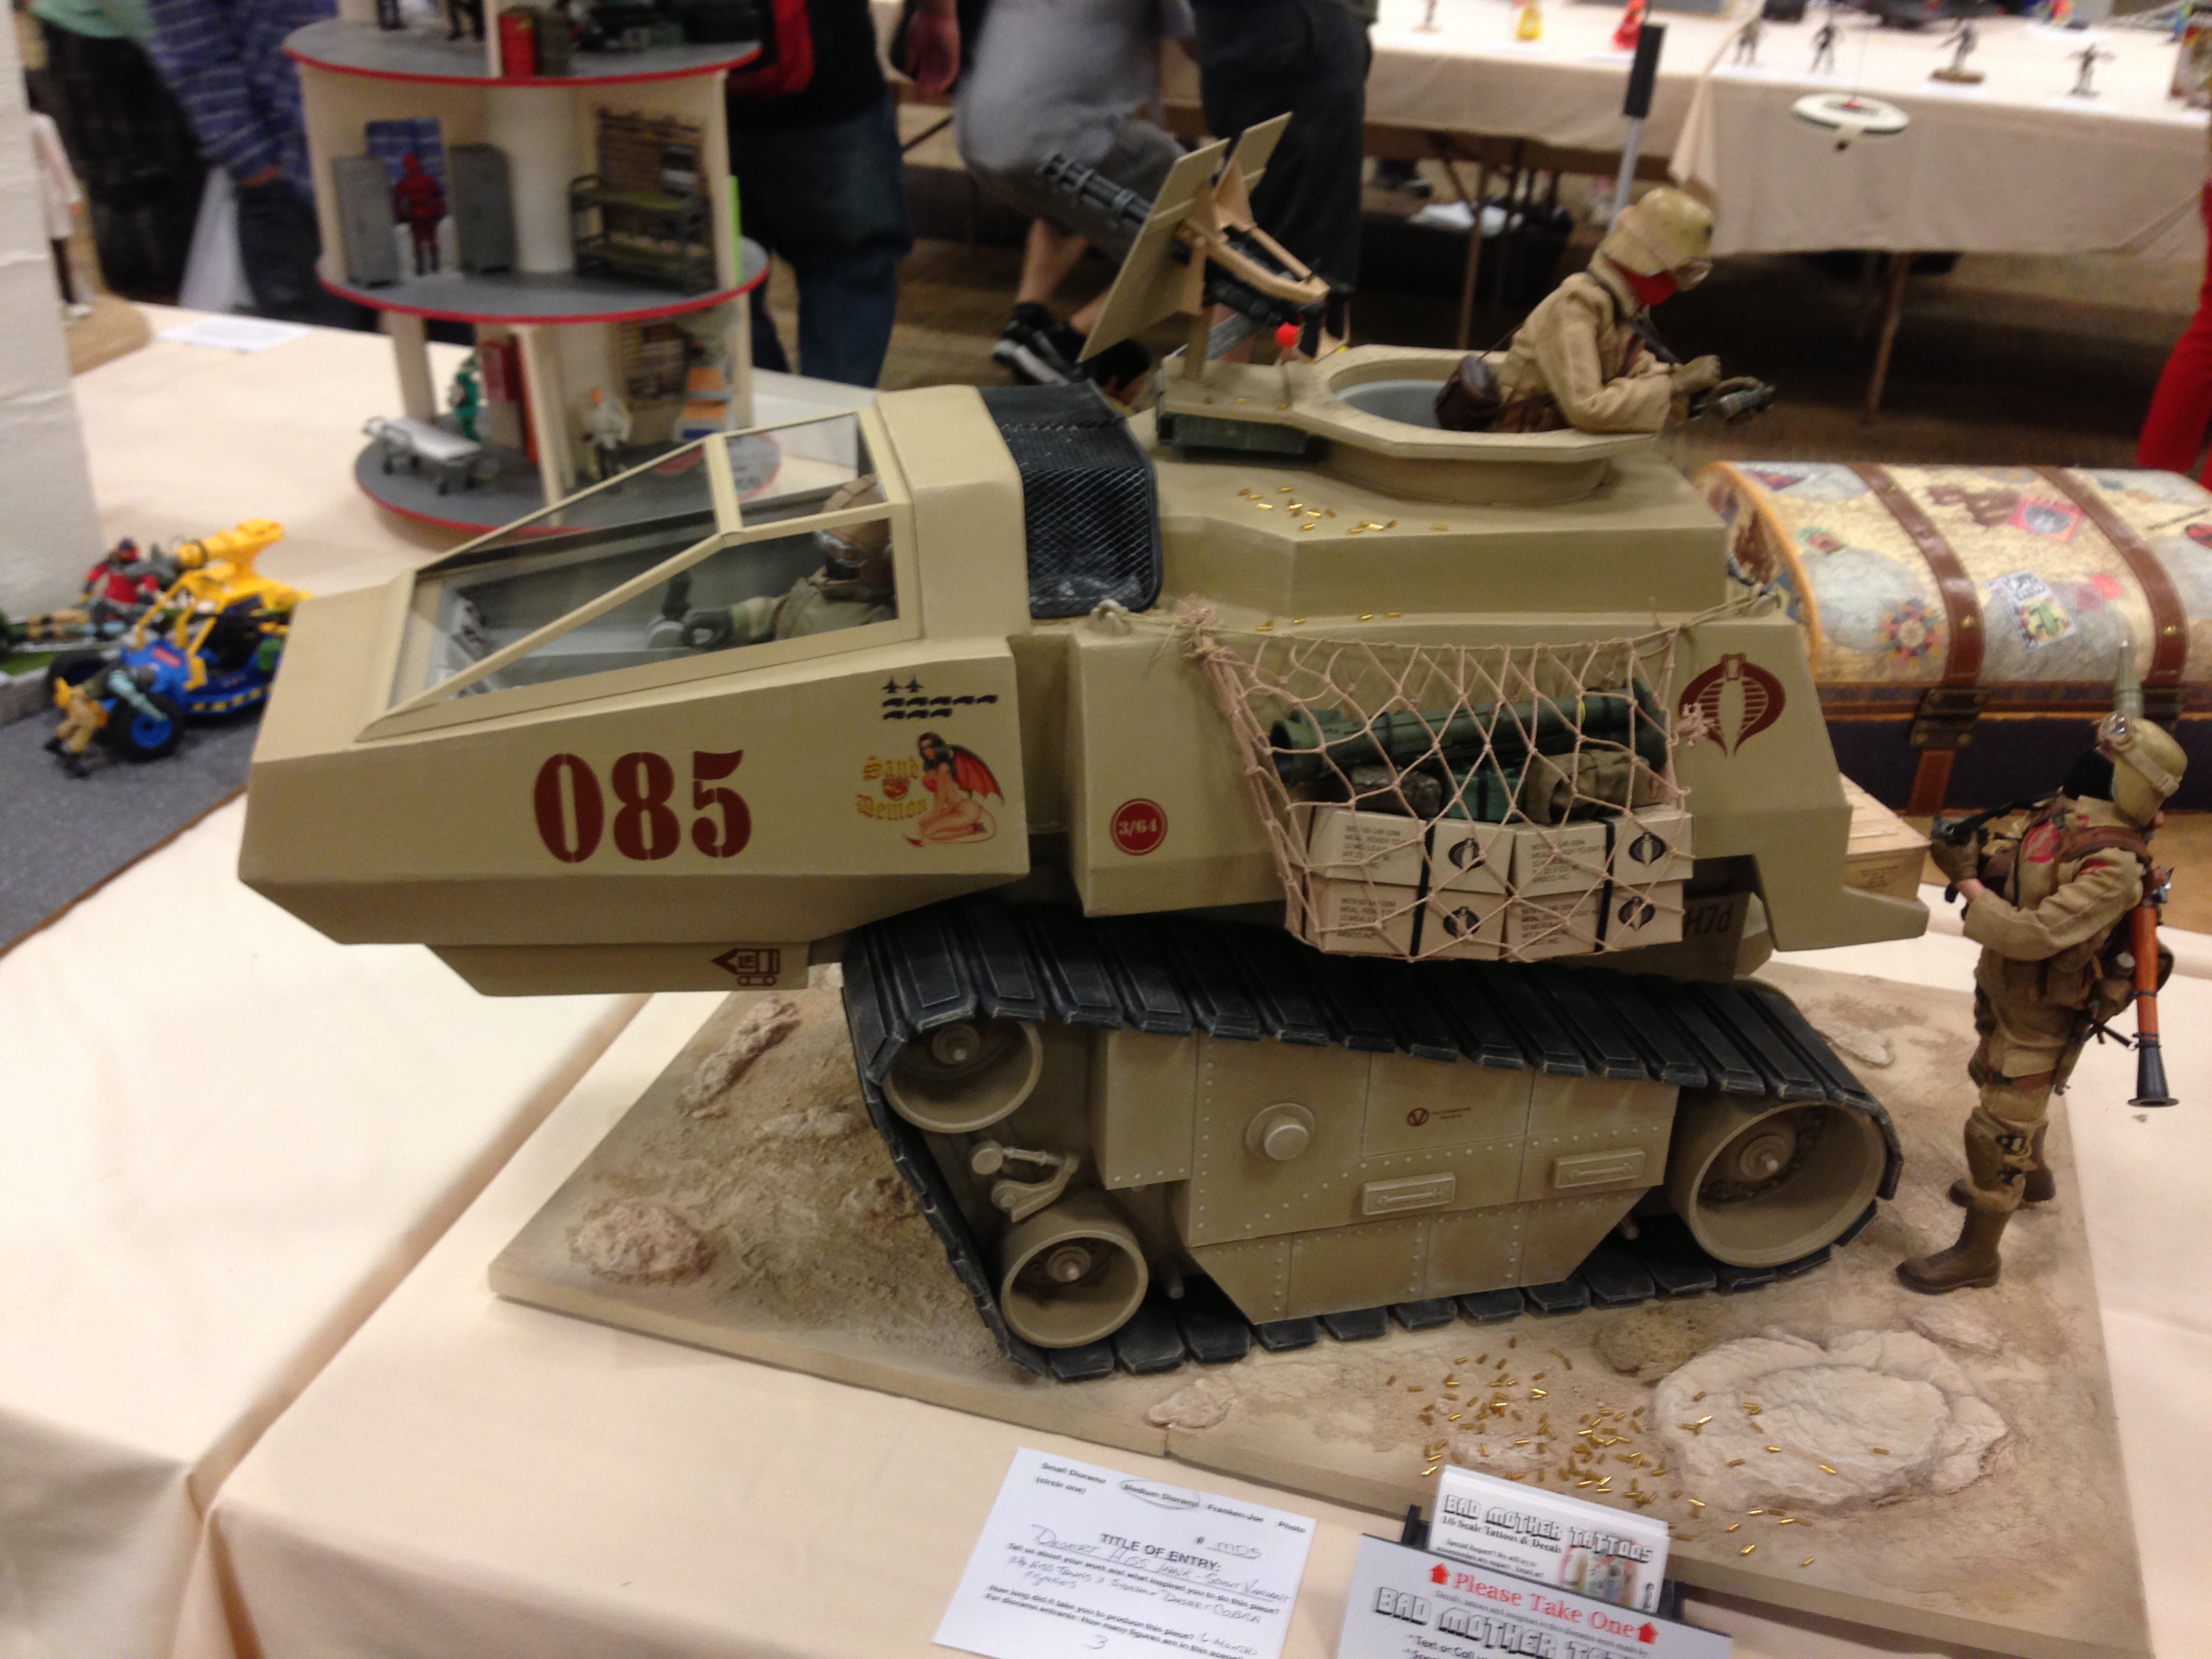
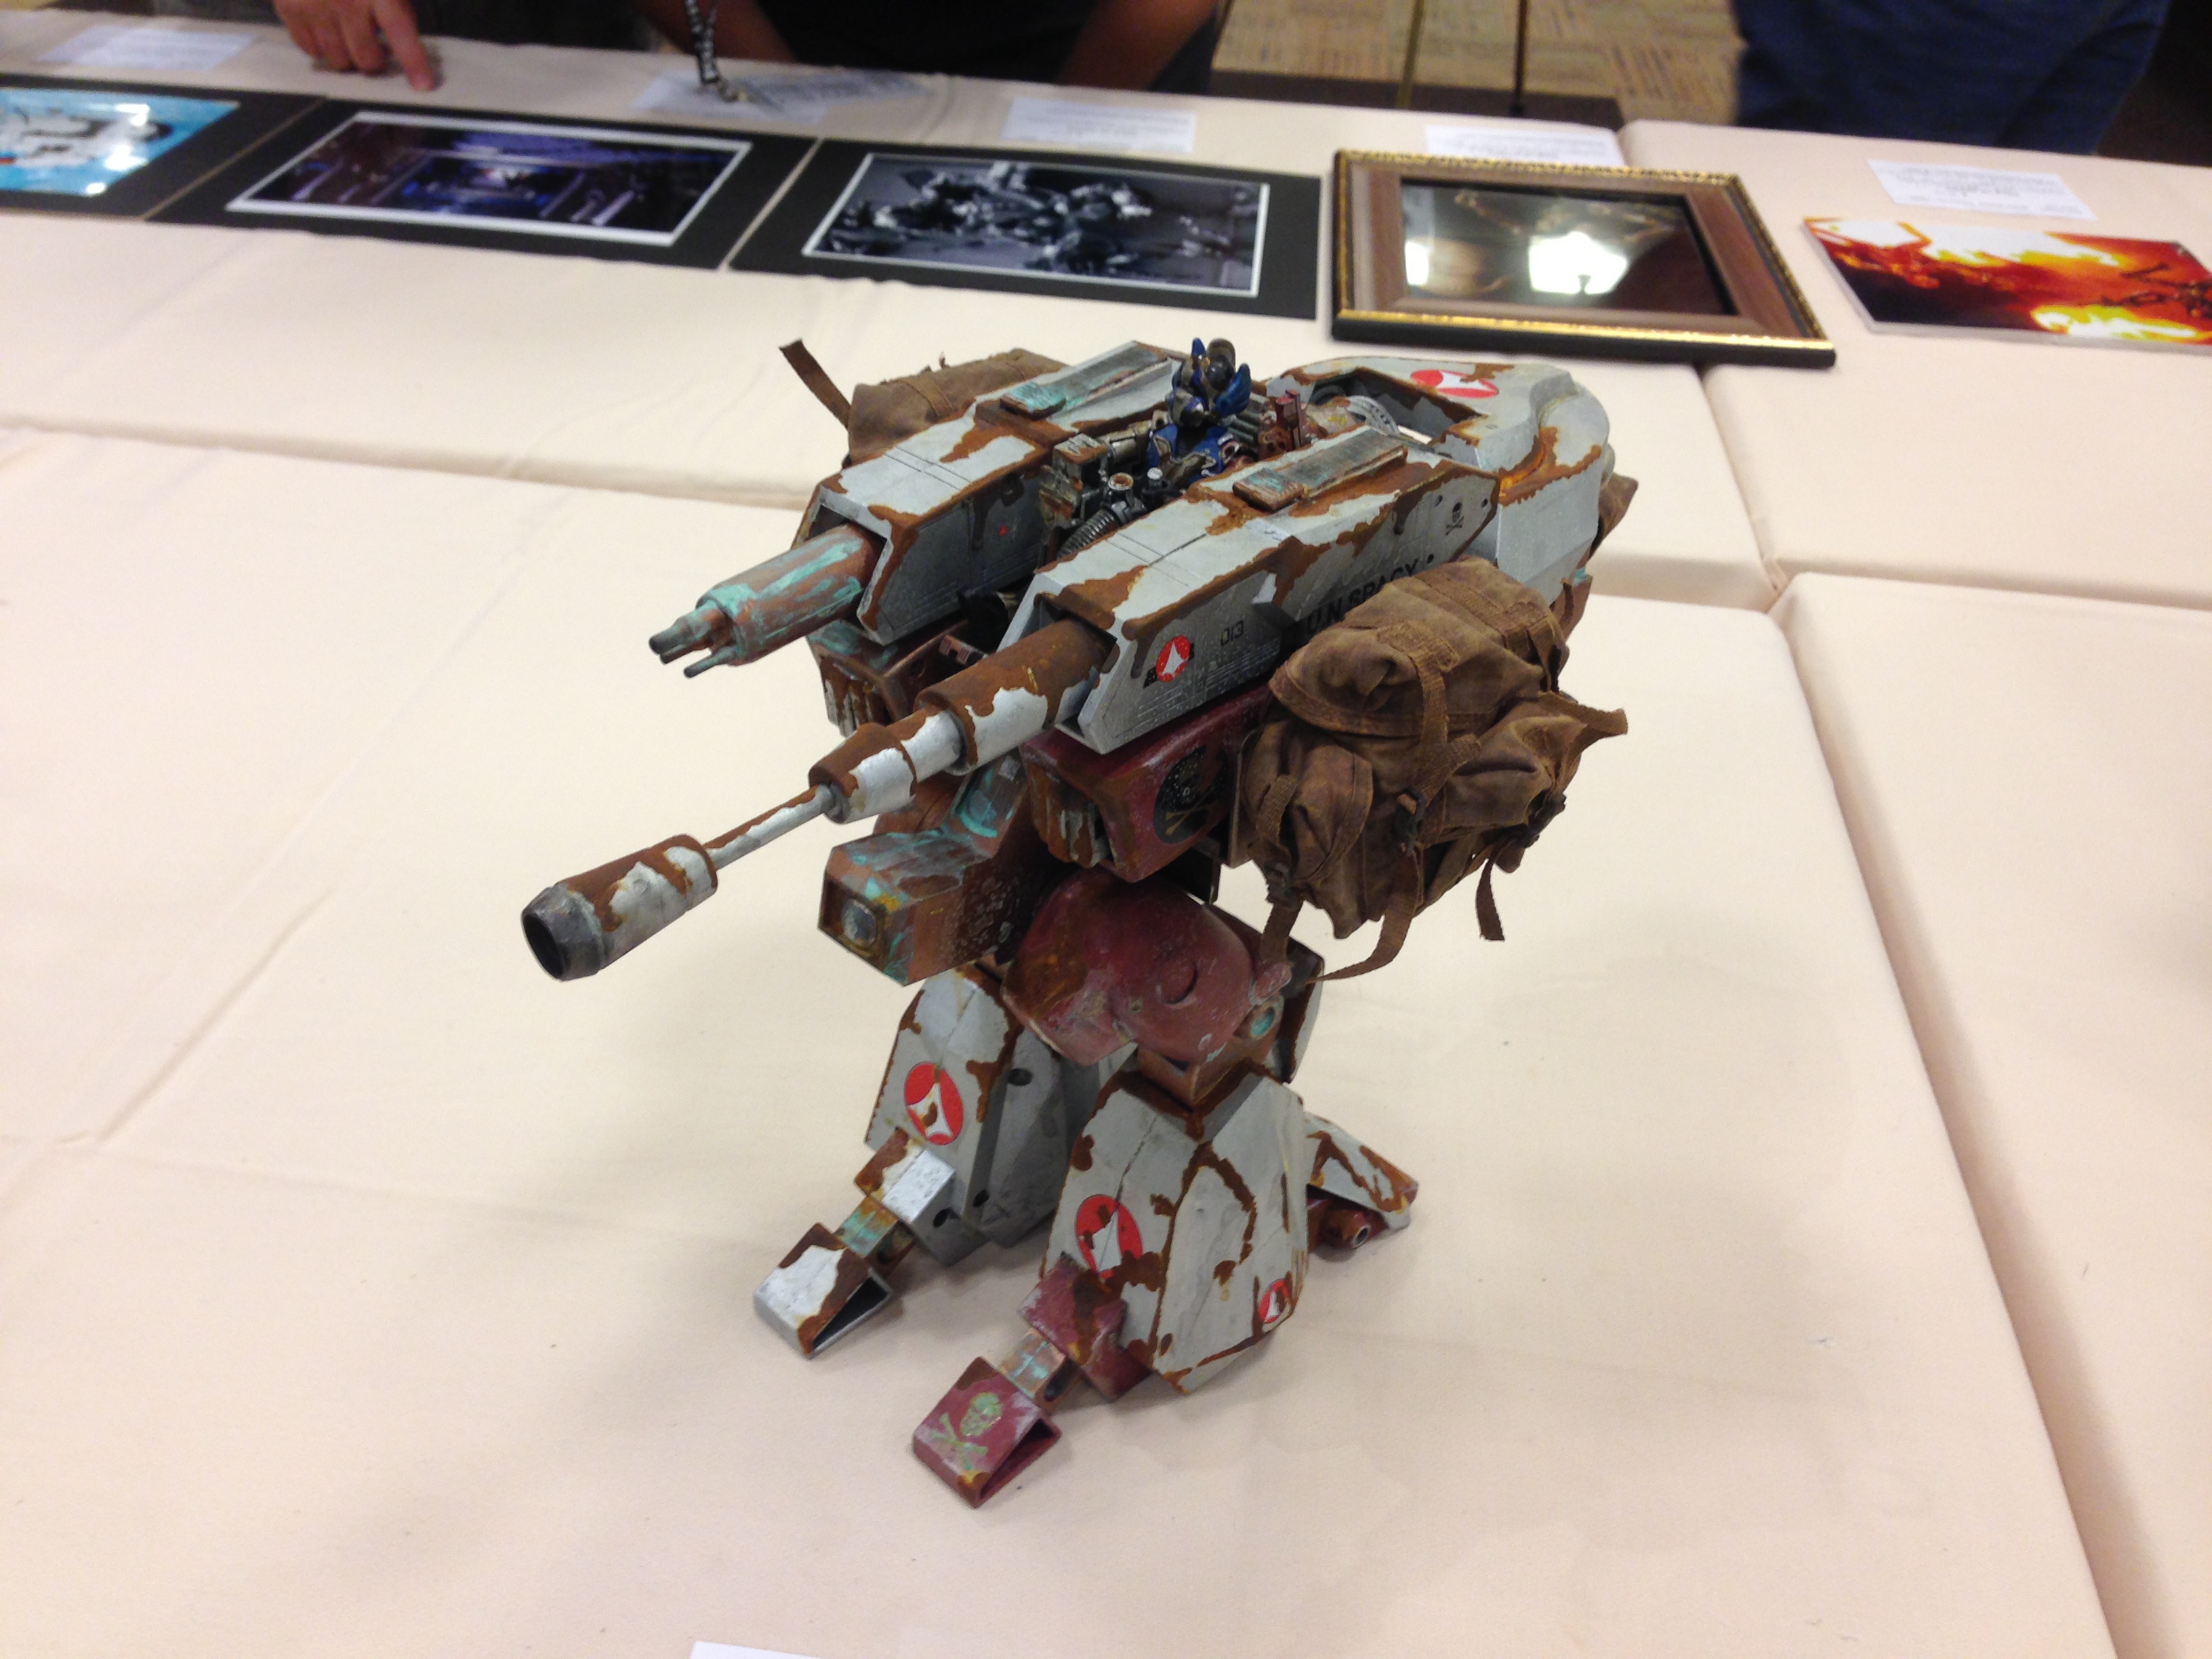
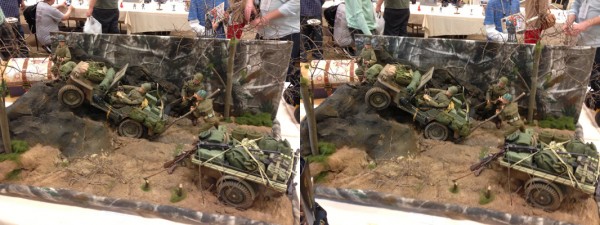
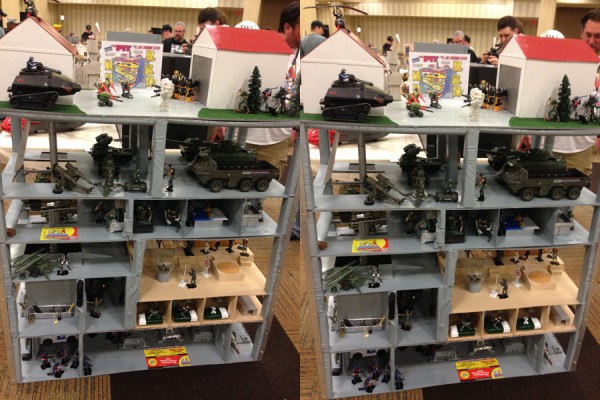
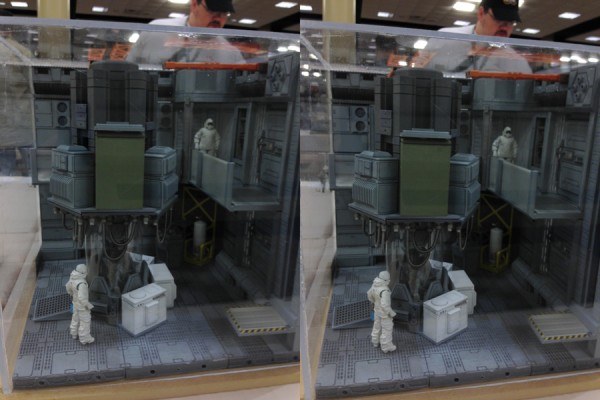 Can you please tell me how this didn’t win ANYTHING? This should have won Best In Show (not a real prize). It was 3D printed, except for the figures, and some details. My god, what a piece of art!
A closer view. (3D a bit weird due to reflection in the glass front)
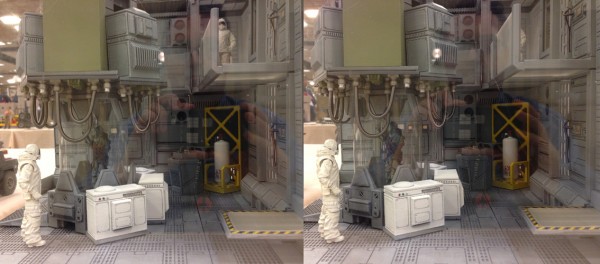
This is by a guy named Andre Bynoe, who runs DioWarriors.com. His stuff is very very nice.
The Contest Winners
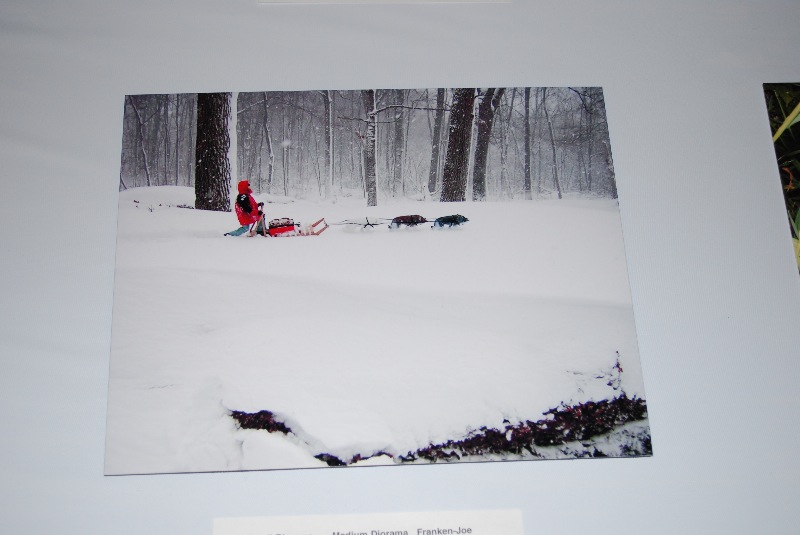
For boring, flat images of the winners of the Photo Contest, Small Diorama Contest and Franken-Joe Contest, see the Club’s Page of Winners. Note, as of this writing, they do not include photos of the Medium Diorama winners. I’m sure they’ll fix that. (Lanny!!!)
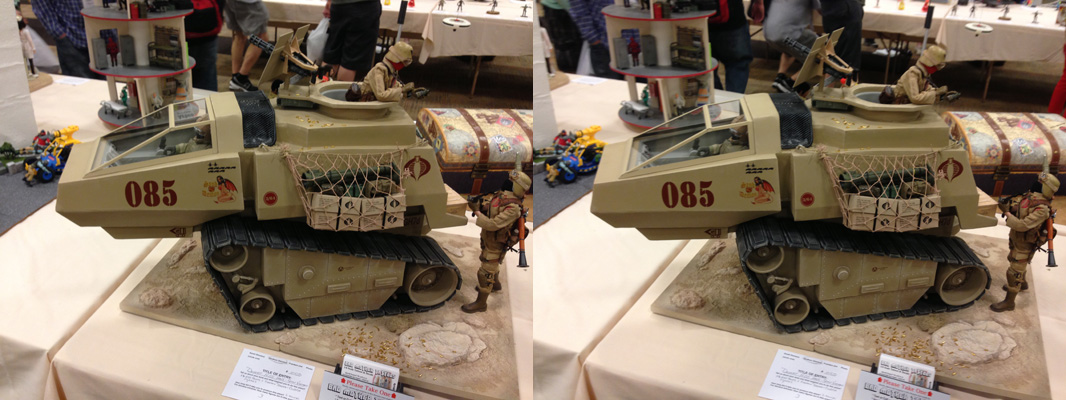
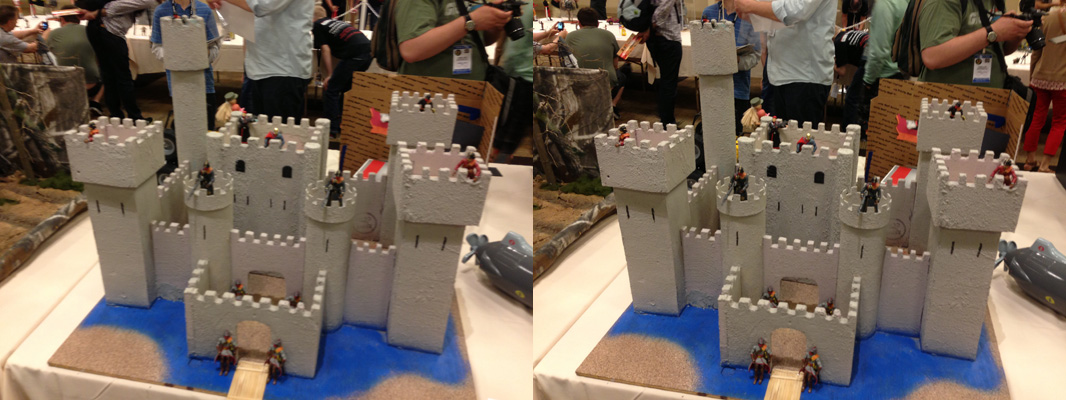
Here are some that I shot in 3D. (Again, I was not completely comprehensive.)
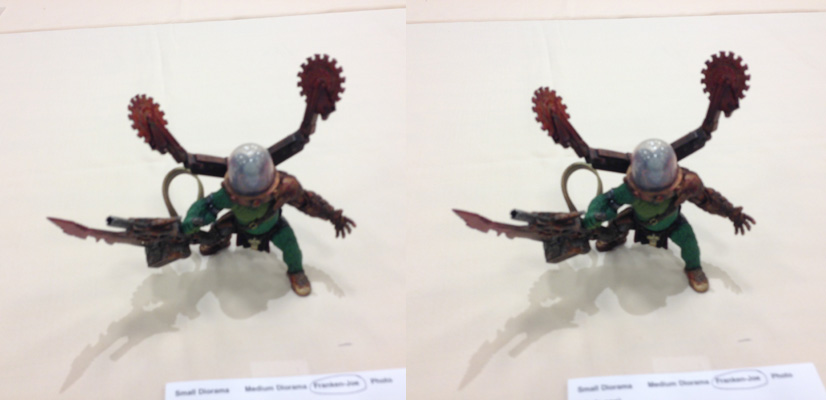
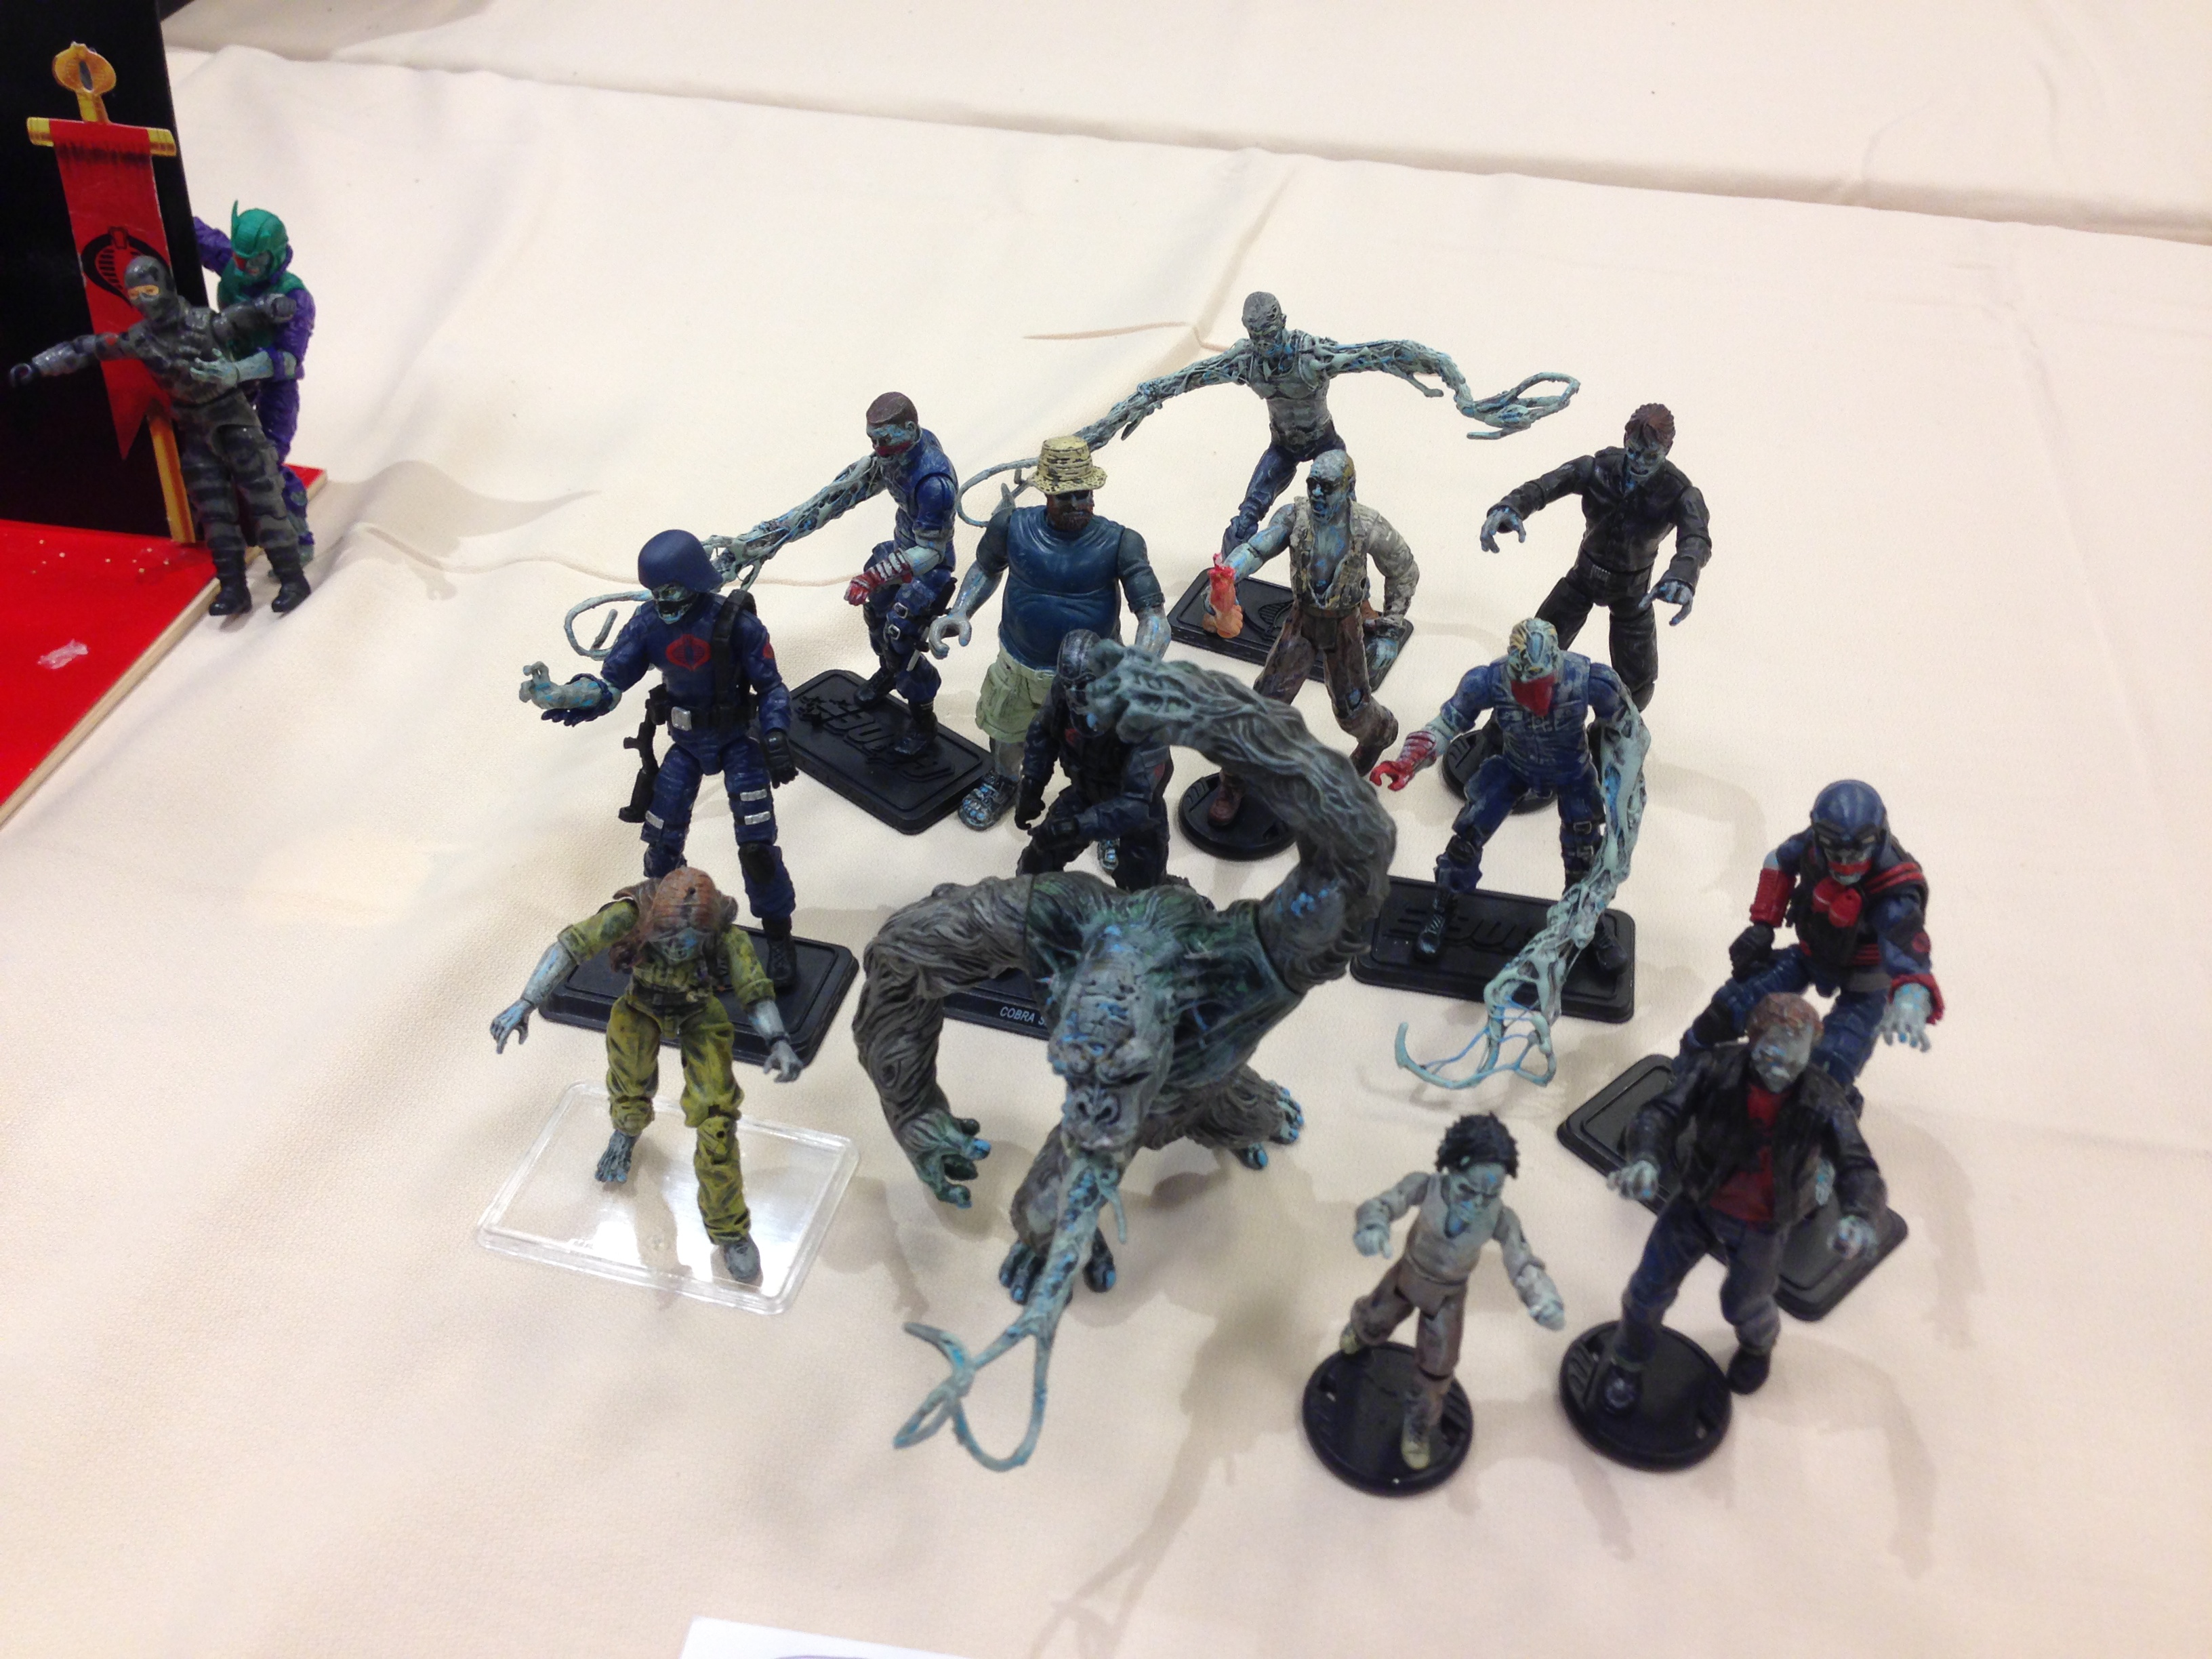
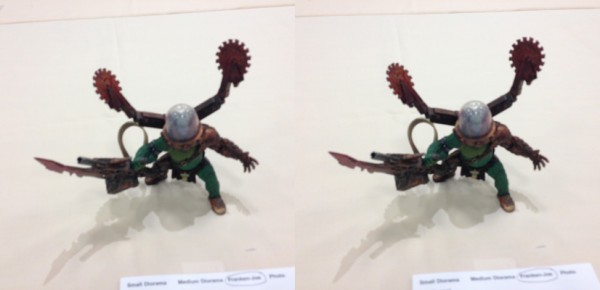
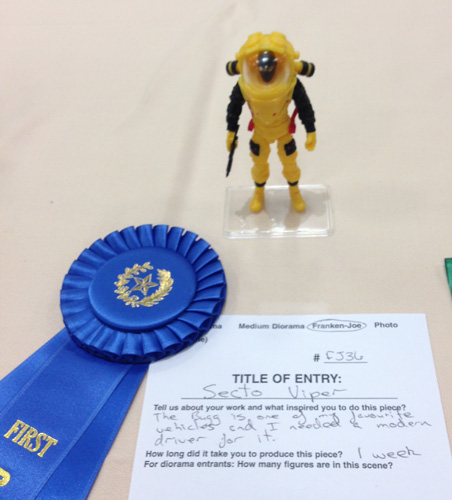
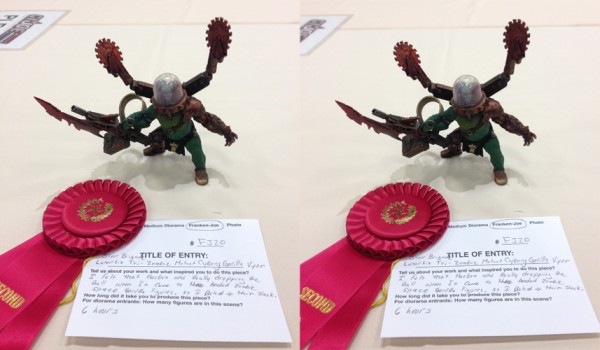
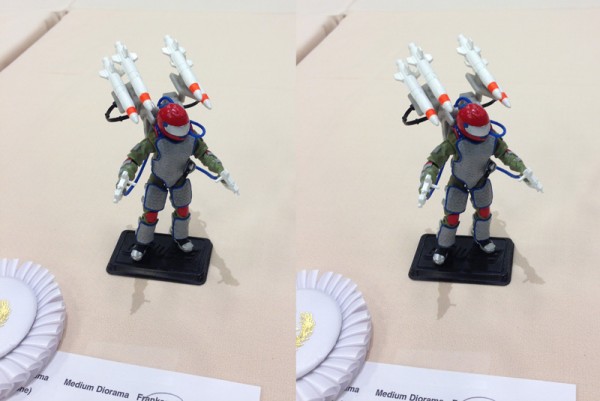
Franken-Joe (3.75″ figures only)
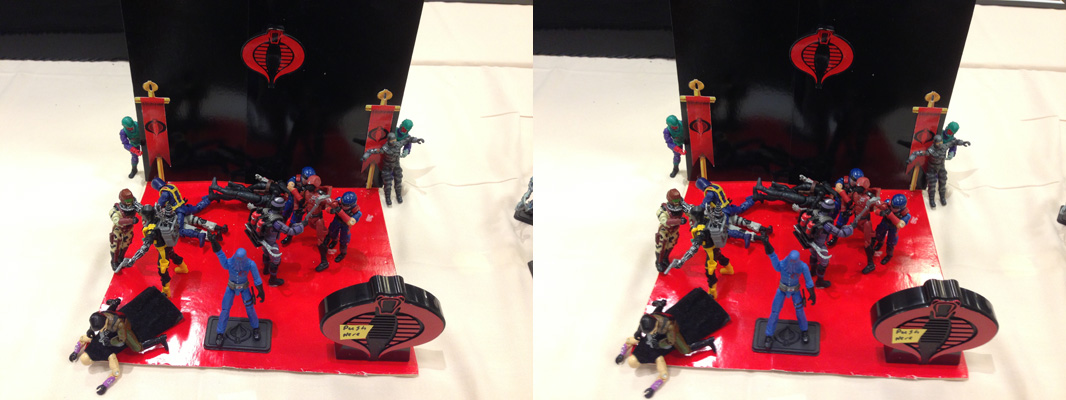
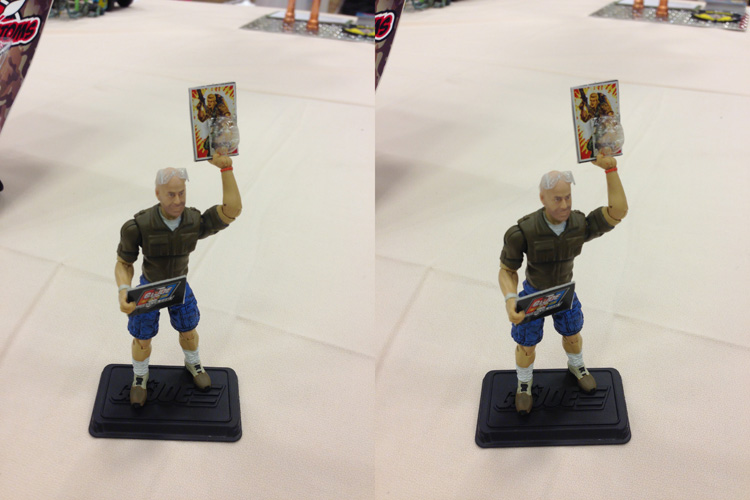
Small Diorama

I didn’t get any photos of the Medium Diorama Winners either. Mostly they were packed up when I got down there to pack mine up.
A Better Prize
When I went to pack up my Save the Endangered Pygmy Rhino diorama, there was a note tucked in under the playmat:
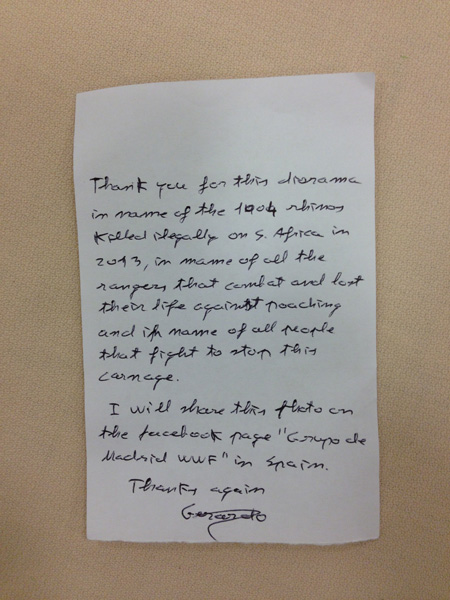
Thank you for this diorama in name of the 1004 rhinos killed illegally on S. Africa in 2013, in name of all the rangers that combat and lost their life against poaching and in name of all people that fight to stop this carnage.
I will share this photo on the facebook page “Grupo de Madrid WWF” in Spain
Thanks again
Gerardo
Sadly, I never met Gerardo. But apparently my diorama had a great effect on him, which to me is far better than winning a prize.
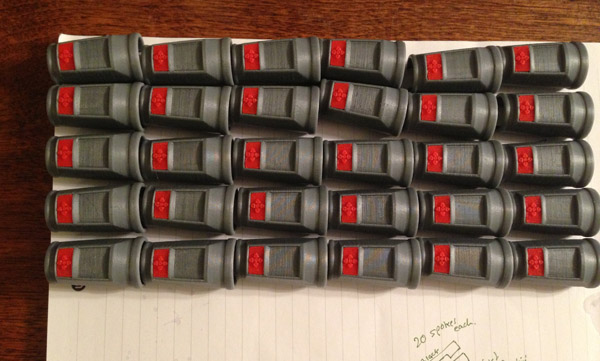
During the show, I had about 20 or 30 copies of the comic book I made for the diorama, and I gave a lot of them away. I left the few I had left on the table with a note that they were free to take.
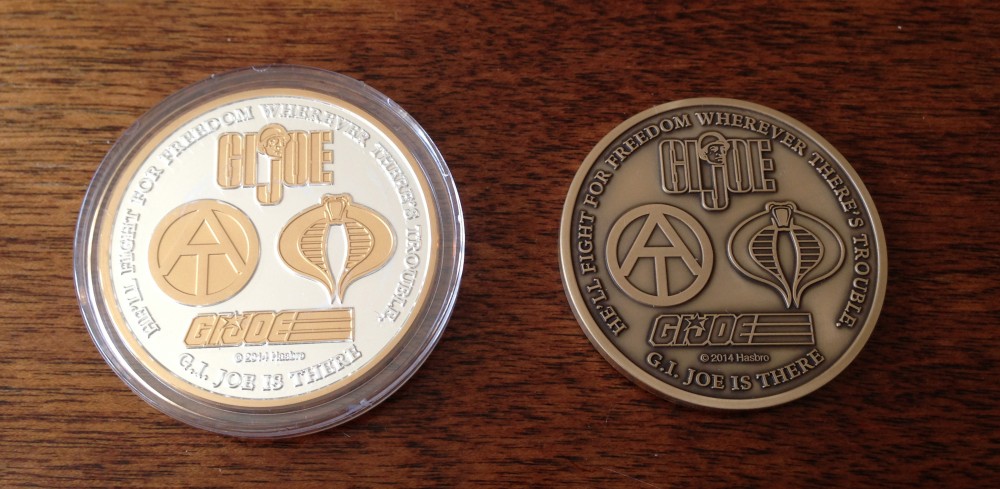
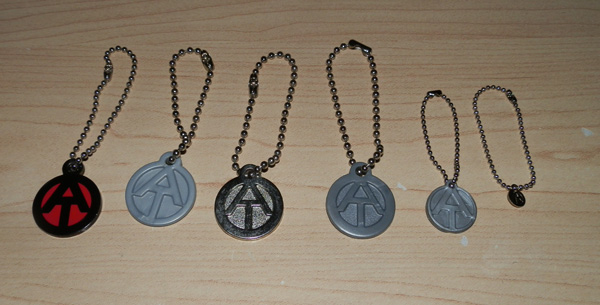
The Coin
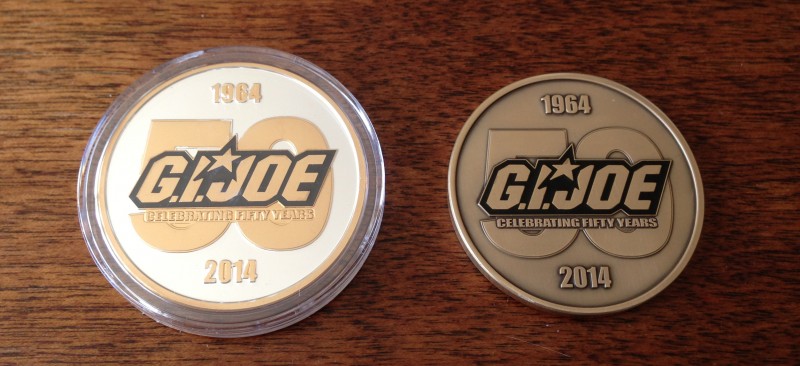
For $135 extra, each attendee could get a silver and gold coin. Real silver, with real gold on the surface. The coin commemorates the 50th Anniversary of GI Joe.
On the night of the dinner, each person got a brass version of the same coin.
Front:
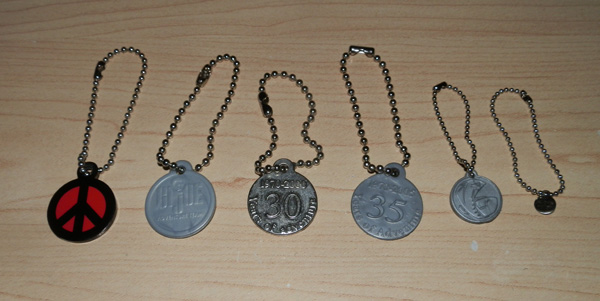
Back: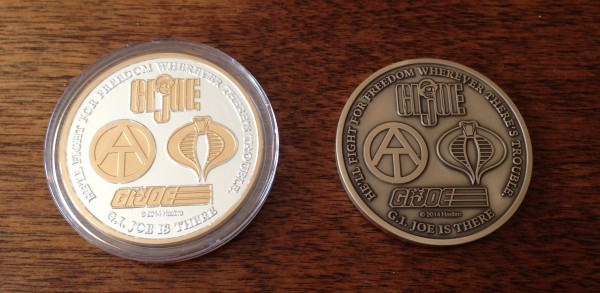
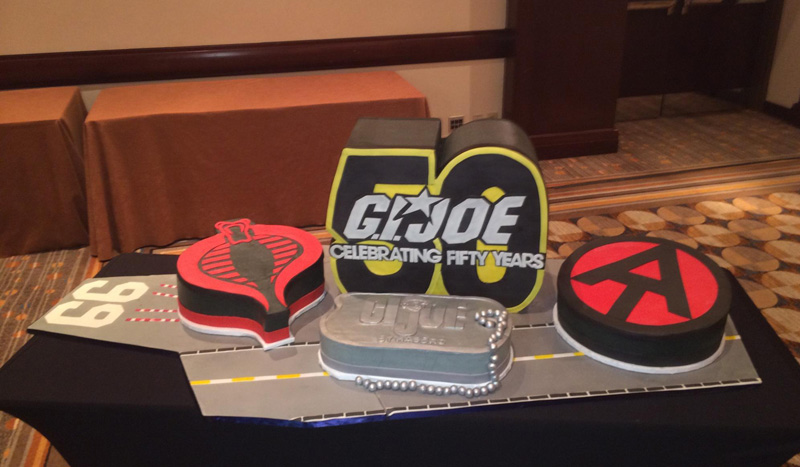
The Cake
At the dinner, an amazing cake was unveiled, and each person got to take photos of it.

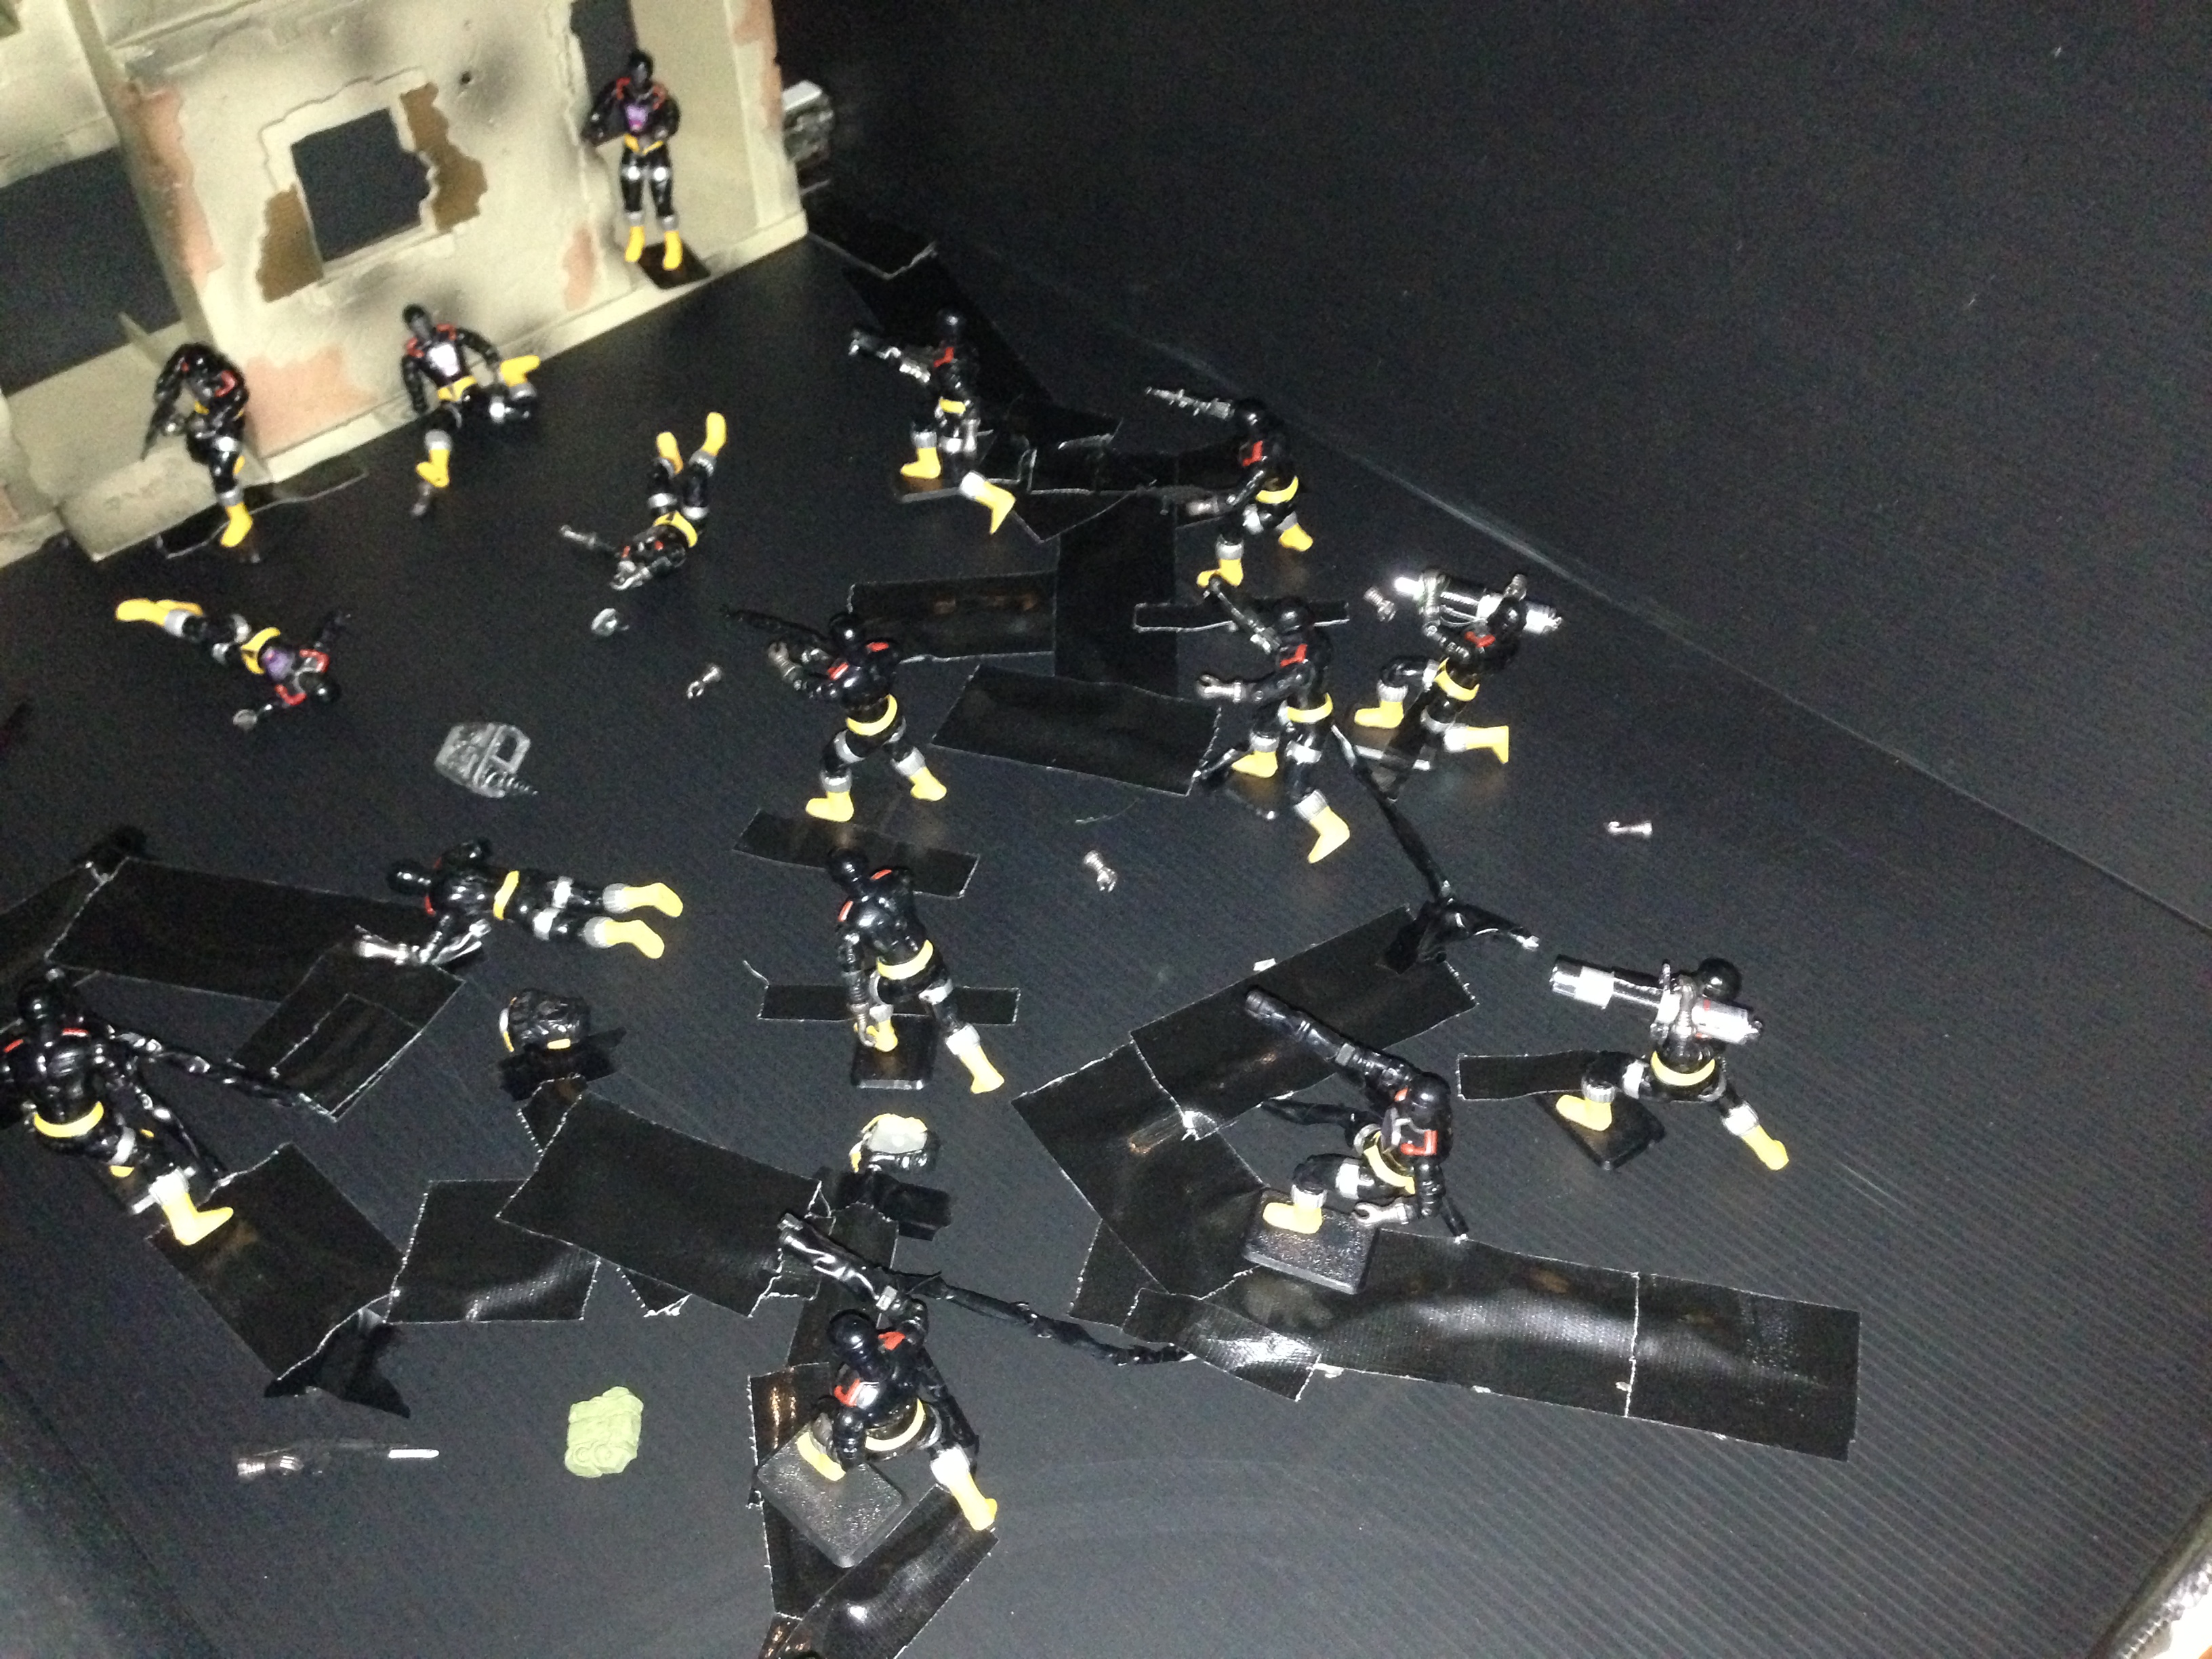
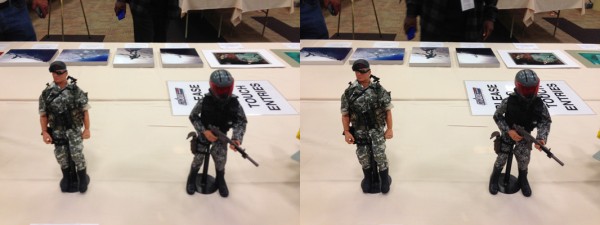
The Takedown
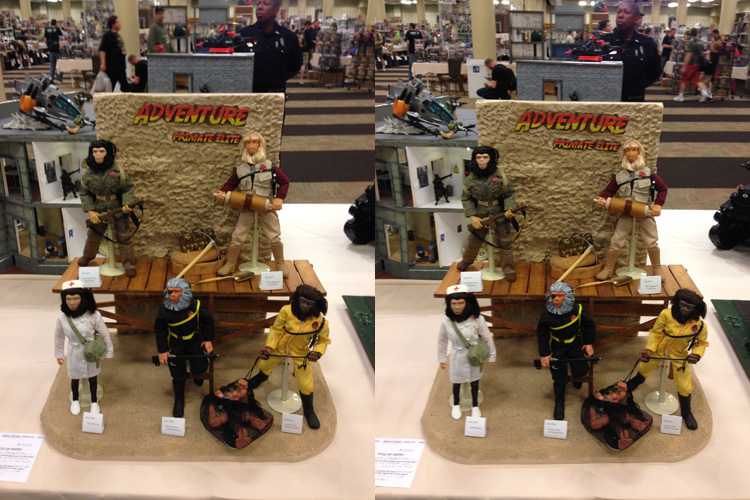
On Sunday I went to take down my dioramas and the Regular Joes were doing shenanigans, setting up some of their hero characters on my Test Flight diorama, as well as the Tattoo Parlor next door:
The Parachute Drop
On April 11 was the official Parachute Drop. This is an annual tradition that happens at any con with a hotel with an amenable atrium. Luckily the Hyatt Regency in Dallas has a gorgeous 16 storey (or more) atrium.
Here, then, is the official parachute drop. (I apologize for the lack of sound. My phone’s front camera has a malfunctioning microphone. It’s probably a mercy. All you would have heard was crowd noise.)
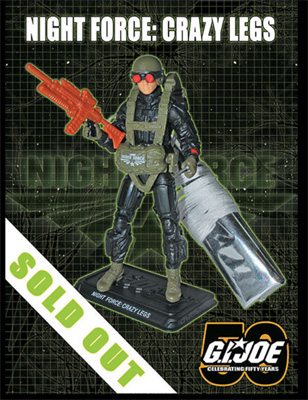
The figure was a 3.75″ character known as “Crazy Legs”. The chutes are dropped to the floor below. If you catch one, you can keep it, I believe. The hope is mostly the kids get them. Cordoned-off areas below are manned by Club volunteers who gather up those that land in those areas. Those get sold.
When I was going down to the show floor afterwards the lineup to buy one was hundreds of people long.
I have seen these on eBay for as much as $175. No idea how much they are actually selling for. Probably a bit less, but not much.
The Clandestine Drop
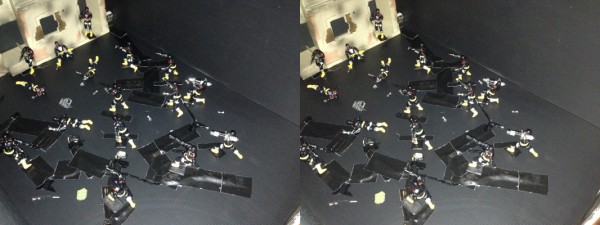
Now I have no idea who did this or how or why or anything else. Let me make this clear: I had absolutely nothing to do with this rowdy crowd of Joe fans who chucked five 12″ GI Joes over the 16th floor balcony into the deep, deep atrium. But I happened to be on the 10th floor looking up when I saw the first Joe take the plunge.
The first one hung on the restaurant sign (later to be retrieved safely.) You don’t quite see him hang on in the video, but when the camera pans down for the second one (which ends up in the elevator shaft) you can clearly see the first one (black chute) hanging on the restaurant sign.
Rest assured, all five Joes were rescued, including the one that took a dive into the elevator shaft, though I have no idea how they managed to get him back.
Gives me an idea for an exclusive figure “Elevator Diver” – A figure dressed in grubby, oil-stained jumpsuit, with parachute, and elevator repair gear.
My Convention Purchases
I didn’t spend a ton of time or money on the sales floor. During one of my brief passes through, I met Haz Ardis and Karl, two well-known Joe fans, who had a booth there. I was happy to browse through a bin of Sigma 6 stuff, but didn’t buy much.
The next morning, Barry Kay piled some stuff on me – stuff he and the Regular Joes found at the Let’s Make A Deal table, and I was thrilled.
I found the table and found myself some nice deals too.
Here, then, is the total of my haul from the convention:
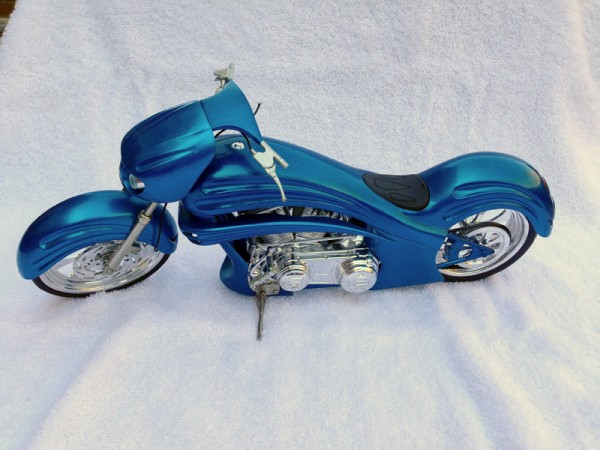 This is the first thing I bought – An Arlen Ness metallic blue motorcycle. I saw this in Walmart several years ago and really wanted it, but money was tight at the time and I couldn’t justify the $18.00 they wanted for it at the time. I was crazy! This was one of the things I regretted for some time. Even though it’s missing a few pieces, I can 3D print them easily.
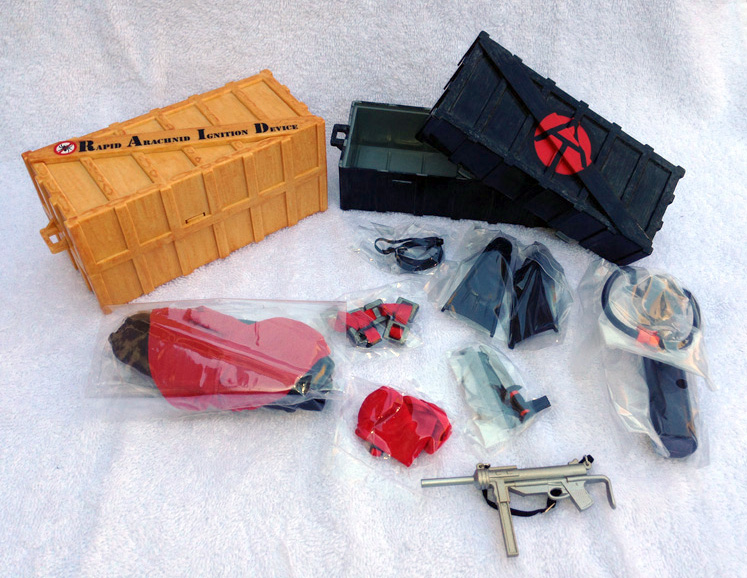
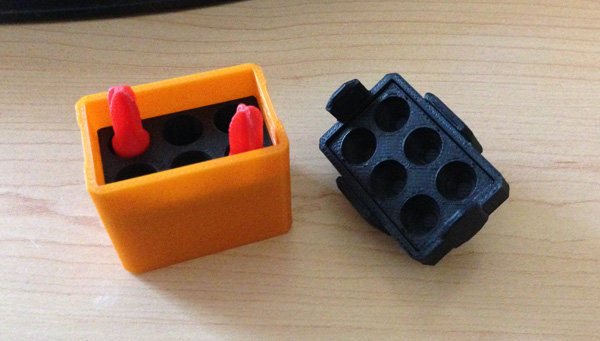
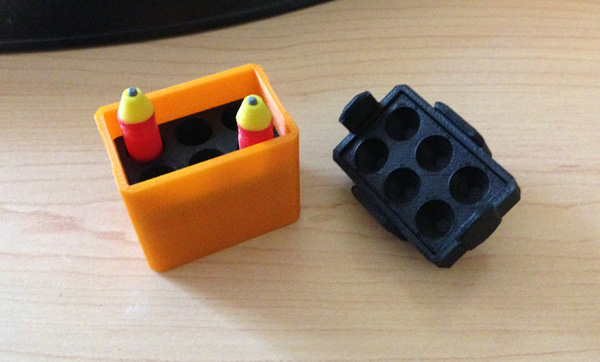
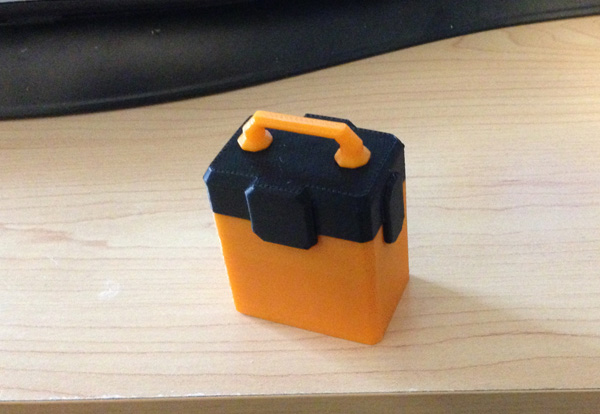
 This is a crate from the 8 Legs of Danger convention set, empty. The black crate is from the Escape from Spy Island convention set, packed with SCUBA gear and grease gun. Thanks, Regular Joes!
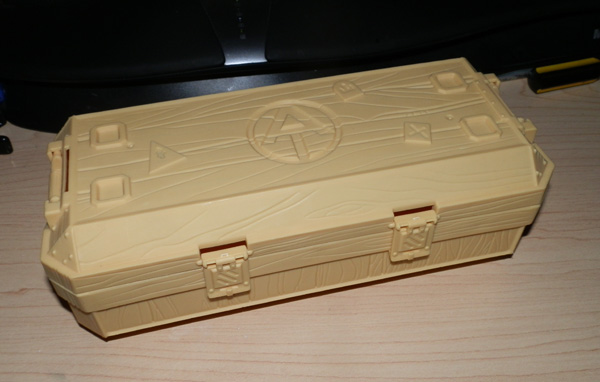
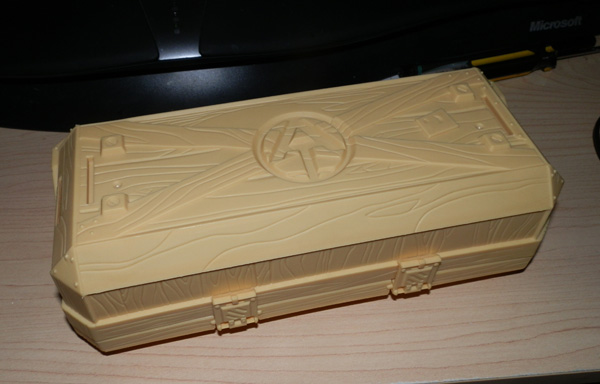
 I found these at a table in a bin of small bits and pieces. I pored through the bin and came up with just a few cool items including a great tool box with insert tray, bolt cutters, short-handled cutters, a die-cast Mag-Light and a GI Joe briefcase. I liked this briefcase enough that I wanted a second one. There was one next to my AT Commander at the Test Flight diorama at the same time.
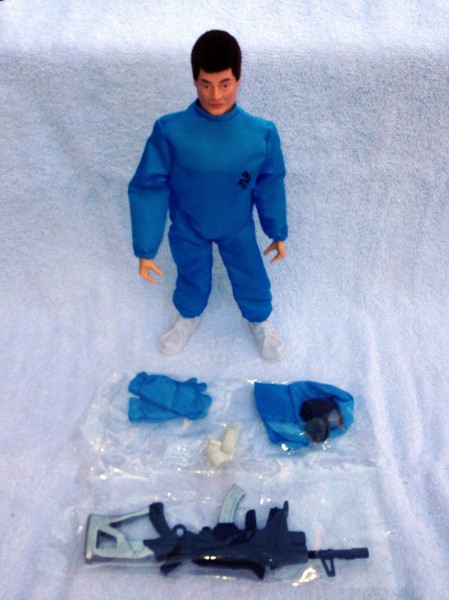
Laboratory Guard figure. This is a near-complete one Tod handed me. It is missing only the white hip holster with red tie, and pistol. I have seen two variants on the actual figure on eBay. The Asian flocked head (Man of Asia) and the Foreign Adventurer head. Note the two right hands. That’s why this was a second. Easily fixed. But on the other hand (pun intended) if I pose him with gloves on, no one will ever notice.
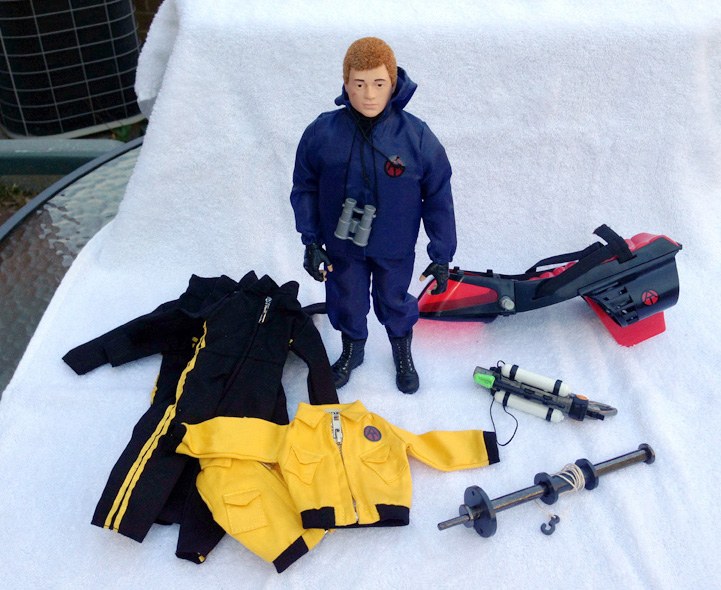
 I found this guy in Haz and Karl’s bins among MANY Fraken-Joes. He appears to be the “Man of the Sea” Club Exclusive head and uniform, but with a CC body with black gloved hands. What a great find!
I found the red/black Underwater Explorer (from the Escape from Spy Island convention set) and the Desert Patrol Vehicle (from the Drive into Danger convention set) winch which came with the Last Man Standing convention set. Though not pictured, I was smart enough to grab a bag with a white net in it, because that also had the winch line carriage and stop peg that go with the winch. (These are now installed on my yellow AT Desert Patrol Vehicle.)
Also there are three “Man of Evil / Lost Adventurer” jumpsuits and two yellow jackets.
The gun is a Sigma 6 piece that I quite liked.
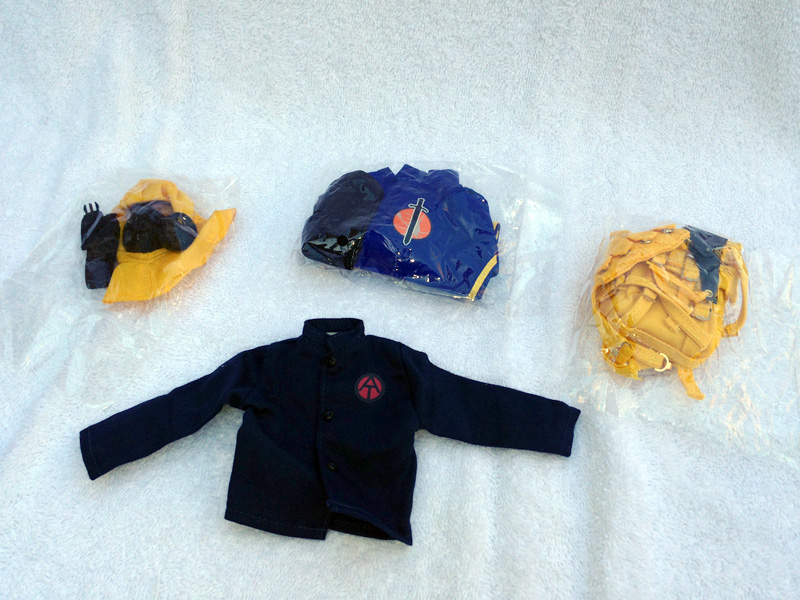
 This was in a poly bag all together. Most of it, if not all of it, is from the MARS Guard which I believe was a Convention Souvenir the year they did the Last Man Standing Convention set. I did not have this guy, so getting this uniform set was fantastic. It’s only missing a blue helmet. Again, Thanks, Tod, Barry and Dave for this one.
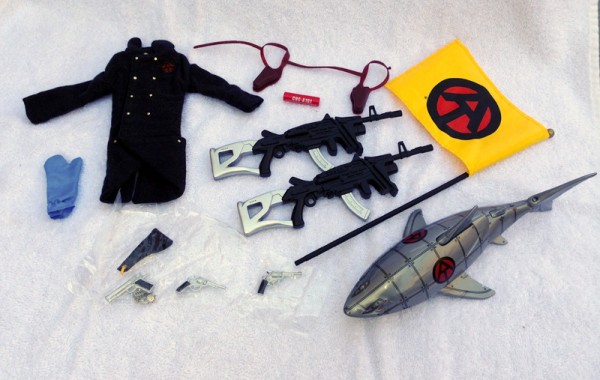 I know the AT flag and Shark came from the Regular Joes. I believe I found the rest of this stuff at the Let’s Make a Deal table: A blue Laboratory Guard glove (there was only one) a “Comrade of Action” jacket and double red shoulder holster, two Laboratory Guard guns, a “Man of Evil” gun set which includes a .45 and holster and Lebel pistol and mini dog tag, and also one extra Lebel.
Note: Not shown here, but I will photograph later:
The roll cage roof for the yellow AT Desert Patrol Vehicle; green weapons crate, stuffed with weapons; and net. That’s all on my vehicle at the moment, and I haven’t photographed it yet.