I have made some items for sale on Shapeways that pertain to Space:1999, the TV show.
These include items I’ve blogged about before, mostly during development when the models were printed on my home printer. Those were ok, but the size (especially of the smaller scaled items) meant that my home printer’s integrity was nearing minimum – ie: It was nearing the smallest scale I could print well.
However, Shapeways can print at a higher resolution, and I found the results quite clean and presentable.
Dinky Scaled Eagle Pods
The wonderful Dinky Eagles, produced in the 1970s, are revered by toy collectors and fans of the TV show. They came with one pod each, and Dinky made two versions: one with a passenger pod, and one with a freighter pod. The passenger pod was surprisingly accurate, though the freighter pod looked nothing like the pod used in the TV show. It was fun, however, and had a magnetic winch and four hazardous waste containers. But completely inaccurate.
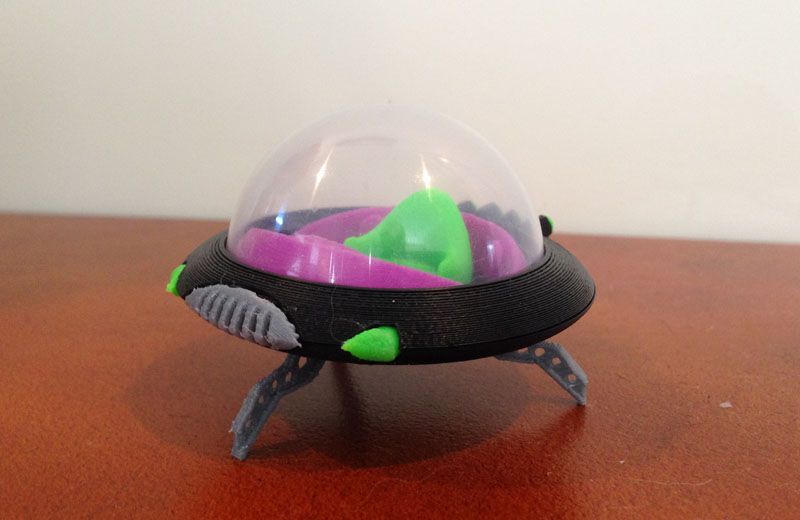
So I made a pod model that plays the part of two of the alternate pods from the TV show: the pallet pod (which is a flatbed pod suitable for carrying multiple waste containers) and a winch pod (which is used to hoist and store containers in the nuclear waste depots.)
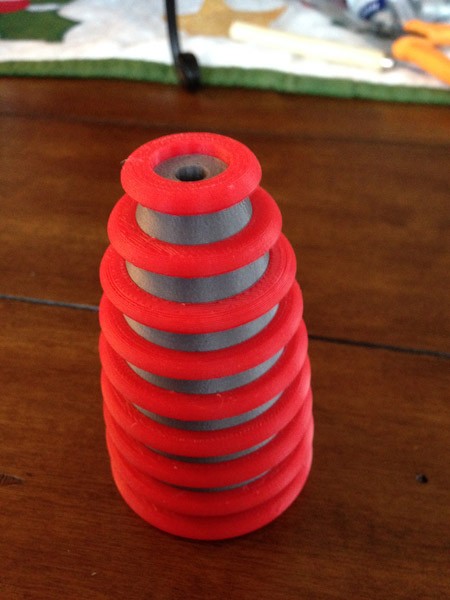
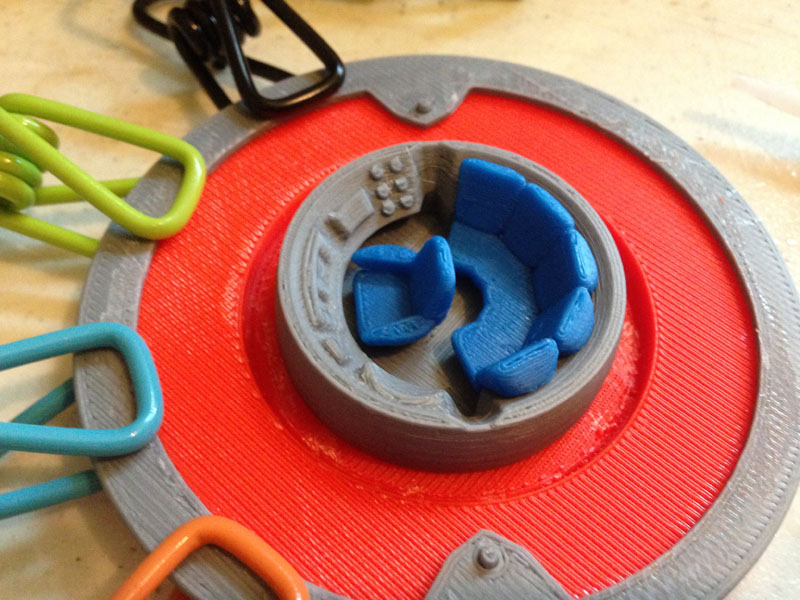
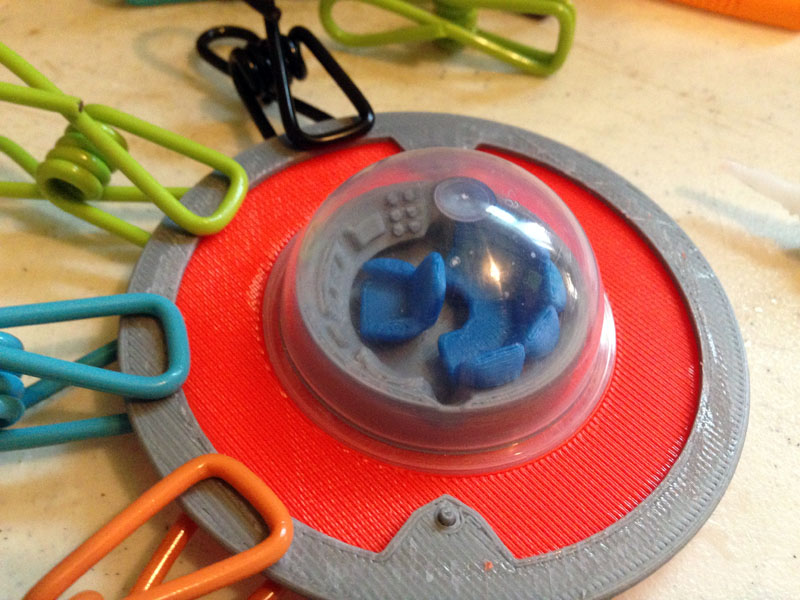
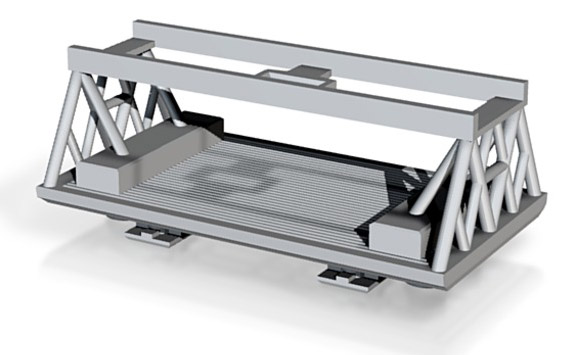
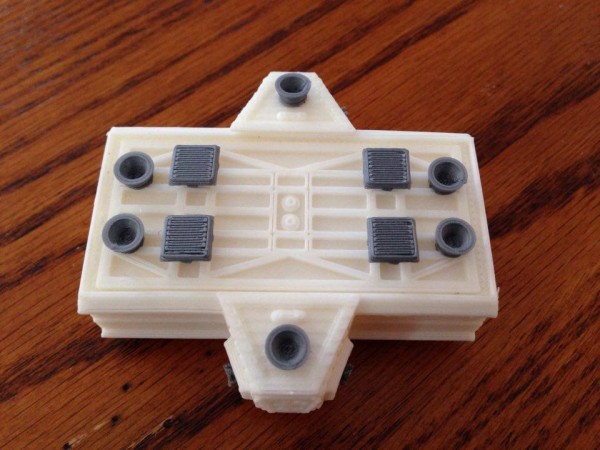
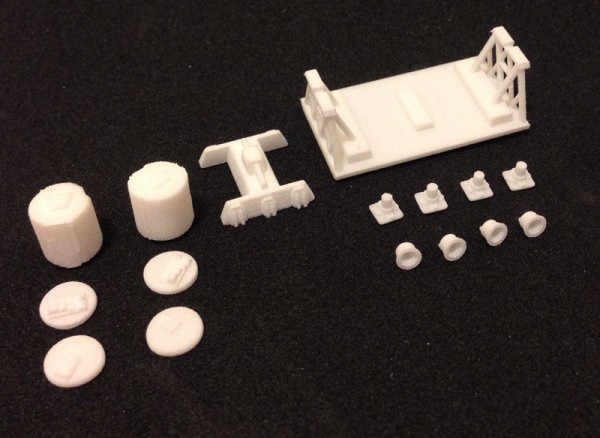
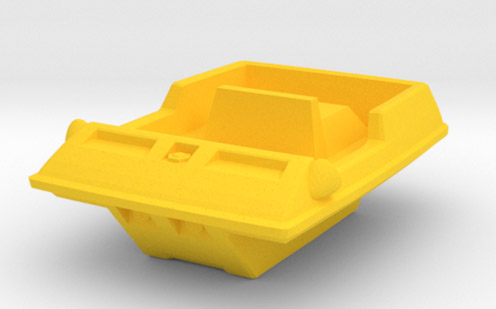
Here is the Dinky-scaled pod, which comes in two pieces: The pod itself, which is a flatbed pallet pod, but with a second part that is the winch.
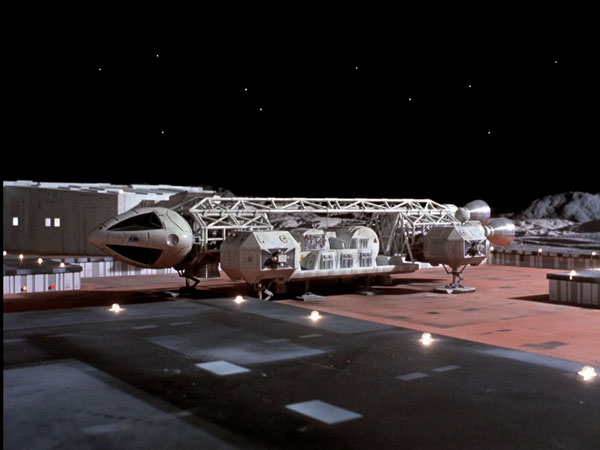
Here it is as seen in the TV show:
A little paint and you can have a very accurate model. However, since the toy is not weathered, the pod works pretty well completely untouched. (Though it’s advisable to paint the underside legs and engine bells.
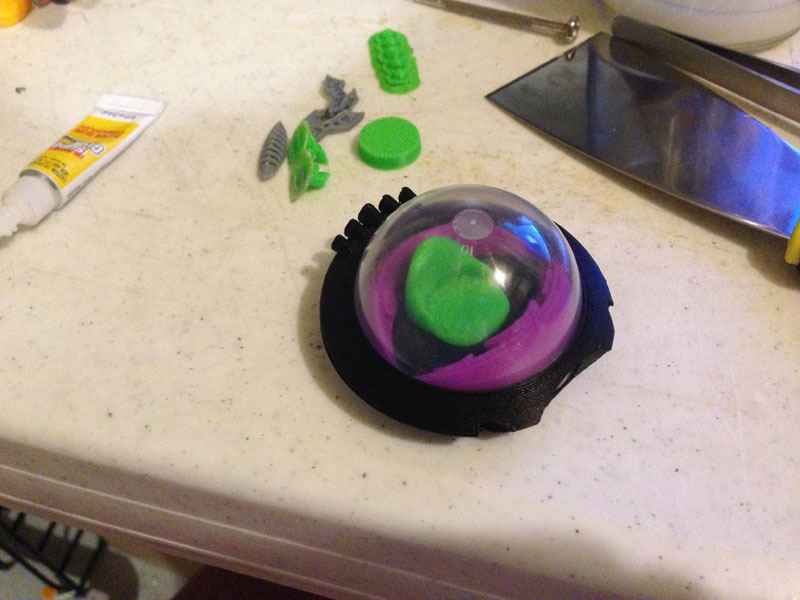
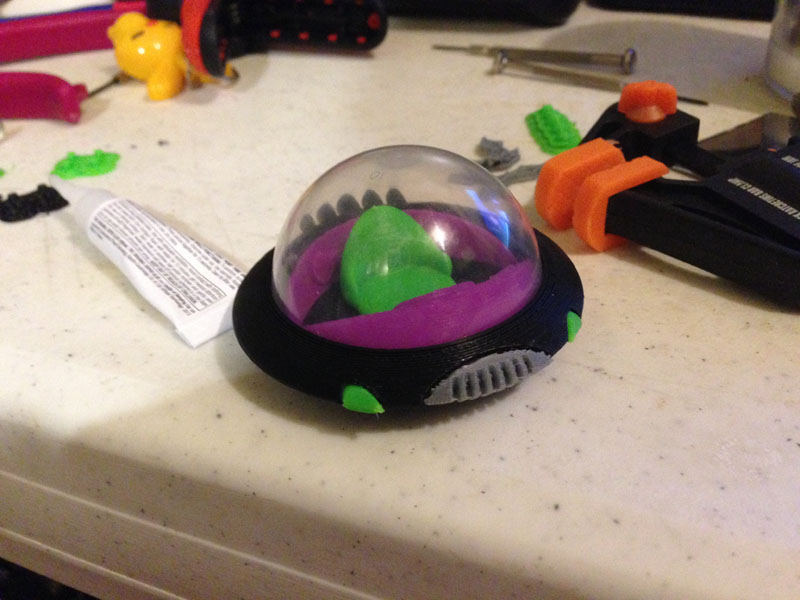
Here is the pod alone, without the winch:

I also have available on Shapeways the nuclear waste container. (Originally I modeled this in multiple pieces so I could print it at home in white and black so the black stripes would be clean and perfect. This didn’t translate well to Shapeways. The parts were too tight. So I made a single solid barrel available instead.)
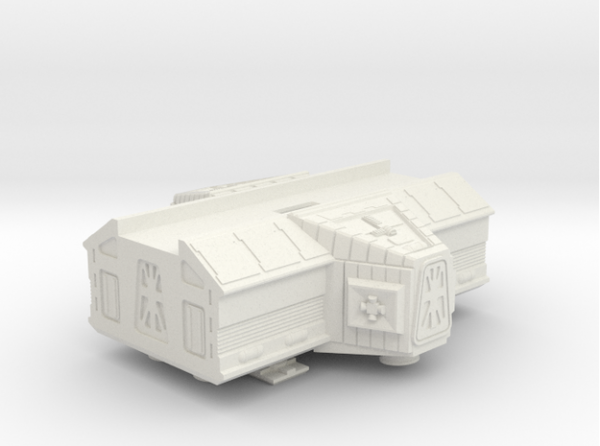
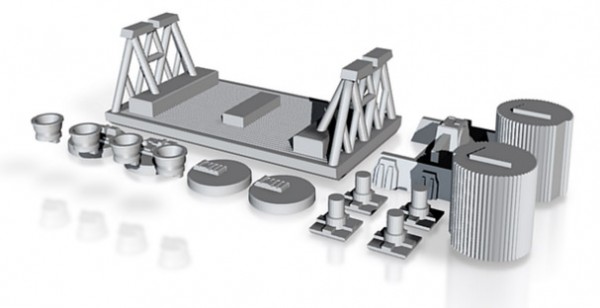
It is hard to see with these photos, but the flatbed is ridged like the original, not smooth. The Shapeways render makes this more obvious:
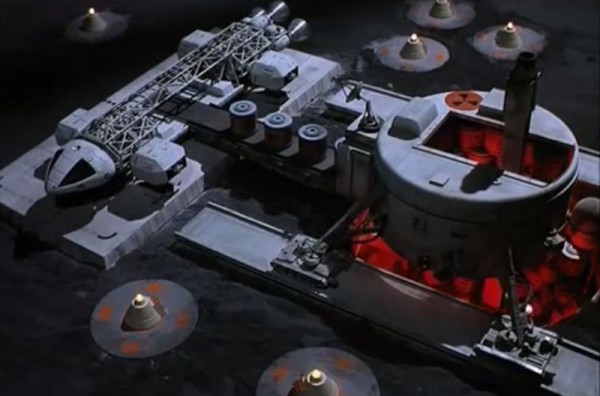
This is what the pallet pod looked like in the TV show being unloaded by conveyor belt:
You may notice the bars at the top. These do not exist on the real pod model, but for the Dinky to pick it up and drop it, those had to be added. And the mechanism feels great! Fits perfectly!
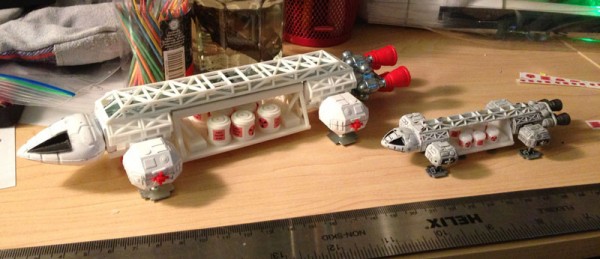
Here is my home-printed pallet pod with containers, next to the Konami version.
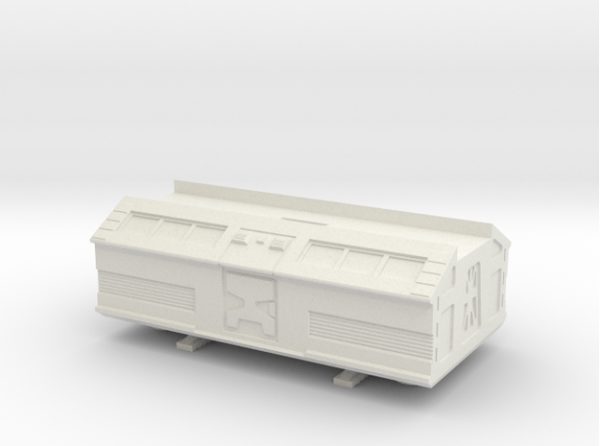
Dinky Scaled Laboratory Pod
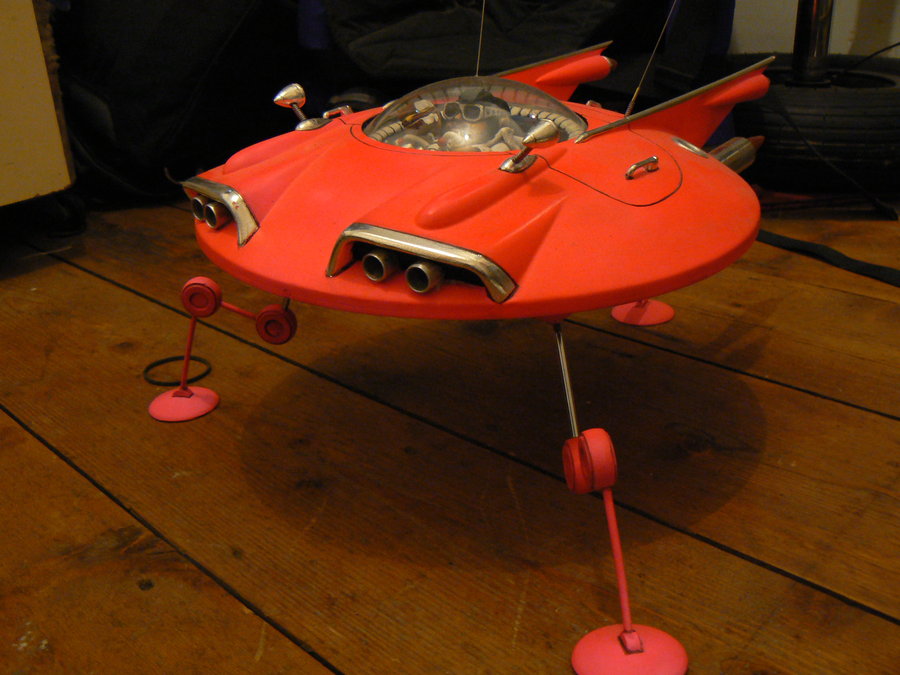
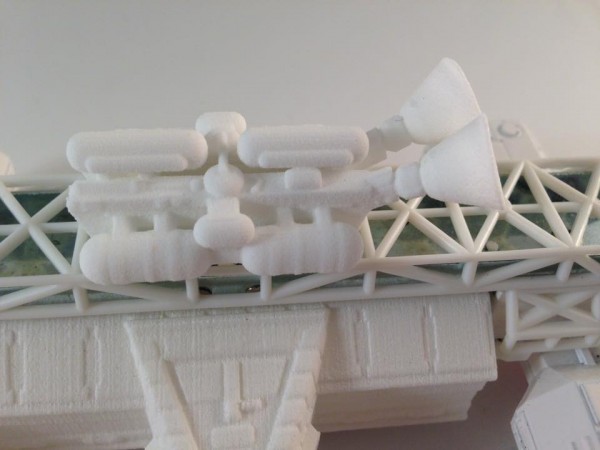
This has been in demand. I have had a lot of people in Gerry Anderson or Space:1999 forums request this one. It’s now available on Shapeways. It’s the Laboratory pod, seen here in a highly accurate larger model.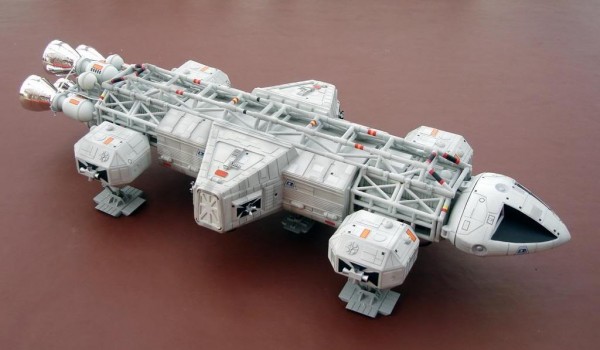
Here it is, printed on my home printers, cut up into appropriate pieces and printed in two colors:

This is Shapeways’ rendering of it:
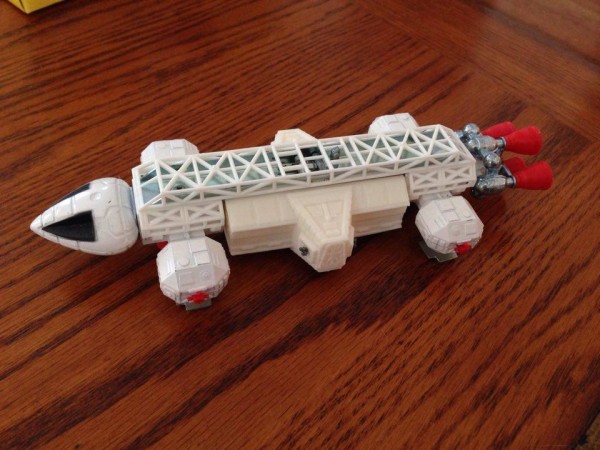
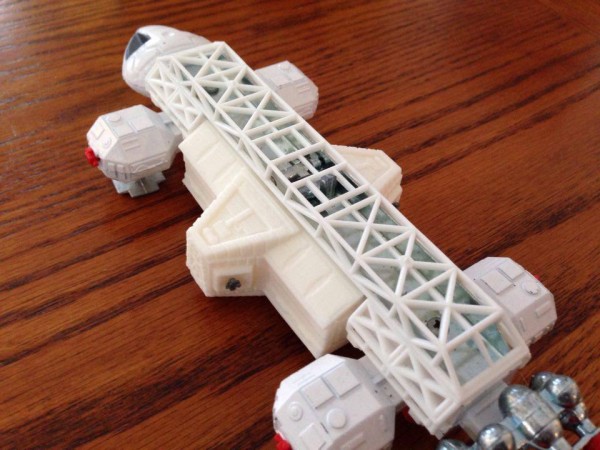
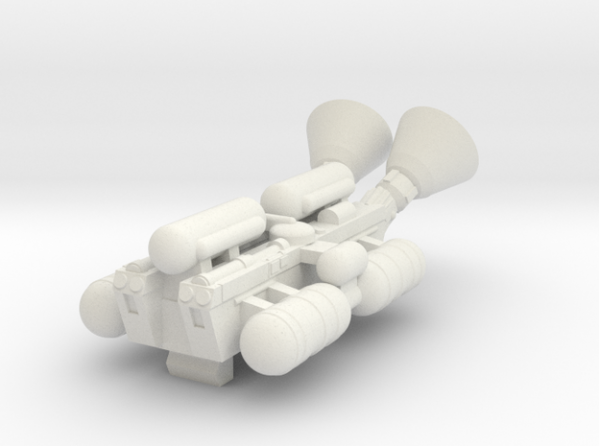
Booster for Dinky Eagle
A companion piece for Laboratory Pods.


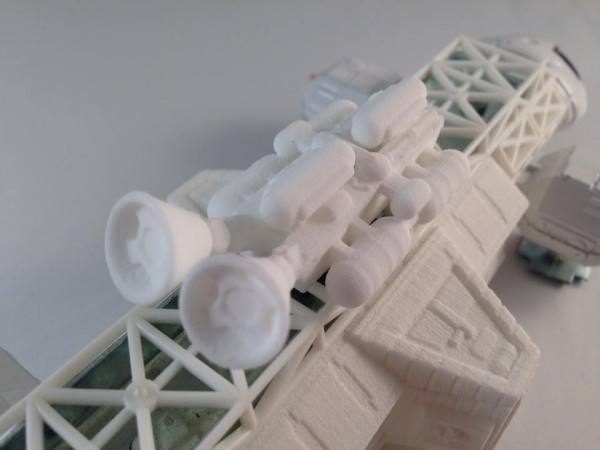
This is the ETSY preview image:
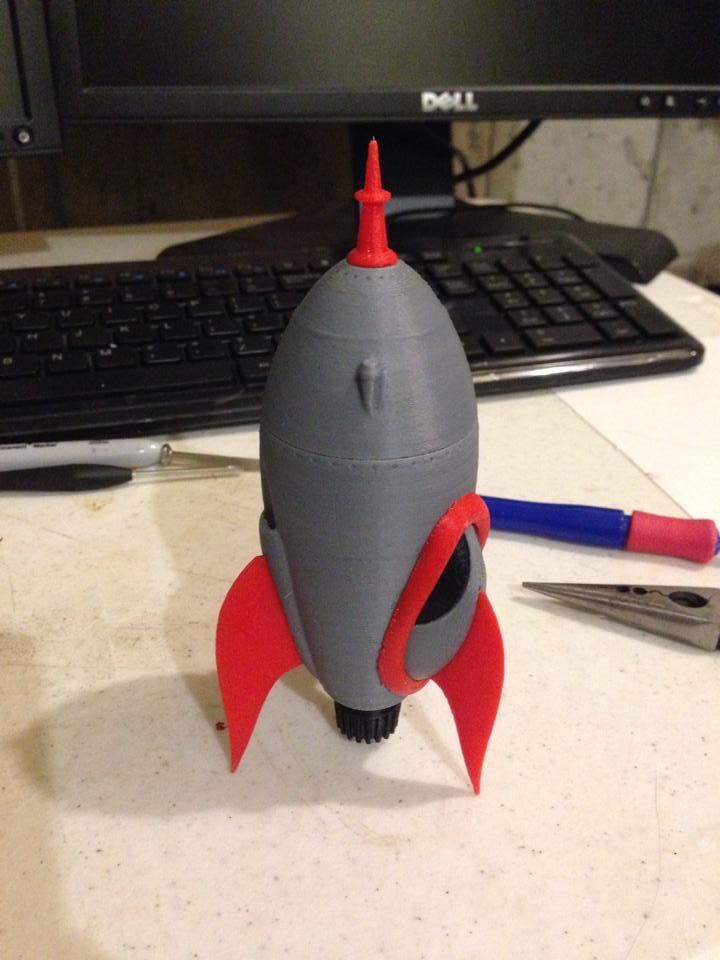
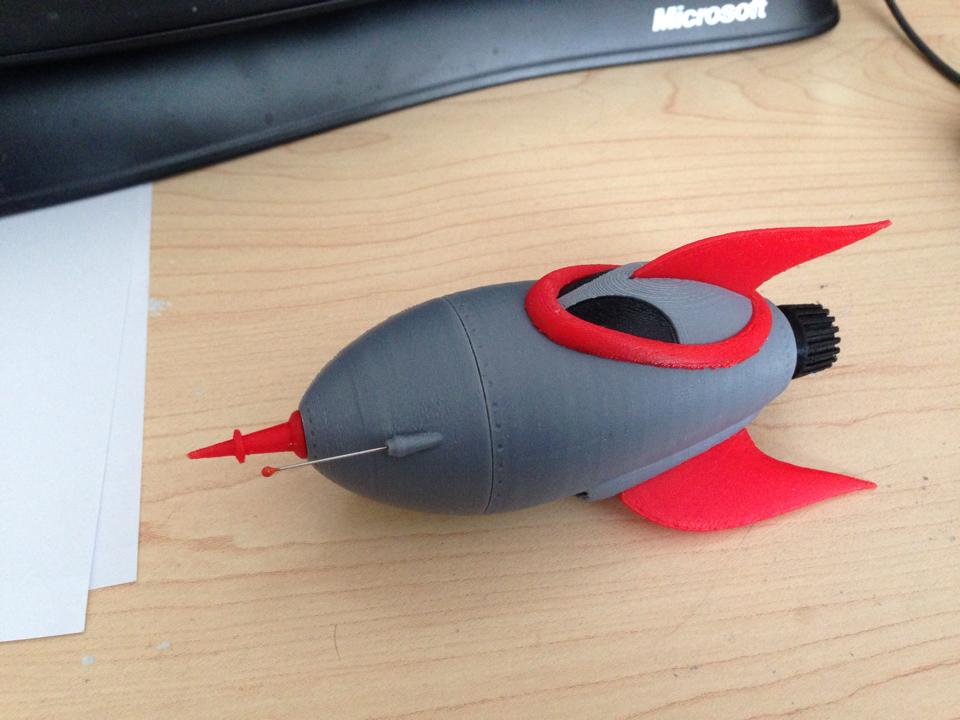
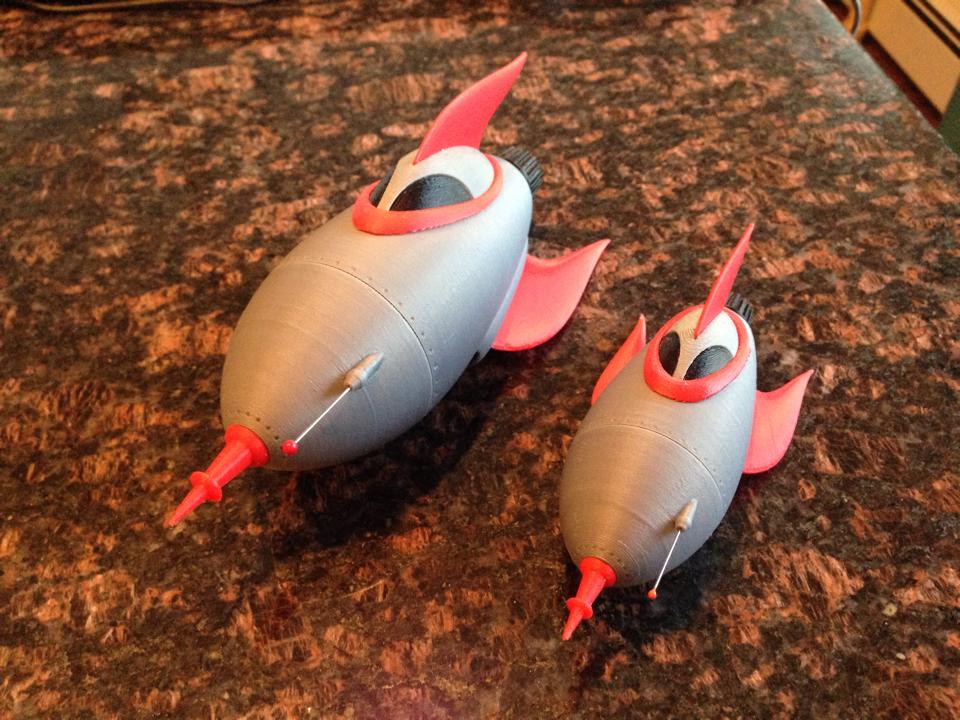
Dinky Scaled Passenger Pod (Replacement)
Sometimes people buy an Eagle incomplete, or they lost their original passenger pod. This is a vairly accurate pod that replaces the original. Fits perfectly, and is a bit more show-accurate than the original.
Here are links to the models, if you are interested:
Dinky-Scaled Pod (acts as either pallet or winch pod)
Dinky-Scaled Winch (sits on the floor of the flatbed pod)
Dinky-Scaled Waste Container (sits on the floor of the flatbed pod)
Dinky-Scaled Laboratory Pod (does not yet have the booster pack on top)
Dinky-Scaled Booster Pack (goes well with Laboratory pod)
Dinky-Scaled Passenger Pod (good for replacement of lost pods)
I also made available decal sheets (which you can print on sticker paper or decal paper) that wrap around the barrels, and looks like this (this is a sub-section. The full sheet includes many more copies of the barrel decal and the Alpha symbol, and also contains the smaller Konami version.
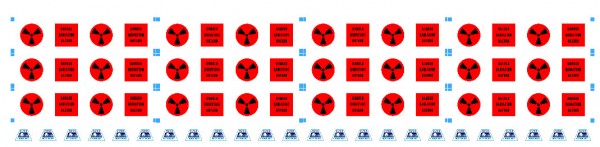
You can download the full sheet as a PDF (very clean vector art) here – Dinky And Konami Eagle Decal Sheet PDF File – and the instructions on how to use them here – Dinky And Konami Decal Instruction Sheet PDF File
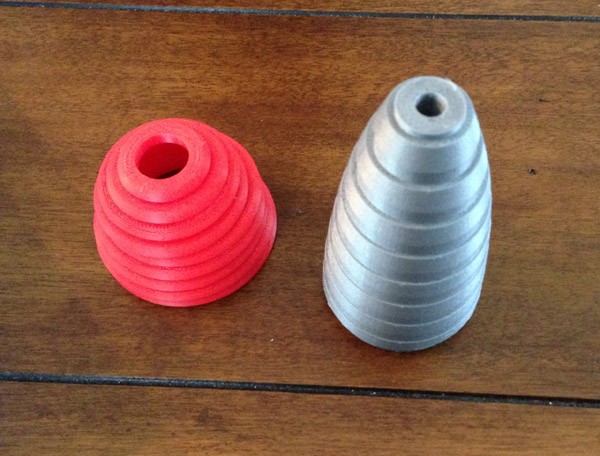
Konami Scaled Eagle Pods
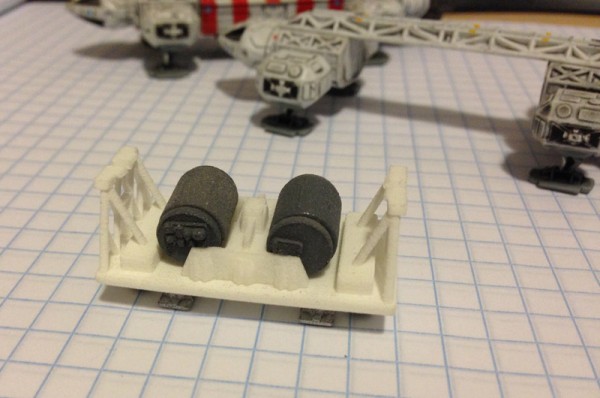
I also created Konami-scaled Eagle Pods, which are just over 4cm long. They fit nicely into the Konami Eagle, and do not need extra “stuff” on top of the pod to make it fit like the Dinky did.
Here is a photo of one. I painted the winch barrels grey. You don’t have to.
Winch Pod

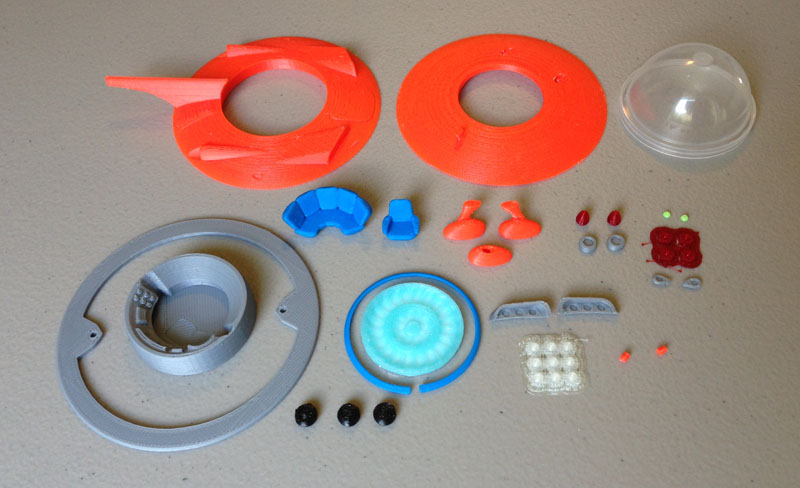
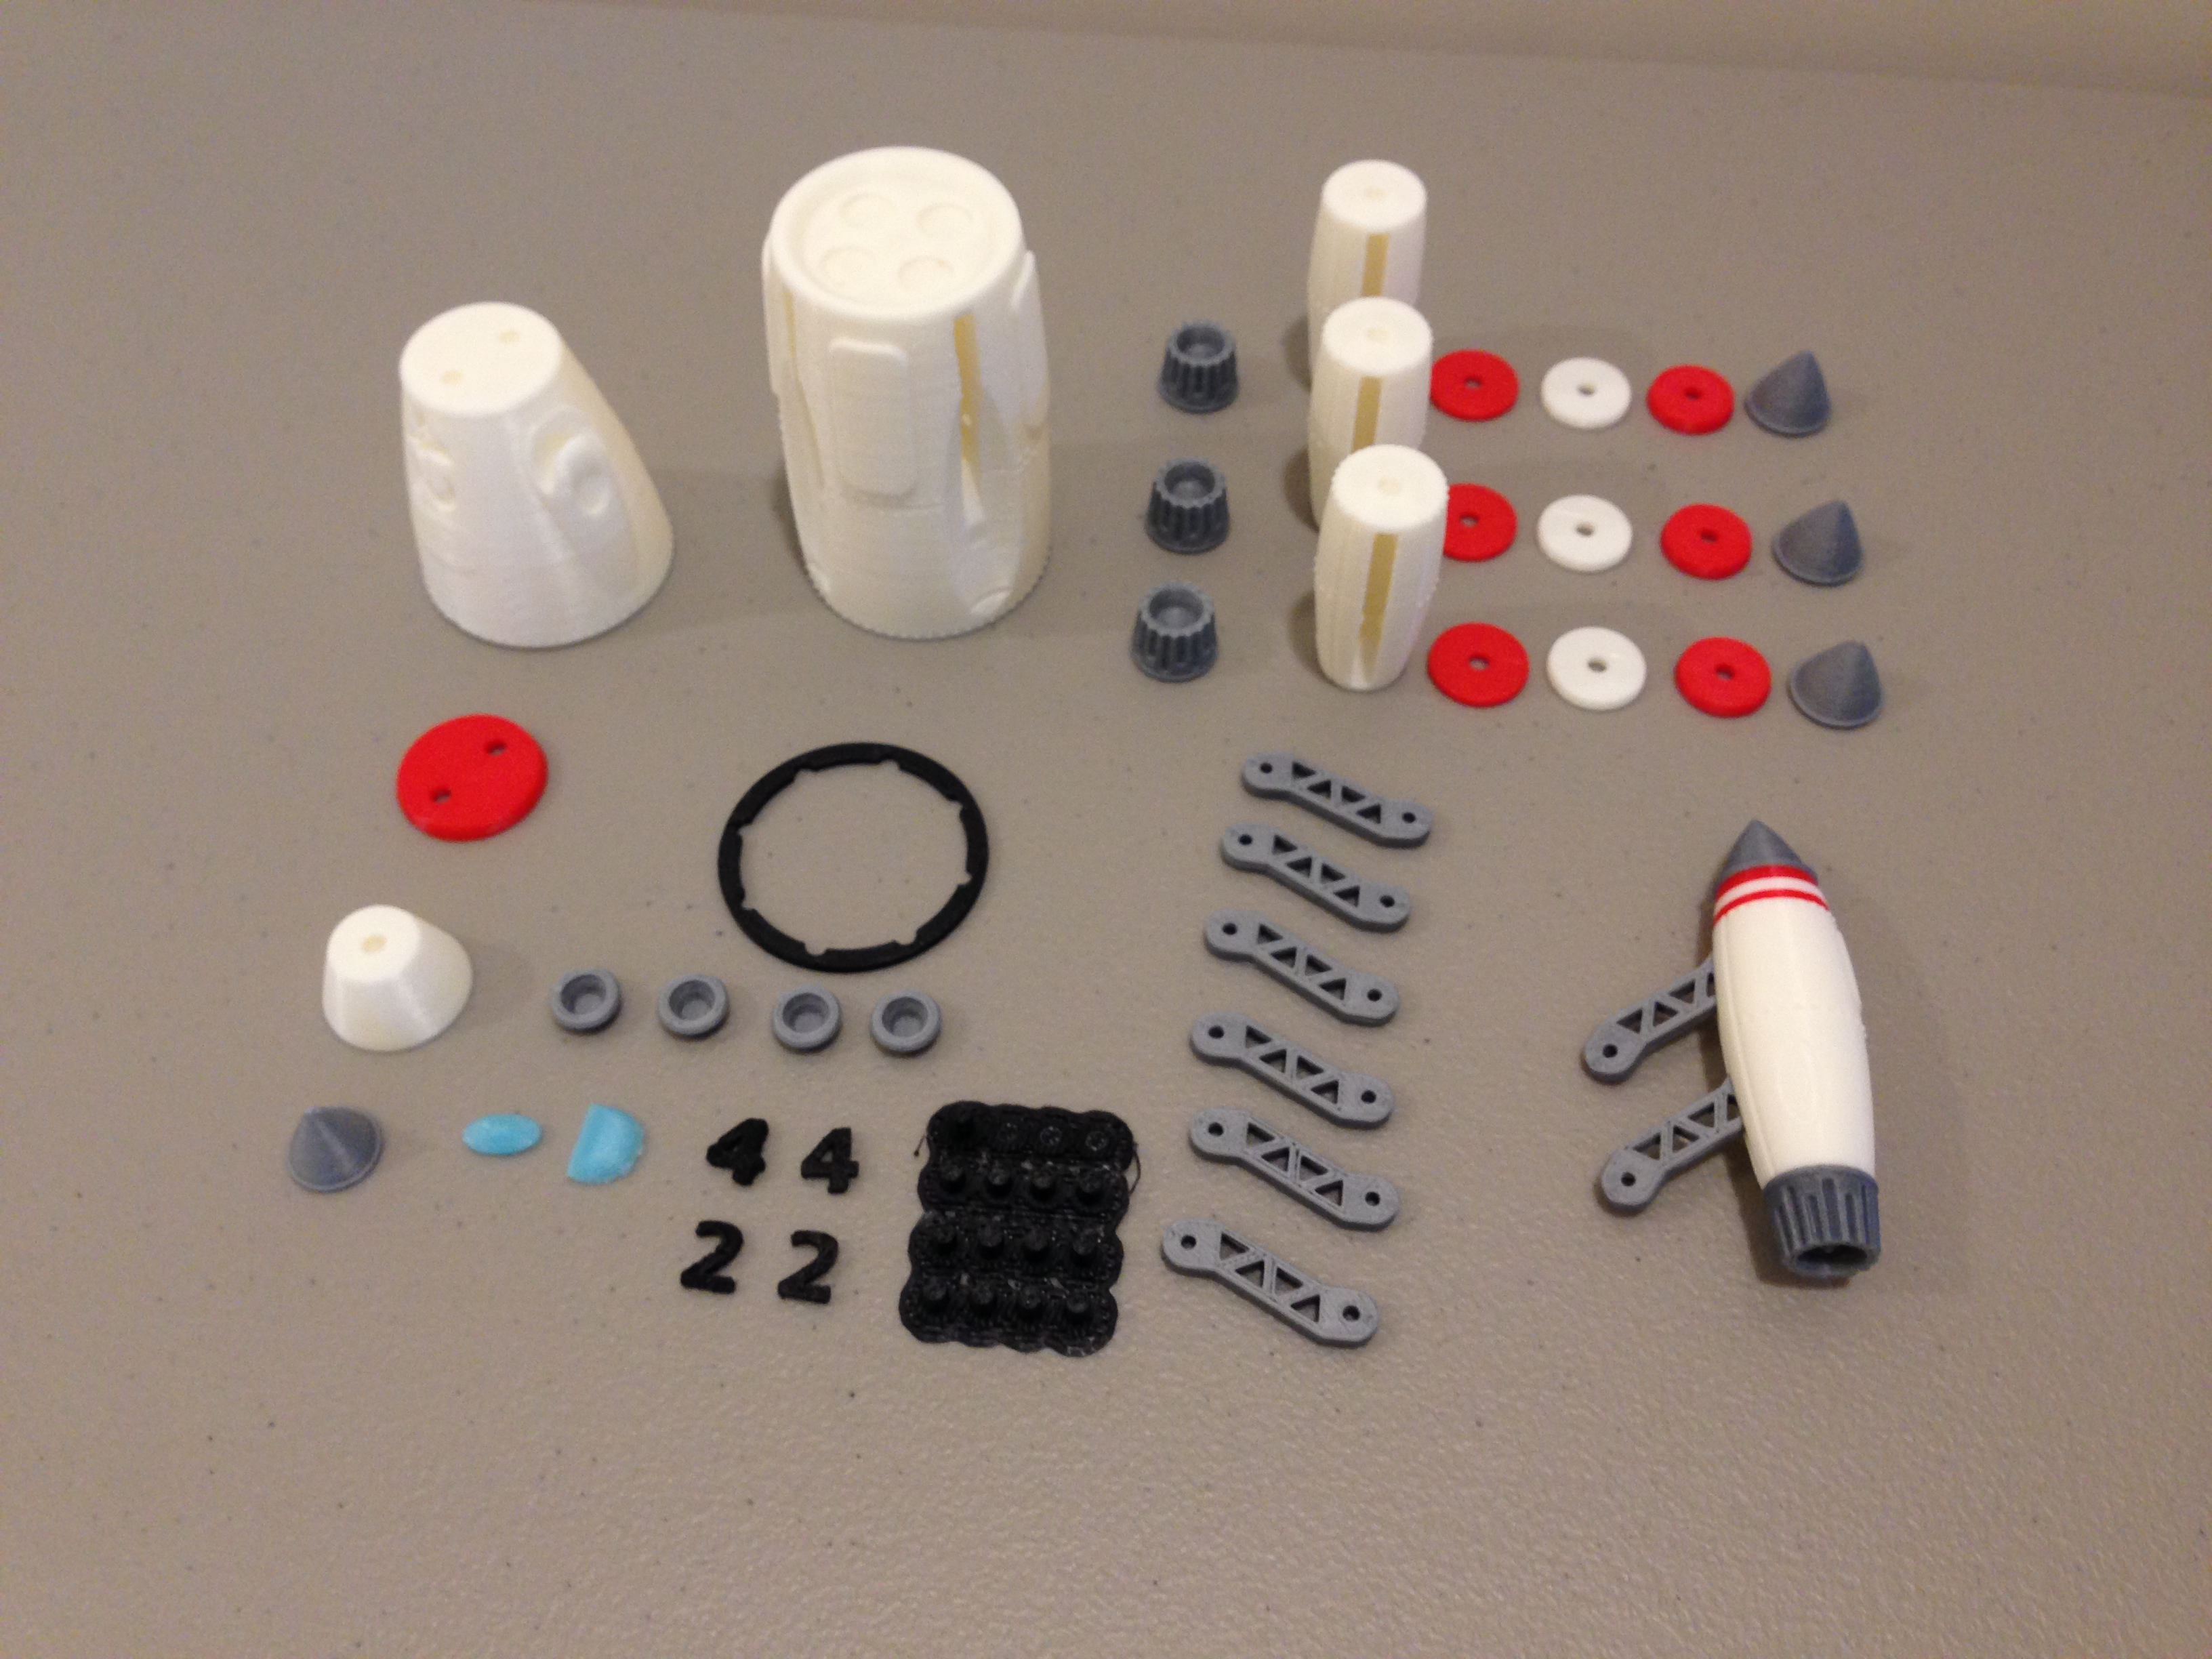
And the whole kit, unassembled:
Shapeways rendering for better detail:
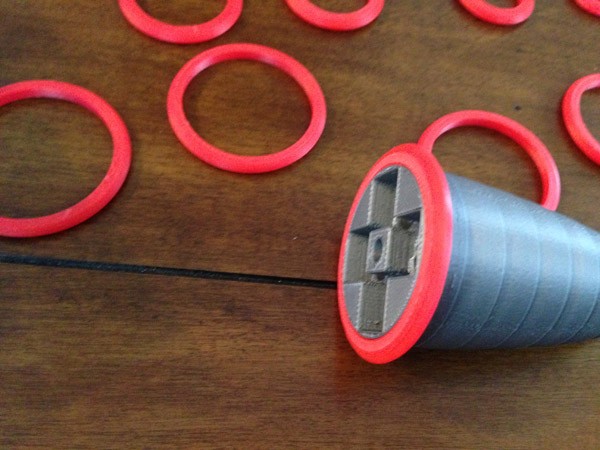
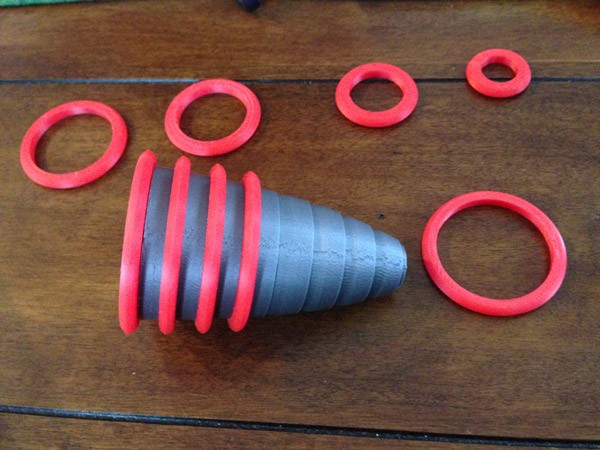
Pallet Pod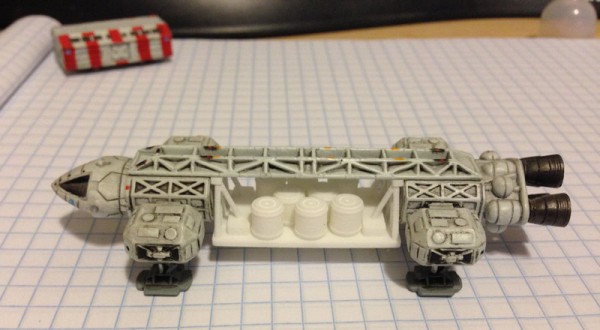
Here it is unassembled, (shown with decal sheet, not included, but you can download it at the bottom of this section)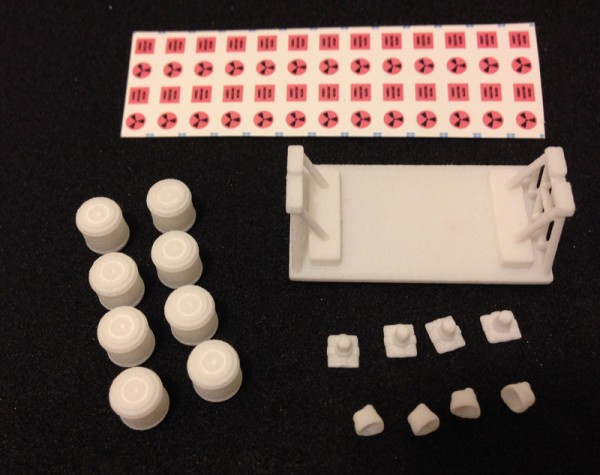
Shapeways rendering (for better detail)
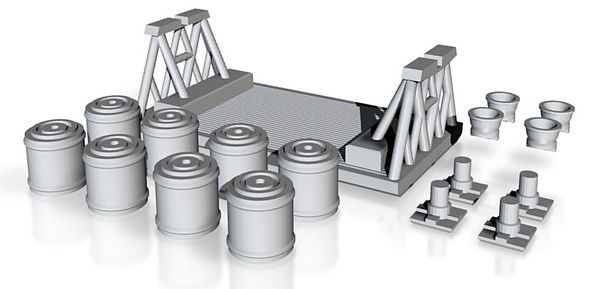
These two pods come as two different models, rather than a single pod, with add-ons. This is only because I made the Dinky version more efficient, and have not had time to convert the Konami pods. But this way, you don’t have to share the pod itself. Get the whole kit for either the Winch or Pallet pods.
Konami Scaled Winch Pod (all parts, including winch barrels and housing, legs, engine cones, unassembled)
Konami Scaled Pallet Pod (all parts, including 8 waste containers, legs, engine cones, unassembled)
You can download the full sheet as a PDF (very clean vector art) here – Dinky And Konami Eagle Decal Sheet PDF File – and the instructions on how to use them here – Dinky And Konami Decal Instruction Sheet PDF File
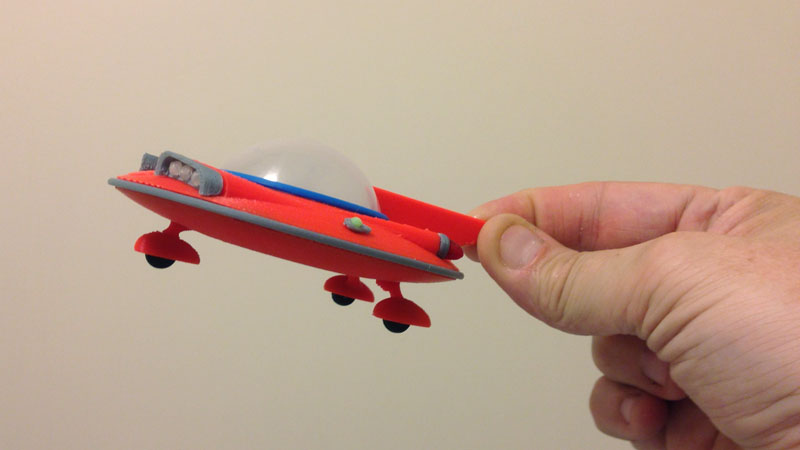
Moon Buggy
I won’t go into too much detail here, since I don’t have a lot of photos of these, but for now you can find links to my Moon Buggies on Shapeways, and see the few photos I do have.
What you should know, however, is that they come in two separate pieces you must order separately because Shapeways does not offer a convenient way to package projects that require multiple parts:
Moon Buggy for 22″ Round 2/MPC Eagle Model
This version is scaled to the new 22″ Eagle model kit.
Note: This one is far more accurate. I worked with an Amphicat enthusiast to fix some scaling and proportion issues, as well as adding a fair amount of more accurate detail. This one adds ridge detail at the back, the engine vents, engine bumps under the seats, even exhaust ports, more accurate dash, and a lot of other details you would not catch in the smaller ones. I also made the wheels more accurate.
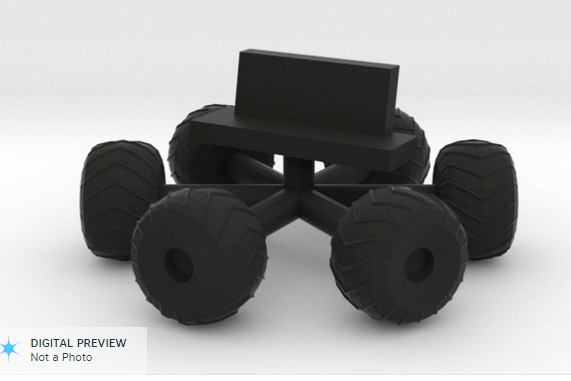
I don’t have the 22″ Eagle, so I can’t show a photo posed next to one, but here are the Shapeways renderings:
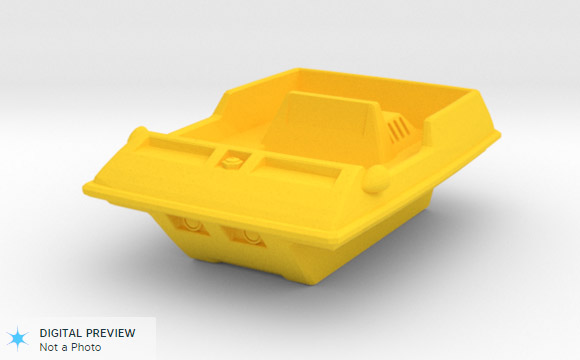
22 Inch Scaled Moon Buggy Body – Comes in yellow, so you don’t have to paint it.
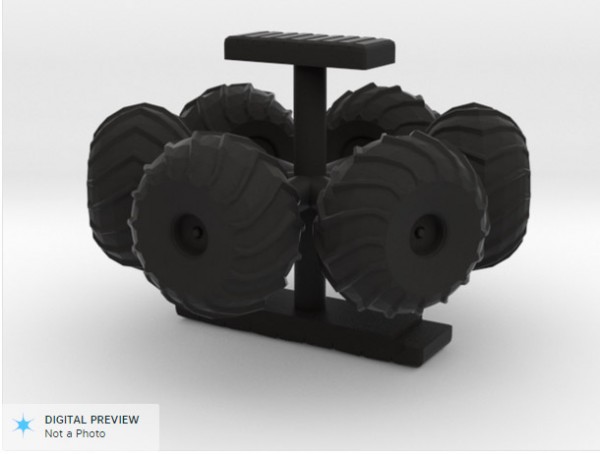
22 Inch Scaled Moon Buggy Seats and Wheels – Comes on a single sprue. Simply clip and glue. Comes in black, so you don’t have to paint it.
I recommend going there and using the 360 degree preview (blue box in the image row).
Here are some images of the same model, printed on my own home printer: Even this is pretty darned good, though the Shapeways resolution is higher.
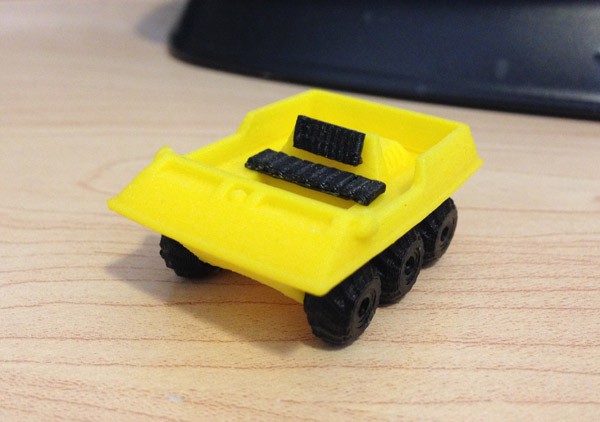
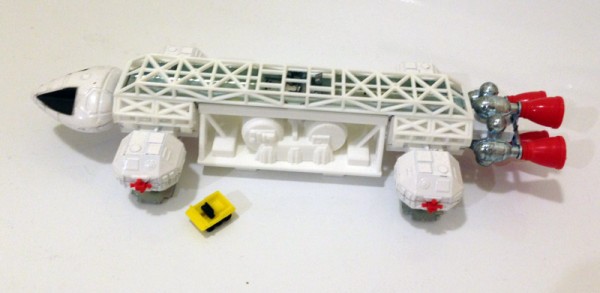
Here it is, pictured with two 12″ PE Eagles, alongside the 12″-scaled version.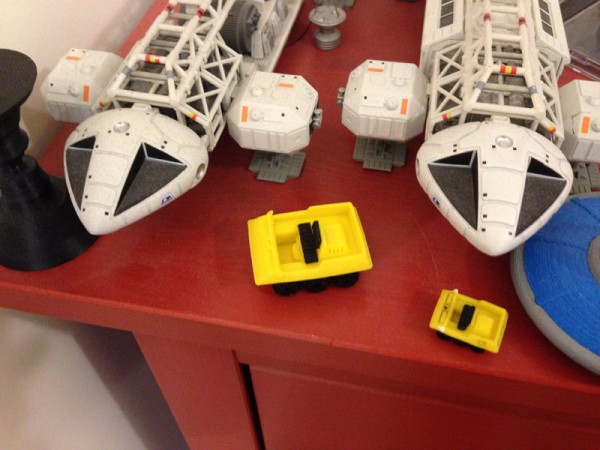
Moon Buggy for 12″ AMT/ERTL/Product Enterprise
This version is scaled to go with the 12″ Eagles.
As with the Dinky, it is available in two separate orders from Shapeways:
12″ Scaled Moon Buggy Body – Comes in yellow, so you don’t have to paint it.
12″ Scaled Moon Buggy Seats and Wheels – Comes on a single sprue. Simply clip and glue. Comes in black, so you don’t have to paint it.
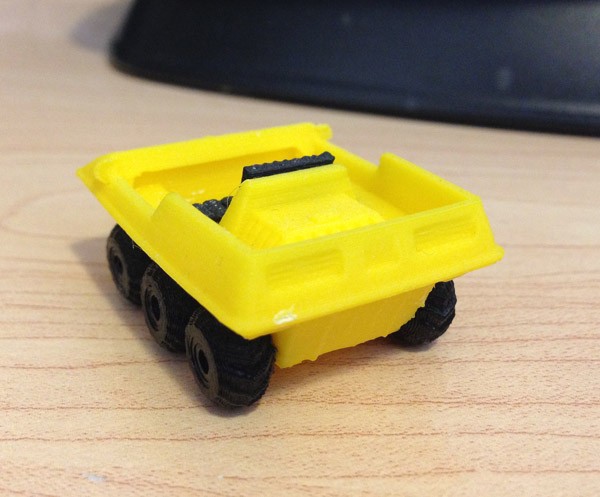
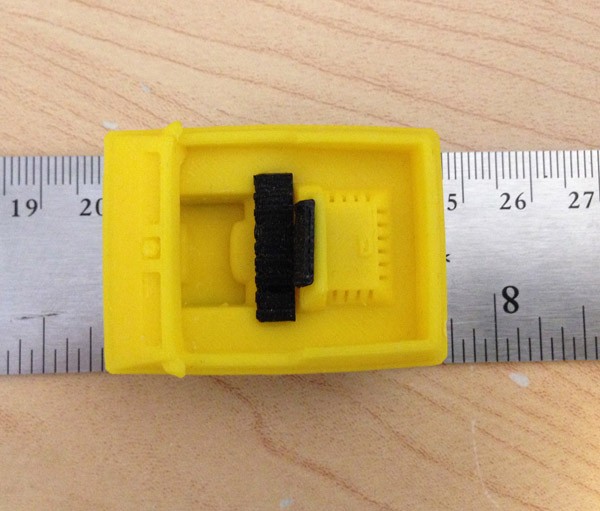
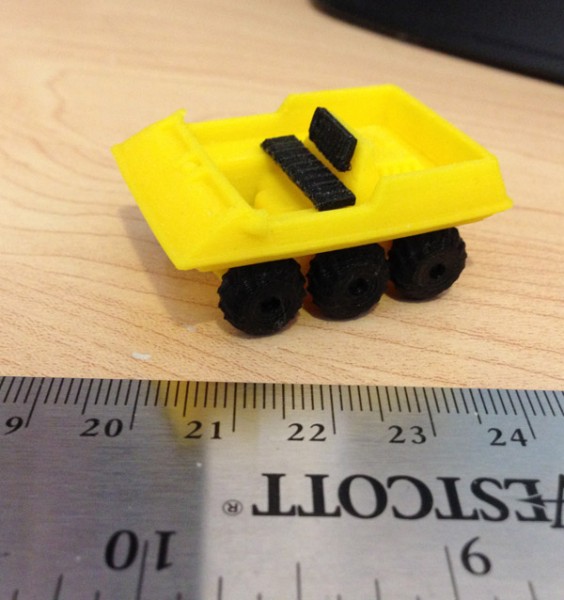
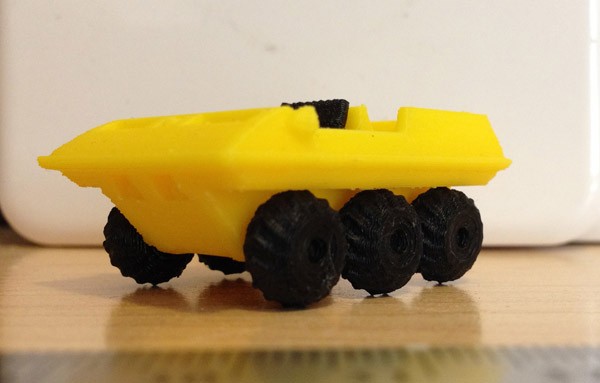
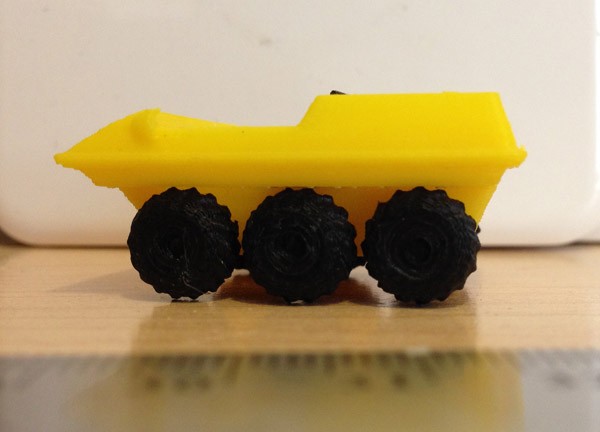
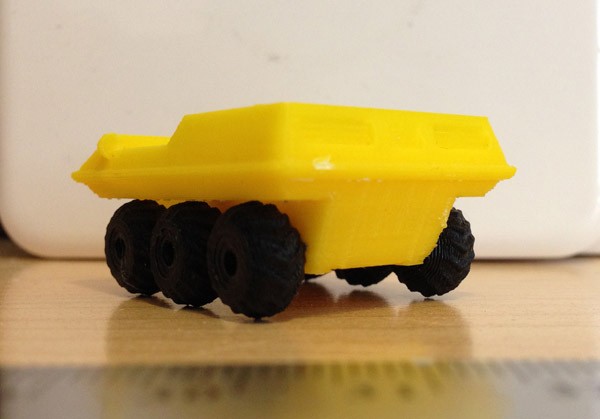
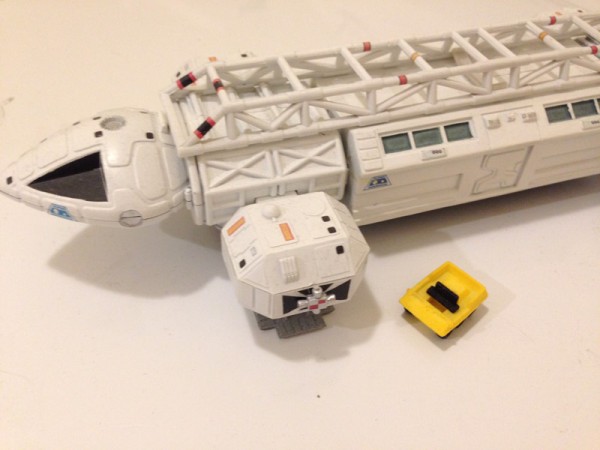
Moon Buggy for Dinky
This model is very small, but poses nicely with the Dinky Eagle:
The model comes in two parts:
Dinky Scaled Moon Buggy Body – Comes in yellow, so you don’t have to paint it.
Dinky Scaled Moon Buggy Seats And Wheels – Comes on a single sprue. Simply clip and glue. Comes in black, so you don’t have to paint it.
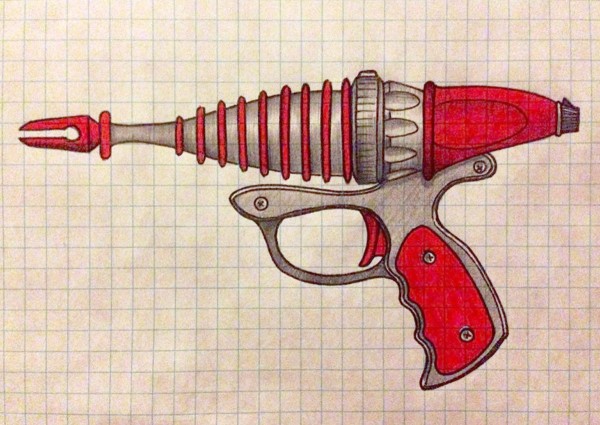
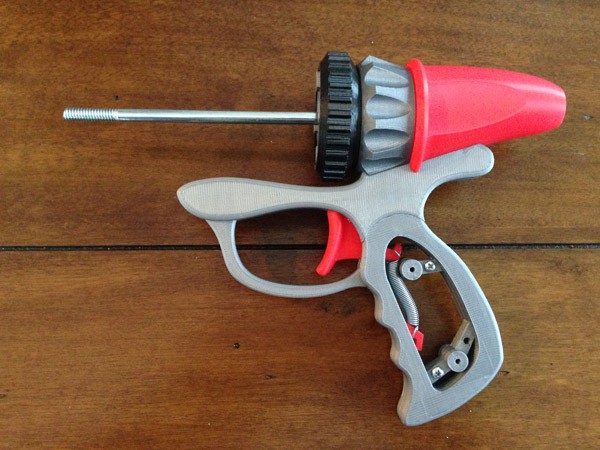
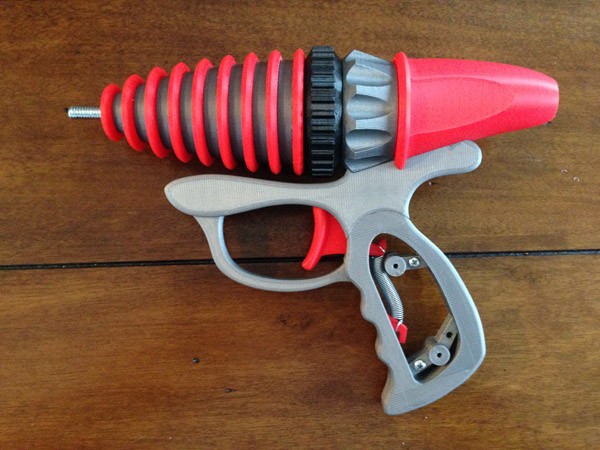
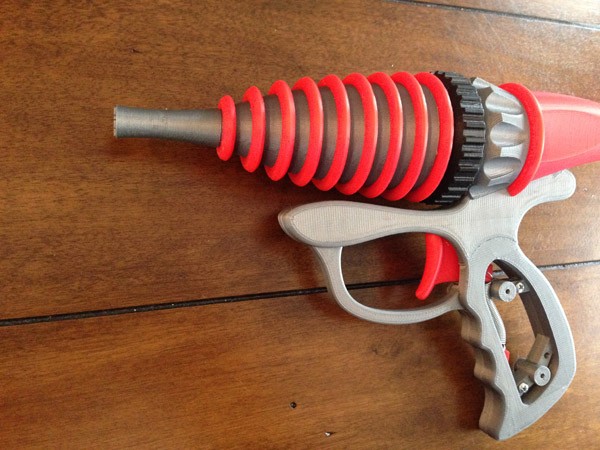
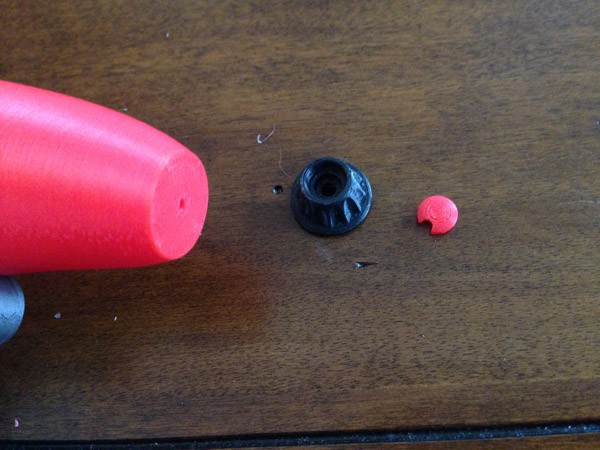
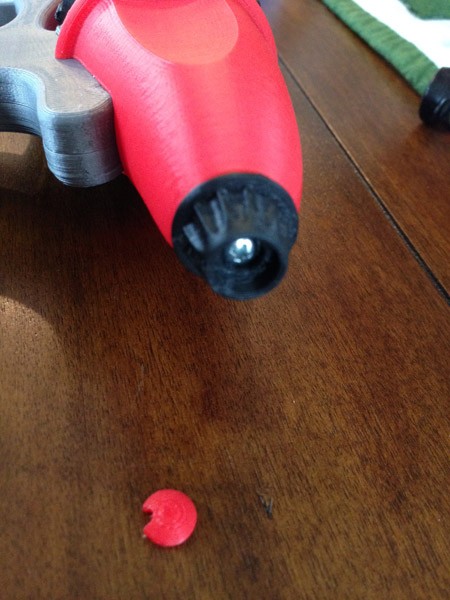
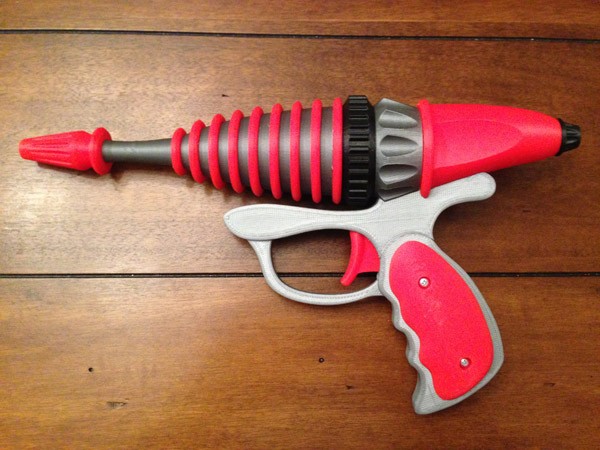
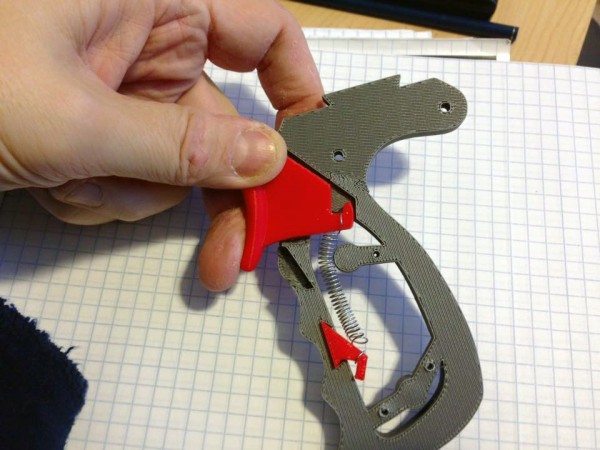
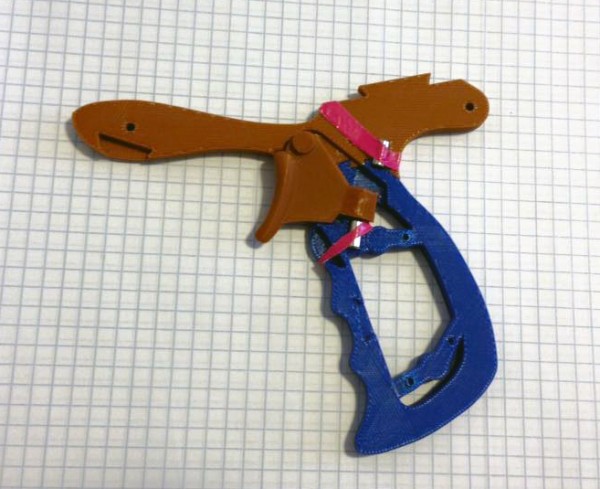
Stun Gun
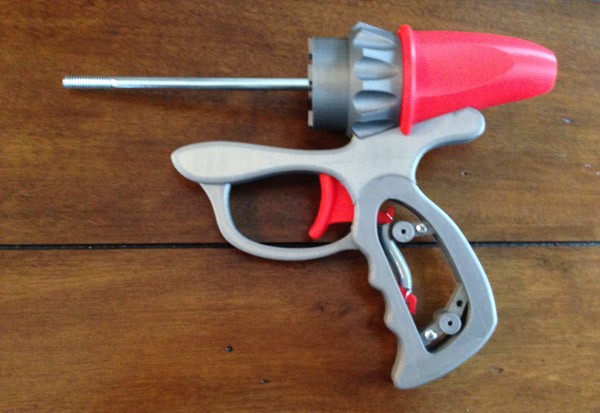
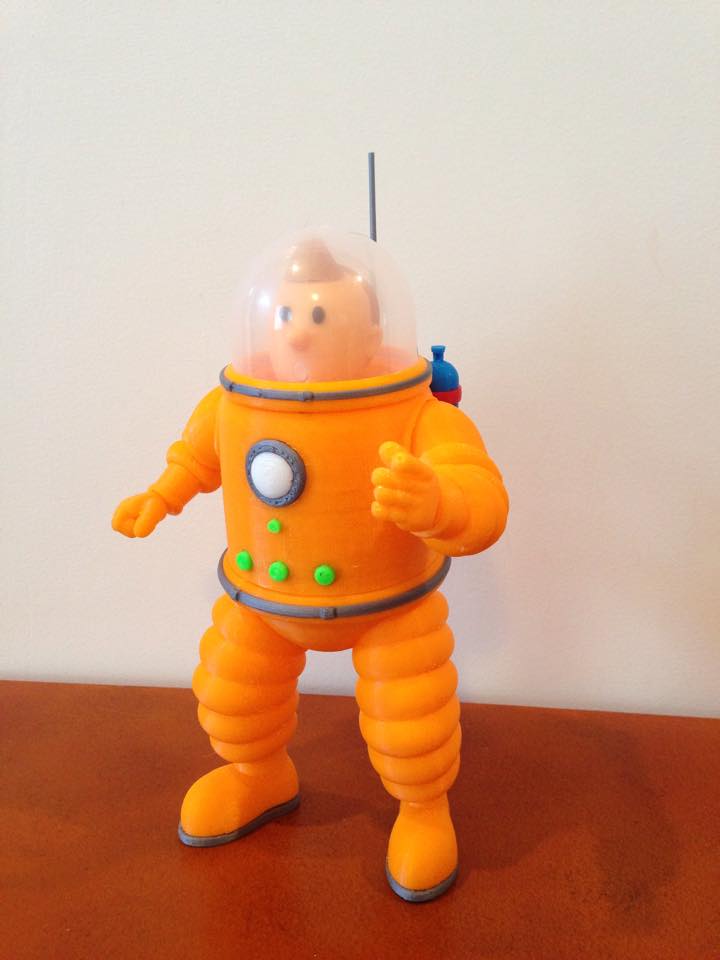
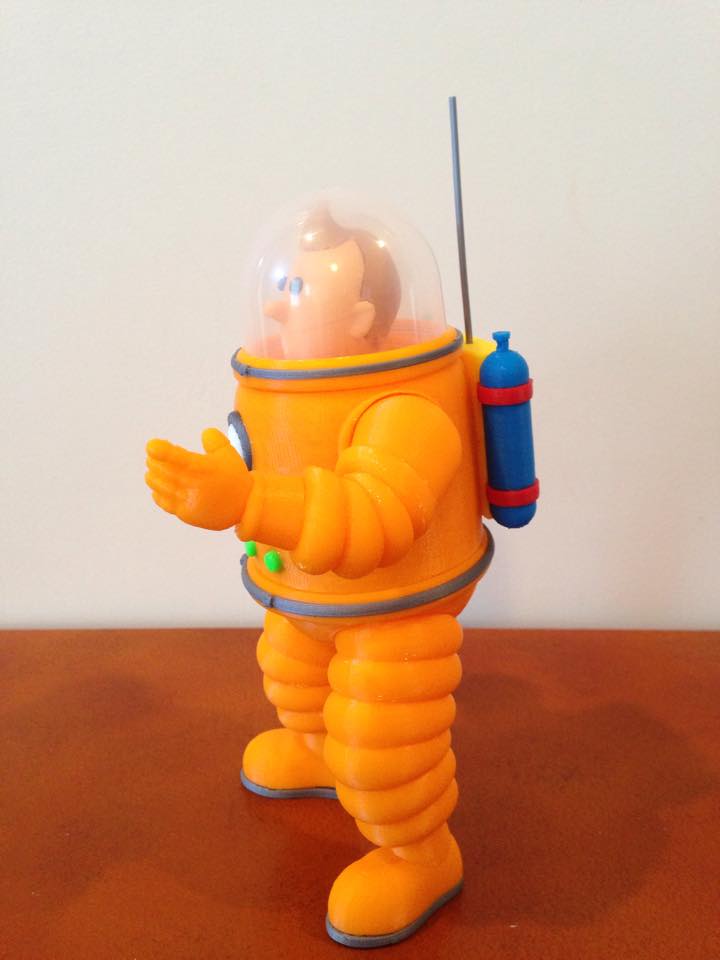
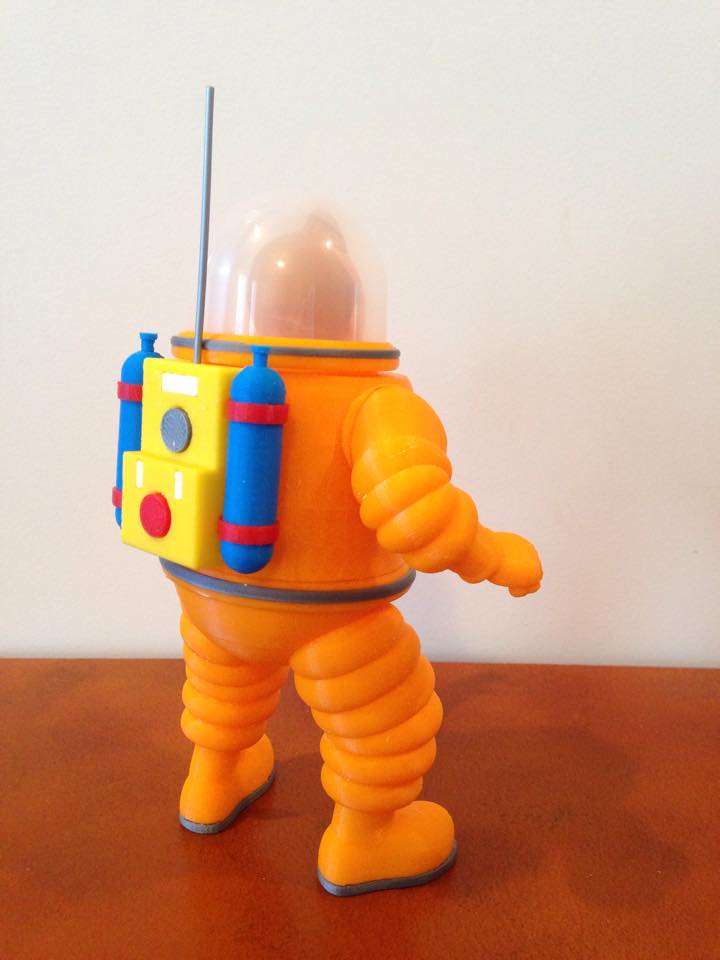
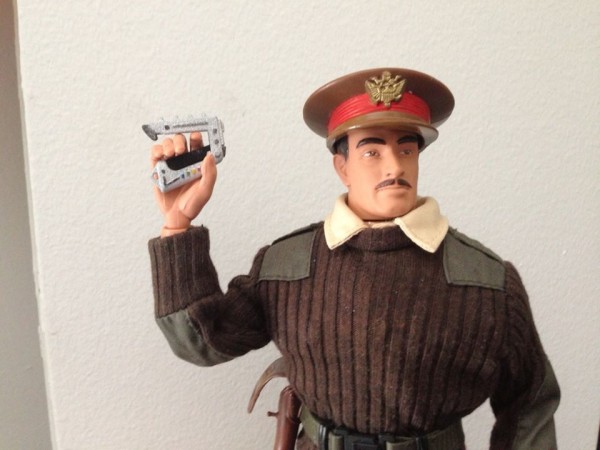
I make a 1:6 scale Stun Gun available to fit 12″ Action Figures like this one:
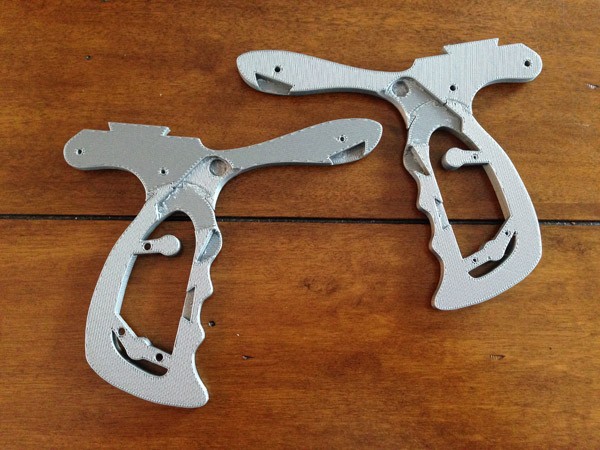
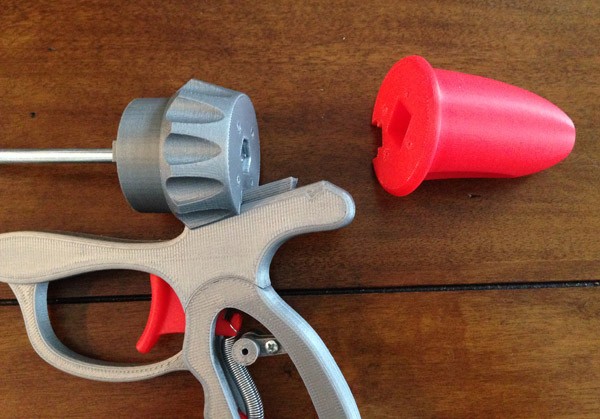
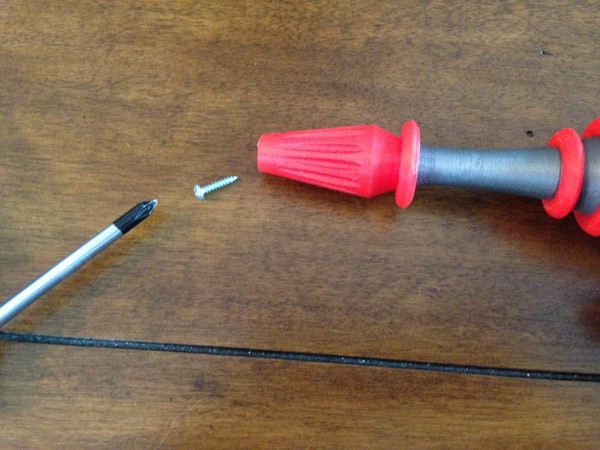
This gun comes in two pieces for convenience:

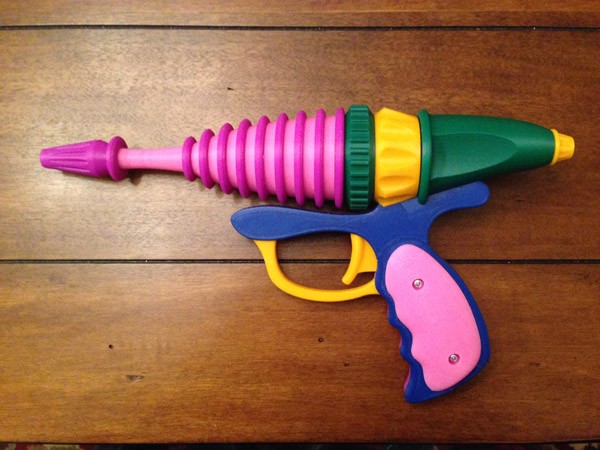
Easier to paint this way. Also, the guns themselves can be printed in silver. Some painting will be required to add the colored details. I show one here that I left in white, as a proposed Commander’s Special, or VIP Special version.

1:6 Scale Stun Gun Bodies (x4)
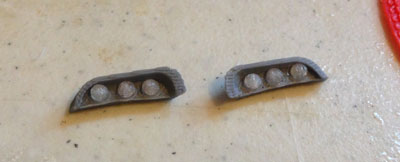
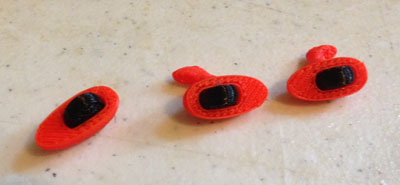
Mattell Eagle Mini Stun Gun Replacement
The wonderful 3″ Eagle made by Mattell in the 1970s came with figures and scaled hand-weapons. People often lost these.
This is an awfully small size to print, so detail is a bit less than perfect, but if you want replacements for your lost Mattell Eagles, these aren’t bad.
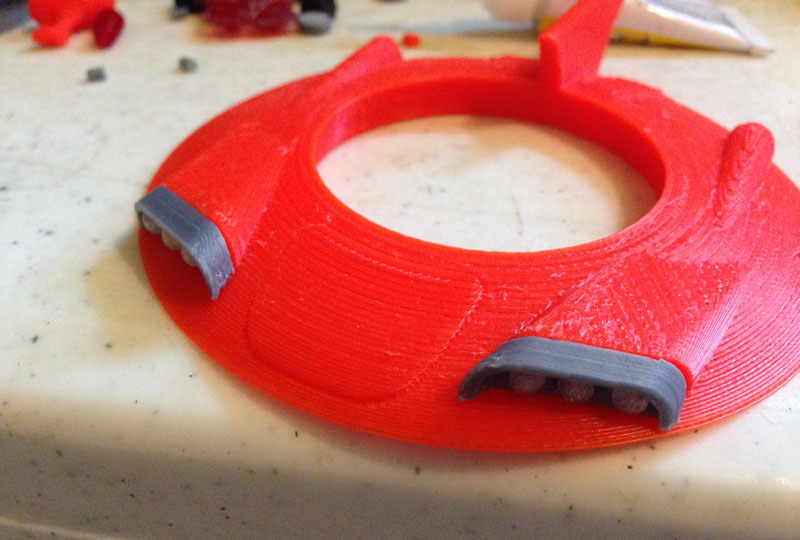
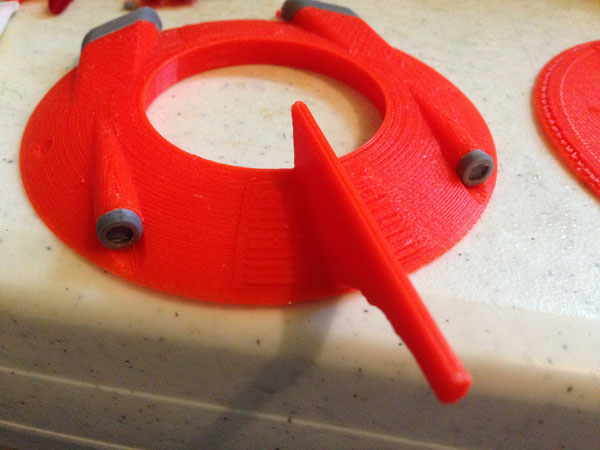
Launch Pads
The 1970s original Moonbase Alpha model kit was inaccurate in many ways, not least of which was the scale of the landing pads. The problems are described in this blog entry from a while back.
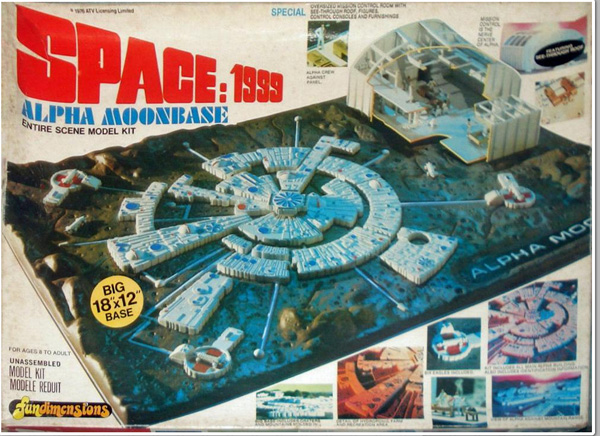
The main issue is that there are only 3 pads. There are 5 surrounding Moonbase Alpha, and for those who want to make a more accurate version, you can purchase a version of the landing pad scaled to these original ones.
OLYMPUS DIGITAL CAMERA
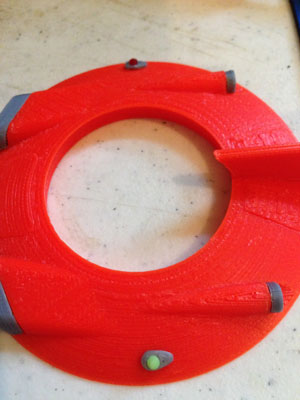
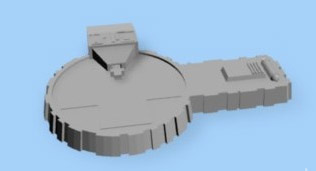
I added a tiny bit of detail. The house now has a docking arm.
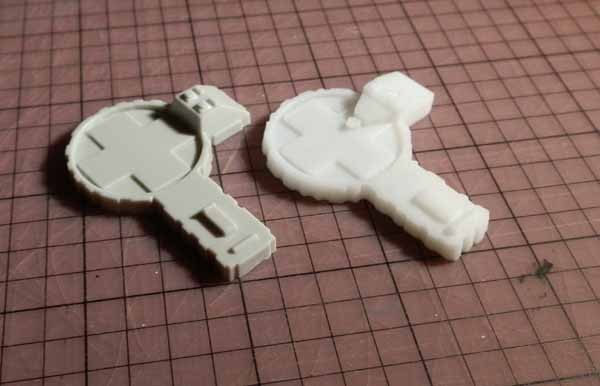
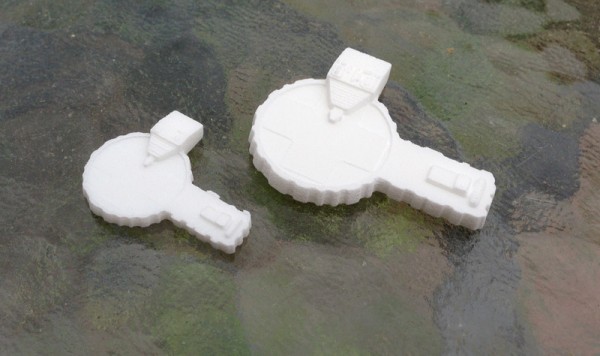
I made these in two scales – to match the original, oversized landing pads, and I made a version scaled accurately to the rest of the Moonbase model kit parts.
There was a later re-issue of this kit, just a couple of years ago by MPC/Fundimensions that fixes this problem and provides 5 accurately-scaled landing pads. But if you can’t find that, or need extras:
Moonbase Alpha Landing Pad Original Scale – with docking arm
Moonbase Alpha Landing Pad Accurate Scale – with docking arm
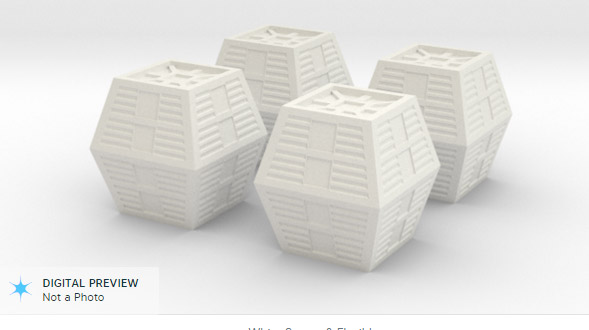
Cargo Crates
I modeled these to fit 44″ Eagles. A lot of people scratch-build these, and I figured they might like a set of crates to fit:
I scaled these to fit the Product Enterprise and 12″ Eagle Model Kits, but found the detail gets lost so I didn’t bother putting them up on Shapeways.